5
Deutsch
2 Hinweise
für den sicheren Gebrauch
Das Gerät (einschließlich Netzgerät, Fernbe-
dienung und Tastatur) entspricht allen rele-
vanten Richtlinien der EU und ist deshalb mit
gekennzeichnet.
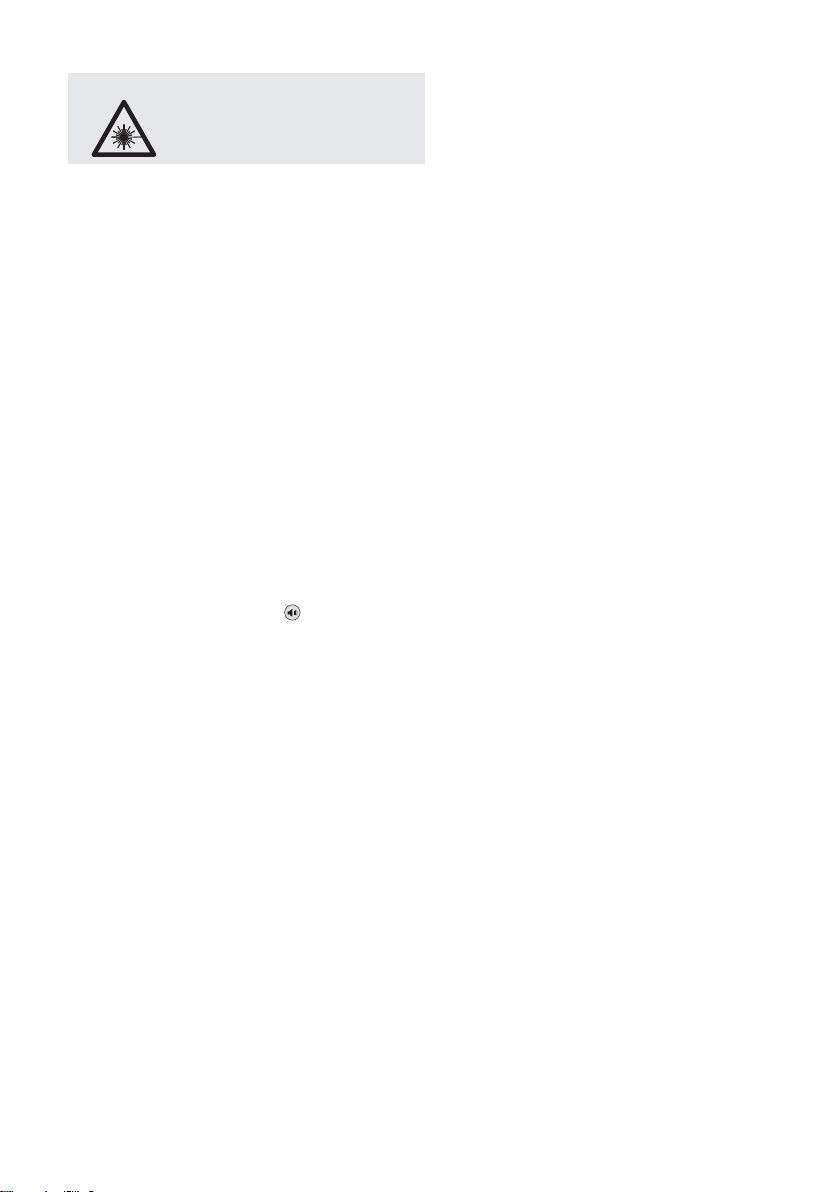
2.1 Hinweise speziell für Lasergeräte
Das Gerät entspricht der Laserklasse 3B. Die
Laser haben folgende Leistungen und Wel-
lenlängen:
2.2 Allgemeine Sicherheitshinweise
G
Verwenden Sie das Gerät nur im Innenbe-
reich. Schützen Sie es vor Tropf- und Spritz-
wasser, hoher Luftfeuchtigkeit und Hitze (zu-
lässiger Einsatztemperaturbereich 0 – 40 °C).
GStellen Sie keine mit Flüssigkeit gefüllten
Gefäße, z. B. Trinkgläser, auf das Gerät.
GZiehen Sie sofort das Netzgerät aus der
Steckdose,
1. wenn sichtbare Schäden am Netzgerät
oder am Lasergerät vorhanden sind,
2. wenn nach einem Sturz oder Ähnlichem
der Verdacht auf einen Defekt besteht,
3. wenn Funktionsstörungen auftreten.
Geben Sie das Gerät in jedem Fall zur
Reparatur in eine Fachwerkstatt.
GVerwenden Sie für die Reinigung des
Gehäuses nur ein trockenes, weiches
Tuch, niemals Wasser oder Chemikalien.
GWird das Gerät zweckentfremdet, nicht
sicher montiert, nicht richtig angeschlos-
sen, falsch bedient oder nicht fachgerecht
repariert, kann keine Haftung für daraus
resultierende Sach- oder Personenschä-
den und keine Garantie für das Gerät über-
nommen werden.
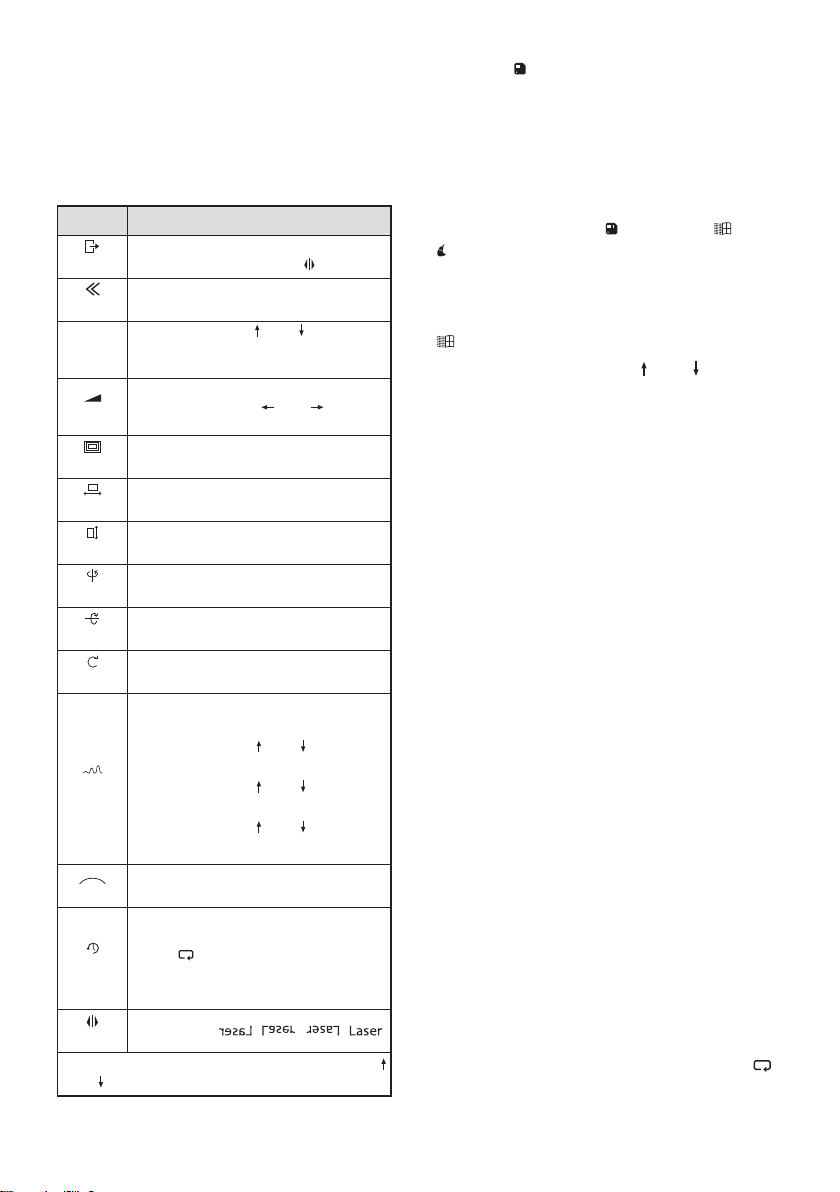
3 Einsatzmöglichkeiten
Mit dem Lasergerät lassen sich beliebige
Texte, die über eine Tastatur eingetippt wer-
den, auf eine geeignete Fläche projizieren.
Alternativ können auch verschiedene Grafi-
ken zu unterschiedlichen Themen (wie z. B.
Geburtstag, Hochzeit, Jahreswechsel) oder
die Uhrzeit und das Datum projiziert werden
oder ein Countdown-Ablauf. Das Gerät lässt
sich z. B. auf Bühnen, in Diskotheken und bei
Verkaufsveranstaltungen einsetzen.
4 Installation / Inbetriebnahme
Das Lasergerät muss fachgerecht installiert
und sicher montiert werden. Die Person, die
das Gerät zusammen mit allen Zusatzkompo-
nenten (z. B. Spiegel, Linsen, Projektionsflä-
che) zu einer Lasereinrichtung aufbaut, wird
rechtlich zum Hersteller dieser Einrichtung.
Beachten Sie unbedingt die Warnhinweise
im Kapitel 2.1.
WARNUNG 1. Das Gerät muss so installiert
werden, dass niemand direkt
in den Laserstrahl blicken
kann. Schon eine kurze Ein-
strahlung auf die Netzhaut kann diese
dauerhaft schädigen. Unbeabsichtigte
Reflexionen müssen verhindert werden.
2. Der Laserbereich muss während des
Betriebs abgegrenzt und gekennzeichnet
sein.
3. Es muss ein Laserschutzbeauftragter
schriftlich bestellt werden und während
des Betriebs anwesend sein (Berufsge-
nossenschaftliche Vorschrift BGV B2).
4. Der Betrieb des Lasers muss bei der
Berufsgenossenschaft und beim Gewer-
beaufsichtsamt angezeigt werden.
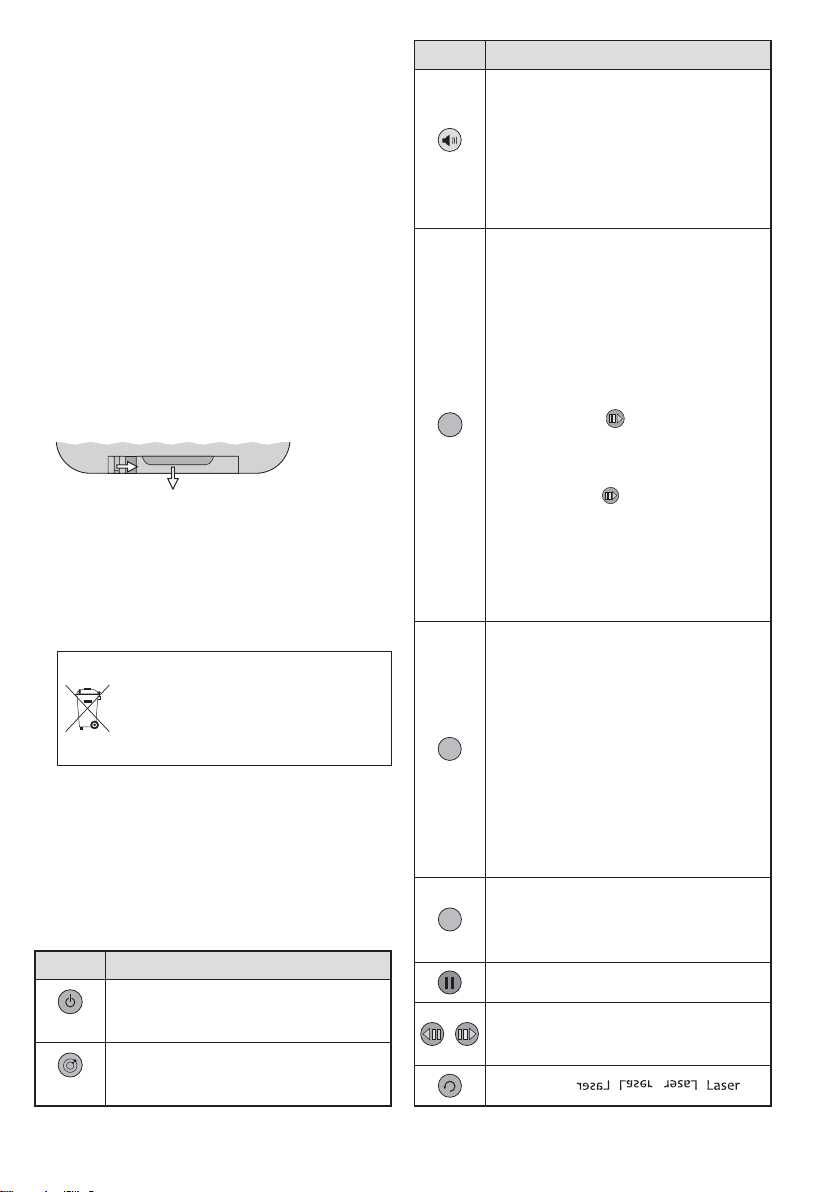
Soll das Gerät endgültig aus dem
Betrieb genommen werden, überge-
ben Sie es zur umweltgerechten Ent-
sorgung einem örtlichen Recycling-
betrieb.
WARNUNG Das Netzgerät wird mit lebens-
gefährlicher Netzspannung ver-
sorgt. Nehmen Sie deshalb nie-
mals selbst Eingriffe an dem
Gerät vor! Es besteht die Ge-
fahr eines elektrischen Schlags.
Leistung Wellenlänge
roter Laser 150 mW 650 nm
grüner Laser 50 mW 532 nm
blauer Laser 100 mW 450 nm