manuals.online logo
Brands
  1. Home
  2. •
  3. Brands
  4. •
  5. IMG
  6. •
  7. Indoor Furnishing
  8. •
  9. IMG Classic Comfort Chair User manual

IMG Classic Comfort Chair User manual

Other IMG Indoor Furnishing manuals

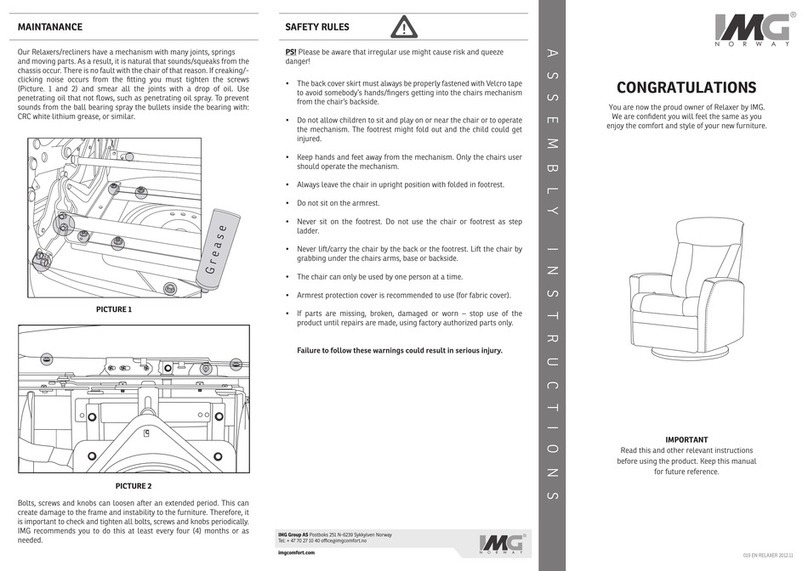
IMG Relaxer Chair User manual

IMG

IMG Relaxer Chair User manual

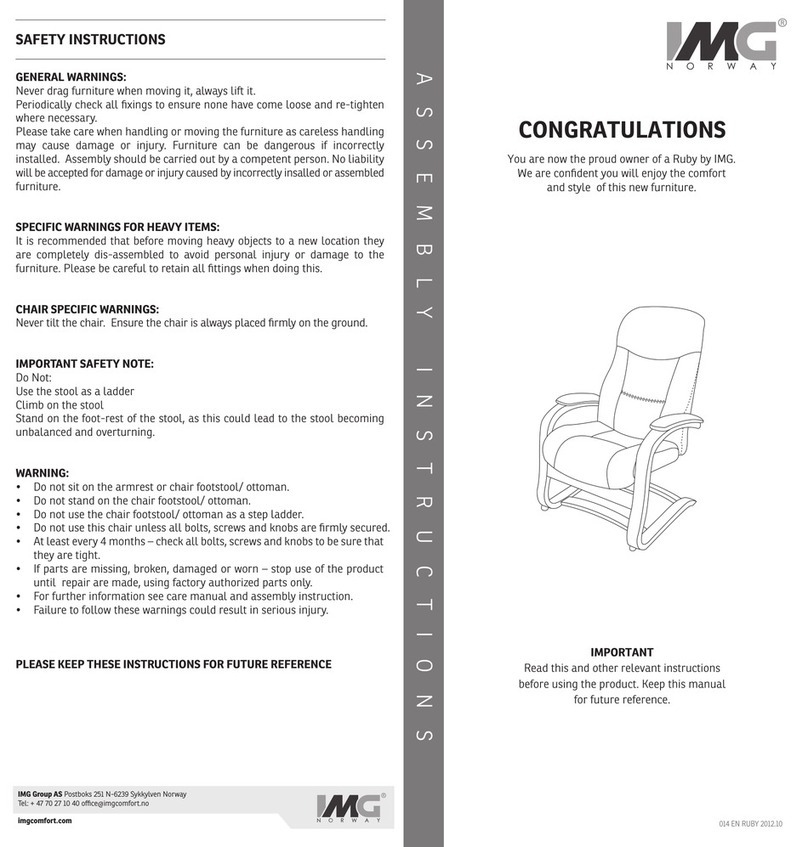
IMG Ruby User manual

IMG

IMG Ruby User manual

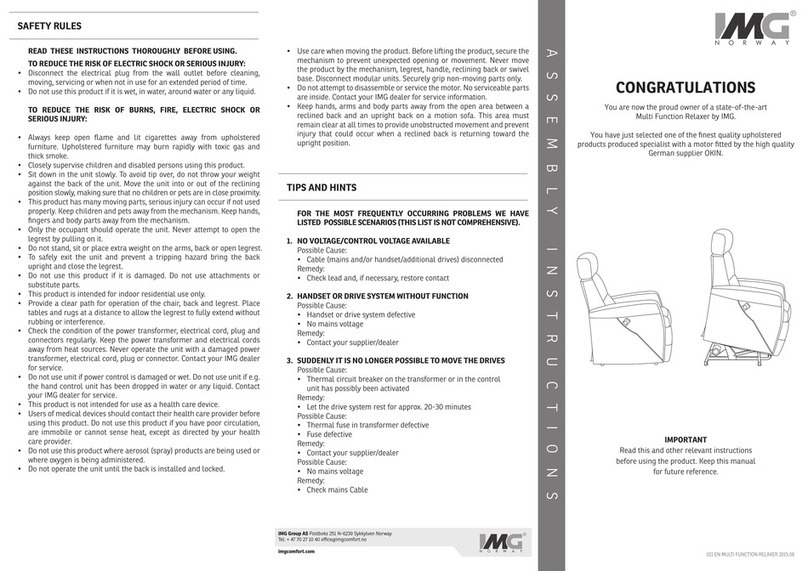
IMG Multi Function Relaxer User manual

IMG

IMG Multi Function Relaxer User manual

IMG Codi Chair User manual

IMG

IMG Codi Chair User manual

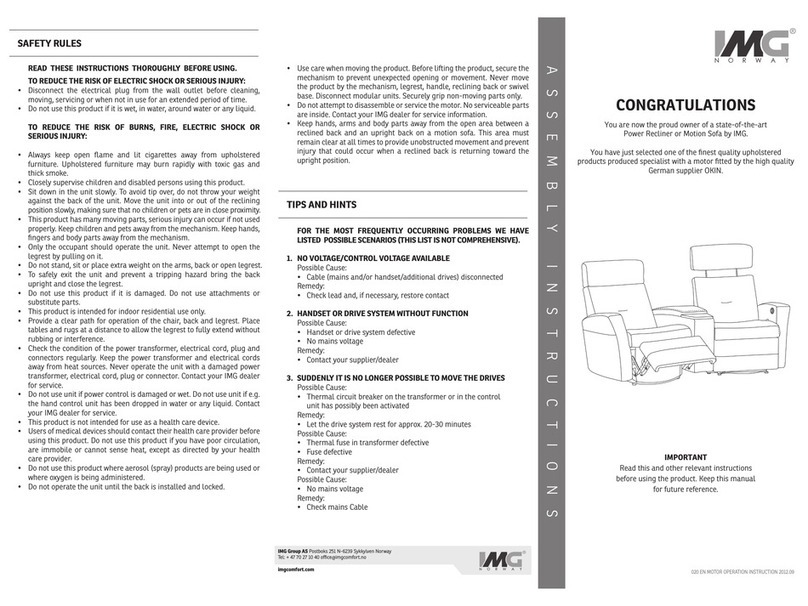
IMG Power Recliner User manual

IMG

IMG Power Recliner User manual

IMG Soho Chair User manual

IMG

IMG Soho Chair User manual

IMG REGAL User manual

IMG

IMG REGAL User manual

IMG Modular Seating System User manual

IMG

IMG Modular Seating System User manual

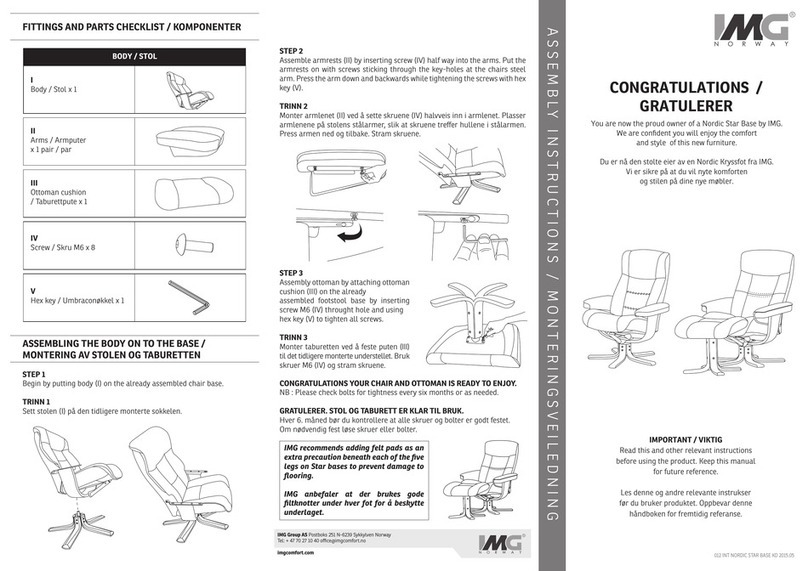
IMG NORDIC STAR BASE User manual

IMG

IMG NORDIC STAR BASE User manual

IMG Lift Chair User manual

IMG

IMG Lift Chair User manual

IMG Power Recliner User manual

IMG

IMG Power Recliner User manual

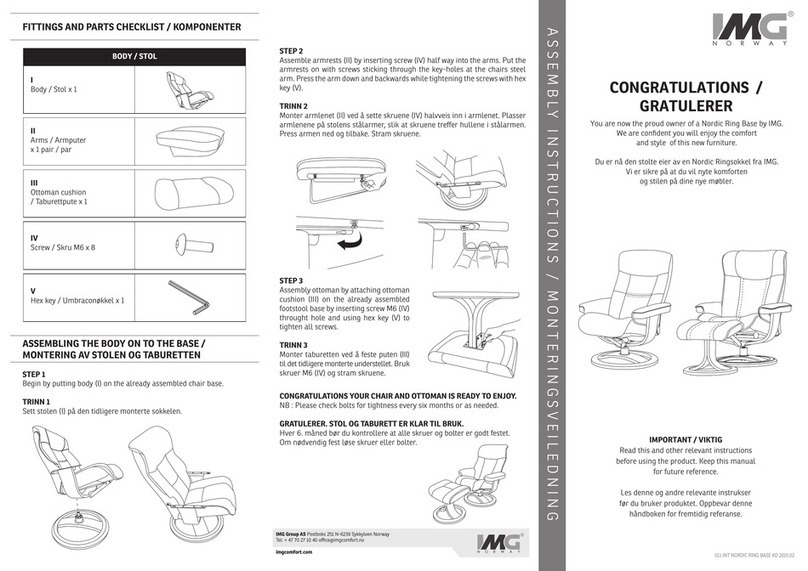
IMG NORDIC RING BASE User manual

IMG

IMG NORDIC RING BASE User manual

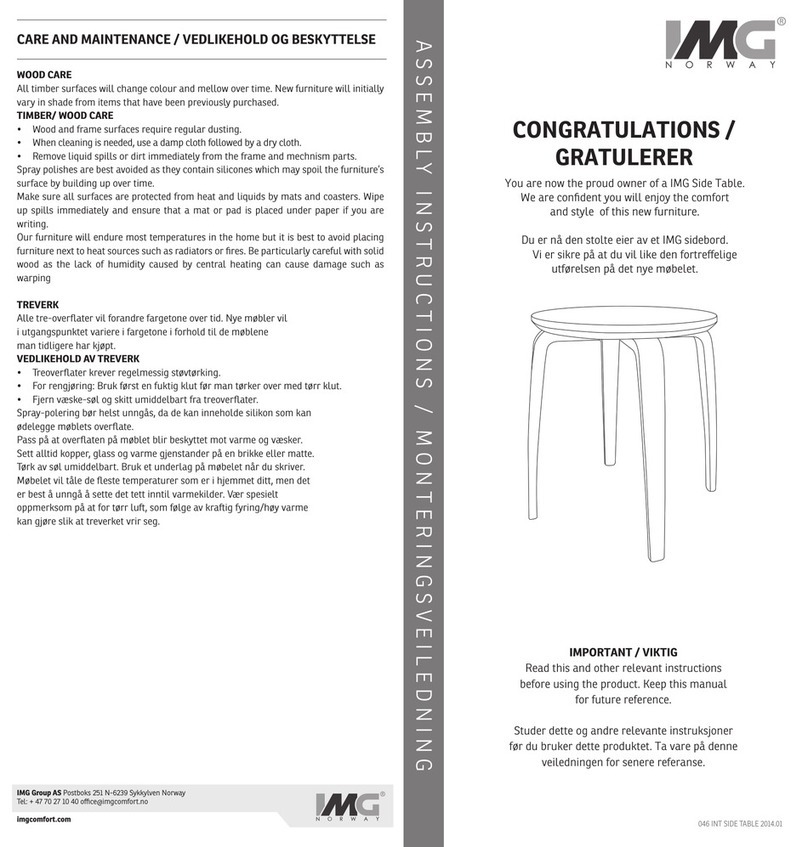
IMG Side Table User manual

IMG

IMG Side Table User manual

Popular Indoor Furnishing manuals by other brands

Regency LWMS3015 Assembly instructions

Regency

Regency LWMS3015 Assembly instructions

Furniture of America CM7751C Assembly instructions

Furniture of America

Furniture of America CM7751C Assembly instructions

Safavieh Furniture Estella CNS5731 manual

Safavieh Furniture

Safavieh Furniture Estella CNS5731 manual

PLACES OF STYLE Ovalfuss Assembly instruction

PLACES OF STYLE

PLACES OF STYLE Ovalfuss Assembly instruction

Trasman 1138 Bo1 Assembly manual

Trasman

Trasman 1138 Bo1 Assembly manual

Costway JV10856 manual

Costway

Costway JV10856 manual

moss DESIGN Caisson Credenza Assembly instructions

moss DESIGN

moss DESIGN Caisson Credenza Assembly instructions

Aquaglide FULL DECK 15.0 owner's manual

Aquaglide

Aquaglide FULL DECK 15.0 owner's manual

AREBOS AR-HE-SW30 user manual

AREBOS

AREBOS AR-HE-SW30 user manual

Till-Hilft Fulda 87005.330 Assembly instructions

Till-Hilft

Till-Hilft Fulda 87005.330 Assembly instructions

Twoey Outside 2010 quick start guide

Twoey Outside

Twoey Outside 2010 quick start guide

Hettich Easys 200 operating instructions

Hettich

Hettich Easys 200 operating instructions

The bedboss RELAX 404 Series owner's manual

The bedboss

The bedboss RELAX 404 Series owner's manual

Oeseder Möbelindustrie Bern 991 720 Assembly instructions

Oeseder Möbelindustrie

Oeseder Möbelindustrie Bern 991 720 Assembly instructions

Costway HW68469 user manual

Costway

Costway HW68469 user manual

Next ALIX A27743 Assembly instructions

Next

Next ALIX A27743 Assembly instructions

BROSA Hans Assembly guide

BROSA

BROSA Hans Assembly guide

Prodigg MINIKA PBA015T-FUR installation manual

Prodigg

Prodigg MINIKA PBA015T-FUR installation manual

manuals.online logo
manuals.online logoBrands
  • About & Mission
  • Contact us
  • Privacy Policy
  • Terms and Conditions

Copyright 2025 Manuals.Online. All Rights Reserved.

IMPORTANT / VIKTIG
Read this and other relevant instructions
before using the product. Keep this manual
for future reference.
Les denne og andre relevante instrukser
før du bruker produktet. Oppbevar denne
håndboken for fremtidig referanse.
002 INT CLASSIC COMFORT 2017.03
++
Ottoman is delivered fully assembled. /
Taburetten er levert ferdig montert.
STEP 4
If desired you could attach wood plugs (V) over 2 of 3 bolts on each side of
the chair and over all bolts on the ottoman. You attach the wood plugs by
pressing them into the hole as shown. Due to technical reasons wood plug
can not be used over the rear top chair bolt. Please note that wood plug will
make it more difficult to regular after tighten all bolts and screws.
TRINN 4
Om ønskelig kan du feste på trepropper (V) over 2 av 3 skru-hull på hver
side av stolen og over alle skru-hull på taburetten. Dette gjøres med å
presse de på plass. Av tekniske årsaker kan trepropp ikke benyttes på øvre
bakre skru på stolen. Vær oppmerksom på at trepropper vil gjøre det
vanskeligere å etterstramme skruene regelmessig.
YOUR RECLINER IS READY FOR YOUR ENJOYMENT.
STOLEN ER KLAR TIL BRUK!
Note: Please after-tighten all visible bolts and screws every four months or
as needed to ensure long lasting performance of your chair.
NB! Undersøk alle skruer og etterstram hver 4. måned eller om
nødvendig oftere!
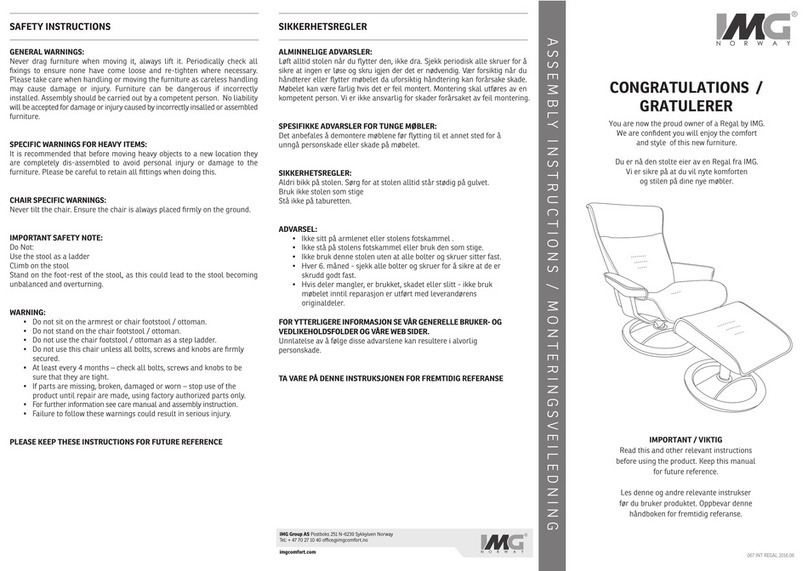
CONGRATULATIONS /
GRATULERER
You are now the proud owner of a Classic Comfort by IMG.
We are confident you will enjoy the comfort
and style of this new furniture.
Du er nå den stolte eier av en Classic Comfort fra IMG.
Vi er sikre på at du vil nyte komforten
og stilen på dine nye møbler.
ASSEMBLY INSTRUCTIONS / MONTERINGSVEILEDNING
imgcomfort.com
IMG Group AS Postboks 251 N-6239 Sykkylven Norway
Tel: + 47 70 27 10 40 office@imgcomfort.no
CHAIR ASSEMBLY INSTRUCTIONS / MONTERING AV STOLEN STEP BY STEP ASSEMBLY INSTRUCTIONS /
MONTERINGSVEILEDNING
STEP 1
Remove clip (III) under seat by first lifting tab (1), then pushing clip in
direction (2). Then slide bolt (IV) to detach from glide pipe.
TRINN 1
Etterstram alle skruer på Stol og taburett. Benytt verktøy VI og VII.
Løs klipset (III) under setet. Ta bolten (IV) ut av hullet foran på setet.
Please start by after-tighten all visible bolts and screws on both chair
and ottoman. Use tools VI and VII.
I
x 1
COMPONENTS/ KOMPONENTER
II
x 1
III
x 1
IV
x 1
VII
x 1
VI
x 1
V
x 8
STEP 2
Push back leather to reveal two attached pins hidden inside cushion at lower
front side of back cushion. Do the same at back edge of seat cushion to reveal
receptacle brackets. To make joining seat and back cushion easier, note one pin
on back cushion is longer. Enter seat cushion to back cushion by inserting
longer pin first, then line up second pin to receptacle bracket and slide seat
over. Use a clip (III) to lock the short pin.
TRINN 2
Trykk inn huden på nedre del av ryggen slik at tappene kommer frem.
Fest setet og ryggen sammen ved å skyve hullene på setet inn på tappene.
NB! En av tappene er lengre enn den andre for å forenkle monteringen.
Sett på klips (III) på boltene i ryggen
STEP 3
Reattach seat to frame by reversing Step1. Slide bolt (IV) in to fasten
seat to glide pipe and lock into place with clip (III).
TRINN 3
Fest setet til gliderøret ved å sette bolt (IV) inn gjennom hullene foran
på setet og gliderøret. Om nødvendig vri gliderøret til riktig posisjon
med et skrujern. Sett klipset på plass.
(III)
click
(IV)
(III)
click