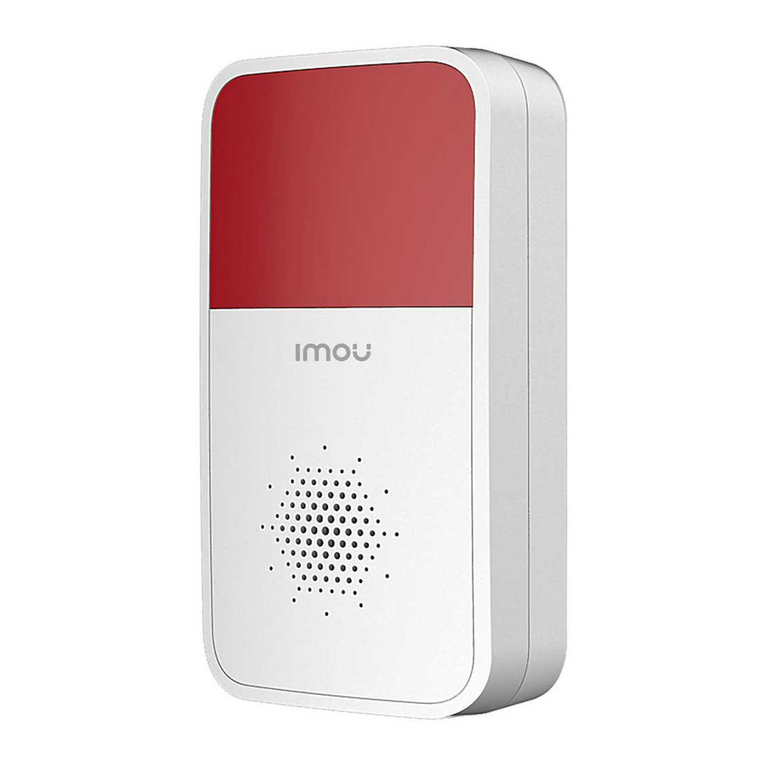
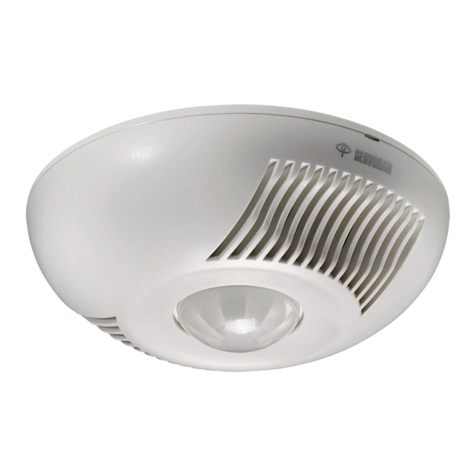
IMOU Motion Detector User manual

Quick Start Guide
Motion Detector
Version 1.0.0

Contents
Quick Start Guide......................................................................................................1
Packing List........................................................................................................11
Introduction ........................................................................................................22
Start to Use ........................................................................................................33
Installation..........................................................................................................34
Kurzanleitung............................................................................................................4
Lieferumfang ......................................................................................................41
Aufbau................................................................................................................42
Erste Verwendung ..............................................................................................53
Installation..........................................................................................................64
Guía de inicio rápido.................................................................................................7
Contenido...........................................................................................................71
Estructura...........................................................................................................72
Uso inicial...........................................................................................................83
Instalación..........................................................................................................94
Guide de démarrage rapide ....................................................................................10
Contenu de l’emballage....................................................................................101
Structure...........................................................................................................102

Démarrage .......................................................................................................113
Installation........................................................................................................124
Snelstart gids..........................................................................................................13
Inhoud ..............................................................................................................131
Structuur...........................................................................................................132
Begin het gebruik .............................................................................................143
Installatie..........................................................................................................154
Guida introduttiva....................................................................................................16
Contenuto della confezione ..............................................................................161
Struttura ...........................................................................................................162
Prima di iniziare................................................................................................173
Installazione .....................................................................................................184
Guia de Início Rápido .............................................................................................19
Lista da embalagem .........................................................................................191
Estrutura...........................................................................................................192
Utilização..........................................................................................................203
Instalação.........................................................................................................214

1
Quick Start Guide
Packing List1
Motion Detector ×1 QSG×1
CR123A Battery ×1 Screw Package ×1

2
Introduction2
LED Pin
When it is set to 1&2, the LED turns on when alarm happens, when it is set to 2&3,
the LED turns off. It is set to be 1&2 by default.
Sensitivity Pin
Sensitivity is high when it is set to 1&2, and low when it is set to 2&3. It is set to
high sensitivity by default.
LED Indicator Status
Device Status
Red light fast flashes
Booted up or pairing with Alarm Station
Red light is on for 2s,and then turns off
Pairing succeeded
Red light slowly flashes for three times,
and then tuns off
Pairing failed

3
Start to Use3
Imou APP
If Imou app has added the Alarm Station,add the detector according to app prompts.
Note: If the detector has paired with another Alarm Station, you can undo previous
pairing by quickly clicking tamper switch for 5 times to clear the existing
pairing configuration.
Installation4

4
Kurzanleitung
Lieferumfang1
Bewegungsmelder × 1
Kurzanleitung × 1
CR123A Batterie × 1
Befestigungsmaterial × 1
Aufbau2
LED
Sabotageschalter
Batteriefach
Erfassungsbereich
Wand-Sabotagekontakt
LED-Schalter
Empfindlichkeitsschalter
Entriegelung zur Öffnung

5
LED-Schalter
Bei Einstellung auf 1 und 2 leuchtet die LED bei Alarm, bei Einstellung auf 2 und
3erlischt die LED. Standardeinstellung ist 1 und 2.
Empfindlichkeitsschalter
Bei Einstellung 1 und 2 ist die Empfindlichkeit hoch, bei Einstellung auf 2 und
3niedrig. Standardeinstellung ist hohe Empfindlichkeit.
LED Indikator Status
Gerät Status
Rotes Licht schnell blinkt
Hochgefahren oder mit der Alarm Station
gekoppelt
Das rote Licht leuchtet 2 Sekunden lang
und dann erlischt
Das Pairing war erfolgreich
Das rote Licht blinkt langsam dreimal
und dann erlischt
Pairing fehlgeschlagen
Erste Verwendung3
Imou APP
Wenn die Imou-App die Alarmstation hinzugefügt hat, fügen Sie den Detektor
gemäßden Aufforderungen der App hinzu.
Hinweis: Wenn der Melder mit einer anderen Alarmstation gekoppelt wurde,
können Sie die vorherige Kopplung rückgängig machen, indem Sie schnell fünfmal
auf den Sabotageschalter klicken, um die vorhandene Kopplungskonfiguration zu
löschen.

6
Installation4
Montieren Sie das Gerät auf der Montageplatte
Schrauben Sie die Montageplatte an
Setzen Sie die Dübel ein
Bohren Sie die Löcher entsprechend
der Position in der hinteren
Abdeckung, die nun zur
Montageplatte wird
Montieren Sie das Gerät auf der Montageplatte
Schrauben Sie die Montageplatte an
Setzen Sie die Dübel ein
Bohren Sie die Löcher
entsprechend der Position in der
hinteren Abdeckung, die nun zur
Montageplatte wird

7
Guía de inicio rápido
Contenido1
1 detector de movimiento
1 guía de inicio rápido
1 pila de litio CR123A
1 bolsa con tornillos
Estructura2
LED
Interruptor anti-sabotaje
Compartimento de la pila
Campo de detección
Interruptor anti-sabotaje
de pared
Pin LED
Pin de sensibilidad
Orificio de desmontaje

8
Pin LED
Cuando está ajustado como 1 y 2, el LED se enciende cuando sucede una alarma;
cuando está ajustado como 2 y 3, el LED se apaga. Está ajustado como 1 y 2 de
manera predeterminada.
Pin de sensibilidad
La sensibilidad es alta cuando está ajustado como 1 y 2, y baja cuando está
ajustado como 2 y 3. Está ajustado como alta sensibilidad de manera
predeterminada.
Indicador LED de estado
Estado del equipo
Luz roja parpadeando rapidamente
Reiniciando o conectando con panel de
control
Luz encendida durante 2s y después se
apaga.
Conectado!
Luz roja parpadea lentamente 3 veces
y se apaga
Error al conectar.
Uso inicial3
APP IMOU
Si se ha añadido el panel de control, continue añadiendo los detectors según las
indicaciones del app.
Nota: Si el detector ya se ha conectado con otro panel de control, puedes
desconectarla pulsando rapidamente 5 veces el pulsador de tamper del
detector para eliminar configuraciones existentes.

9
Instalación4
Coloque el dispositivo en el soporte
Fije el soporte con tornillos
Inserte los tubos de expansión en los
agujeros
Taladre los agujeros según las
posiciones de los orificios del
soporte
Coloque el dispositivo en el soporte
Fije el soporte con tornillos roscantes
Inserte los tubos de expansión en los
agujeros
Taladre los agujeros según las
posiciones de los orificios del
soporte

10
Guide de démarrage rapide
Contenu de l’emballage1
Détecteur de mouvement× 1
Guide de démarrage rapide × 1
Pile CR123A × 1
Jeu de vis × 1
Structure2
LED
Contact antisabotage
Capsule de batterie
Champ de détection
Contact antisabotage hors
mur
Commutateur de voyant
Commutateur de sensibilité
Trou de démontage

11
Commutateur de voyant
Lorsqu'il est réglé sur 1&2, le voyant s'allume lorsque l’alarme se déclenche ;
lorsqu’il est réglé sur 2&3, le voyant s'éteint. Il est réglé sur 1&2 par défaut.
Commutateur de sensibilité
La sensibilité est élevée lorsqu’il est réglé sur 1&2, et faible lorsqu'il est réglé sur
2&3. Il est réglé sur une sensibilité élevée par défaut.
LED Indicator Status
Device status
La lumière rouge clignotte
Démarrage ou jumelage avec la centrale
d’alarme
La lumière rouge est allumée pendant
2sec, et s’éteint
Apparailage réussi
la lumière rouge clignote 3 fois
doucement, et elle s’éteint
Apparailage à échoué
Démarrage3
Imou APP
Si l’application imou a ajouté la centrale d’alarme, ajoutez le détecteur selon les
consignes de l’application.
Note: Si le détecteur est couplé à une autre centrale d’alarme, vous pouvez
annuler l’appariement précédent en cliquant rapidement sur le bouton de
sabotage 5 fois pour effacer la configuration d’appariement existante.

12
Installation4
Placez l’appareil dans le support
Fixez le support avec des vis
Insérez les tuyaux d’extension dans les
trous
Percez des trous conformément à
la position des trous du support
Placez l’appareil dans le support
Fixez le support avec des vis autotaraudeuses
Percez des trous conformément à la
position des trous du support
Insérez les tuyaux d’extension dans les
trous

13
Snelstart gids
Inhoud1
Bewegings detector × 1
QSG × 1
CR123A batterij × 1
Schroeven pakket × 1
Structuur2
LED
Sabotage schakelaar kap
Batterijvak
Detectieveld
Sabotage schakelaar
muurbevestiging
LED functie instelling
Gevoeligheids instelling
Gat voor demontage

14
LED functie instelling
Wanneer ingesteld op 1 en 2, dan gaat de LED aan bij alarmering, en wanneer
ingesteld op 2 en 3, dan gaat de LED uit. Standaard is 1 en 2.
Gevoeligheids instelling
Wanneer ingesteld op 1 en 2 is deze hoog, en wanneer ingesteld op 2 en 3 is deze
laag. Standaard is 1 en 2.
Status LED
Status apparaat
Rode LED knippert snel
Opstarten of koppelen met Alarm Station
Rode LED is 2 sec aan, dan uit
Koppelen gelukt
Rode LED knippert 3x langzaam, dan
uit
Koppelen mislukt
Begin het gebruik3
Imou APP
Zodra de Imou app de Alarm Station heeft toegevoegd, voeg de detector toe
volgens de instructies van de app.
Notitie: In geval de detector met een ander Alarm Station is gekoppeld, kan deze
worden ontkoppeld door 5x snel achter elkaar de sabotage knop in te drukken.

15
Installatie4
Plaats de detector in de montage steun
Bevestig de montage steun met schroeven
Steek pluggen in de gaten
Boor gaten in overeenstemming
met het midden van de montage
steun
Plaats de detector in de montage steun
Bevestig de montage steun met schroeven
Boor gaten in overeenstemming
met de zijkant van de montage
steun
Steek pluggen in de gaten

16
Guida introduttiva
Contenuto della confezione1
Rilevatore di movimenti x 1
Guida introduttiva x 1
Batteria al litio CR123A x 1
Kit di viti x 1
Struttura2
LED
Interruttore anti-
manomissione
Vano batteria
Campo di rilevazione
Interruttore che rileva la
rimozione dalla parete
Pin LED
Pin per la sensibilità
Foro di smontaggio

17
Pin LED
Quando si imposta su 1 e 2, il LED si accende al verificarsi di un allarme; quando si
imposta su 2 e 3, il LED si spegne. Per impostazione predefinita è impostato su 1 e 2.
Pin per la sensibilità
Quando è impostato su 1 e 2 la sensibilità è elevata, mentre quando è impostato su
2 e 3 è ridotta. Per impostazione predefinita è impostato su alta sensibilità.
Indicatori stato led
Stato dispositivo
Lampeggio veloce led rosso
Acceso, in associazione con la stazione di
allarme
Luce rossa accesa per 2 secondi poi si
spegne
Associazione avvenuta
Luce rossa lampeggia 3 volte poi si
spegne
Associazione fallita
Prima di iniziare3
Imou APP
Se la stazione di allarme è stata associata all’App Imou, aggiungere il rilevatore in
base alle istruzioni dell'app.
Note: Se il rilevatore è stato già associato ad un'altra stazione di allarme, è
possibile annullare l'associazione precedente facendo rapidamente clic
sull'interruttore di manomissione per 5 volte, in questo modo verrà cancellata
la configurazione di accoppiamento esistente.
Table of contents
Languages:
Other IMOU Security Sensor manuals
Popular Security Sensor manuals by other brands
Vigilant
Vigilant V-HRD Installation sheet

Honeywell
Honeywell H-S81-HS manual

MSA
MSA FireHawk Rescue Belt II Instructions for use
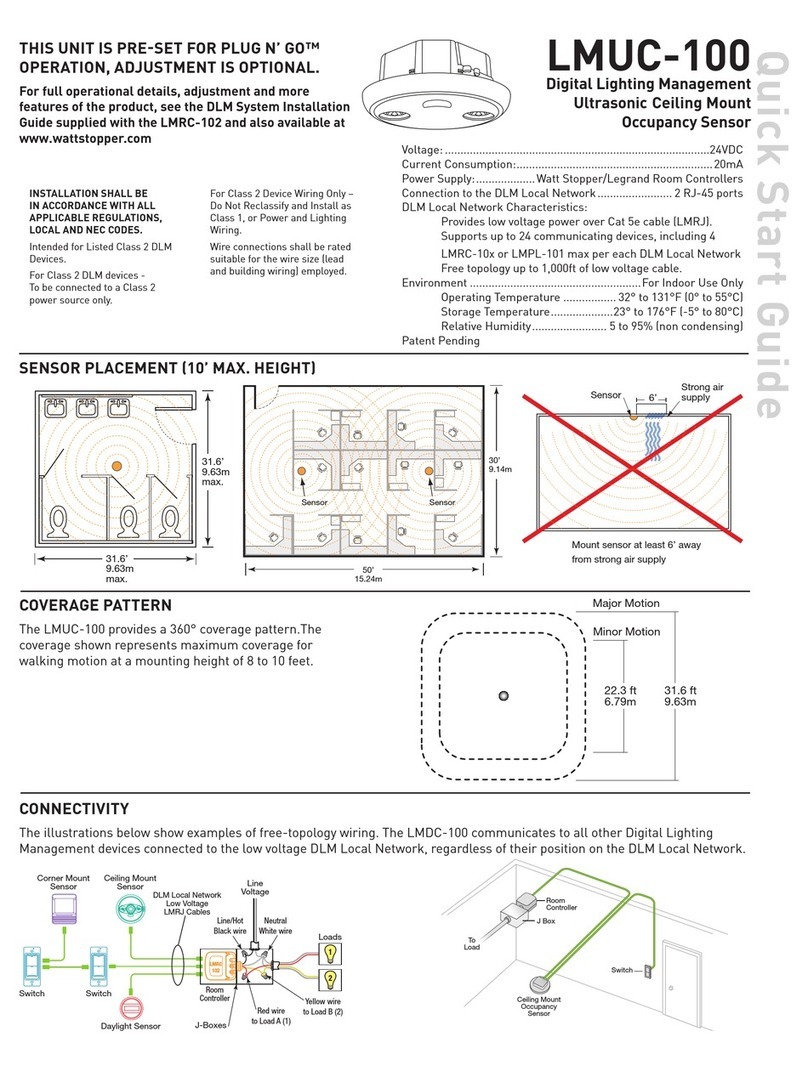
wattstopper
wattstopper LMUC-100 quick start guide

Air Specialties Express
Air Specialties Express LU-BELT Installation, operating and maintenance instructions
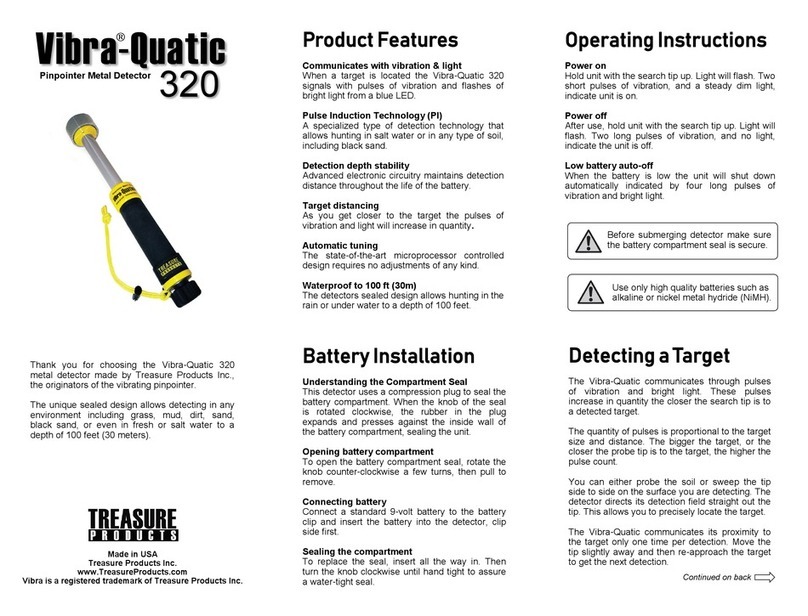
Treasure Cove
Treasure Cove Vibra-Quatic 320 manual

