manuals.online logo
Brands
  1. Home
  2. •
  3. Brands
  4. •
  5. Impact Acoustics
  6. •
  7. Indoor Furnishing
  8. •
  9. Impact Acoustics Chatpod 350 User manual

Impact Acoustics Chatpod 350 User manual

IMPACT ACOUSTIC AG, Bodenhof 4, 6014 Luzern, Switzerland, 210226
Chatpod 350
45 min
Assembly instructions
Chatpod 350
2Chatpod 350 IMPACT ACOUSTIC AG, Bodenhof 4, 6014 Luzern, Switzerland
2x3x 1x T15 1x
Step 1
Place the honeycomb cardboard blocks (P) on the floor. Insert the power cord (V) and
the cables from the sides (A) and (B).
What you’ll need in addition
click click
click
P
P
P
P
G
A B
V
4
4
1
1
23
3Chatpod 350 IMPACT ACOUSTIC AG, Bodenhof 4, 6014 Luzern, Switzerland
Step 2
Place the bottom plate (G) on the honeycomb cardboard blocks (P) and make sure
that they extend sideways. Press the sides (A) and (B) into the bottom. Sides (A) and
(B) must be held so that they do not fall over. The power cord (V) can be guided away
under the right (B) or left side (A).
90º 90º
P P
G
AB
4
4
1
1
23
4Chatpod 350 IMPACT ACOUSTIC AG, Bodenhof 4, 6014 Luzern, Switzerland
Step 3
Remove the upper part of the top (H) and press the lower part into the sides.
Make sure that the cable, which protrudes at the top of side (B), is guided through the
cut-out in the top.
A
B
H
4
4
1
1
2
2
3
3
5Chatpod 350 IMPACT ACOUSTIC AG, Bodenhof 4, 6014 Luzern, Switzerland
Step 4
Insert the connecting rods (N) into the elements until they are approximately flush.
N
N
N
N
N
N
N
N
N
N
6Chatpod 350 IMPACT ACOUSTIC AG, Bodenhof 4, 6014 Luzern, Switzerland
Step 5
Join the rear wall on the right (C) and rear wall on the left (D). Press the connectors
(Q) into the holes and tighten them with the 4 mm Allen key.
C
D
Q
Q
Q
W
W
W
7Chatpod 350 IMPACT ACOUSTIC AG, Bodenhof 4, 6014 Luzern, Switzerland
Step 6
Join the rear wall (C) and (D) with the two sides (A) and (B), the bottom (G) and the
top (H). Make sure that you mount the back panel on the rear side. Screw in the black
screws (S) a few turns to secure the back panel.
C
D
S
S
S
S
S
S
S
S
S
S
A
WW
W
W
W
W
W
W
W
W
8Chatpod 350 IMPACT ACOUSTIC AG, Bodenhof 4, 6014 Luzern, Switzerland
Step 7
Join the front (E) and (F) with the four dowels (AC). Press the connectors (Q) into the
holes and tighten them with the 4 mm Allen key (W).
E
F
Q
QW
W
AC
AC
9Chatpod 350 IMPACT ACOUSTIC AG, Bodenhof 4, 6014 Luzern, Switzerland
Step 8
Place the door sill (AA) on the door frame (F and E) and tighten the four screws (AB)
with a T15 screwdriver hand-tight.
E
F
AA
AB
AB
AB
AB
10 Chatpod 350 IMPACT ACOUSTIC AG, Bodenhof 4, 6014 Luzern, Switzerland
Step 9
Join the front (E) and (F) with the two sides (A) and (B), the bottom (G) and the top
(H).Turn the black screws (S) a few turns to secure the front. In a second step tighten
the screws (S) firmly by countering the screws on the backside.
E
F
B
S
S
S
S
S
S
S
S
S
S
W
W
W
W
W
W
W
W
W
W
11 Chatpod 350 IMPACT ACOUSTIC AG, Bodenhof 4, 6014 Luzern, Switzerland
A
A
B
B
C
C
D
E
D
E
Step 10
Guide the cable which is coming from the side into the cut-out provided and insert it
until it snaps in.
Note: Only the power cable has to
be plugged in, the other cables are
already plugged in.
motionsensor
light
light
fan
power in
click
12 Chatpod 350 IMPACT ACOUSTIC AG, Bodenhof 4, 6014 Luzern, Switzerland
Step 11
Put the upper part of the top on the chatpod.
13 Chatpod 350 IMPACT ACOUSTIC AG, Bodenhof 4, 6014 Luzern, Switzerland
1.
1.
1.
1.
1.
2.
2.
3.
Step 12
Check with a spirit level whether the chatpod is level. If not, turn the adjustable feet
with the 13 mm open-ended spanner until it is the case. Plug in the cable. Remove the
honeycomb cardboard blocks (P) and recycle them.
P
P
AD
AD
AD
AD
AD
14 Chatpod 350 IMPACT ACOUSTIC AG, Bodenhof 4, 6014 Luzern, Switzerland
Step 13
Fix the two panels (J) in the recess with the Velcro fastener.
J
J
15 Chatpod 350 IMPACT ACOUSTIC AG, Bodenhof 4, 6014 Luzern, Switzerland
1.
2.
3.
Step 14
Attach the glass door (I) and secure it with the two pins. Make sure that the notch of
the pin is on the bottom. Tighten the two small setscrews with the 2.5 mm hex key.
I
16 Chatpod 350 IMPACT ACOUSTIC AG, Bodenhof 4, 6014 Luzern, Switzerland
Step 15
Mount the door handle (O) in the following order: lock, metal ring, plastic ring, door han-
dle. Press the two door handles together while tightening the set screw with the 3 mm
hex key.
Well done!
O
O

Other Impact Acoustics Indoor Furnishing manuals
Impact Acoustics Focus User manual

Impact Acoustics

Impact Acoustics Focus User manual

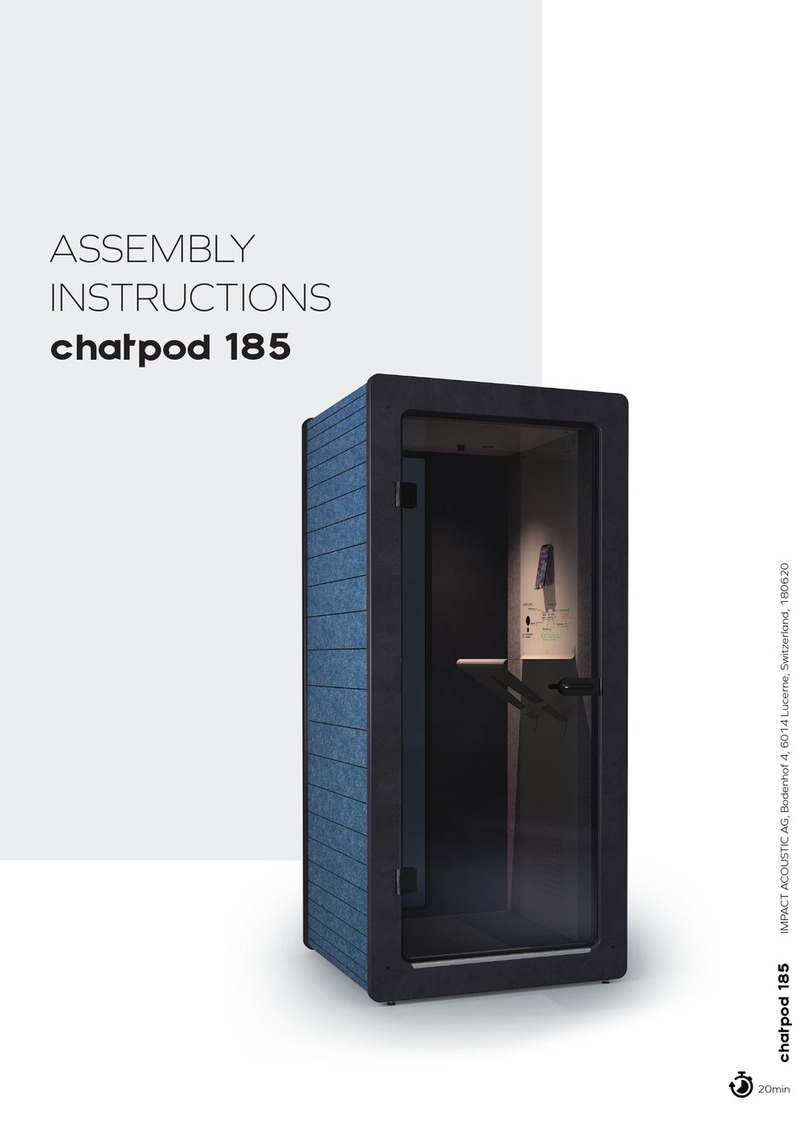
Impact Acoustics chatpod 185 User manual

Impact Acoustics

Impact Acoustics chatpod 185 User manual

Impact Acoustics chatpod 185 User manual

Impact Acoustics

Impact Acoustics chatpod 185 User manual

Impact Acoustics Chatpod 700 User manual

Impact Acoustics

Impact Acoustics Chatpod 700 User manual

Impact Acoustics Tensed Division Helios User manual

Impact Acoustics

Impact Acoustics Tensed Division Helios User manual

Impact Acoustics chatpod 185 User manual

Impact Acoustics

Impact Acoustics chatpod 185 User manual

Impact Acoustics Straight User manual

Impact Acoustics

Impact Acoustics Straight User manual
Impact Acoustics Chatpod 1200 User manual

Impact Acoustics

Impact Acoustics Chatpod 1200 User manual

Popular Indoor Furnishing manuals by other brands

Mocka Jesse Buffet Assembly instructions

Mocka

Mocka Jesse Buffet Assembly instructions

Invacare 9871 Assembly, installation and operating instructions

Invacare

Invacare 9871 Assembly, installation and operating instructions

Baxton Studio Sadia BSLCF20211284 Assembly instructions

Baxton Studio

Baxton Studio Sadia BSLCF20211284 Assembly instructions

Mocka Edmond Assembly instructions

Mocka

Mocka Edmond Assembly instructions

Forte KFLS822 Assembling Instruction

Forte

Forte KFLS822 Assembling Instruction

Ballard Designs Del Mar Ottoman JC307 quick start guide

Ballard Designs

Ballard Designs Del Mar Ottoman JC307 quick start guide

Wallbeds Australia Studio Alpha WallBed Assembly instructions

Wallbeds Australia

Wallbeds Australia Studio Alpha WallBed Assembly instructions

homechoice Buhle Compactum Assembly instruction

homechoice

homechoice Buhle Compactum Assembly instruction

BE 1001 CORDEL Technical manual

BE

BE 1001 CORDEL Technical manual

TAKT T16 Cross Building instructions

TAKT

TAKT T16 Cross Building instructions

Steelcase 462 Leap V2 Disassembly

Steelcase

Steelcase 462 Leap V2 Disassembly

Forte DURV821L Assembling Instruction

Forte

Forte DURV821L Assembling Instruction

BDI ALIGN 7477 instruction manual

BDI

BDI ALIGN 7477 instruction manual

Costway HW57392 user manual

Costway

Costway HW57392 user manual

Next CLEAR 658132 manual

Next

Next CLEAR 658132 manual

modway EEI-3882 manual

modway

modway EEI-3882 manual

Tutti Bambini Como Assembly instructions

Tutti Bambini

Tutti Bambini Como Assembly instructions

Core Products BK925 manual

Core Products

Core Products BK925 manual

manuals.online logo
manuals.online logoBrands
  • About & Mission
  • Contact us
  • Privacy Policy
  • Terms and Conditions

Copyright 2025 Manuals.Online. All Rights Reserved.