In the Garage Next Gen User manual

In the Garage AG – Zumikerstrasse 24, Zollikon 8702 Switzerland (V. 12/04/22)
1 / 7
Next Gen/Ultimate Car Shield/Bike Shield
What’s in the Box
Big Box: Next Gen /Ultimate Car/Bike Shield and …
• Fans, Panel, AC Adapter & Plug
• Fan Cover Support (Outdoor version only)
• Air Filters & spare material
Small Box: Accessories
• Air Pump and tubes
For further information on care and warranty: www.inthegarage.com/instructions

In the Garage AG – Zumikerstrasse 24, Zollikon 8702 Switzerland (V. 12/04/22)
2 / 7
WARNINGS
1. Do not overinflate or interfere with the pressure settings which are pre-set from the factory
2. Should the Air Pump run for over 30 minutes, switch it off. There is a risk of pump
overheating/burn out/fire.
3. Risk of suffocation/asphyxiation if persons are inside the device– do not leave children
unattended. Do not leave your vehicle running in the device
4. Do not use “Indoor Ultimate Car Shield/Bike Shield” outdoors
5. Outdoor Ultimate Car Shield/Bike Shields. ATTENTION: High risk of damage to property or
persons if not properly secured.
a. Needs to be always sufficiently fastened to the ground to all eight anchor points with
anchoring that can withstand a force of 1600 Newtons (N), which is the equivalent of
163 kg. (359lbs) for each anchor point. There are 8 bottom and 8 top D-rings that can
be used to connect to
b. Do not use above a wind speed of 35km/h (20mph). Deflate the device and store in a
protected area
c. Zipper runners should be fastened together
d. Do not keep the device inflated without a vehicle inside
e. Snow accumulation above 20cm (8 inches) should be removed promptly to avoid the
device to sag or collapse

In the Garage AG – Zumikerstrasse 24, Zollikon 8702 Switzerland (V. 12/04/22)
3 / 7
Instructions
Note: It should take about 20 minutes to set up the Ultimate Car Shield/Ultimate Bike Shield once
unpacked. We recommend two people.
Only products marked “Outdoor” are for use outdoors. All other products are for indoor use only!
1. Unfold the Ultimate Car/Bike Shield and place it where it will be located when inflated. For the first
inflation, connect to exterior set of valves
2. Screw on one end of the Air Hose to the receptor marked ‘Inflate’ on top of the Air Pump
3. Connect the other end of the Air Hose to any of the grey valves by pushing by turning the bayonet
4. Insert the Pressure Tube into the blue port on the lower part of the Air Pump
5. Secure the other end of the Pressure Tube to any of the grey valves by pushing by turning the bayonet
6. Connect the electric cable to the Air Pump and plug it into an appropriate electrical outlet. For the
Outdoor version, ensure that the power adapter and pump are placed inside the Ultimate Car Shield.
Turn on the Air Pump using the toggle switch.There will be a delay of about 3 seconds before it
starts to send air. It will run for less than 5 minutes or until the optimal pressure is reached and will
maintain that pressure without intervention
7. Once inflated, place the pump on a flat surface

In the Garage AG – Zumikerstrasse 24, Zollikon 8702 Switzerland (V. 12/04/22)
4 / 7
Notes:
•
This system allows constant maintenance without any user intervention in the event of pressure
drops common to all inflatable products
•
You may need to assist the device by lifting the pillars during inflation to ensure a smooth rise. If it
is not fully inflated at five minutes, turn off the pump and unfold any portions which may be blocked
or stuck together
•
For the indoor versions, you can choose to locate the Air Pump inside or outside the Ultimate
Car/Bike Shield as there are two sets of identical valves. The Air Pump and adapter must be inside
for the Outdoor version
WARNING! Do not overinflate or interfere with factory-set the pressure settings. Maximum inflation:
2.56PSI/0.17 Bar for Ultimate Car Shield &1.91PSI/0.13 Bar for Ultimate Bike Shield

In the Garage AG – Zumikerstrasse 24, Zollikon 8702 Switzerland (V. 12/04/22)
5 / 7
8. Install the Fansby placing the Velcro panel on the inside of the Ultimate Car/Bike Shield. Press hard
9. With the AC Adapter outside the device, run the power wire through the purpose-made slit and
connect to Fan. (do not plug in an electrical socket yet as you first need to install the Filter)
10. From the outside of the Ultimate Car/Bike Shield, place the Filter in the round opening by gently
bending the edges to make it fit. There is a specially-made slit in between the inside and outside panels
Tip: It is easier if you rotate the filter while installing

In the Garage AG – Zumikerstrasse 24, Zollikon 8702 Switzerland (V. 12/04/22)
6 / 7
11. Snap on the corresponding plug Adapter for your region onto the AC Adapter
12. Plug the AC Adapter in an appropriate electrical power socket
13. Outdoor version: Install the Fan Cover Support inside the hood above the fans
14. ATTENTION: Outdoor version: Anchor the device to the ground (refer to Warnings & Care for more
information)
15. Close all zippers to allow the air to circulate properly
Note: when new, you may experience some “sticky” zippers. Do not force them. We recommend using
two hands to open/close zippers (one inside and one outside). Also, it is easier to close zippers when
the Fans are not running.
Deflation
1. Connect one end of the Air Hose to the receptor marker ‘Deflate’ on top of the Air Pump
2. Turn on the Air Pump using the toggle switch and the Ultimate Car/Bike Shield will deflate in less than
five minutes.
N.B.:
•
You may need to assist the device by lifting the pillars during deflation
•
If it is not fully deflated at five minutes, turn off the pump and unfold any portions which may be
“stuck”

In the Garage AG – Zumikerstrasse 24, Zollikon 8702 Switzerland (V. 12/04/22)
7 / 7
CARE / TROUBLESHOOTING
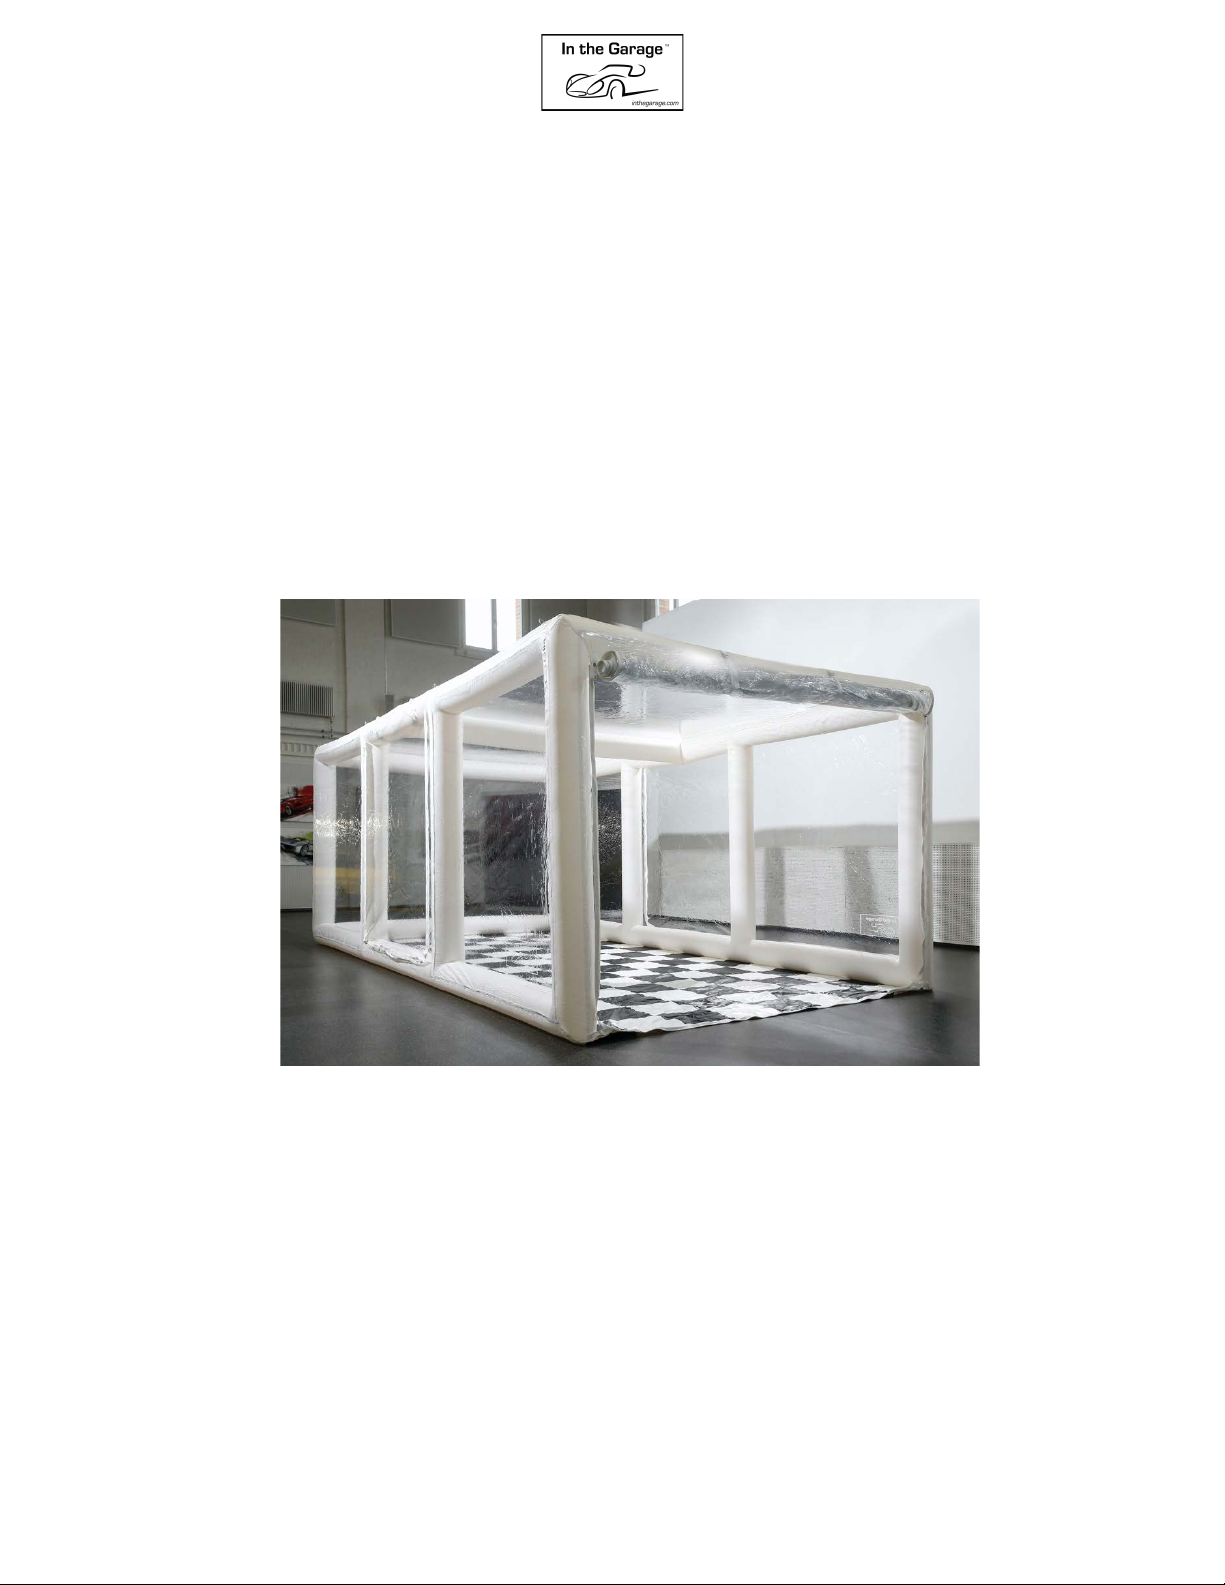
1. Use gentle soap and water to clean the PVC
2. Avoid contact between hot vehicle exhaust and PVC
3. Holes can be repaired using the patches supplied together with adhesive (i.e. TEAR-AID Type B)
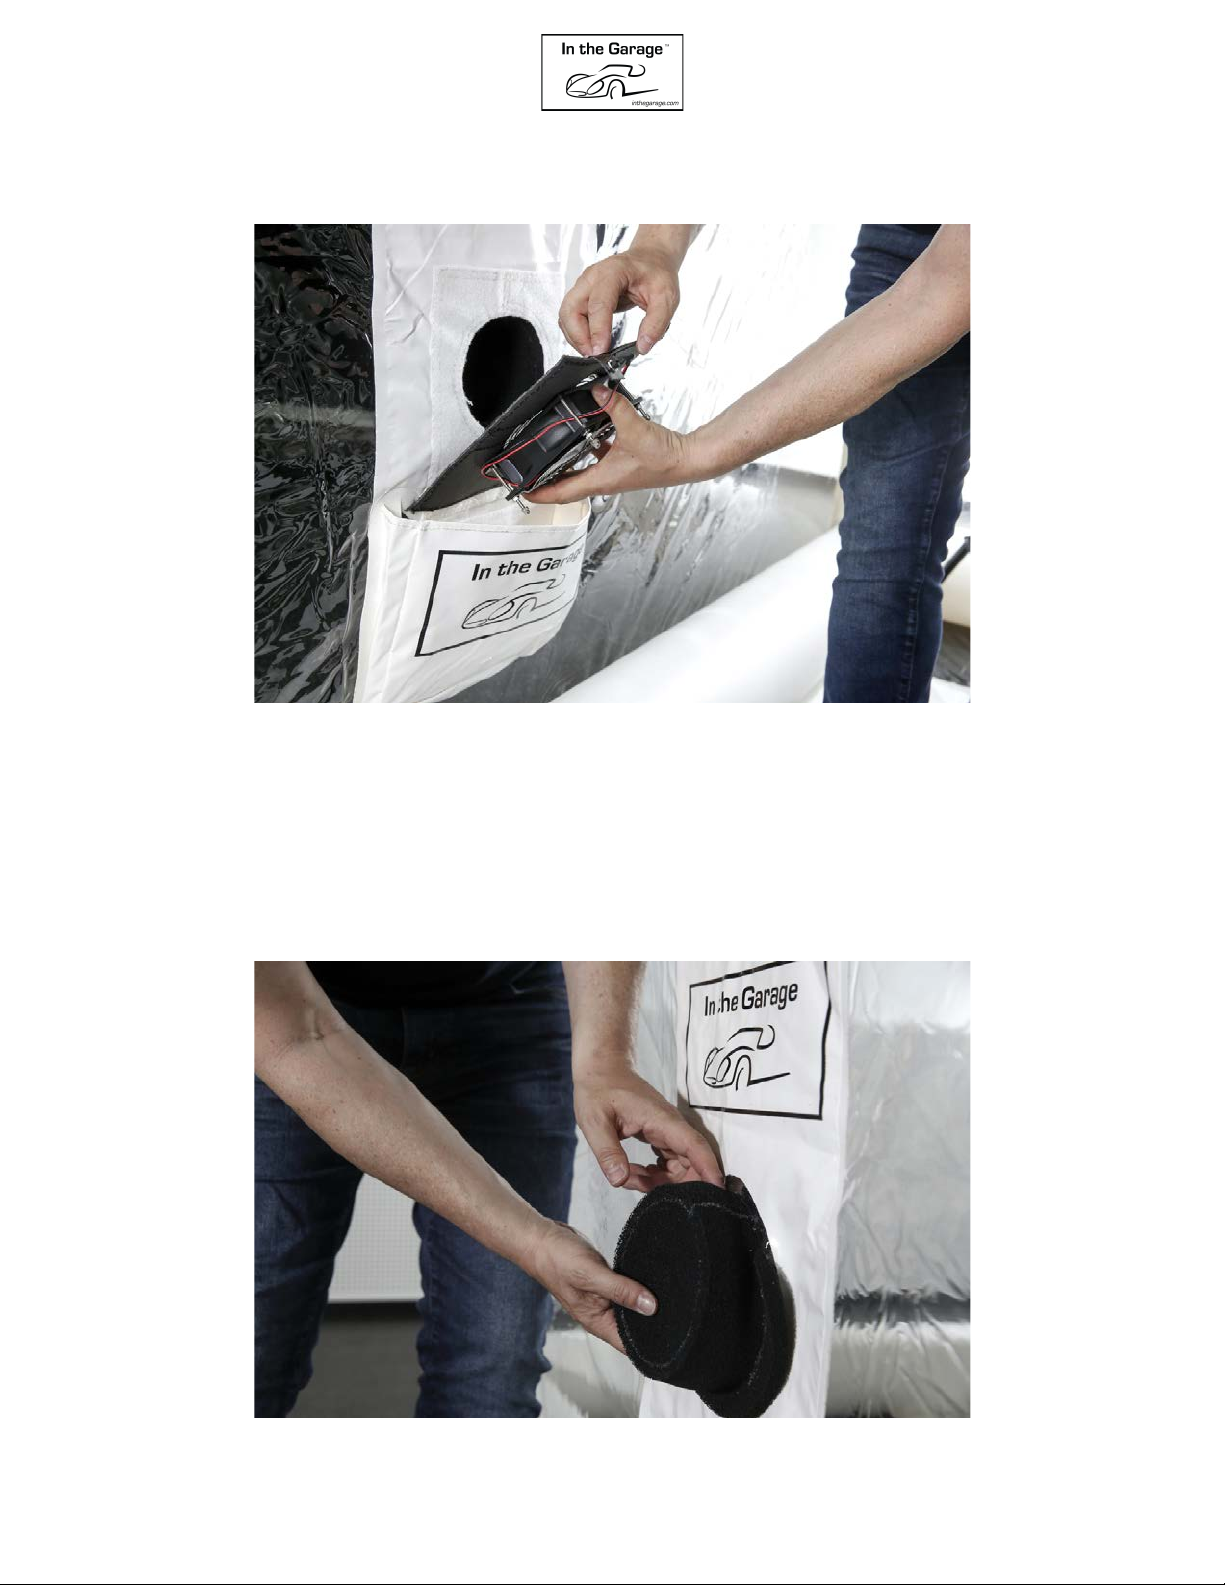
4. Wash the charcoal filter with soap and water regularly (approx. every 6 months) depending on
local region / air quality
5. It is recommended to protect the device with a protective material (i.e. foam or rubber layer)
underneath and/or on top of the floor to avoid punctures from pebbles and other sharp
objects
6. If your device is subjected to sea or ocean air, we recommend washing it regularly
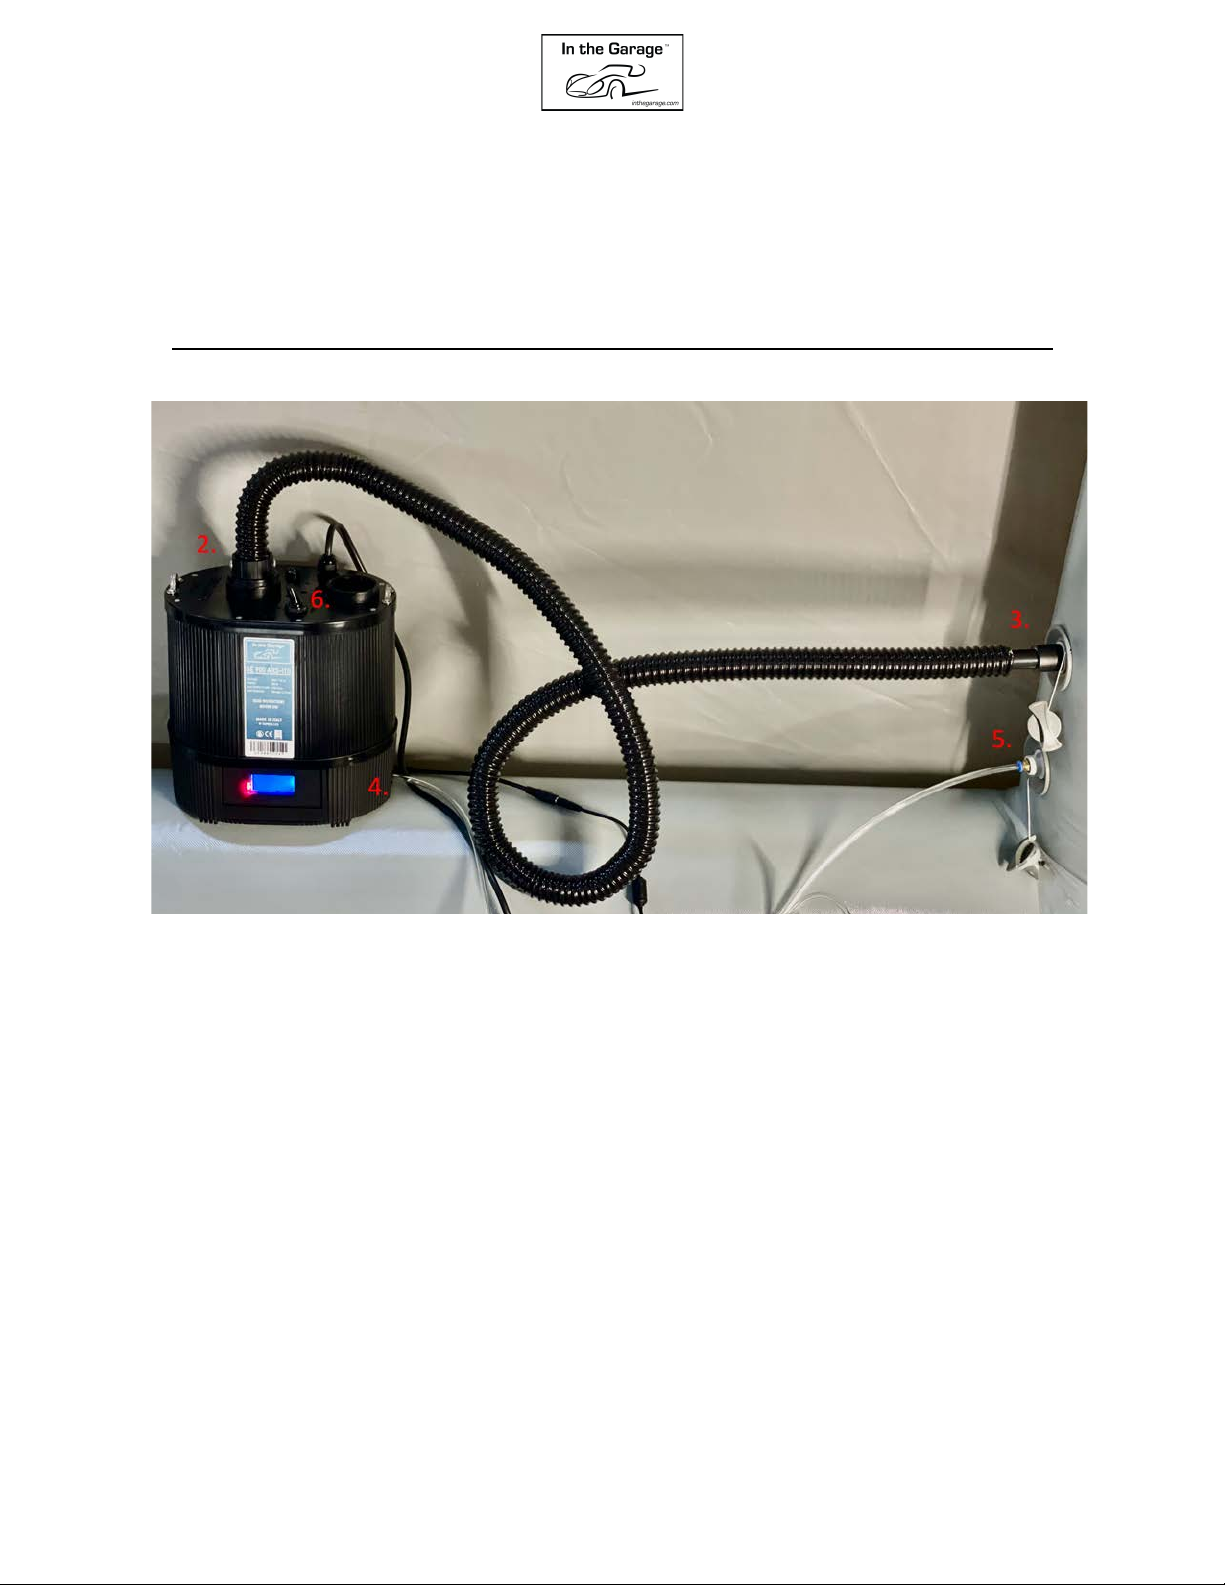
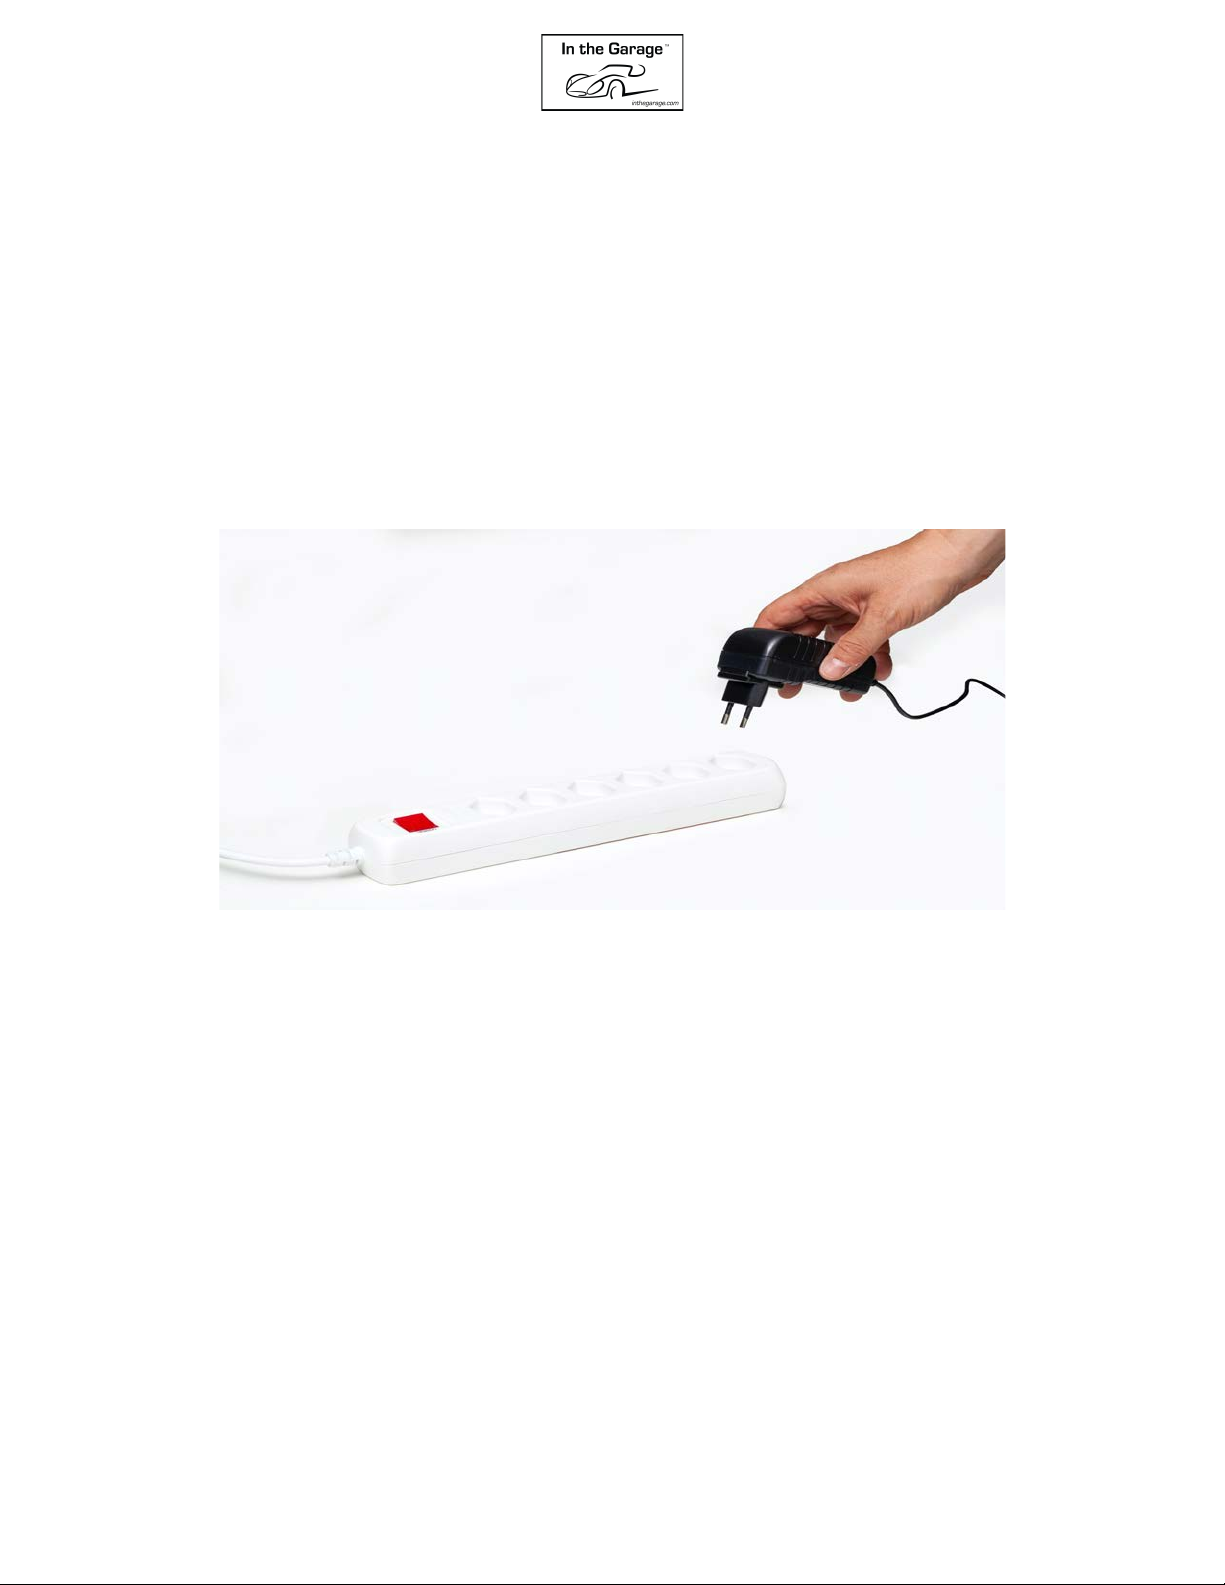
7. If the pump stops working:
a. Check the fuse located on top of the pump
b. Check all connections: power cord, hoses, pressure adapter, pressure
tube on the air pump
8. If the pump turns on more than usual:
c. Look for leaks using a liquid spray bottle filled with water and soap. Spray
the suspected area and look for bubbles. To repair any leak, use the
patches supplied together with adhesive (i.e. TEAR-AID Type B)
Check all the 4 valves (both inside and out). Make sure they are tight.
This manual suits for next models
2
Table of contents
Other In the Garage Automobile Accessories manuals