manuals.online logo
Brands
  1. Home
  2. •
  3. Brands
  4. •
  5. iNFinuvo
  6. •
  7. Vacuum Cleaner
  8. •
  9. iNFinuvo CleanMate 365 QQ-2 User manual

iNFinuvo CleanMate 365 QQ-2 User manual

CleanMate 365CleanMate 365
Clean Mate 365
Intelligent Automatic Vacuum Cleaner
Model No. QQ-2Model No. QQ-2
CleanMate 365CleanMate 365
Before using this product, please read the following safety instructions and
keep this operation manual for future reference.
Before using this product, please follow all normal safety precautions to avoid
the occurrence of situations such as fire, short-circuit, and injury. Please make
sure that you observe all the following safety precautions:
CleanMate 365CleanMate 365
Safety PrecautionsSafety Precautions
CleanMate 365CleanMate 365
1.Read this user manual thoroughly before using this product.
2.This product is not for use outdoors.
3.This product is an electronic device. Never get it wet or let it come in
contact with water. Do not use it in a moist or wet environment. This is to
prevent damage to the electronics in the unit.
4.Before using this product, please tidy up things on the floor. You must remove
all objects that could get caught in the rolling brush or in the air intake on the
bottom of the unit. Examples include, clothing, power cords, cable, telephone
cords, drapes or blinds, loose fringes of rugs. These items can get caught in
the unit, and either prevent it from moving, or the unit could pull over a lamp,
table, or chair (for examples) and cause damage to the unit, floor, object, or
person.
5.Please do not sit or stand on this product. Pay special attention to toddlers or
pets in the house to prevent harm to the unit or the child or pet.
6.Please do not use this product to clean a still-burning cigarette, a lit match or
burning embers.
7.Please do not use this product to clean flammable or highly volatile liquids
such as gasoline or white gasoline.
8.To prevent damage to the vacuum, make sure that nothing is obstructing the
air vents on the top of the unit.
9.When not in use for long periods of time, the power switch must be turned off.
10. When using rechargeable batteries, please use the correct voltage and
current listed on the product. If you are not sure about the standard voltage,
please ask your distributor or query the local electricity company.
11. Use the factory-provided batteries and charger.
12. When your hands are moist, do not touch the battery charger, plug or power
cord.
13. When you need to clean this product, stop charging, and remove the Battery.
Safety InstructionSafety Instruction
Safety Precautions 1
Safety Instructions 1
Special Features 2
Cautions 3
Main Unit and Accessories 4
Main Unit Features 5
Remote Control Functions 7
Battery Installation and Removal 8
Self Charging Home Base 9
Installing Basic Accessories 10
General Operation 12
Cleaning and Maintenance 13
QQ-2 Useful Tips 17
Specification 19
Troubleshooting 20
Warranty Policy 21
1
Table of Content
CleanMate 365CleanMate 365
1. This product is a groundbreaking, revolutionary automatic vacuum cleaner.
It utilizes high vacuum suction, a rolling brush on the bottom, a side brush for
cleaning along walls and other objects, an ultraviolet light to help with
disinfection, and even has a compartment for adding fragrance to the air as it
cleans. All of these features make this unit perfect for cleaning a wide variety of
floor types, including ceramic tile, hardwood, vinyl and most carpets. As long
as you have the CleanMate 365 Intelligent Automatic Vacuum Cleaner, you have
the most helpful house cleaning mate.
2. The compact shape enables this unit to clean under beds, tables and other
furniture that standard upright vacuums cannot get to.
3. Once the CleanMate 365 is turned on, it will follow a five step repetitive
movement: Special bounce, Spiral, Along Wall, "S" shape, and Polygonal Spiral.
This wide variety of movement helps to ensure that the unit completely cleans a
room.
"S" Shape
Special Bounce Spir a l A lon g Wa l l Spir a l
Spir a l Polygonal Spir a l Spiral
4."MODE"button on the remote control allows you to select a specific cleaning
pattern for the QQ-2. By default the unit operates in Automatic Mode (switching
between all 5 patterns), but by using the "MODE" button on the remote, you can
select a specific pattern in the following sequence: 1.Spiral 2.Special Bounce 3.
Along Wall 4.'S' Shape 5.Polygonal Spiral and back to A. Automatic.
Note: when mode 4 "S" shape is in use, in the corner, please use control switch
to another mode QQ-2 will change into other mode automatically in 30 sec).
5. Sensors at the front and sides of the unit tell the CleanMate 365 when it comes in
contact with a wall or other obstacle, to back up, turn and clean around the object.
6. The CleanMate 365 is equipped with a light sensor. When the battery
is low, or the cleaning time is completed, the unit will automatically
searching for the docking station to recharge. If QQ-2 can not find the
docking station in 30 minutes, QQ-2 will stop and turn into "sleep" mode
automatically which is to prevent battery run out.
7. There is a transparent window on top of the dust bin. This allows you to
easily see how full the dust bin is, so you can clean it out when it is needed.
This window also doubles as a holder for the remote control to help prevent
misplacing or losing the remote control.
8. Photo sensors on the underside of the front of the unit detect stairs, and
other drop offs, to keep it from falling off the edge and damaging the unit or
anything else.
9. A handle is built-in to the unit to make it easy to pick up and move the unit
to a different room.
CleanMate 365CleanMate 365
Do not look directly at the UV light.
Do not attempt to remove or replace the UV light. This light is a
permanent fixture and cannot be replaced. Do not touch the UV light
bulb with bare hands. Natural skin oils will cause premature failure.
Make sure the battery is installed correctly.
Special FeaturesSpecial Features Special FeaturesSpecial Features
CautionsCautions
3
2
CleanMate 365CleanMate 365CleanMate 365CleanMate 365
1
3
4
5
6
Clean M ATE 365
No. Description QTY
1QQ-2 Main Unit 1
2 Remote Control 1
3 Filter 2
4 Rechargeable Battery 1
5 Charger 1
6 User Manual 1
7 Hand Brush 1
8Self charging base 1
9Fragrance (purchas e by customer
self) 1
2
8
99
Ultraviolet Light
Battery Cover
Auxiliary Wheel
Rolling Brush
Vacuum Entry
Side Brush
Drive Wheel
Charging connecting pointCharging connecting point
Handle
Dust Bin Release
Button
Air Vent
Remote Control
Time Set Button
Remote Control
Sensor Start/Stop Button
Bumper
Control Panel
Side Light
Dust Bin
Power Switch
Battery Charging
Socket
Main Unit and AccessoriesMain Unit and Accessories Main Unit FeaturesMain Unit Features
45
7
CleanMate 365CleanMate 365
1.Turn on the power button, the power blue LED will light up.
2.Press the Time Set Button to set the length of operation time. The numerical
panel will display the operation time. When power is first turned on, the
default setting is 40 minutes. The setting parameters are from 10 to 80 minutes
in 10-minute increments.
3.Try to set the operation time by the size of the area to be cleaned in order to
prevent overuse of the battery and shortening its lifespan.
4.When the battery is low, the Low Battery light will blink red.
5.In the following situations, the error light will light up: over charging battery
, overloaded motor, and no traction for more than three consecutive
seconds.
Operational Time &
MODE Display Start/Stop Button
Error Indicator
Vacuum Motor
Off Indicator
Ultraviolet On
Indicator
Power On
& Charging
Indicator Low Battery Indicator
Power On/OffPower On/Off
Timer set
LED and Audible Indicator
CleanMate 365CleanMate 365
Forward
Left
Reverse
Time Set Button
Ultraviolet Light On/Off
Right
Stop
Mode
Vacuum Motor On/Off
Power Off
Start
HomeHome
Function of each Button:
1.Start Button: Press the Start Button to begin the automatic cleaning of the
room.
2.Stop Button: Press the Stop Button to stop the activity of the unit, and it will
emit a long sound.
3.Timer button: Use this button to set the cleaning time of the QQ-2.
4.Directional Buttons: Forward: when press forward QQ-2 will moving until
user press forward button again or stop by obstacle.
Right, left and backward button: use these buttons to manually drive the
unit to the right, left and backward.
5.Mode Button: Press this button to pick a specific cleaning pattern for the
QQ-2. By default the unit cleans in "Automatic" Mode (All 5 cleaning
movements).
Press the "Mode" button once to make the unit clean in"Spiral" mode only.
The timer will display "1" for one minute and then will show the cleaning
Main Unit FeaturesMain Unit Features Parts of Main UnitParts of Main Unit
Remote Control FunctionRemote Control Function
67
Status Description
Times up (when the cleanning timer was set)
Battery Low, cleanning function off
Long Beep once Error
Brief Beep three times Fully charged
Brief Beep three times and One long Beep
Fully charged and start vacuuming again
(when the docking station is set that after
fully charged, QQ-2 will go out to vacuum
again)
Long Beep once followed by one Brief Beep
Audible Indication

Other iNFinuvo Vacuum Cleaner manuals

iNFinuvo Hovo 510 User manual

iNFinuvo

iNFinuvo Hovo 510 User manual

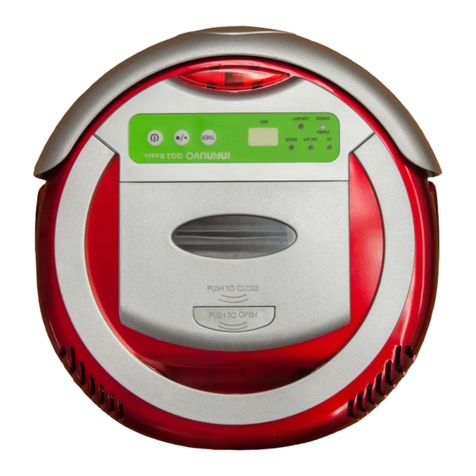
iNFinuvo QQ2 Basic Series User manual

iNFinuvo

iNFinuvo QQ2 Basic Series User manual

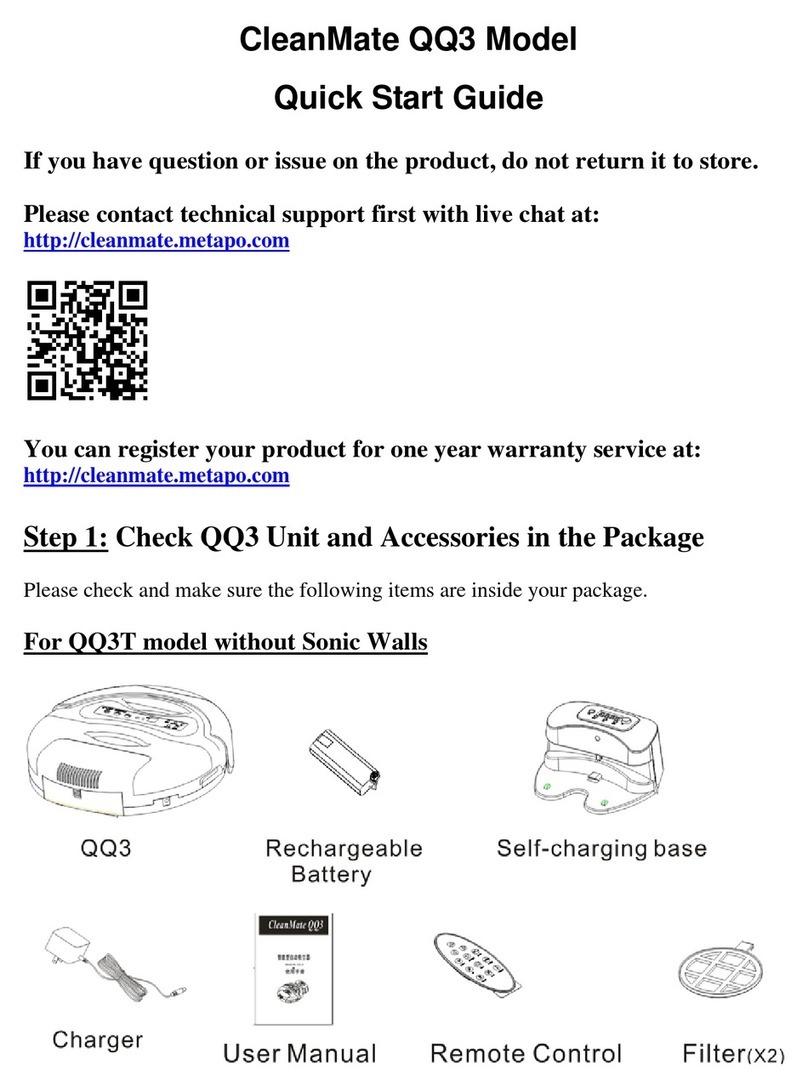
iNFinuvo CleanMate QQ3 Series User manual

iNFinuvo

iNFinuvo CleanMate QQ3 Series User manual

iNFinuvo Hovo 710 User manual

iNFinuvo

iNFinuvo Hovo 710 User manual

iNFinuvo Hovo 510 User manual

iNFinuvo

iNFinuvo Hovo 510 User manual

iNFinuvo QQ200 Series User manual

iNFinuvo

iNFinuvo QQ200 Series User manual

iNFinuvo Hovo 700 series User manual

iNFinuvo

iNFinuvo Hovo 700 series User manual

iNFinuvo CLEANMATEQQ5 User manual

iNFinuvo

iNFinuvo CLEANMATEQQ5 User manual

iNFinuvo Hovo 700 series User manual

iNFinuvo

iNFinuvo Hovo 700 series User manual

iNFinuvo Hovo mini User manual

iNFinuvo

iNFinuvo Hovo mini User manual

iNFinuvo Clean MATE 365 User manual

iNFinuvo

iNFinuvo Clean MATE 365 User manual

iNFinuvo Cleanmate QQ6 Series User manual

iNFinuvo

iNFinuvo Cleanmate QQ6 Series User manual

iNFinuvo QQ2 Plus Series User manual

iNFinuvo

iNFinuvo QQ2 Plus Series User manual

iNFinuvo CleanMate QQ3 Series User manual

iNFinuvo

iNFinuvo CleanMate QQ3 Series User manual

iNFinuvo Hovo 600 User manual

iNFinuvo

iNFinuvo Hovo 600 User manual

iNFinuvo CleanMate 365 QQ-2L User manual

iNFinuvo

iNFinuvo CleanMate 365 QQ-2L User manual

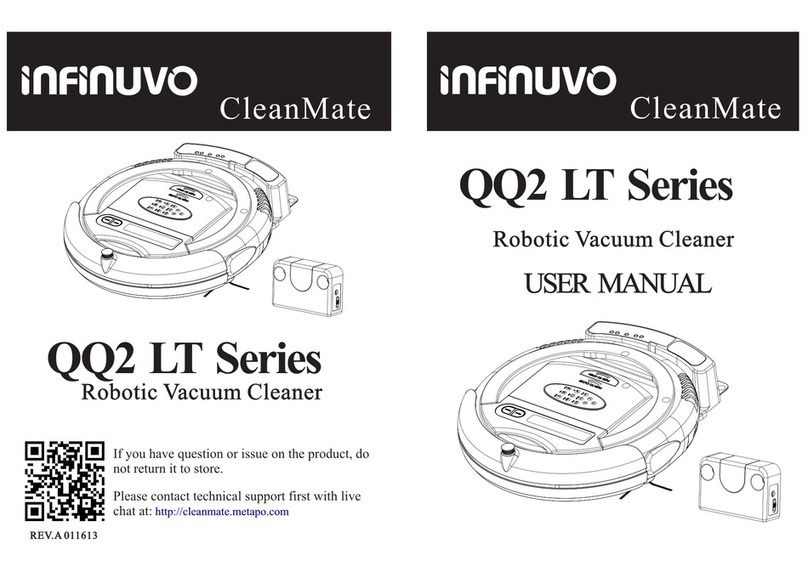
iNFinuvo QQ2 LT Series User manual

iNFinuvo

iNFinuvo QQ2 LT Series User manual

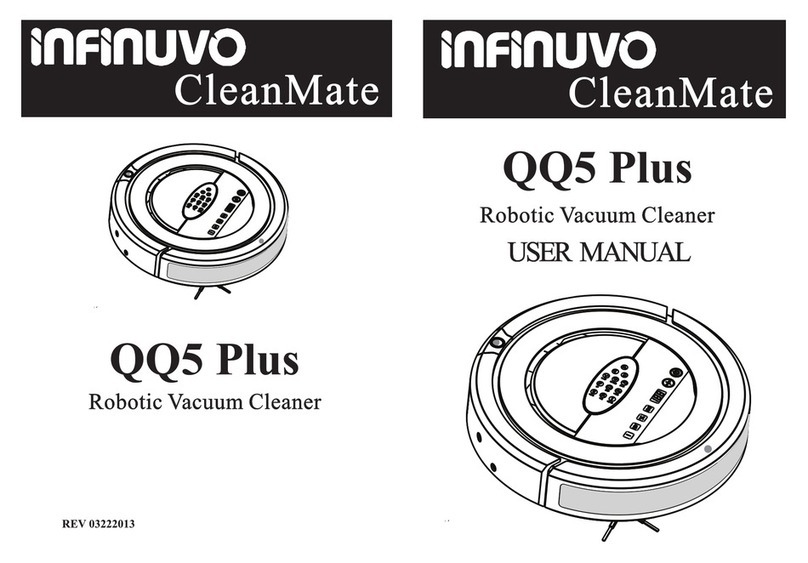
iNFinuvo CleanMate QQ5 Plus User manual

iNFinuvo

iNFinuvo CleanMate QQ5 Plus User manual

Popular Vacuum Cleaner manuals by other brands

Shark KD400WM owner's guide

Shark

Shark KD400WM owner's guide

Shark CORDLESS SV780_N 14 user manual

Shark CORDLESS

Shark CORDLESS SV780_N 14 user manual

Philips FC9176/08 manual

Philips

Philips FC9176/08 manual

Kenmore KW3030 user manual

Kenmore

Kenmore KW3030 user manual

AMiO YF-101 user manual

AMiO

AMiO YF-101 user manual

Beko VRT 94929 VI user manual

Beko

Beko VRT 94929 VI user manual

Shark CORDLESS SV780 Series quick start guide

Shark CORDLESS

Shark CORDLESS SV780 Series quick start guide

Lumme LU-3203 instruction manual

Lumme

Lumme LU-3203 instruction manual

Melissa 640-040/051 instruction manual

Melissa

Melissa 640-040/051 instruction manual

Makita DVC152L instruction manual

Makita

Makita DVC152L instruction manual

Bosch BSN1 instruction manual

Bosch

Bosch BSN1 instruction manual

King Canada 8560LST Service manual & parts list

King Canada

King Canada 8560LST Service manual & parts list

EUFY RoboVac 11c+ owner's manual

EUFY

EUFY RoboVac 11c+ owner's manual

Panasonic MC-E4101 Service manual

Panasonic

Panasonic MC-E4101 Service manual

Panasonic MC-V9658 operating instructions

Panasonic

Panasonic MC-V9658 operating instructions

Bosch BGB 2 Series instruction manual

Bosch

Bosch BGB 2 Series instruction manual

Hoover dog & cat TURBO manual

Hoover

Hoover dog & cat TURBO manual

FGE Far Tools NET UP 20 manual

FGE

FGE Far Tools NET UP 20 manual

manuals.online logo
manuals.online logoBrands
  • About & Mission
  • Contact us
  • Privacy Policy
  • Terms and Conditions

Copyright 2025 Manuals.Online. All Rights Reserved.