USE / UTILISATION:
Once you have a good bed of coals, you should reload unit. It is recommended to
operate the stove with a wood level not higher than 6 inches.
Burn only dry wood, that is, with a 25% maximum moisture content.
Parts Included
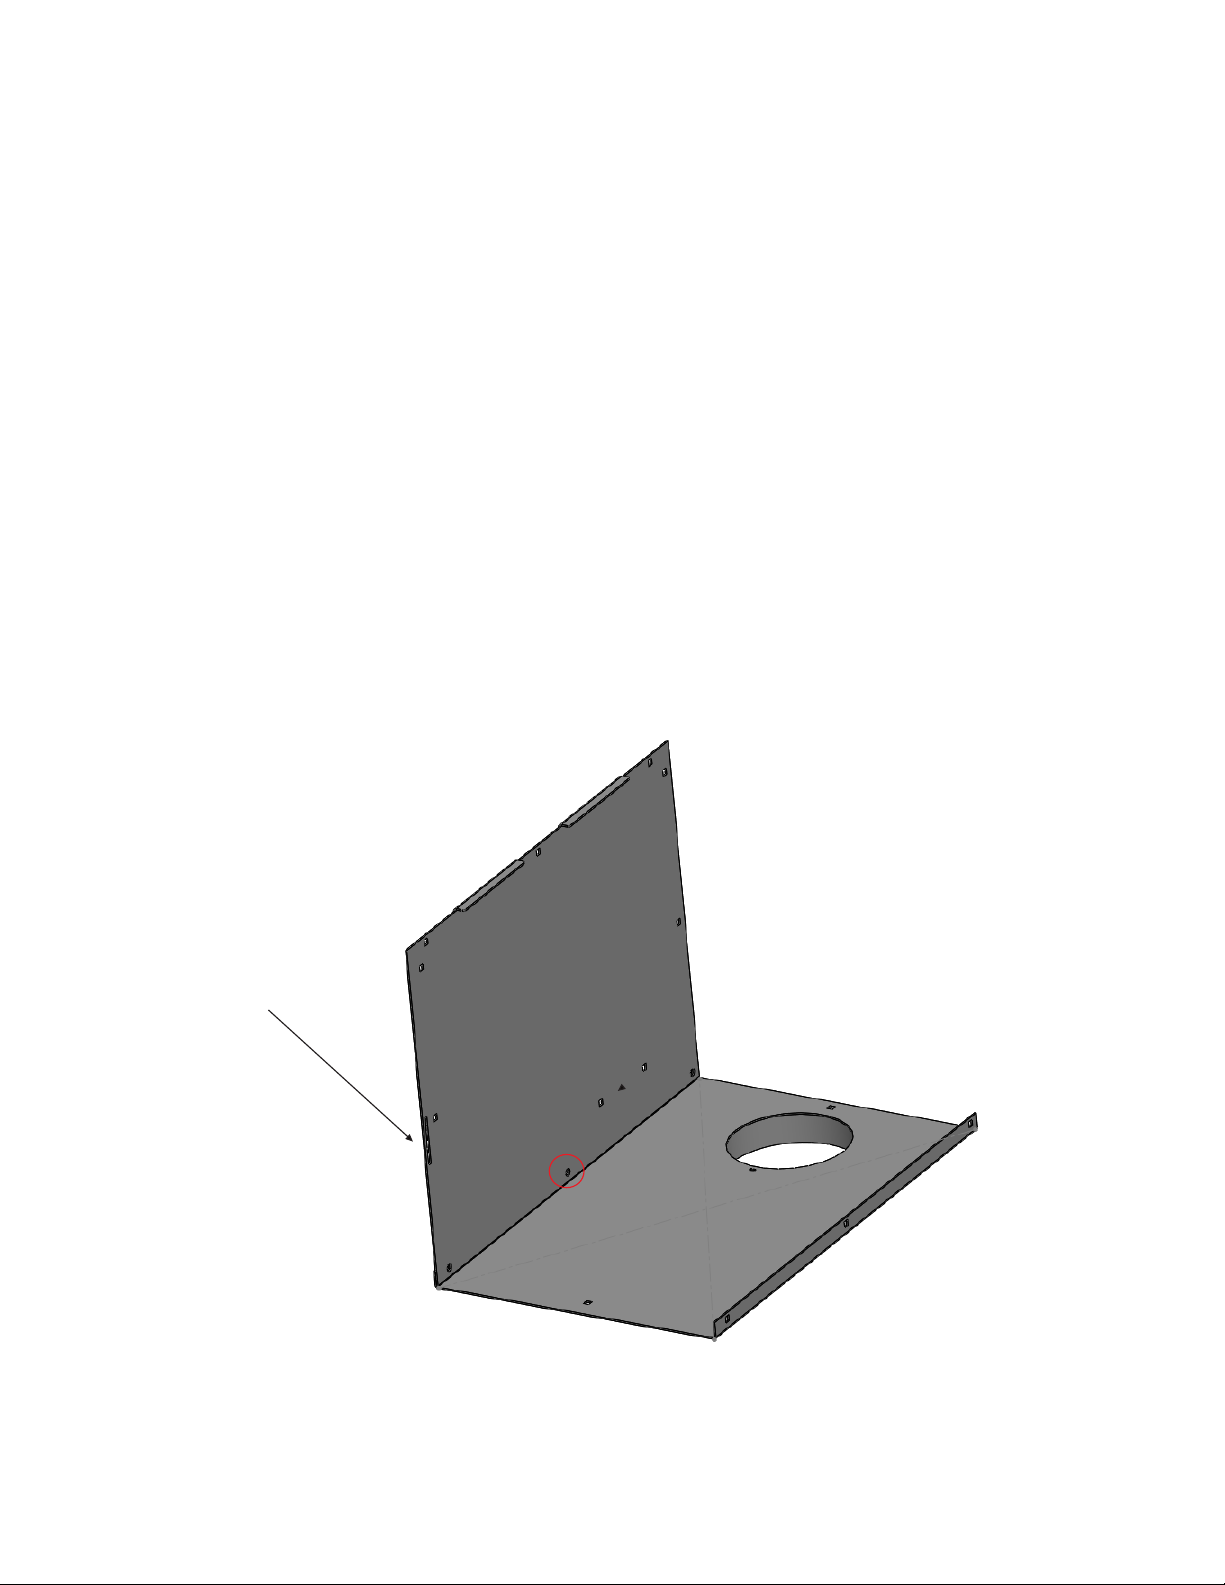
1- Right side / Côté droit
1- Left side / Côté gauche
1- Front / Avant
1- Back / Arrière
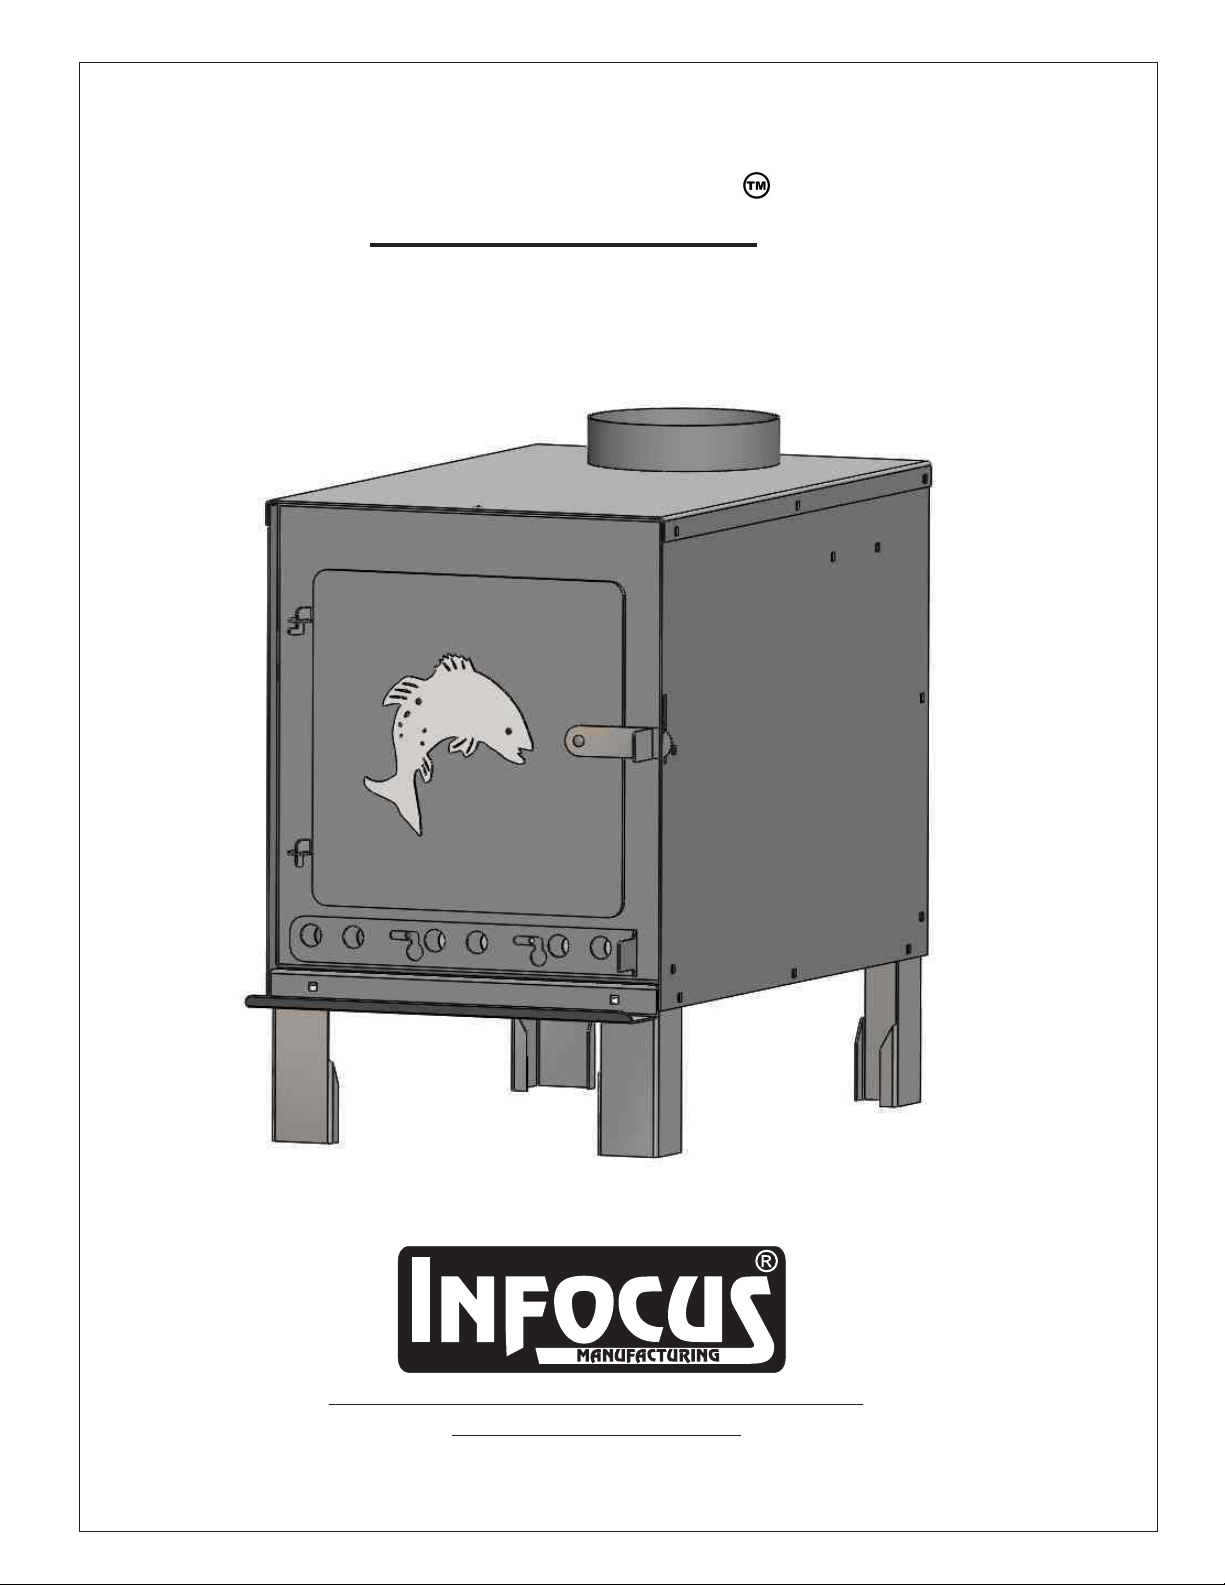
1- Bottom / Bas
Tools Needed For Assembly / Outils pour l'assemblage :
7/16 wrench (not included)
Box 10, Ste Agathe, MB
Canada, R0G 1Y0
www.infocusmfg.com
Une fois que vous obtenez un bon lit de braises, ajoutez du bois dans l'appareil.
Il est recommandé de faire fonctionner le poêle avec un niveau de bois ne
dépassant pas 6 pouces (ou 15 centimètres).
Il est préférable de brûler du bois sec,
avec un taux d'humidité inférieur à 25% pour une meilleure combustion.
Clé 7/16 (non incluse)
DANGER
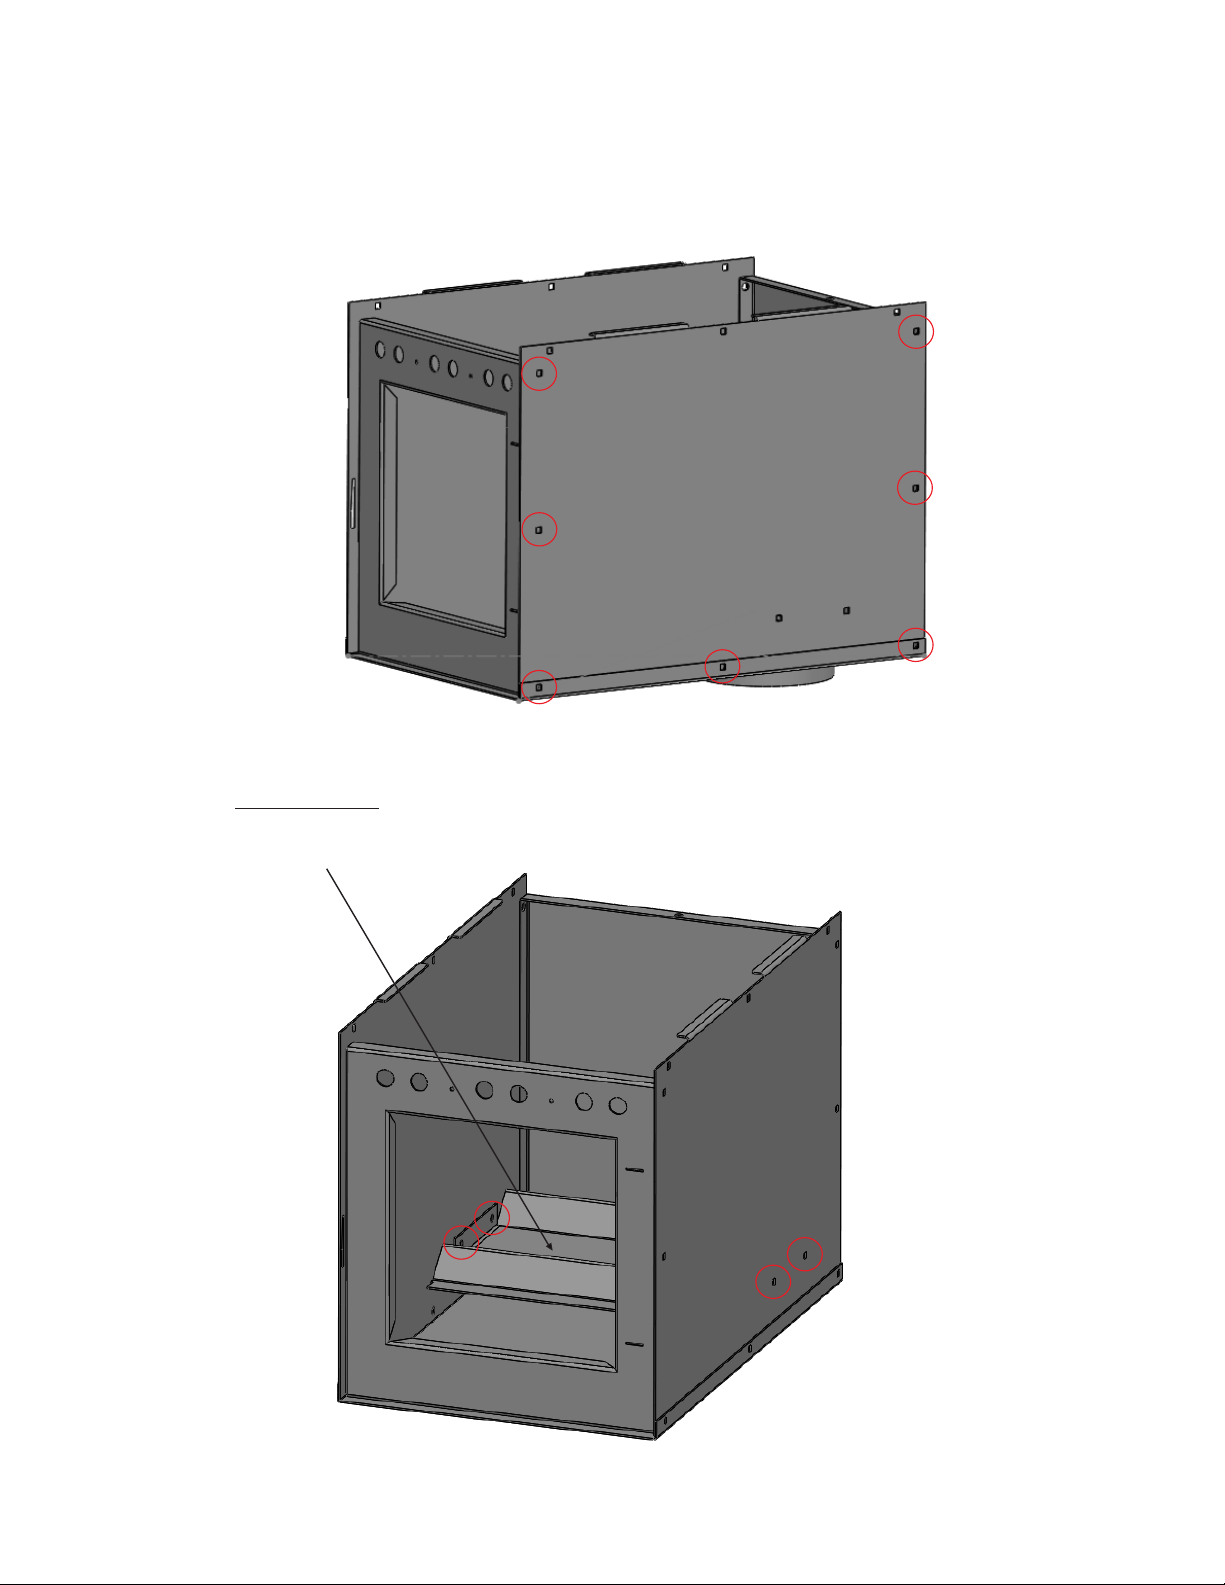
1- Flame baffle / Déflecteur de flamme
4- Legs / Pieds
1- Door / Porte
1- Vent plate / Bouchon d'aération
30- Carriage bolts / Boulons de carrosserie
30- Flange nuts / Écrous à bride ou écrous à embase crantée
Always leave a window or door partly opened when using this stove.
Toujours laisser une fenêtre ou une porte partiellement ouverte lorsque vous utilisez ce
poêle.
A minimum of 20 Square inches is required for adequate ventilation.
Un minimum de 20 pouces carrés est nécessaire pour une ventilation adéquate.
Never put your stove on a tent floor or other flammable material.
Ne placez jamais votre poêle sur le sol de la tente ou sur un autre matériau
inflammable.
Ensure you have fireproof material underneath the stove and keep a minimum of
three feet away from walls
Assurez-vous d'avoir un matériau ignifuge sous le poêle et gardez un minimum de trois
pieds des murs.
Keep all combustible material a minimum of three feet away from stove.
Gardez tous les matériaux combustibles à au moins trois pieds du poêle.
Do not insert the stove pipe directly through the fabric.
Ne pas insérer le tuyau du poêle directement à travers le tissu.
A rubber military style stove jack must be used.
Une veste en caoutchouc de style militaire doit être utilisée.
Center punch (not included)
poinçon de centre`