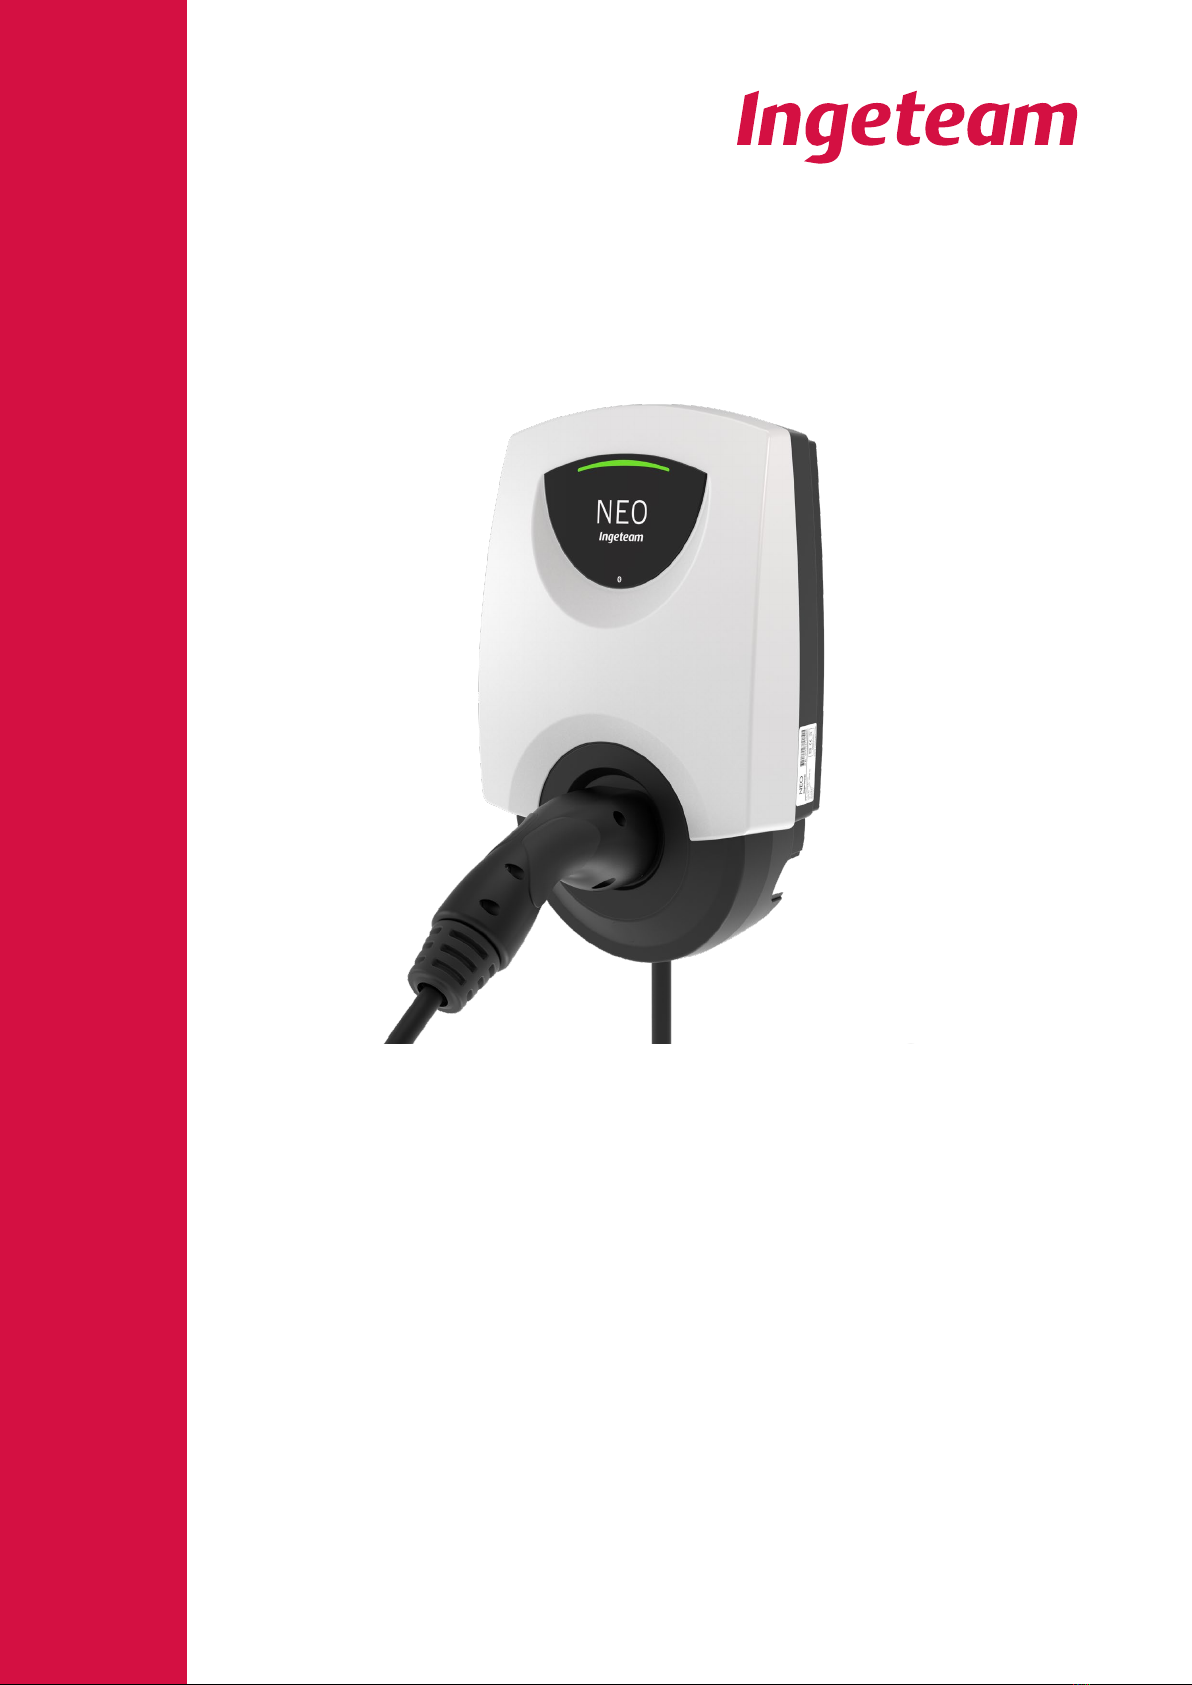
ABV2011IQM01_ - Installation and Operation Manual
1. Welcome
1.1. About this manual
This manual contains important and essential information for the correct installation of NEO chargers and their
accessories.
This manual, including the images that appear in it, are the intellectual property of INGETEAM, who reserves the
right to modify its content without having to update the previous manuals. It will not be accessible to third parties
without their express authorization. It is only available for users.
It is not permitted to copy, disseminate or disclose this document, in whole or in part, nor make it available to
others, especially competing companies, without prior authorization from INGETEAM.
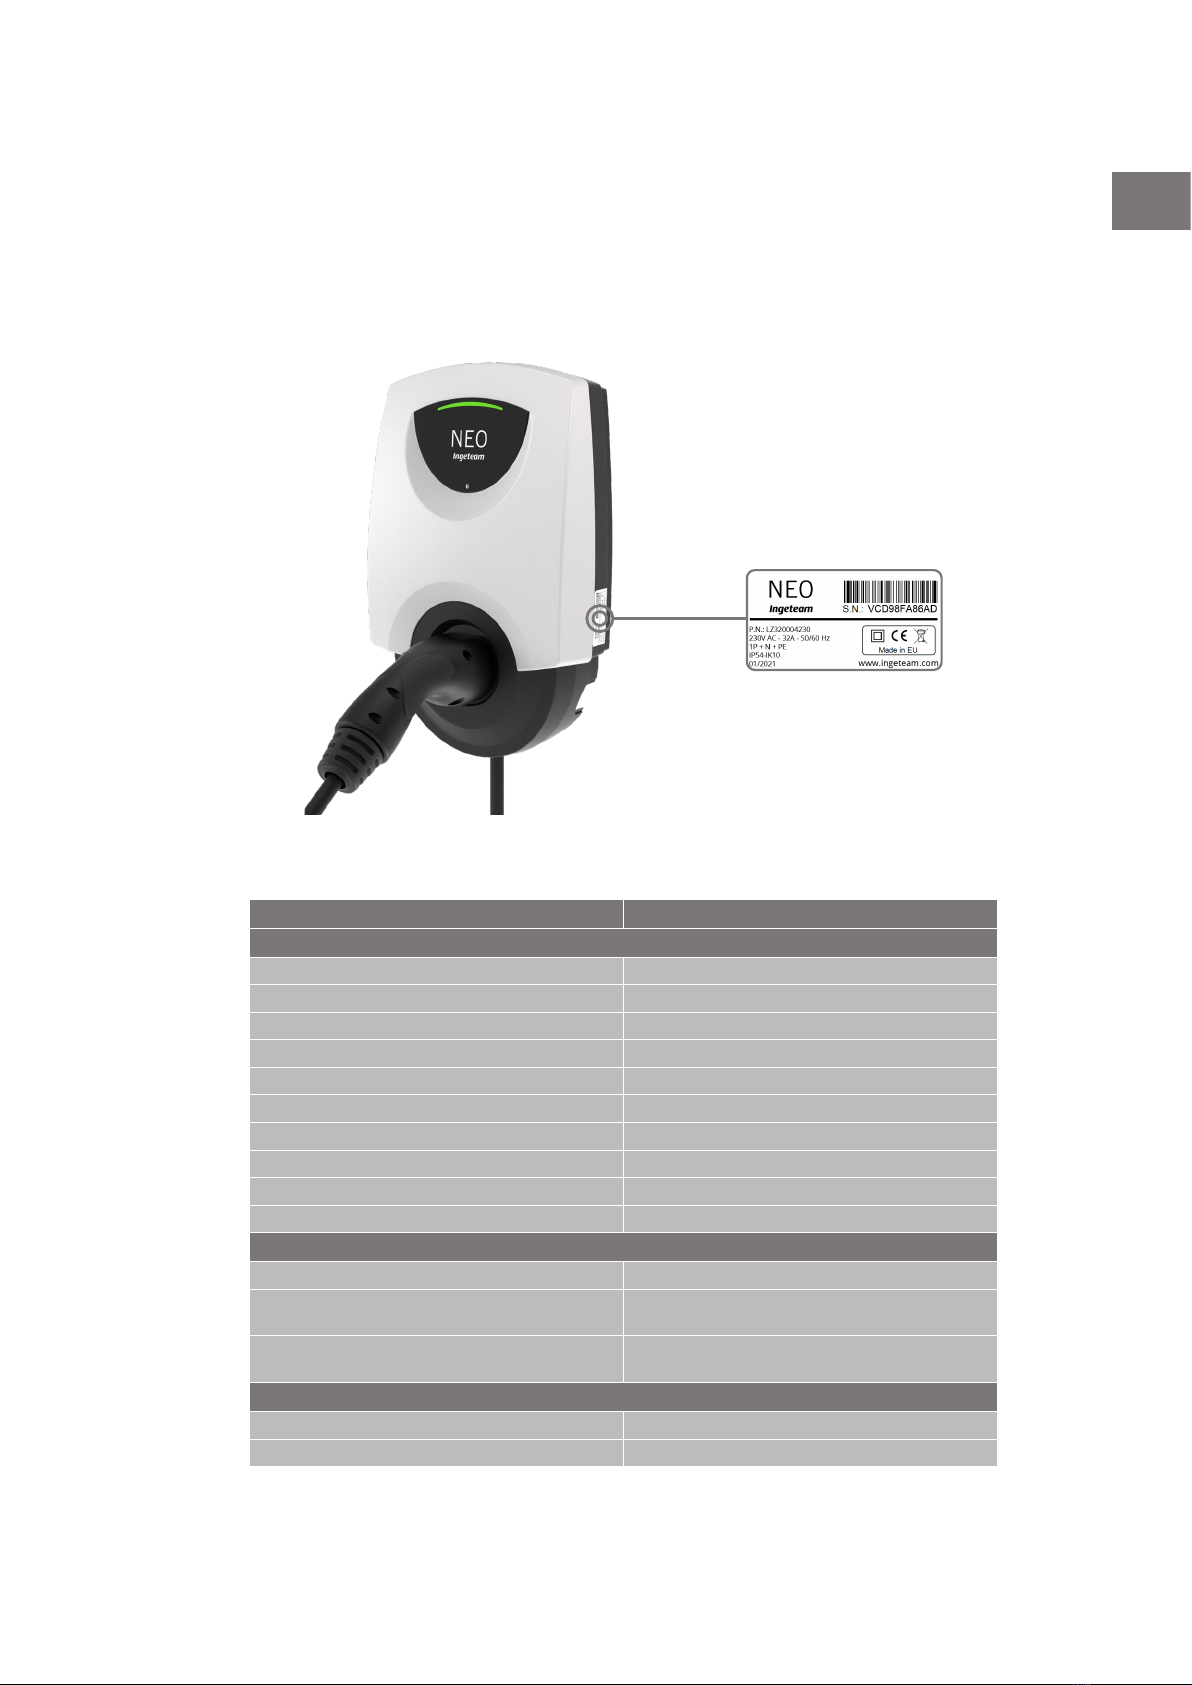
The images that appear in this manual are purely informative and have no contractual validity.
The original manual is written in Spanish. The translation of the original manual into different languages is for the
purpose of clarifying its content. If there are any discrepancies between the translated document and the original,
the original version takes precedence over the translation.
1.2. Warranty
INGETEAM guarantees this product and its accessories against any defects in materials and in the manufacturing
process for a period of 2 years from the date of purchase. During this period, INGETEAM will repair or replace any
defective product. In the event of repair or replacement, the warranty period for new items will be the remainder of
the original components, or 6 months, whichever is longer. The warranty will be voided in the following cases:
• Defects caused by an accident, improper use, inadequate maintenance or normal wear.
• Replacement, modification or incorporation of any part in an unauthorized way.
• Installation, repair or disassembly of the unit by unqualified personnel.
1.3. Safety measures
The charger must only be installed by qualified personnel following applicable local regulations.
• Use the unit within the parameters and conditions specified in “Technical specifications”.
• Visually inspect the unit before it is installed. Contact the distributor if faults, breakages, dirt or humidity
are detected.
• Take the necessary precautions in the event of having an electronic medical implant. Consult a doctor
about the effects of the charging process on the implant.
• Do not remove, eliminate or damage the unit's labels or stickers.
• Do not step on, hit or drop the charging cable or the connector.
• Do not tension the charging cable under any circumstances.
• Do not use extension cables or adapters for the charging cable.
• The charger must always be connected to the installation's ground connection.
• Do not install the charger near flammable, explosive or combustible materials, chemicals or solvents, gas
pipes, steam vents, radiators or batteries.
• Do not install the charger in areas susceptible to flooding, high humidity or running water.
• Before installing the charger, ensure that the assembly surface can withstand the mechanical stresses
associated with the weight of the charger and its use.
• This unit will be permanently connected to the AC supply network.
• The power supply line must be connected to an existing installation. This line must have the necessary
protections according to local regulations, and must always be of a maximum caliber equal to the
maximum output of the charger (32 A). This unit requires an external residual current protection.
6
Welcome
Ingeteam