manuals.online logo
Brands
  1. Home
  2. •
  3. Brands
  4. •
  5. Innovative Hobby Supply
  6. •
  7. Toy
  8. •
  9. Innovative Hobby Supply BK 2100 User manual

Innovative Hobby Supply BK 2100 User manual

Photo Real Scale Building Kit by
STEP 1 -
Collect the correct tools.
For best results, we suggest you gather
at least the most basic tools you will
need to complete assembly. While you
may find more tools that will help you
achieve outstanding results, we suggest
you start with the following: Hot glue
gun, scissors, variety of water based
colored markers, tweezers, straight
edge rulers, hobby knife, instant setting
high strength hobby glue.
STEP 3 -
With appropriate color
markers, detail the edges of all the
parts you cut out. This will result in a
finely finished project once assembled
.
A new alternative to plastic
form scale building models!
Photo Real Scale Building
kits may be the most
realistic kits available!
Great for use on model
dioramas, slot car, and
train track layouts!
Designed using photos
of real building
elements for the
most realistic appearance
Footprint Dimensions
Model Base
9.25” x 13.50”
Hangar Building
7.50” x 6.00”
Free replacement
parts are available
call: 866-712-4059




STEP 2 -
Empty contents of the kit, and carefully cut out all the individual parts
to be assembled. Please note that the most precise cuts you can make will result
in a dramatically better looking finished project.
* Airplane not included in kit
"TTFNCMZ*OTUSVDUJPOT
Photo Real Scale Building Kit by
STEP 5 - Find the back wall of the
hanger building, and using common
white hobby glue, affix the lower half
of the inside back wall to the reverse
side of that piece as shown. This will
result in a double sided, full color back
wal for your hangar building.
STEP 6 - Attach the upper portion of the
inside hangar building rear wall, above
the lower part of the inside wall
depicted in the previous step, using the
same white glue. The finished part
should look like this - shown in picture
above.
Step 7 - Attach the wall end graphics to
the backside of the hangar building
front wall as shown above. Recommend
using common white hobby glue.
STEP 10 - Front Wall /Door Guide
Tracks - begin work on constructing the
“Door Guide Tracks” by scoring the
lines that will be bent. This makes bend-
ing the guide tracks easier, resulting in
clean, finsihed edges once complete.
STEP 9 - Using hobby glue, attach the
inside walls of the hangar building side
walls to the reverse side of the hangar
building side walls. Once complete, the
side walls wil be ready to mount to the
building base.
STEP 8 - Next, attach the top portion of
the backside of the front wall of the
hangar building as shown. This is what
the finished piece should look like.
Step 11 - With hobby knife, cut 2 slots
that front hangar doors will slide back
and forth through. Take your time.
Step 12 - Make bends on all scored
lines using your straight-edge
Step 13 - Use hot glue gun to join opposite
edges of door slide tracks together
"TTFNCMZ*OTUSVDUJPOT
Photo Real Scale Building Kit by
STEP 14 - Attach door guide tracks as
shown, with the slots that were cut,
facing downward, using hobby glue.
When the hangar doors are installed,
they will be inserted into these slots and
will slide fully closed, or open up all the
way across.
STEP 15 -
With hobby glue, affix the
opposite side of all hangar doors, so all
doors are double sided. There are two
doors in this building kit with tabs on one
side. These are the far left and far right
side hangar doors. Score lightly with a
hobby knife or scoring tool, and a
straight-edge.
straight-edge.
Step 16 - Bend the tab using a straight-
edge so the finished far left side, and
far right side doors looks like this. When
the doors are inserted into the guide
track, the tabs should be facing toward
the outer edge of the building base they
are located closest to
STEP 19 - Once the back wall, and both
side walls are glued in place, your
hangar building should look something
like this. Take your time attaching walls
with hot glue to achieve the best results.
STEP 18 -
Using a hot glue gun, you may
begin tacking the walls to the building
base. Begin by using small drop(s) of hot
glue, hold wall in place until each glue
drops cools and hardens. Place hot glue
drops on the inside walls (not outside).
STEP 17 - Once all the pieces of the
front side of the hangar building are
ready to be assembled, they should all
look like this.
Step 20 - Set front wall in place and
join to building base using hot glue
Step 21 -
Measure where bends need to
be, score, bend, attach roof with hot glue.
Step 22 - Line up part-2 of hangar building
base, with part-1 and join together with
tape underneath (on the backside).
"TTFNCMZ*OTUSVDUJPOT
Photo Real Scale Building Kit by
STEP 23
- Score and fold the air
conditioner unit, and concrete base. We
recommend using hot glue to hold corners
together. Place small drops of hot glue in
each corner (underside of pieces) while
holding those corners together, for a
perfect finished look.
STEP 24 - Using hot glue, join the air
conditioner to its base, then use hot glue
to join the base of the air conditioner to
the hangar building base. Where you
position this unit is up to you, but you
can refer to pictures in these instructions
for some ideas.
Step 25 -
Score and bend all three
corners of refuse container as shown.
Next, use hot glue to join the walls
together while holding in place. For a
sturdier finished piece, place drops of
hot glue in all corners while holding at
perfect 90-degree angles, and let cool
before releasing.
STEP 26 - Using hot glue gun, place
some drops inside refuse container, then
carefully drop the picture of refuse into
that opening for a finished look. Refuse
container is now ready to place behind
the hangar building
STEP 27
- Score and fold the aircraft
boarding ladder and steps. Hold the steps
carefully at 90-degree angles, and slowly
place hot glue drops on the back of those
steps, then let cool. Next, use hot glue to join
the ladder frame and steps together.
STEP 28 - Find the narrow front hanger
door guide tracks and glue them onto
the hangar building base parallel to
each other. Be sure to leave approxi-
mately 1/8” between these two guides
so doors can slide back and forth in.
Step 29 - When glued in place, door
slide tracks should look like this.
Step 31 - Using hobby glue, attach optional
features like signs, security lights, shrubbery,
concrete door pads, etc.... Use your creativity!
Step 30 -
Insert hanger doors into guide
tracks. When complete, they should look
like this, and open/close freely.
"TTFNCMZ*OTUSVDUJPOT
Photo Real Scale Building Kit by
STEP 33 -
This building kit comes with
many optional, various scale features like
doors, ladders, tool chests, boxes. For
extreme realism, construct your scale
building using features appropriate to the
scale of model you wish to create.
STEP 32 - When building tool chests
and cargo boxes, color all edges with
markers, then score, bend all sides. Use
hot glue to join panels together.
IMPORTANT: Always wear safety glasses
when using sharp tools or heated glue
guns. Keep all materials away from
extreme heat or flames.
Adults must carefully supervise anyone
under the age of 16 and assist in cutting
and gluing.
Unplug hot glue gun when not in use and
follow manufacturer’s safety guidelines.
Do practice scoring and folding parts that
require this.
Do detail all cut edges with water based
marker before assembly.
Do test fit parts before gluing
Left Side of Building
Right Side of Building
Back Side of
Aircraft Hangar
Front of
Aircraft Hangar
FINISHED AIRCRAFT HANGAR PHOTOS
"TTFNCMZ*OTUSVDUJPOT

Other Innovative Hobby Supply Toy manuals

Innovative Hobby Supply BK 1300 User manual

Innovative Hobby Supply

Innovative Hobby Supply BK 1300 User manual

Innovative Hobby Supply Porta Potty's BK 6430 User manual

Innovative Hobby Supply

Innovative Hobby Supply Porta Potty's BK 6430 User manual

Innovative Hobby Supply Clock Tower BK 6425 User manual

Innovative Hobby Supply

Innovative Hobby Supply Clock Tower BK 6425 User manual

Innovative Hobby Supply Bait Shop BK 6415 User manual

Innovative Hobby Supply

Innovative Hobby Supply Bait Shop BK 6415 User manual

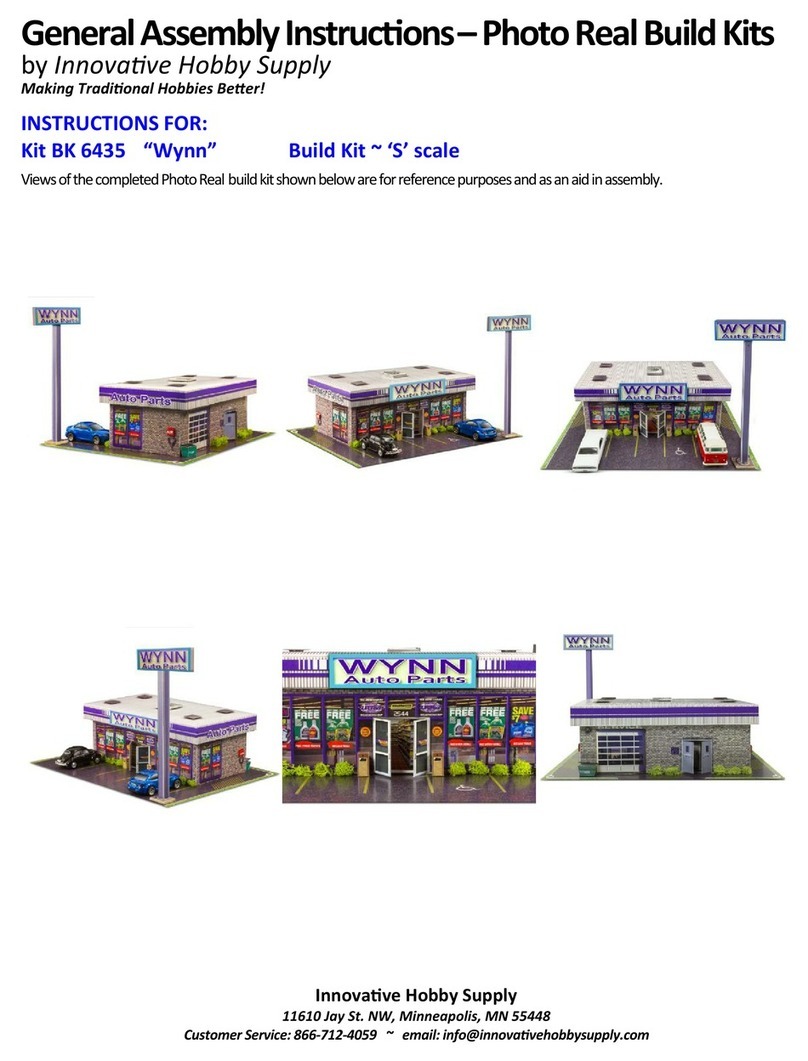
Innovative Hobby Supply Wynn BK 6435 User manual

Innovative Hobby Supply

Innovative Hobby Supply Wynn BK 6435 User manual

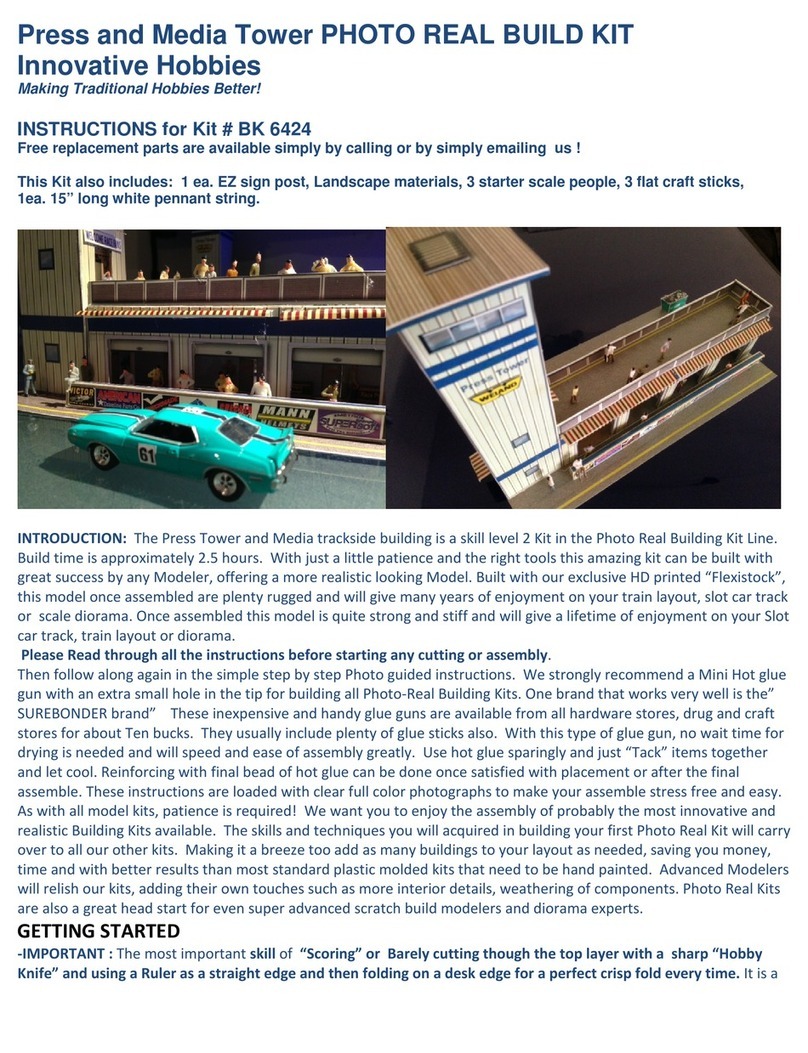
Innovative Hobby Supply BK 6424 User manual

Innovative Hobby Supply

Innovative Hobby Supply BK 6424 User manual

Popular Toy manuals by other brands

Associated Electrics RC10TC6.2 Assembly manual

Associated Electrics

Associated Electrics RC10TC6.2 Assembly manual

marklin 29271 manual

marklin

marklin 29271 manual

ALZRC RIDER/R-100S manual

ALZRC

ALZRC RIDER/R-100S manual

Mattel Barbie P6855-0520 instructions

Mattel

Mattel Barbie P6855-0520 instructions

marklin 39566 user manual

marklin

marklin 39566 user manual

LEXIBOOK IT051 instruction manual

LEXIBOOK

LEXIBOOK IT051 instruction manual

LEGO 10265 instructions

LEGO

LEGO 10265 instructions

Duratrax Evader DT Assembly and operation manual

Duratrax

Duratrax Evader DT Assembly and operation manual

ELR Engeineering CHARYBDIS owner's manual

ELR Engeineering

ELR Engeineering CHARYBDIS owner's manual

marklin 43866 instruction manual

marklin

marklin 43866 instruction manual

Jamara Puzzle Dynamic Zoo Instruction

Jamara

Jamara Puzzle Dynamic Zoo Instruction

Black Horse Model TAYLORCRAFT instruction manual

Black Horse Model

Black Horse Model TAYLORCRAFT instruction manual

Mega Bloks World of Warcraft 91023 quick start guide

Mega Bloks

Mega Bloks World of Warcraft 91023 quick start guide

Fisher-Price BFH57 instruction sheet

Fisher-Price

Fisher-Price BFH57 instruction sheet

CMR Brezza Instructions with step by step photos

CMR

CMR Brezza Instructions with step by step photos

PARKZONE F4U-1A Corsair instruction manual

PARKZONE

PARKZONE F4U-1A Corsair instruction manual

Mattel Barbie CHW85 instructions

Mattel

Mattel Barbie CHW85 instructions

fischertechnik fischerTiP PROFI Dynamic XS manual

fischertechnik

fischertechnik fischerTiP PROFI Dynamic XS manual

manuals.online logo
manuals.online logoBrands
  • About & Mission
  • Contact us
  • Privacy Policy
  • Terms and Conditions

Copyright 2025 Manuals.Online. All Rights Reserved.