/ŶŶŽǀĂƟǀĞ Hobby Supply
Making TradiƟonalHobbies BeƩer!
2 of 11 © 2014 InnoǀĂƟve Hobby Supply. All rights reserved.
INTRODUCTION
Please read these step-by-step instrucƟonsthoroughly before you undertake any cuƫngor assembly. Then follow the simple step-by-step instrucƟons.This
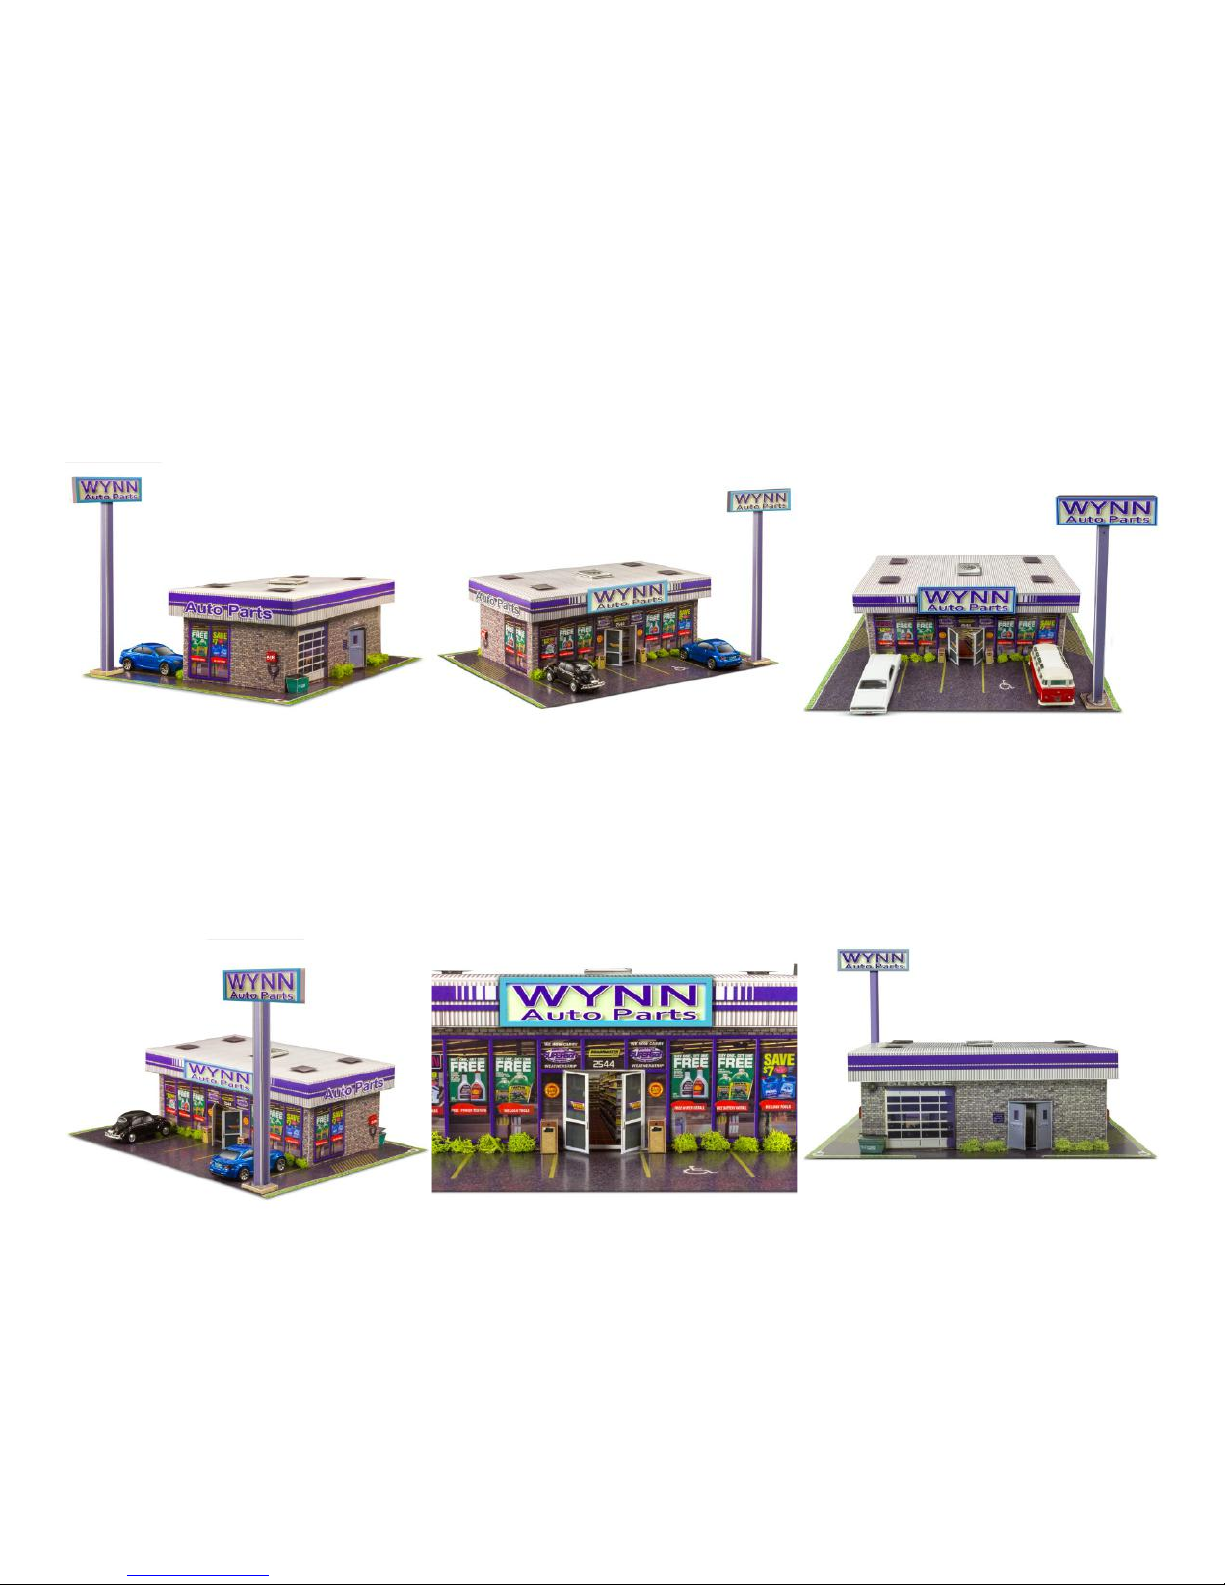
build kit is an intermediate skill-level kit in our Photo Real Building Kitsproduct line. Assembly Ɵmeis approximately 2-3 hours. With just a liƩůe paƟenceand
the right tools, this amazing kit can be constructedby any hobbyist, oīering a more realisƟc-looking model than painted plasƟcforms. Printed on our
exclusive high-deĮniƟŽn‘Flex Stock’ material, these kits once assembled are very rugged and will provide many years of enjoyment on your train layout, slot
car track, or diorama.
AŌeryou’ve read through the assembly instrucƟŽnsonce, start again at the beginning and follow the steps carefully to cut and assemble the model. We
strongly recommend using a hot-melt mini-glue gun for assembling this kit. (Mini-glue guns are available at your local craŌstore, as well as many hardware
stores and drug stores, for less than $5.00.) Hot melt glue is easily controlled and sets-up fast, which greatly speeds-up the assembly Ɵmesince you don’t
need to wait for the glue to dry. UsĞhot-mĞlt gluĞsparingly: apply an amount just suĸcientto tack the items together. You can reinforce the bond surfaces
with a Įnal bead of hot glue – or with white glue – once you are saƟsĮedwith placement of component pieces.
These instrucƟonsinclude plenty of clear, full-color photographs to make assembly easier. As with all model assembly, some paƟenceis required. The skills
acquired in construcƟŶgyour Įrstbuilding kit will carry over to our other kits, which will make it easy for you to add as many buildings to your layout as you
desire – saving you Ɵmeand money and giving you beƩer results than for most molded plasƟc kits. Enjoy the most innovaƟveand realisƟcscale-model
building kits available.
GETTING STARTED
IMPORTANT: The most important skill in geƫŶŐ a good result is the technique of ‘scoring’ the material where indicated ;ĮŐ 1). Scoring
is simply making a shallow cut though the top layer of the paper with a sharp hobby knife (e.g., an X-acto knife) while using a ruler or
other straight edge.
&ŝŐƵƌĞ 1 - Scoring thĞmatĞƌial.
This technique is simple to learn, yet vital to geƫng a perfect fold – even on small parts! Using this technique helps to ensure a beĂƵƟĨƵů
trouble-free assembly. Without it, the folded edges tend to buckle unevenly and look bad when assembled.
WƌĂĐƟĐĞ on a scrap piece unƟů you have perfected your technique suĸciently to have coŶĮĚence. The hobby knife should be used for
scoring only! When cuƫng out parts completely, use a sharp scissors as this material is tough and does not cut easily with a knife.
Remember to always wear safety glasses when using sharp tools or hot glue guns. Keep all materials away from extreme heat or Ňames.
Adult supervision is required for those under age 16.
dŚĞƐĞ ĂƌĞ ƚŚĞ Important “Do’s” For ^ƵĐĐĞƐƐful ModĞl Building
ͻDo have the tools you need on-hand.
ͻDo pracƟce scoring and folding component parts.
ͻDo detail the cut edges with marker before assembly.
ͻDo test-Įt parts before gluing.