Innovative Technology : ITIU?760 User manual

1
Model:ITIU‐760
Under‐CabinetDock
DesignedForiPadTM
KEEPTHEMANUALFORFUTUREREFERENCE.

2
TableofContent
IMPORTANTSAFETYINSTRUCTIONS..........................................................................................................................3
COPYRIGHT................................................................................................................................................................4
BUTTONSANDCONTROLS.........................................................................................................................................5
REMOTECONTROLUNIT............................................................................................................................................8
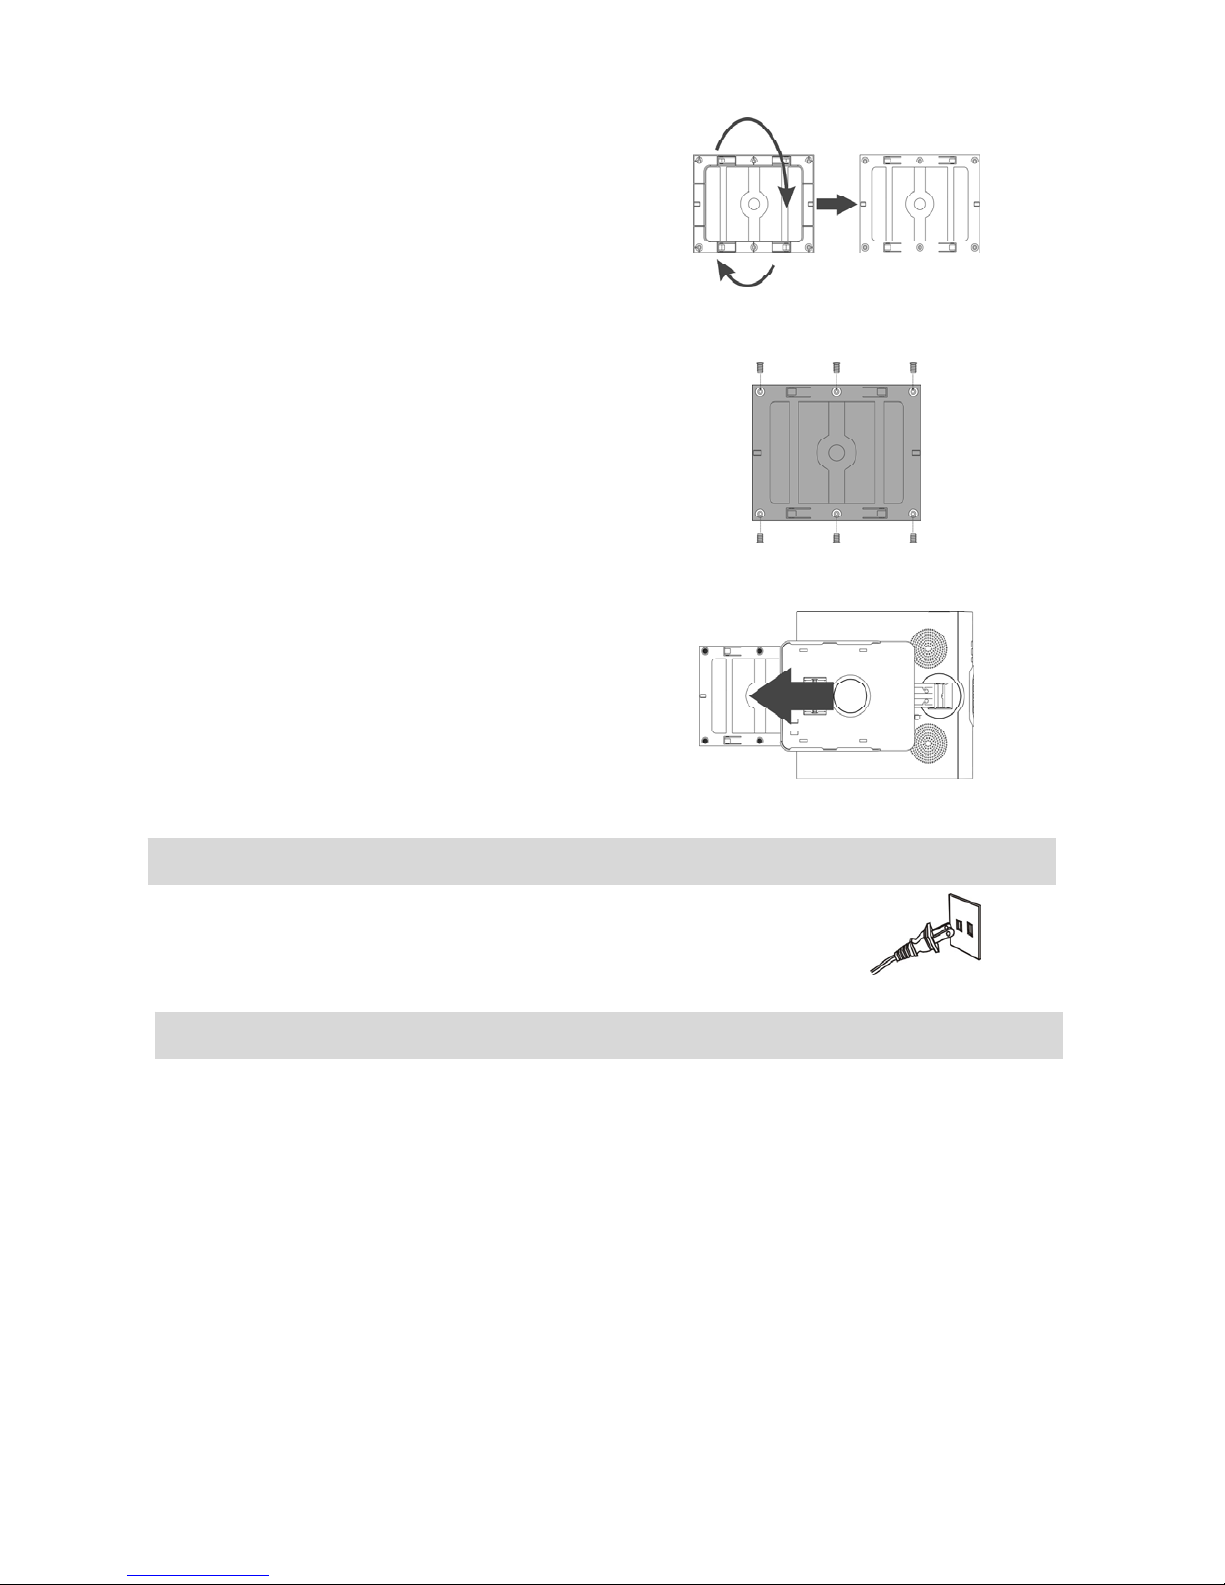
UNDERMOUNTINGTHEUNIT...................................................................................................................................9
CONNECTTHEPOWERCABLE..................................................................................................................................10
SETTHECLOCK.........................................................................................................................................................10
SETTHECOUNTDOWNTIMER................................................................................................................................11
TURNONORSETTOSTANDBY................................................................................................................................11
SETTHESOUNDS.....................................................................................................................................................11
SETTHEVOLUMELEVEL...................................................................................................................................11
SETTHEEQ.......................................................................................................................................................11
LISTENTOTHERADIO..............................................................................................................................................11
SELECTABAND................................................................................................................................................11
TUNETOASTATION.........................................................................................................................................11
TOIMPROVETHERECEPTION..........................................................................................................................12
TOSTOREASTATIONMANUALLY.....................................................................................................................12
TOLISTENTOASTOREDSTATION....................................................................................................................12
PLAYADOCKEDDEVICE...........................................................................................................................................12
ROTATETHEDOCKATVALIDANGLES...............................................................................................................12
RESTRACTTHEDOCK.......................................................................................................................................13
TODOCKTHEiPAD/iPHONE.............................................................................................................................13
PLAYTHEiPAD/iPHONE....................................................................................................................................15
USETHEALARM.......................................................................................................................................................15
SETTHESLEEPTIMER(TIMEOFF)............................................................................................................................16
SPECIFICATIONS.......................................................................................................................................................16
FCCSTATEMENT.......................................................................................................................................................17
WARRANTY..............................................................................................................................................................18

3
IMPORTANTSAFETYINSTRUCTIONS
WARNING:SHOCKHAZARD‐DONOTOPEN
Thelightningflashwitharrowheadsymbol,withinanequilateraltriangle,is
intendedtoalertusertothepresenceofnon‐insulated“dangerousvoltage”
withintheproduct’senclosurethatmaybeofsufficientmagnitudetoconstitute
riskofelectricshocktopersons.
Theexclamationpointwithinanequilateraltriangleisintendedtoalertuserto
thepresenceofimportantoperatingandmaintenance(servicing)instructionsin
theliteratureaccompanyingtheappliance.
CAUTION:To reducetheriskoffireorelectricshock,donotexposethisapparatustorainormoisture.
Toreducetheriskoffire,donotplaceanyheatingorcookingapparatusbeneaththisunit.
CAUTION:Theapparatusshouldnotbeexposedtodrippingorsplashingandnoobjectsfilledwithliquids,
suchasvases,shouldbeplacedontheapparatus.
CAUTION:Dangerofexplosionifbatteryisincorrectlyreplaced.Replaceonlywiththesameorequivalent
type.
CAUTION:CautionMarkingandratingplatewaslocatedatbottomenclosureoftheapparatus.
Themainsplugisusedasdisconnectdevice.Themainsplugofapparatusshouldnotbe
obstructedORshouldbeeasilyaccessedduringintendeduse.Tobecompletelydisconnectthe
powerinput,themainsplugofapparatusshouldbedisconnectedfromthemains.
Batteryshouldnotbeexposedtoexcessiveheatsuchassunshine,fireorthelike.
1.ReadtheseInstructions.
2.KeeptheseInstructions.
3.HeedallWarnings.
4.Followallinstructions.
5.Donotusethisapparatusnearwater.
6.Cleanonlywithadrycloth.
7.Donotblockanyoftheventilationopenings.Installinaccordancewiththemanufacturer’sinstructions.
8.Donotinstallnearanyheatsourcessuchasradiators,heatregisters,stoves,orotherapparatus(including
amplifiers)thatproduceheat.
9.Donotdefeatthesafetypurposeofthepolarizedorgrounding‐typeplug.Apolarizedplughastwoblades
withonewiderthantheother.Agroundingtypeplughastwobladesandathirdgroundingprong.Thewide

4
bladeorthethirdprongisprovidedforyoursafety.Whentheprovidedplugdoesnotfitintoyouroutlet,
consultanelectricianforreplacementoftheobsoleteoutlet.
10.Protectthepowercordfrombeingwalkedonorpinchedparticularlyatplugs,conveniencereceptacles,and
thepointwheretheyexitfromtheapparatus.
11.Onlyuseattachments/accessoriesspecifiedbythemanufacturer.
12.Useonlywithacart,stand,tripod,bracket,ortablespecifiedbythemanufacturer,orsold
withtheapparatus.Whenacartisused,usecautionwhenmovingthecart/apparatus
combinationtoavoidinjuryfromtip‐over.
13.Unplugthisapparatusduringlightningstormsorwhenunusedforlongperiodsoftime.
14.Referallservicingtoqualifiedservicepersonnel.Servicingisrequiredwhentheapparatushasbeendamaged
inanyway,suchaspower‐supplycordorplugisdamaged,liquidhasbeenspilledorobjectshavefalleninto
theapparatus,theapparatushasbeenexposedtorainormoisture,doesnotoperatenormally,orhasbeen
dropped.
15.Minimumdistances(5cm)aroundtheapparatusforsufficientventilations.
16.Theventilationshouldnotbeimpededbycoveringtheventilationopeningswithitemssuchasnewspaper,
table‐cloths,curtainsetc.
17.Nonakedflamesourcessuchaslightedcandlesshouldbeplacedontheapparatus.
18.Attentionshouldbedrawntotheenvironmentalaspectsofbatterydisposal.
19.Theuseofapparatusintropicaland/ormoderateclimates.
COPYRIGHT
*“MadeforiPod”and“MadeforiPhone”and“MadeforiPad”meanthatanelectronicaccessoryhasbeen
designedtoconnectspecificallytoiPodoriPhone,oriPad,respectively,andhasbeencertifiedbythedeveloper
tomeetAppleperformancestandards.Appleisnotresponsiblefortheoperationofthisdeviceoritscompliance
withsafetyandregulatorystandards.
**iPhone,iPod,iPodclassic,iPodnano,andiPodtoucharetrademarksofAppleInc.,registeredintheU.S.and
othercountries.iPadisatrademarkofAppleInc.

5
BUTTONSANDCONTROLS

6
LCDDISPLAY

7
REMOTECONTROL

8
REMOTECONTROLUNIT
TheRemoteControlUnitcanoperatetheunitfromadistance.Whenoperatingtheremotecontrolunit,pointit
towardsthefrontpaneloftheunit.
•Eveniftheremotecontrolunitisoperatedwithintheeffectiverange,remotecontroloperationmaybe
impossibleifthereareanyobstaclesbetweentheunitandtheremotecontrol.
•Iftheremotecontrolunitisoperatednearotherapplianceswhichgenerateinfraredrays,orifotherremote
controldevicesusinginfraredraysareusedneartheunit,itmayoperateincorrectly.Conversely,theother
appliancesmayoperateincorrectly.
Theremotecontrolunithasabuilt‐inmagnet.Iftheremotecontrolisnotinuse,placeittothesideoftheunit
whereastickofmagnetlabellies.
TOACTIVATETHEREMOTECONTROL
Theremotecontrolisbuiltwithcellbatterybeforeshipment.To
activatethebattery,removethetransparentplateatthebottomof
theremotecontrol.
BATTERYINSTALLATION
1.Removethebatterycompartmentcover.
2.Putinthelithiumbattery (CR2025,3V). Makesurethatthe
batteryisinsertedwiththepositive‘+’andnegative‘‐’positioned
correctly.
3.Closethecover.
BatteryReplacement
Ifthedistancerequiredbetweentheremotecontrolunitandmainunitdecreases,thebatteryisexhausted.In
thiscase,pleasereplacethebatterywithnewone.
BatteryPrecautions
•Besuretoinsertthebatterywithcorrectpositive+andnegative‐polarities.
•Refertotheprecautionsonthebatterylabels.
•Whentheremotecontrolunitisnottobeusedforalongtime(morethanamonth),removethebattery
fromtheremotecontrolunittopreventitfromleaking.Ifitleaks,wipeawaytheliquidinsidethebattery
compartmentandreplacethebatterywithnewone.
•Donotheatordisassemblebatteriesandneverdisposeofoldbatteriesbythrowingtheminafire.

9
UNDERMOUNTINGTHEUNIT
IMPORTANT:Youshouldonlyusethemountingaccessories(included)whenyoumounttheunit.Useof
unapprovedaccessoriesthathavenotbeendesignedspecificallyforthisunitmayleadtosafetyharzards.
1.UsetheprovidedCabinetMountingTe mpl ateto
locationwhereyouwanttomounttheunit.Drill
themountingholesdirectlythendone,removethe
template.
Caution:Toreducetheriskofdanger,consultthe
technicianifthelocationyouwanttomountthe
unitisfirmenoughtoholdweightsandsafebefore
youdothemounting.
2.TheMOUNTINGKITishighlighted(referto
illustration(a).
Illustration(a)
3.PullouttheMOUNTINGKIT(refertoillustration
(b)).
Illustration(b)
4.Ifyoufindunithastobemountedtoohightoreach,
usethesuppliedlongplasticpoles.Insertthelong
plasticpolesintothepositionholes(referto
illustration(c)).
Illustration(c)

10
CONNECTTHEPOWERCABLE
Unwindthepowercableandinserttheplugintothehouseholdworkingelectricaloutlet.
Nowtheunitisreadytouse.
SETTHECLOCK
Whenthepowercableisconnectedtotheelectricaloutlet,“12:00”startstoblinkonthescreen.Ifyoufindthe
unitreversestothisdisplay,youneedtosetthetime.
1.PressandholdTIMEbutton(orMENU/TIMEbuttononremotecontrol)forapprox.2seconds.Hourdigitsstart
toblink.
2.PressUP/DOWNbutton(or/buttononremotecontrol)tosetthehours.
3.PressTIMEbutton(orMENU/TIMEbuttononremotecontrol).Andthentheminutedigitsstarttoblink.
4.PressUP/DOWNbutton(or/buttononremotecontrol)tosettheminutes.
5.PressTIMEbutton(orMENU/TIMEbuttononremotecontrol)toagaintosavethesetting.
5.ReversetheMOUNTINGKIT(refertoillustration
(d)).
Illustration(d)
6.PositiontheMOUNTINGKITandfixitonthe
mountingplacewiththesuppliedscrews(referto
illustration(e)).
Caution:Toreducetheriskoffire,donotplaceany
heatingorcookingapparatusbeneaththisunit.
Illustration(e)
7.SlidetheunitbacktotheMOUNTINGKIT (referto
illustration(f)).
Illustration(f)

11
SETTHECOUNTDOWNTIMER
Youcansetthecount‐downtimerandwhenthepresettimeisreached,thebuzzerwillalert.
1.PresstheCOUNTDOWNbutton(orbuttononremotecontrol)“000”showsonthedisplay.
2.PressUP/DOWNbutton(or/buttononremotecontrol)tosetthetimer.Youcansetupto120minutes
atmost.
2.PresstheCOUNTDOWNbutton(orbuttononremotecontrol)againtosavethesettingandthetimer
startstowork.
TIP:Toviewtheremainedtime,brieflypresstheCOUNTDOWNbutton(orbuttononremotecontrol).
3.Whenthesettimehasexpired,thebuzzerwillgoesoff.
4.Pressanybuttontostopthebuzzer.
5.Toterminatethecountdowntimer,pressandholdtheCOUNTDOWNbutton(orbuttononremotecontrol)
untiltheicon()disappearsfromthedisplay.
TURNONORSETTOSTANDBY
PresstheSTANDBY/ONbuttontoturntheunitON.
Pressitagaintosettheunittostandbymode.
SETTHESOUNDS
SETTHEVOLUMELEVEL
PresstheVOLUMEDOWN/VOLUMEUPbutton(or / onremotecontrol)toadjustthevolume
level.
SETTHEEQ
PresstheEQbuttonontheremotecontroltoselectadesiredmode:flat,rock,pop,jazzorclassic.
LISTENTOTHERADIO
PresstheFUNCTIONbuttonrepeatedlytoselectradiomode.
SELECTABAND
PresstheBANDbuttonrepeatedlytoselectAMorFM.
TUNETOASTATION
ToAuto‐tuneastation:
PresstheTUNE‐/SKIP‐orTUNE+/SKIP+button(or/ buttononremotecontrol)formorethan2
seconds,theunitwillsearchforanavailablestationandthenstarttobroadcastit.

12
AutoMemoryStoring:
PresstheSCANbuttonontheremotecontroltosearchandsaveusablestations.
NOTE:Theunitcanonlystore20FMstationsand10AMstationsatmost.Ifyourfavoritestationhasnotbeen
storedyouneedtosaveitmanually.(Referto“TOSTOREASTATIONMANUALLY”.)
Totuneastationmanually:
PresstheTUNE‐/SKIP‐orTUNE+/SKIP+button(or/ buttononremotecontrol)brieflytofindastation
manually.
TOIMPROVETHERECEPTION
IfyoufindtheAMstationisnotclearlyenough,turntheunittoanotherdirectionuntilyoufindthestationis
veryclearinaparticulardirection,sincetheAMbandantennaisinternalanddirectional.
IfyoufindtheFMstationisnotclearlyenough,extendthepowercableasitactsanFMantenna.WhentheFM
receptionisstrong,theunitwillturntostereobroadcastandthestereoicon()willshowonthedisplay.
TOSTOREASTATIONMANUALLY
Youcanstore20FMstationsand10AMstationsatmost.
1.PresstheMEMORYbuttonandthe“P”appearsanddigits“01”starttoblinkonthedisplay.
2.PresstheM‐/MENUorM+/SELECTbutton(or/buttononremotecontrol)toselectamemoryaddress.
3.PresstheMEMORYbuttonagainandthestationhasbeensaved.
TOLISTENTOASTOREDSTATION
Inradiomode,presstheM‐/MENUorM+/SELECTbutton(or/buttononremotecontrol)toselecta
stationyouhavestored.
PLAYADOCKEDDEVICE
ROTATETHEDOCKATVALIDANGLES
Thedockcanswivel45or90degreeradius.Holdthedockneckandswivelit.
IMPORTANT:Thedockcanonlyswivelasshownbelow.Donotforceittoturninotheranglesasitcoulddamage
theunit.
YoucanalsodocktheiPadoneitherportraitmodeorlandscapemode.
IMPORTANT:Thedockcanonlyswivelinsingledirectionasshownbelow.Donotforceittoturninother
directionasitcoulddamagetheunit.

13
RESTRACTTHEDOCK
Ifyoudonotdockanydevice,restractthedock.
TODOCKTHEiPAD/iPHONE
The30‐pinconnectorislocatedatthebottomofthedockandisdesignatedtobefloatingonpurposesoasto
accommodatealldevicesofiPadandiPhone.
Whenyourdeviceisdockedandconnectedtothe30‐pinconnector,soundswillonlycomeoutfromthebuilt‐in
stereospeakersonthisunitandyourdevicewillbemuted.
TIPS:Removethedockcoverbeforeyoudockyourdevice.
iPad:
•Turnthedockinthedirectionshownasbelow.Removethedockcover.SlideyouriPadfromrighttoleftto
the30‐pinconnector.PressandfixtheconnectorthenconnecttheiPadtotheconnector.Refitthedock
cover.
•ToremovetheiPad,pressonthedockcoverthenslideoutyouriPad.

14
NOTE: To fully hold the iPad 2nd and/or 3rd generaon, insert an appropriate bracket before you dock the device.
To fit your iPad 2 snugly, use the iPad 2 bracket. To fit your iPad 3rd generaon snugly, use the iPad bracket (3rd
generaon).
•Obvious the install grooves on both sides of the dock. Match the pins on iPad bracket with the grooves and
press the pins into the grooves. Then slide your iPad into the dock.
•To remove the iPad bracket, press down the pins with your fingers.
iPhone:
•Turn the dock in the direcon shown as below. Make the dock bracket “stand-up”. Remove the dock cover
then slide your iPhone from leto right to the 30-pin connector. Press and fix the connector and connect
your iPhone to the connector. Refit the dock cover.

15
•ToremovetheiPhone,pressonthedockcoverthenslideoutyouriPhone.
PLAYTHEiPAD/iPHONE
Whenthedeviceisdockedontotheunit,presstheFUNCTIONbuttonrepeatedlytoselectradiomode.
1.GeneralControlButtons
PLAY/PAUSEbutton():Itworksasthe“PLAY/PAUSE”buttonintheiPod.
STOPbutton():Itworksasthe“STOP”buttonintheiPod.
M‐/MENUbutton(orbuttononremotecontrol):Itworksasthe“MENU”buttonintheiPod.
M+/SELECTbutton(orSELECTbuttononremotecontrol):Itworksasthe“SELECT”buttonintheiPod.
TUNE‐/SKIP‐button(orbuttononremotecontrol):Itworksasthe“PREVIOUS”buttonintheiPod.
TUNE+/SKIP+button(orbuttononremotecontrol):Itworksasthe“NEXT”buttonintheiPod.
UPbutton(orbuttononremotecontrol):Itworksasthe“”buttonintheiPod.
DOWNbutton(orbuttononremotecontrol):Itworksasthe“”buttonintheiPod.
2.ChargingTheDevice
Theunitwillchargethedeviceduringdockingviathe30‐pinconnector,thechargingvoltageis5V2.1A.
NOTE:The30‐pinconnectordoesnotchargeyourdeviceinradiomode.
USETHEALARM
Prerequisite:TheunitMUSTbesettoSTANDBYmode.
1.PressandholdtheALARMbutton(orbuttonontheremotecontrol)thehourdigitsstarttoflash.
2.PresstheUP/DOWNbutton(or/buttononremotecontrol)tosetthehours.
3.ThenpresstheALARMbutton(orbuttonontheremotecontrol)againtheminutedigitsstarttoflash.
4.PresstheUP/DOWNbutton(or/buttononremotecontrol)tosettheminutes.
5.DuringtheminutedigitsarestillblinkingpresstheFUNCTIONbuttonrepeatedlytoselectthealarmsource:
radio(),iPod( )orbuzzer(defaultsetting,noiconforbuzzer).Thenwaitforapproximately5secondsand
thesettingwillbesavedautomatically.
NOTE:Thesettingofthealarmtimeandsourcemustbesetwithoutanyinterruption.

16
6. When the me goes off, press the ALARM or STANDBY/ON buon to stop it sounding.
Fast Switch On / OffThe Alarm
Briefly press the ALARM buon (or buon on remote control) to acvate or deacvate the alarm funcon.
SET THE SLEEP TIMER (TIME OFF)
You can set the SLEEP TIMER (TIME OFF) so the unit turns itself offaer a specified me.
Prerequisite: The unit MUST be set ON.
1. Press the TIME OFF buon (or buon on remote control), “90” flashes on the display.
Connue to press the TIME OFF buon (or buon on remote control) unl the desired me appears on
the display.
2. Do not touch any buon and wait for approximately 4 seconds, the display reverse the previous working
interface and the mer starts to work.
TIPS:
If you want to terminate the TIME OFF funcon, press the STANDBY/ON buon or keep pressing the TIME OFF
buon unl “00” appears on the display then wait for approximately 4 seconds. The TIME OFF funcon will be
canceled and the icon ( ) will disappear.
If you want to check the remaining me, press the TIME OFF buon once, the remaining me will be displayed
for a few seconds.
SPECIFICATIONS
Power Supply: AC 120V~ 60Hz
Frequency Range: AM 520 - 1710 kHz
FM 87.5 - 108 MHz
Power Consumpon: 40 W
Standard Accessories: Remote Control Unit x1
Baery for Remote Control Unit x1 (Preinstalled in the Remote Control)
iPad 2 Bracket x2
iPad Bracket (3rd generaon) x2
Long Plasc Pole x6
Screw (Short) x6
Screw (Long) x6
Template for Cabinet Mounng x1
Instrucon Manual x1
*Design and specificaon are subject to change without noce.

17
FCCSTATEMENT
Warning:Changesormodificationstothisunitnotexpresslyapprovedbythepartyresponsibleforcompliance
couldvoidtheuserauthoritytooperatetheequipment.
NOTE:ThisequipmenthasbeentestedandfoundtocomplywiththelimitsforClassBdigitaldevice,pursuantto
part15oftheFCCRules.Theselimitsaredesignedtoprovidereasonableprotectionagainstharmfulinterference
inaresidentialinstallation.Thisequipmentgenerates,usesandcanradiateradiofrequencyenergyand,ifnot
installedandusedinaccordancewiththeinstructions,maycauseharmfulinterferencetoradioortelevision
reception,whichcanbedeterminedbyturningtheequipmentoffandon,theuserisencouragedtotryto
correcttheinterferencebyoneormoreofthefollowingmeasures:
‐Reorientorrelocatethereceivingantenna.
‐Increasetheseparationbetweentheequipmentandthereceiver.
‐Connecttheequipmentintoanoutletonacircuitdifferentfromthattowhichthereceiverisconnected.
‐Consultthedealeroranexperiencedradio/TVtechnicianforhelp.
CALIFORNIAPROP65WARNING
"WARNING"ThisproductcontainsachemicalsknowntotheStateofCaliforniatocausebirthdefectsorother
reproductiveharm.Formoreinformationontheseregulationsandalistofchemicals,logonthefollowing
websiteaddress:
http://www.oehha.ca.gov/prop65.html

18
WARRANTY
InnovativeTechnologyElectronicsCorp.
LimitedWarranty:90DaysLabor,OneYearParts
InnovativeTechnologyElectronicsCorp.(IT)warrantstheproducttobefreefrom“Defects”inmaterialsundernormal
useforaperiodof“OneYear”fromthedateoftheoriginalpurchase.TheWarrantyis“Not”transferable.ITagrees,
withintheinitial“90Day”period,torepairorreplacetheproductifitisdeterminedtobedefectiveat“NoCharge”.It
isfurtheragreedthatITwillcoverthecosttorepairorreplacedamaged“Parts”onlyforatotalperiodof“OneYear”
fromthedateoftheoriginalpurchase.Thewarrantydoesnotcovercosmeticdamage,antennas,ACcords,cabinets,
headbands,ear‐pads,ordamageduetolinepowersurges,connectiontoimpropervoltagesupplyorsettings,misuse,
mishandling,accident,actsofGodorattemptedrepairbyanunauthorizedserviceagent.
Toobtainservice,thepurchaserMUSTpresentanoriginalsalesreceipt/proofofpurchase.Pleasecontactusat
www.ithomeproducts.comtorequestanRMA(ReturnMaterialAuthorization)numbertoreturnproductsfor
serviceorreplacement.ReturnswithoutanRMAnumberonthepackagewillberefusedandreturnedtosender.
Uponreceiptofthereturningitemandourfullinspection(IT)mayissueareplacementtocustomerforthesameitem
orofonethathasequivalentvalueandfeatures.Toreturnanitem,supplyfullname,returnaddress,phonenumber,
itempurchased,receiptofpurchaseandreasonforreturntoobtainRMAnumber.
Allreturnsmustbeintheoriginalpackagingorreasonablesubstitutetopreventdamage.
Customer “Must”includefullname,shippingaddressandtelephonenumberinsideofpackage.Noreturnwillbe
shippedbacktoaPOBoxorAPOaddress.
Pleaseincludeyourcheckormoneyorderintheamountof
•USD$5.00foritems$10.00to$39.99(PricePaidPerUnit)
•USD$10.00foritems$40.00to$99.99.(PricePaidPerUnit)
•USD$16.00,foritems$100.00andup.(PricePaidPerUnit)
•Shippingfeesarenon‐refundable
tobepayabletoInnovativeTechnologyElectronicsCorp.(forhandlingandreturn
shippingcharges)(IT)willnotberesponsiblefordelaysorunprocessedclaimsresulting
fromapurchaser’sfailuretoprovideany/allofthenecessaryinformation.
SendallinquiriesorRMArequestviaourwebsitewww.ithomeproducts.com/support.
InnovativeTechnologyElectronicsCorp.
1ChannelDrive
PortWashington,NY11050
Tollfree:1‐877‐483‐2497
Websiteforsupport:www.ithomeproducts.com/support
Therearenoexpresswarrantiesexceptaslistedabove.
REPAIRORREPLACEMENTASPROVIDEDUNDERTHISWARRANTYISTHEEXCLUSIVE
REMEDYOFTHECUSTOMER,(IT)SHOULDNOTBELIABLEFORANYINCIDENTALOR

19
CONSEQUENTIALDAMAGESFORBREACHOFANYEXPRESSORIMPLIEDWARRANTYONTHISPRODUCTEXCEPTTOTHE
EXTENTPROHIBITEDBYAPPLICABLELAW.ANYIMPLIEDWARRANTYOFMERCHANTABILITYORFITNESSFORA
PARTICULARPURPOSEONTHISPRODUCTISLIMITEDINDURATIONTOTHEDURATIONOFTHISWARRANTY.
Somestatesdonotallowtheexclusionorlimitationofincidentalorconsequentialdamages,orlimitationsonhow
longanimpliedwarrantylasts,sotheaboveexclusionsorlimitationsmaynotapplytoyou.Thiswarrantygivesyou
specificlegalrightsandyoumayalsohaveotherrights,whichvaryfromstatetostate.

20
760120502E
Table of contents
Other Innovative Technology Docking Station manuals

Innovative Technology
Innovative Technology ITL-745 User manual

Innovative Technology
Innovative Technology ITR-155iP User manual

Innovative Technology
Innovative Technology ITVS?850i User manual

Innovative Technology
Innovative Technology IT-6022 User manual

Innovative Technology
Innovative Technology ITIP-7500 User manual

Innovative Technology
Innovative Technology IT-5022 User manual

Innovative Technology
Innovative Technology Dock & View ITITV-2012 User manual

Innovative Technology
Innovative Technology IT-6022 User manual