3
Insight Vision warrants to the original purchaser that should any of its products prove to be defective in material
or workmanship in normal use, within one (1) year from the date of delivery, Insight Vision will, at its exclusive
option, repair, replace or exchange the product or any of its parts.
THIS WARRANTY IS SUBJECT TO THE FOLLOWING LIMITATIONS:
1. The warranty does not apply to any product which has been subject to accident, negligence, alteration,
abuse, misuse, overload, repair by anyone other than Insight Vision or its authorized representatives, or
not maintained in accordance with the manufacturer's suggested maintenance requirements.
2. The warranty applies only to components manufactured by Insight Vision. The appropriate
manufacturer's warranty, if any, shall apply to components not manufactured by the company.
3. The warranty does not apply to flex-link connectors, rod, LED light rings, cable, rollers, O-rings, and skids,
or other parts, which are considered consumable. The replacement of these items is part of normal
product maintenance.
4. The warranty shall not apply if the products are used or operated in any manner not consistent with their
intended purpose.
5. The warranty is limited to repair or replacement of defective products and parts during the warranty
period, and shall be the exclusive remedy. Insight Vision shall in no event have any other obligation or
liability of any nature arising from the breakdown, malfunction, defect or other failure of the product,
including, without limitation, any liability for service, maintenance, repairs, personal injury, property
damage, loss of profits, loss of use or other consequential damages.
6. Any action for any claimed breach of this warranty shall be brought within one (1) year from the date of
delivery of the product.
7. The purchaser must return the defective product, part or component to the Insight Vision factory in
Saukville, WI 53080 at the purchaser's expense, properly and adequately packaged, with insurance and
transportation pre-paid. Insight Vision will either repair or replace the defective product, part or
component, at its option, and will return it to the purchaser at the customer's expense. In no event shall
Insight Vision be liable for delay in repair or replacement and return under this warranty. Insight Vision
will endeavor to effect appropriate repairs in the shortest time practical, with respect to the customer
having beneficial use of their equipment.
8. Insight Vision neither assumes nor authorizes any person to assume any other liability or make any other
warranty in connection with the products.
9. THIS WARRANTY IS EXPRESSLY GIVEN IN LIEU OF ALL OTHER WARRANTIES EXPRESSED OR
IMPLIED. INSIGHT VISION EXPRESSLY DISCLAIMS ANY OTHER WARRANTY, INCLUDING,
WITHOUT LIMITATION, ANY WARRANTY OF MERCHANTABILITY OR FITNESS FOR A
PARTICULAR PURPOSE.
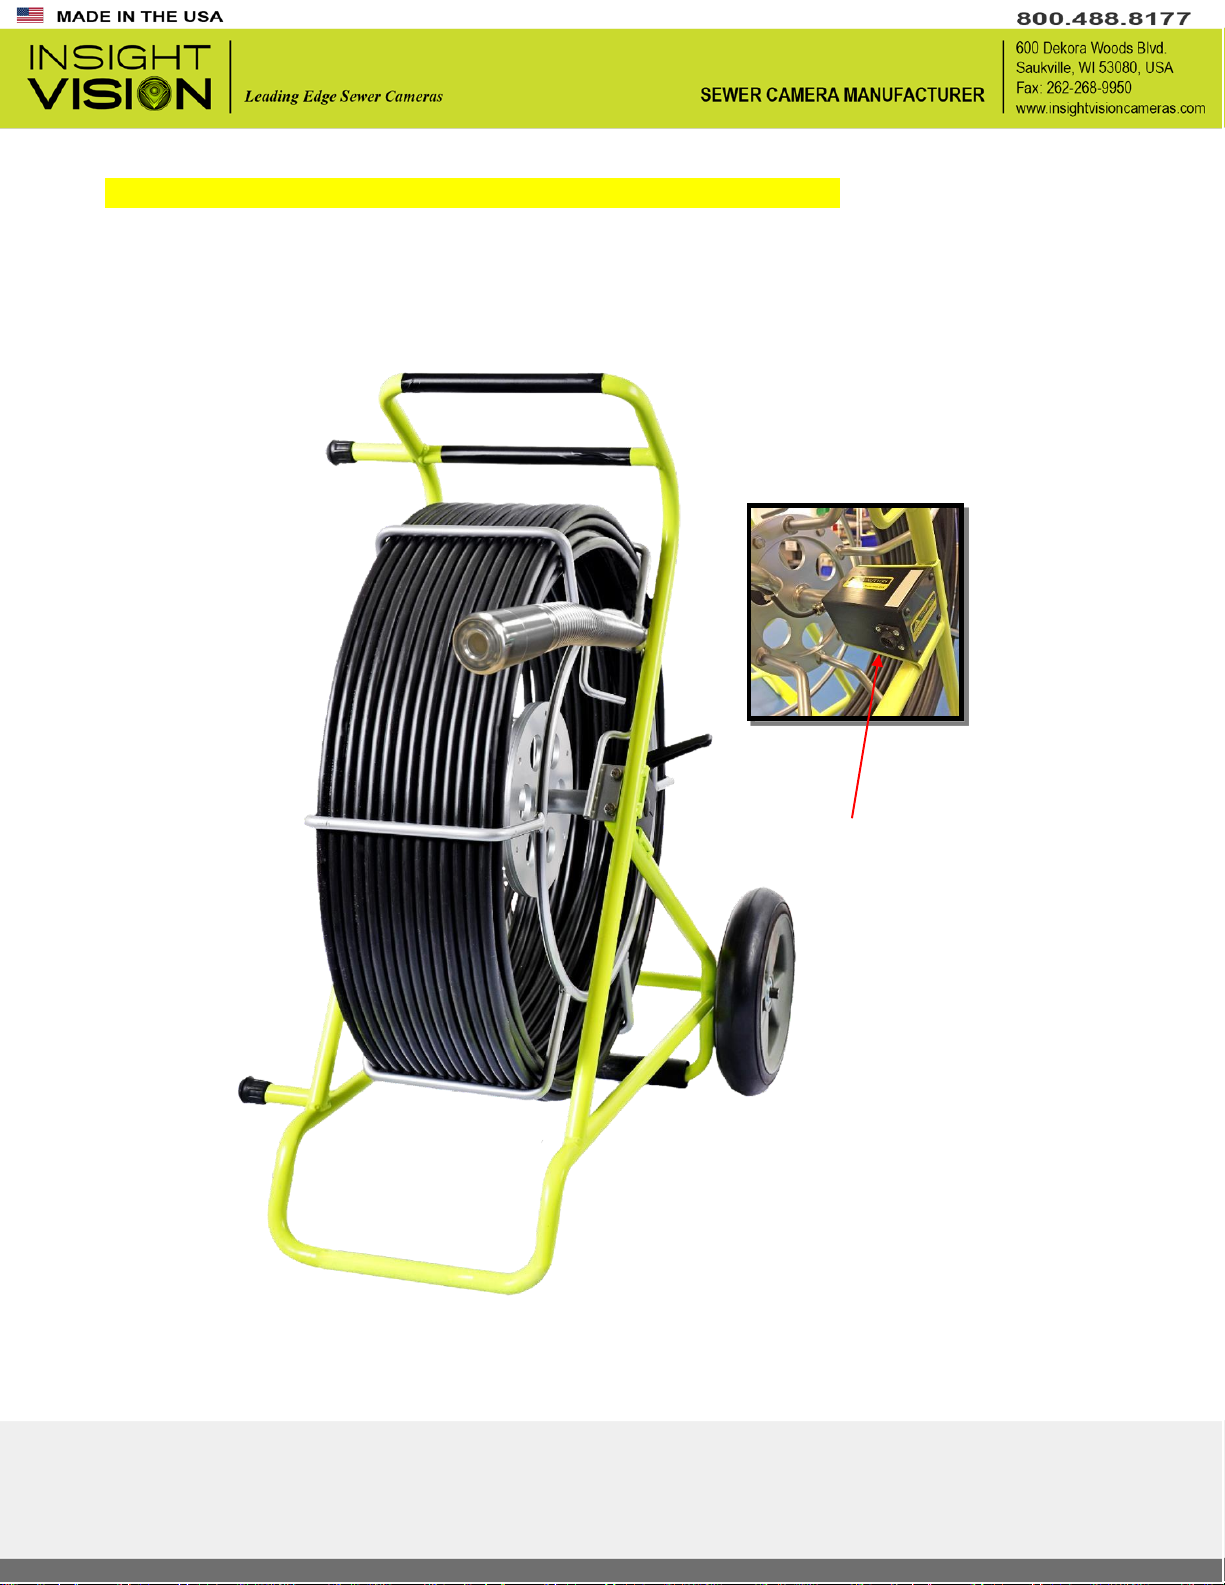
General Overview
Description
The Vutek system is a portable push camera designed to inspect and record mainlines, pipelines and
underground infrastructure videos. The user-friendly keypad has been redesigned with an easy “On Demand”