16-EN
5.3 SYSTEM
l
5.3.3 SYSTEM/USER
You can set up the internal clock of the camera to be
either synchronised with your PC clock or with one of
several NTP servers. As long as your camera has ac-
cess to the internet it is recommended to use an NTP
server synchronisation to achieve a higher accuracy
for alarm trigger events. Please activate “Consider
Daylight Saving Time” when in eect.
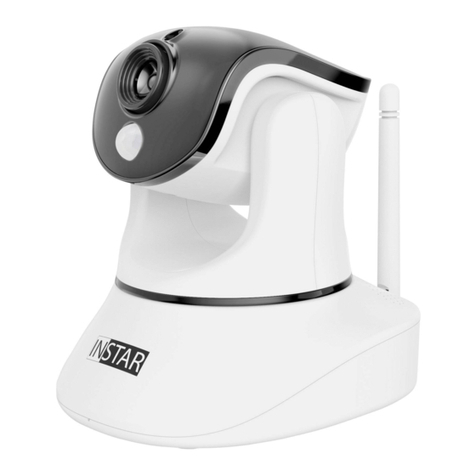
5.3.4 SYSTEM/Status LED
5.3.1 SYSTEM/INFO
e Info menu gives you an overview of several im-
portant camera parameters - like your soware ver-
sion and connection status.
5.3.2 SYSTEM/DATE & TIME
Here you can adjust the behaviour of the network sta-
tus LED. You can turn othe blue status LED (which
can be found at the back of the camera) or you can
turn it on in order to signal if there is a network con-
nection or not.
e web user interface oers a 3-level user manage-
ment with dierent access rights for administrators,
operators and visitors. You can set user names and
passwords for all three user levels in the Users mask.
Guests will only have access to the videostream of the
camera, Userss in addition are able to use the pan&tilt
function and only the Administrator will have access to
all the camera’s conguration menus.
e web user interface oers a 3-level user manage-
ment with dierent access rights for administrators,
users and guests. You can set user names and pass-
words for all three user levels in the Users mask. Guests
and Users will only have access to the videostream of
the camera and only the Administrator will have access
to all the camera’s conguration menus.
5.1 SOFTWARE
l
5.1.1 SOFTWARE/LANGUAGE
5.1.2 SOFTWARE/NEUSTART-RESET
5.1.3 SOFTWARE/SICHERUNG
5.1.4 SOFTWARE/UPDATE
Stellen Sie hier die Sprache der Oberäche ein. Nach dem
Bestätigen wird die Weboberäche, im folgenden kurz
WebUI genannt, in der ausgewählten Sprache neugelad-
en.
Im Menüpunkt “Neustart/Reset” nden Sie die Versions-
nummern der Firmware und Weboberäche (WebUI)
der Kamera. Um die Kamera neuzustarten oder in die
Werkseinstellungen zurückzusetzen, setzen Sie bitte den
entsprechenden Haken und bestätigen Sie die Eingabe.
Um ein unbeabsichtigte Zurücksetzen zu verhindern,
wird ein Warnhinweis geladen und der Reset muss nach
10 Sekunden nochmals bestätigt werden.
Um die auf der Kamera gemachten Einstellungen zu
speichern, setzen Sie bitte den Haken bei “Sicherheits-
kopie erstellen” und bestätigen Sie die Eingabe. Sie
werden anschließend nach einem Dateinamen und ei-
nem Speicherort für die *.bin Datei gefragt. Per default
ist der Dateiname cong_backup.bin und der Speicher-
ort der Standard Download-Ordner Ihres Browsers. Um
Sie können in regelmäßigen Abständen eine aktualisierte
Soware für Ihre Kamera in unserem Downloadbereich
auf http://download.instar.de nden und herunterladen.
Klicken Sie im Menü “Update” auf “Durchsuchen” um
den Pfad zur heruntergeladenen Update-Datei anzuge-
ben und “Bestätigen” Sie anschließend um die Aktualis-
ierung aufzuspielen. Das Update darf nur über eine LAN
Verbindung auf die Kamera aufgespielt werden!
bereits gespeicherte Einstellungen wieder aufzuspielen setzen Sie bitte den Haken bei
“Sicherungskopie laden”, klicken anschließend auf die “Durchsuchen”Schaltäche um
die Sicherungsdatei auszuwählen und “Bestätigen” die gemachten Eingaben.
5.3 SYSTEM
l
5.3.3 SYSTEM/USER
You can set up the internal clock of the camera to be
either synchronised with your PC clock or with one of
several NTP servers. As long as your camera has ac-
cess to the internet it is recommended to use an NTP
server synchronisation to achieve a higher accuracy
for alarm trigger events. Please activate “Consider
Daylight Saving Time” when in eect.
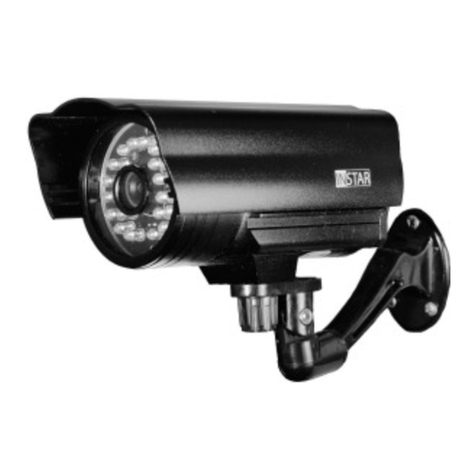
5.3.4 SYSTEM/IR LED
5.3.1 SYSTEM/INFO
e Device Info menu gives you an overview of several
important camera parameters - like your soware ver-
sion and connection status.
5.3.2 SYSTEM/DATE & TIME
Here you can adjust the behaviour of the infrared
LEDs of the camera. You can choose between 2 modes
in which the LEDs are either always oor automatical-
ly switched on by a photodiode when it is getting dark.
e web user interface oers a 3-level user manage-
ment with dierent access rights for administrators,
users and guests. You can set user names and pass-
words for all three user levels in the Users mask. Guests
and Users will only have access to the videostream of
the camera and only the Administrator will have access
to all the camera’s conguration menus.


