Operating Instructions Safari™Series
Keep this manual for future reference. If you sell this stroller or give it
away, make sure you give this manual to the new owner. Ask them to
read instructions completely.
IMPORTANT: Read and follow these Safety Rules and Assembly Instruc-
tions
before operating stroller. If you have any questions concerning the safe
use of this product, contact Pacific Cycle at 1-800-242-6110, M-F,
8:00 a.m.-5:00 p.m. CST or visit us at www.instep.net or E-mail us
IMPORTANT: Tires are shipped deflated, DO NOT OVERINFLATE.
Please inflate slowly, with short bursts, to 20-25 PSI maximum.
25 PSI will provide a comfortable ride for your child.
PLEASE DO NOT RETURN PRODUCT TO THE STORE. To ensure prompt and
correct handling of problems, or to answer questions, please contact us at
either our
Toll-Free Customer Service number (1.800.242.6110) or E-mail us at info@
instep.net. Service will be quicker if you have your model number and
date code (found on the product and box) along with this instruction sheet
ready when calling.
If you have any questions concerning the safe use of this product, please
contact us immediately.
*images may appear different than your product. The assembly process will be the same.
*single pictured
Safety Rules:
WARNING: Failure to follow these warnings and assembly
instructions could result in serious injury or death.
· Immediately discard any plastic wrapping.
· Never allow children to fold, assemble or disassemble the stroller.
· Maximum weight capacity for the Single stroller is 50 lbs. or 22.7 kgs.
Double is 100 lbs or 45.4 kgs. However, the weight of one child should
not exceed 50 lbs. Excessive weight may cause a hazardous, unstable
condition if this load is exceeded. Maximum height of the child shall not
exceed 38” or 96 cm.
· Stroller is not for use with children under 6 months of age.
· Never place child in the stroller with their head forward and feet rear
ward unless they are placed in an approved infant carrier that is made
specifically for this stroller.
· Avoid serious injury from falling or sliding out. Always use seatbelt.
· Never leave child unattended.
· Never use this stroller with roller skates or in-line skates.
· Never allow stroller to be used as a toy or allow children to give rides
to others.
· Never use stroller if it becomes damaged.
· Always be aware of traffic around you when walking
· Always engage brakes when you stop or when you let go of handle.
· Accessories or parcels placed in or on the stroller may cause it to be
come unstable.
· Maximum weight for objects in bottom basket is 5 lbs. or 2.2 kg.
Rear pouch is 2.2 lbs or 1 kg. Excessive weight may cause a
hazardous, unstable condition.
· To avoid burns, never put hot liquids in the parent or child tray.
· To prevent tipping over do not place more than 2 lbs or 1 kg on either
parent or child tray.
· Child may slip into leg openings and strangle. Never use in a reclined
carriage position unless T-shield/ waist strap placement has been
re-adjusted.
· Care must be taken when folding and unfolding the product to prevent
finger entrapment.
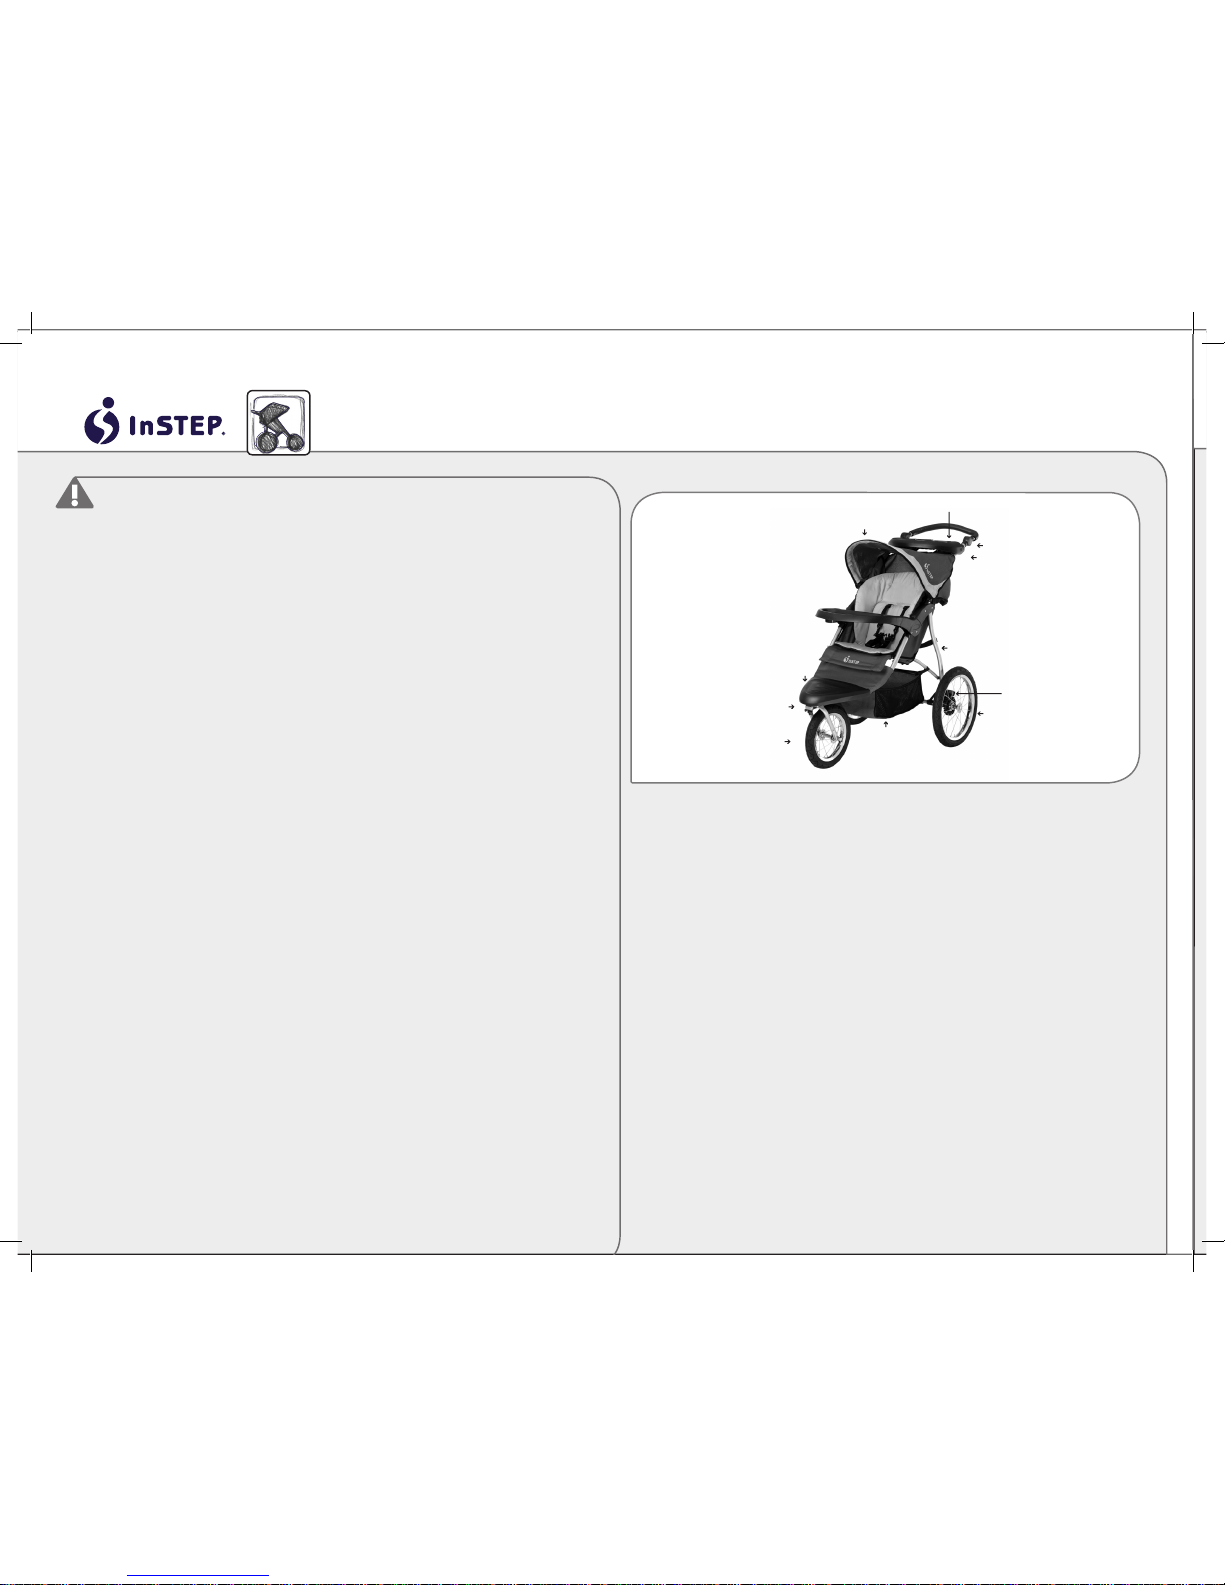
frame
swivel lock
swivel wheel
front fender
parking brake
basket
child tray
(napper bar on
double)
canopy
handle
handle adjustment
parent console
rear wheel
{Figure 1.a}