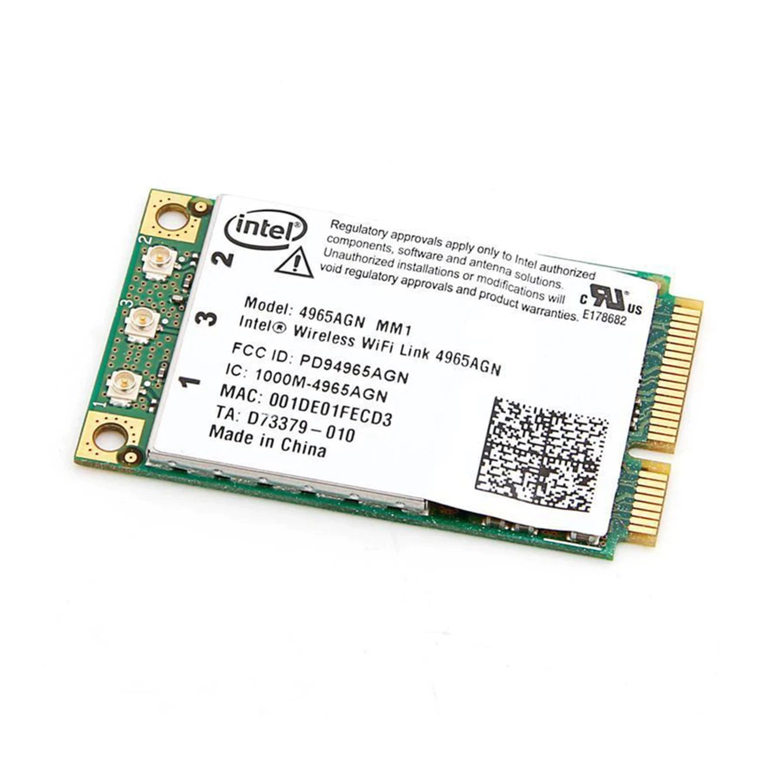
Intel PCMCIA Modem Card Quick Start Guide
Installation for Windows ME
Step 1 - As Windows ME boots up, it will automatically detect your new Modem. Click “Next” to
continue.
Step 2 - Select “Specify the location of the driver (Advanced)” for your device and click “Next”.
Step 3 - Insert the driver CD into CD-ROM and select “Specify a location” and the file path
“E:\Driver\winme”, and click “Next”.
Step 4 - Click “Next” to accept the INF. file. Windows ME will start to copy all files from CD-ROM
to your PC hard disk.
Step 5 - Click “Finish” to confirm the installation of the modem.
Step 6 - Repeat Step 2-5 to go on the installation of “Wave Device for Voice Modem” and
complete the total installation.
Installation for Windows 2000
Step 1 - As Windows 2000 boots up, it will automatically detect your new Modem. Click “Next” to
continue.
Step 2 - Select the default choice that will search for the best driver for your device and click
“Next”.
Step 3 - Select “Specify a location” and click “Next”.
Step 4 - Insert the driver CD into CD-ROM and select the file path “E:\Driver\win2k”, and click
“OK”.
Step 5 - Driver found, click “Next” to continue.
Step 6 - Click “Yes” to continue the installation.
Step 7 - Click “Finish” complete the total installation.
Installation for Windows NT
Step 1 - As Windows NT boots up, open Control Panel in your computer and double-click
“Modem” icon. It will display an “Install New Modem” dialog box. Click “Change..” to start the
installation.
Step 2 - Select “Have Disk..” to continue.
Step 3 - Insert the driver CD into CD-ROM and select the file path “E:\Driver\winnt”, and click
“OK”.
Step 4 - Highlight “Intel 56K bps PCMCIA(MD5661) Modem” and click “OK”.
Step 5 - Click “Next” to continue.
Step 6 – Driver installed, click “Finish” to confirm the installation.
II
