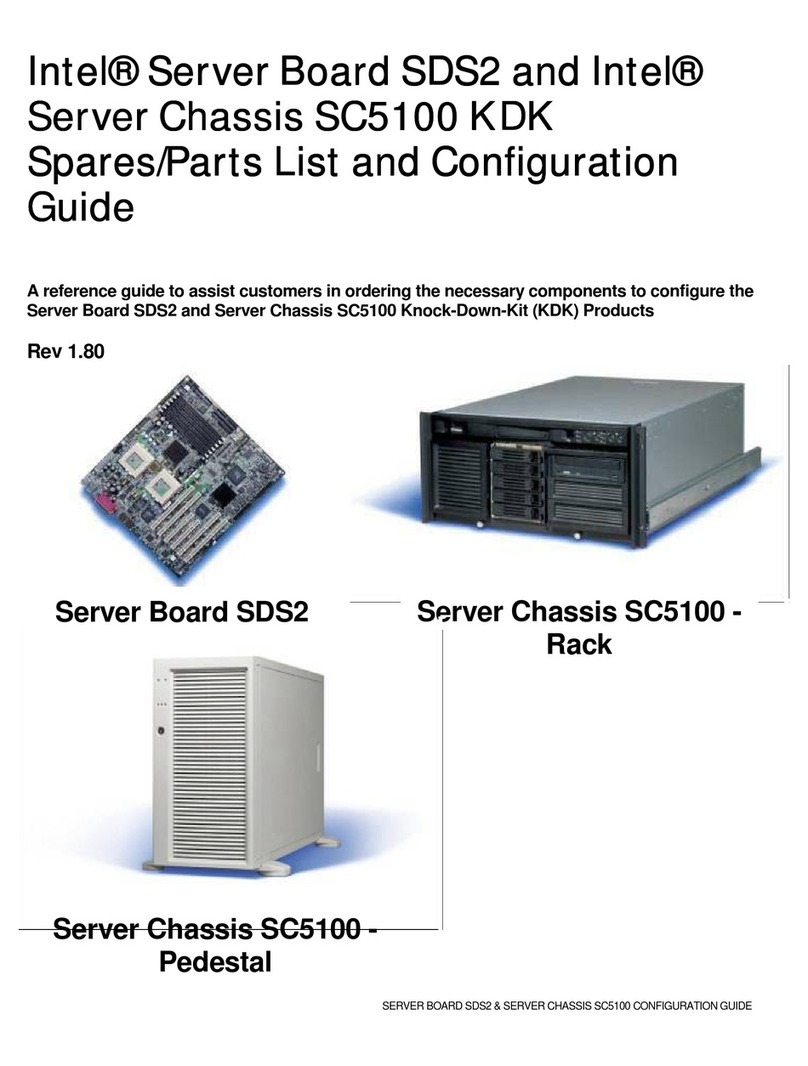
2
91011 12
56
13 14
1234
i
R
1 5 10 30 40 50+
Traff
10Mbps
Power
10Mbps
Port
Activity
Port
Speed
Intel®Express 140T
Standalone Hub
9101112
9101112
123456
13 14
12345
13
Install the Hub
Connect
the Devices
Check the
Connections
• Remove the hub and parts from the box.
• Attach the enclosed brackets if you plan
to mount the hub in a rack.
• Install the Intel®Express 140T
Standalone Hub in a rack or on a shelf.
• Plug in the power cord.
• Check the port LEDs (located to the left
of the ports) to confirm the link status.A
solid LED indicates a valid link.A
blinking LED indicates port activity.
• The bottom two rows indicate port speed.
• All ports automatically detect the speed
of the device connected to them.
• Connect PCs and print servers to the hub
with straight-through cables.
• Use a crossover cable to connect a hub to
another hub or switch.
• Use a straight-through cable to connect to
another hub or switch when using the
daisy-chain port.
• Use only CAT 5 UTP to connect
100Mbps devices. To connect 10Mbps
devices, use CAT 3, 4, or 5 UTP.
Top Row – Port Activity
Solid Green = Link
Blinking = Activity
Orange = Autodisabled
Bottom Row – Port Speed
Solid Green = 100Mbps
Off = 10Mbps
i
R
100Mbps
Daisy-chain
MDI
1510
30 40 50+
1510
30 40 50+
10Mbps
Power
10Mbps 100Mbps
Collisions
or
Class
II
Port
Activity
Port
Speed
Solid green = Link
Blinking green = Activity
Orange = Autodisabled
Solid Green = 100Mbps
Off = 10Mbps
Intel
®
Express 140T
Standalone Hub
5678
1234
17 18 19 20
13 14 15 16
12345678910 11 12
13 14 15 16 17 18 19 20 21 22 23 24
12345678910 11 12
13 14 15 16 17 18 19 20 21 22 23 24
910 11 12
21 22 23 24
Traffic%
Rack: Use the four
small screws to attach
the brackets to the hub.
Shelf: Peel off the protective
backing and attach the rubber
feet to the hub.
3
1
2
10/100
10/100
10/100
10/100 10/100
Hub Hub or Switch
Hub Print Server
Hub PC/Server
straight-through
From To
Quick Start
Hub Hub or Switch
straight-through
using the hub’s daisy-chain port
crossover
not using the hub’s daisy-chain port
