Intershape Ltd
Michaelmas House, Royal Oak Way North, Daventry, NN11 8PQ
Tel: 01327 300 395
Email: sales@intershape.com Web: www.intershape.com
3. Assemble the MultiMax Hutch
a) You will need:
Left and right side panels, roof and back
Bag of hutch fixing components
b) Place the left and right sides of the MultiMax
on the ground standing upright approx. 5 feet
(1.5m) apart as shown.
c) Attach the back of the MultiMax to the
sides. Bolt the back onto the outside of the
sides using the small bolts and back up
washers starting at the top. Insert the bolt
with a washer from the inside and attach a
washer and nut from the outside.
d) Attach the roof. Put the roof over the back
and sides. The sides should be adjusted so
the ribs on the roof line up with the ribs on the
sides. Bolt the roof to the sides starting at the
back. Occasionally the pre-drilled holes do
not line up and will need to be re-drilled.
e) Attach the two rear bedding door clips to
the back panel.
4. Attach the Hutch to the Base
a) You will need the bag of hutch to base
components.
b) Put the hutch on the base with the front
opening at the front of the base nearest the L
brackets.
c) Fasten the hutch to the base around the edge
using washers and screws starting at the
back corner and going across the back first.
d) Fasten the two angle brackets near the
entrance as shown to secure the hutch to the
base.
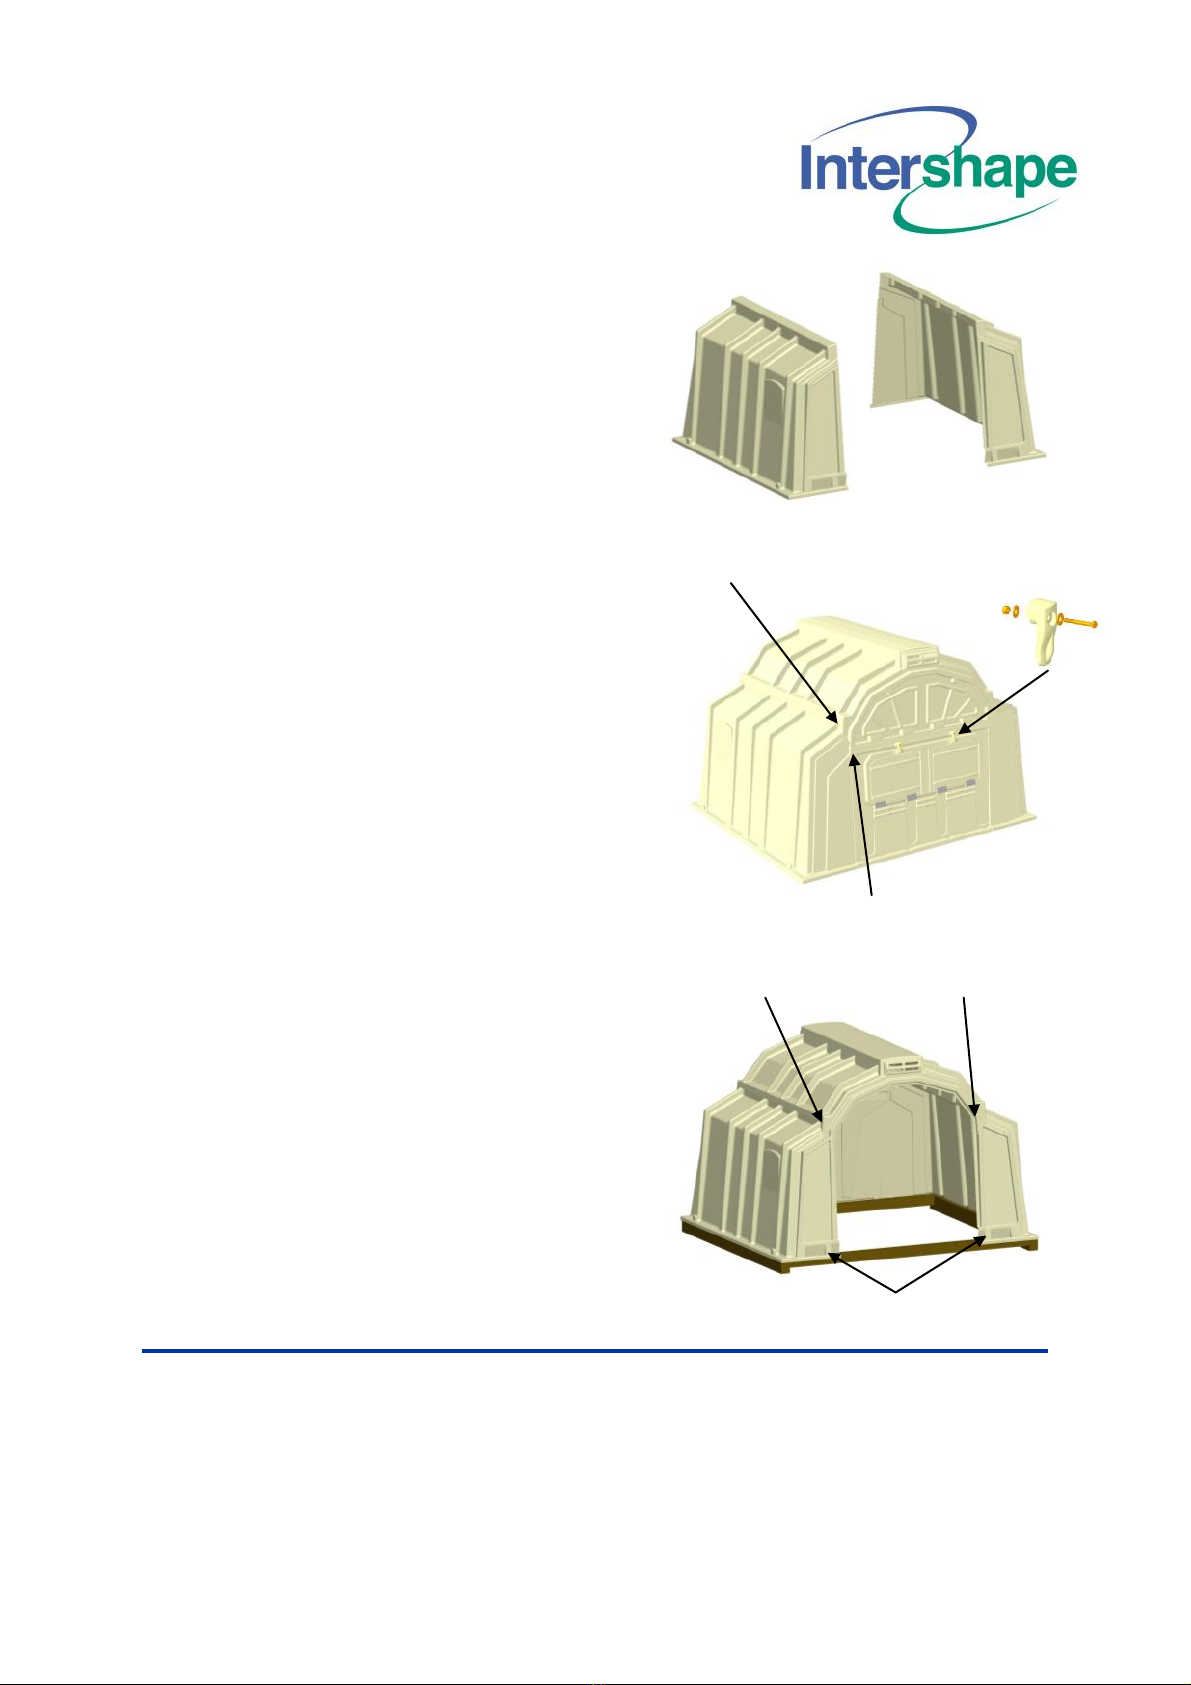
e) Drill through the two tabs in the roof as
indicated and bolt the roof to the sides at the
front.
Bolt angle brackets on here
Start attaching back here
Start attaching roof here
Drill through tabs here


