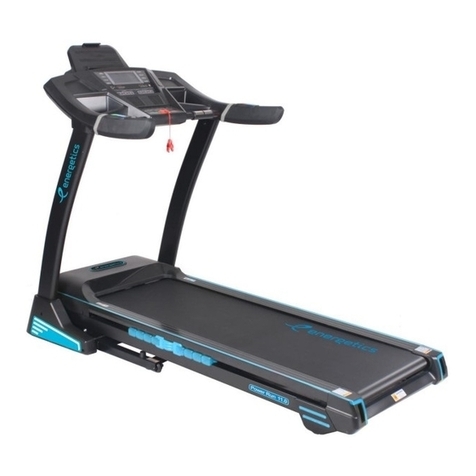
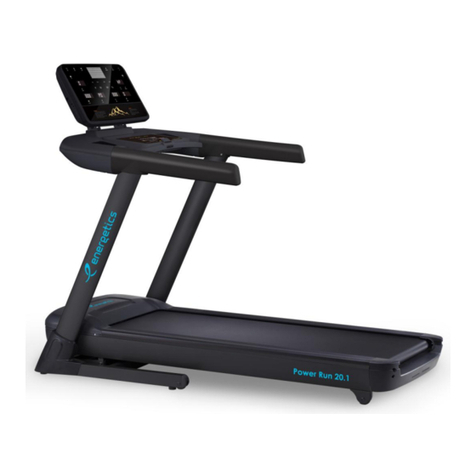
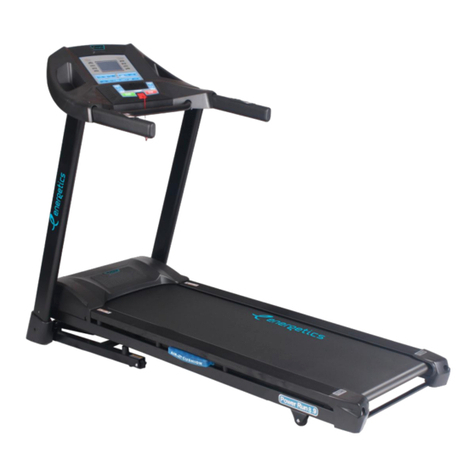
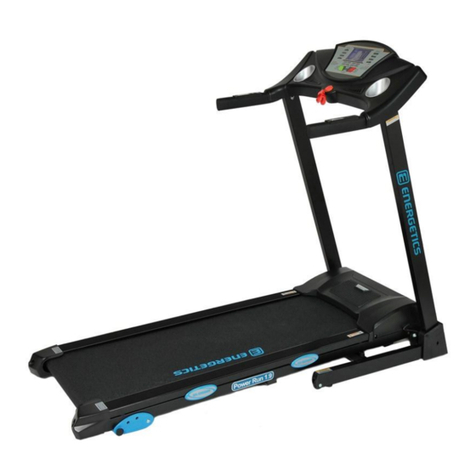
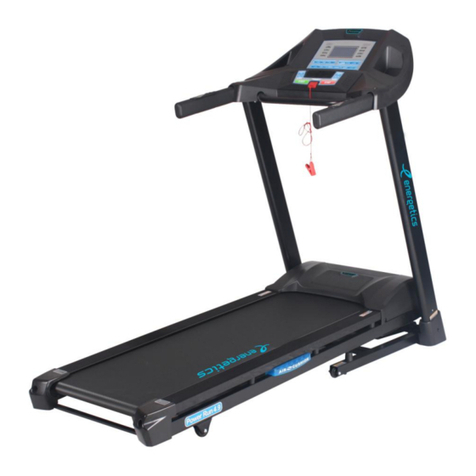
INTERSPORT POWER RUN 1.1 User manual

ENGLISH MANUAL
1
POWER RUN 1.1
MAGNETIC TREADMILL

IMPORTANT SAFETY INFORMATION
Please keep this manual in a safe place for easy reference.
1. It is important to read this entire manual before assembling and using the equipment.
2. Safe and effective use can only be achieved if the equipment is assembled, maintained and used properly. It is your
responsibility to ensure that all users of the equipment are informed of all warnings and precautions.
3. Before starting any exercise program you should consult your doctor to determine if you have any medical or physical
conditions that could put your health and safety at risk, or prevent you from using the equipment properly. Your
doctor's advice is essential if you are taking medication that affects your heart rate, blood pressure or cholesterol level.
4. Be aware of your body's signals. Incorrect or excessive exercise can damage your health. Stop exercising if you
experience any of the following symptoms: pain, tightness in your chest, irregular heartbeat, extreme shortness of
breath, lightheadedness, dizziness or feelings of nausea. If you do experience any of these conditions you should
consult your doctor before continuing with your exercise program.
5. Keep children and pets away from the equipment. The equipment is designed for adult use only.
6. Use the equipment on a solid, flat level surface with a protective cover for your floor or carpet. To ensure safety, the
equipment should have at least 0.6 meters of free space all around it.
7. Before using the equipment, check that the nuts and bolts are securely tightened.
8. The safety of the equipment can only be maintained if it is regularly examined for damage and/or wear and tear.
9. Always use the equipment as indicated. If you find any defective components while assembling or checking the
equipment, or if you hear any unusual noises coming from the equipment during use, stop immediately. Do not use the
equipment until the problem has been rectified.
10.Wear suitable clothing while using the equipment.Avoid wearing loose clothing that may get caught in the equipment or
that may restrict or prevent movement.
11.The equipment has been tested and certified to EN957 under class H.C. Suitable for home use only. Maximum weight
of user: 100kg. Braking ability is independent of speed.
12.The equipment is not suitable for therapeutic use.
13.Care must be taken when lifting or moving the equipment so as not to injure your back. Always use proper lifting
techniques and/or seek assistance if necessary.
2
EXPLODED-VIEW ASSEMBLY DRAWING
3

4
PART LIST
NO.
DESCRIPTION
QTY
NO.
DESCRIPTION
QTY
01L/R
Left/Right upright tube
1
29
Running board
1
02
Support tube
1
30
Wire bushing
1
03
Base tube
1
31A
Computer
1
04
Main frame
1
31B
Sensor piece
2
05
Magnet holder
1
31C
Upper wire
1
06
Rear adjust tube
1
31D
Lower wire
1
07
Handle bar
1
31E
Sensor plate
1
08
Computer holder
1
32
Nut
3
09
Front roller
1
33
Flat washer (M10)
2
10
Rear roller
1
34
Hex bolt (M10*65)
2
11
Hex bolt (M8)
2
35
Flat washer (M10)
2
12
Rear roller lock piece
2
36
Inner hex bolt (M8*35)
4
13A
Upper tension control
1
37
4
13B
Lower tension control
1
38
Carriage bolt (M8*35)
2
13C
Oval plug
3
39
Lock nut (M8)
7
14
Spring
1
40
Inner hex bolt (M8*40)
2
15
End cap
3
41
Inner hex bolt (M8*30)
2
16
End cap
1
42
Pin
2
17
Front roller cover
1
43
Inner hex bolt (M8*65)
1
18
Square end cap
1
44
Inner hex bolt (M8*12)
4
19
2
45
Flat washer (M8)
4
20
4
46
Screw (M5*12)
6
21
Foam of handle bar
2
47
Inner hex bolt (M6*12)
2
22
Cushion
6
48
Inner hex bolt (M6*65)
2
23
Transport wheel
2
49
Screw (M5*25)
1
24
Side rail
2
50
Screw (T4.2*19)
1
25
Anti slip sticker
2
51
Screw (ST4.8*25)
8
26
Running belt
1
52
Screw (T3*10)
2
27
Knob
1
53
Allen key
1
28
Bushing
2
54
Multi Tool
1

5
ASSEMBLY INSTRUCTIONS:
STEP 1
Attach Front roller cover (17) to the Main
frame (4) using 2 Screws (M5*12) (46).
STEP 2
Attach Base tube (3) to the Upright tube (L/R) (01L/R)
using 2 sets of Carriage bolt (M8*35) (38), Arch

6
STEP 3
Release Knob (27) out and put Main frame (04)
down. Then lock Knob (27) into Left upright tube
(01L) and Main frame (04).

7
STEP 4
Attach Handlebar (07) to the Upright tube
(L/R) (01L/R) using 2 sets of Inner hex bolt
STEP 5
Attach Computer holder (08) to the U
Handlebar (07) using 2 Inner hex bolt
(M6*12) (47).

8
STEP 6
Attach Computer (31A) to the Computer holder (08)
using 4 Screws (M5*12) (46).
STEP 7
Connect Upper tension control (13A) with
Lower tension control (13B).Place the wire into
the hole of Right upright tube (01R).

9
STEP 8
Connect the plug of Computer (31A) with Sensor piece (31B) and Upper wire (31C). Then
connect the plug of Upper wire (31C) with Lower wire (31D).

10
STEP 9
Place Upper tension control (13A) and Upper wire (31C) through the hole of Oval plug (13C).
Put Upper tension control (13A), Lower tension control (13B), Upper wire (31C) and Lower
wire (31D) into the hole of Right upright tube (01R). Then put Oval plug (13C) on the hole.

11
FOLDING INSTRUCTION
1. Spin Knob (27) out of Main frame (04).
2. Flip Main frame (04) up.
3. Spin nob (27) into Main frame (04).
THE METHOD OF TRANSPORTING

12
BELT ADJUSTMENT
The treadmill is properly centered by the factory. However, after a long usage you must check to make
sure the treadmill is still centered on the running deck and that it still runs with enough tension to ensure
a smooth run. If this is not the case, the treadmill has to be adjusted.
To do this, proceed as follows: If the treadmill is running to far to the left, the turn the left screw
clockwise so that the band will be adjusted to the right. If the problem is not corrected after doing this,
then please turn the right screw as well, but counter clockwise, until the band is the middle and has the
correct tension.
If the bank is in general too loose (fluttering), then turn both screws clockwise using the hexagon
repeat the adjustment procedure and re-center it.
Depending on the circumstances, this could be necessary a few times.
Warning: When adjusting the band with the screws, do it carefully and with as few turns as possible
because over tightening the screws could result in damages of the plastic end caps. Check the location
of the band during the centering procedure by walking a little bit in between adjustments.
If the band has been correctly adjusted, it will be sufficient to check the position in regular intervals of
several weeks.
In addition, the correct centering must be checked after each time the treadmill is folded up as well as
after every transport.

INTERSPORT ATHLETICS SA
18-20 SOROU
15125
MAROUSI
GREECE
+302102806019
13
OPERATING THE COMPUTER
-99:59
-99.9KM/H(ML/H)
-999.9KM(ML)
-999.9KCAL
.0-999.9KM(ML)
KEY FUNCTIONS:
TENSION KNOB: Spin the tension knob from 1 to 8 to change the resistance.
MODE: This key lets you to select and lock on to a particular function you want.
SET
RESET: The key to reset the value to zero by pressing the key
OPERATION PROCEDURE:
1.AUTO ON/OFF The system turns on when any key is pressed or when it sensor an input from the speed sensor.
The system turns off automatically when the speed has no signal input or no key are pressed for approximately 4 minutes.
2.RESET The unit can be reset by either changing battery or pressing the MODE key for 3 seconds.
3.MODE To choose the SCAN or LOCK if you do not want the scan mode, press the MODE key when the pointer on the function
you want which begins blinking.
FUNCTIONS:
1TIME: Press the MODE key until pointer lock on to TIME. The total working time will be shown when starting exercise.
2.SPEED: Press the MODE key until the pointer advance to speed. The current speed will be shown.
3.DISTANCE: Press the MODE key until the pointer advance to DISTANCE. The distance of each workout will be displayed.
4.CALORIE: Press the MODE key until pointer lock on CALORIE. The calorie burned will be displayed when starting exercise.
5.ODOMETER (OPTION): Press the MODE key until the pointer advanced to ODOMETER. The total accumulated distance will be
shown.
6.PULSE:
Place the palms of your hands on both of the contact pads(or put car-clip to ear). And wait for 30 seconds for the most accurate
reading.
SCAN: Automatically display changes every 4 seconds.
BATTERY: If improper display on monitor, please reinstall the batteries to have a good result.

14
POWER RUN 1.1
ΜΑΓΝΗΤΙΚΟΣ ΔΙΑΔΡΟΜΟΣ
GREEK MANUAL

15
1.
2.
3.
4.
5.
6.
7.
8.
9.
10.
11. ENH.C
12.
13.

16

17
NO.
QTY
NO.
QTY
01L/R
Left/Right upright tube
1
29
Running board
1
02
Support tube
1
30
Wire bushing
1
03
Base tube
1
31A
Computer
1
04
Main frame
1
31B
Sensor piece
2
05
Magnet holder
1
31C
Upper wire
1
06
Rear adjust tube
1
31D
Lower wire
1
07
Handle bar
1
31E
Sensor plate
1
08
Computer holder
1
32
Nut
3
09
Front roller
1
33
Flat washer (M10)
2
10
Rear roller
1
34
Hex bolt (M10*65)
2
11
Hex bolt (M8)
2
35
Flat washer (M10)
2
12
Rear roller lock piece
2
36
Inner hex bolt (M8*35)
4
13A
Upper tension control
1
37
4
13B
Lower tension control
1
38
Carriage bolt (M8*35)
2
13C
Oval plug
3
39
Lock nut (M8)
7
14
Spring
1
40
Inner hex bolt (M8*40)
2
15
End cap
3
41
Inner hex bolt (M8*30)
2
16
End cap
1
42
Pin
2
17
Front roller cover
1
43
Inner hex bolt (M8*65)
1
18
Square end cap
1
44
Inner hex bolt (M8*12)
4
19
2
45
Flat washer (M8)
4
20
4
46
Screw (M5*12)
6
21
Foam of handle bar
2
47
Inner hex bolt (M6*12)
2
22
Cushion
6
48
Inner hex bolt (M6*65)
2
23
Transport wheel
2
49
Screw (M5*25)
1
24
Side rail
2
50
Screw (T4.2*19)
1
25
Anti slip sticker
2
51
Screw (ST4.8*25)
8
26
Running belt
1
52
Screw (T3*10)
2
27
Knob
1
53
Allen key
1
28
Bushing
2
54
Multi Tool
1

18
(M5 * 12) (46).
L/ R) (01L / R
(M
(M8) ( 39).

19
L).

20
(37).
(M6 * 12)
(47).
Table of contents
Languages:
Other INTERSPORT Treadmill manuals

INTERSPORT
INTERSPORT ENERGETICS PR 11.0 User manual

INTERSPORT
INTERSPORT ENERGETICS PR 4.9 User manual

INTERSPORT
INTERSPORT ENERGETICS PR 1.9 User manual

INTERSPORT
INTERSPORT ENERGETICS PR 8.9 User manual

INTERSPORT
INTERSPORT ENERGETICS POWER RUN 20.1 User manual

INTERSPORT
INTERSPORT ENERGETICS PR 40.1 User manual
Popular Treadmill manuals by other brands

ICON Health & Fitness
ICON Health & Fitness PFTL28820-INT.0 user manual

Garlando
Garlando Everfit TFK 155 SLIM Instruction

True Fitness
True Fitness Treadmill Z5.5 HRC Specifications

Salton
Salton WALKMILL Owners and operation manual

Keys Fitness
Keys Fitness DVC120 owner's manual

Merax
Merax L510C user manual