ION 7KW32TAS User manual

iON Tech Home EV Charger
Operation Manual
This Manual Covers Models
7KW32TAS - 7KW Single Phase AC 32A
11KW32TAS - 11KW 3 Phase AC 3 x 16A
22KW32TAS - 22KW 3 Phase AC 3 x 32A
Touch screen interface and pairing PIN: 888888

Content
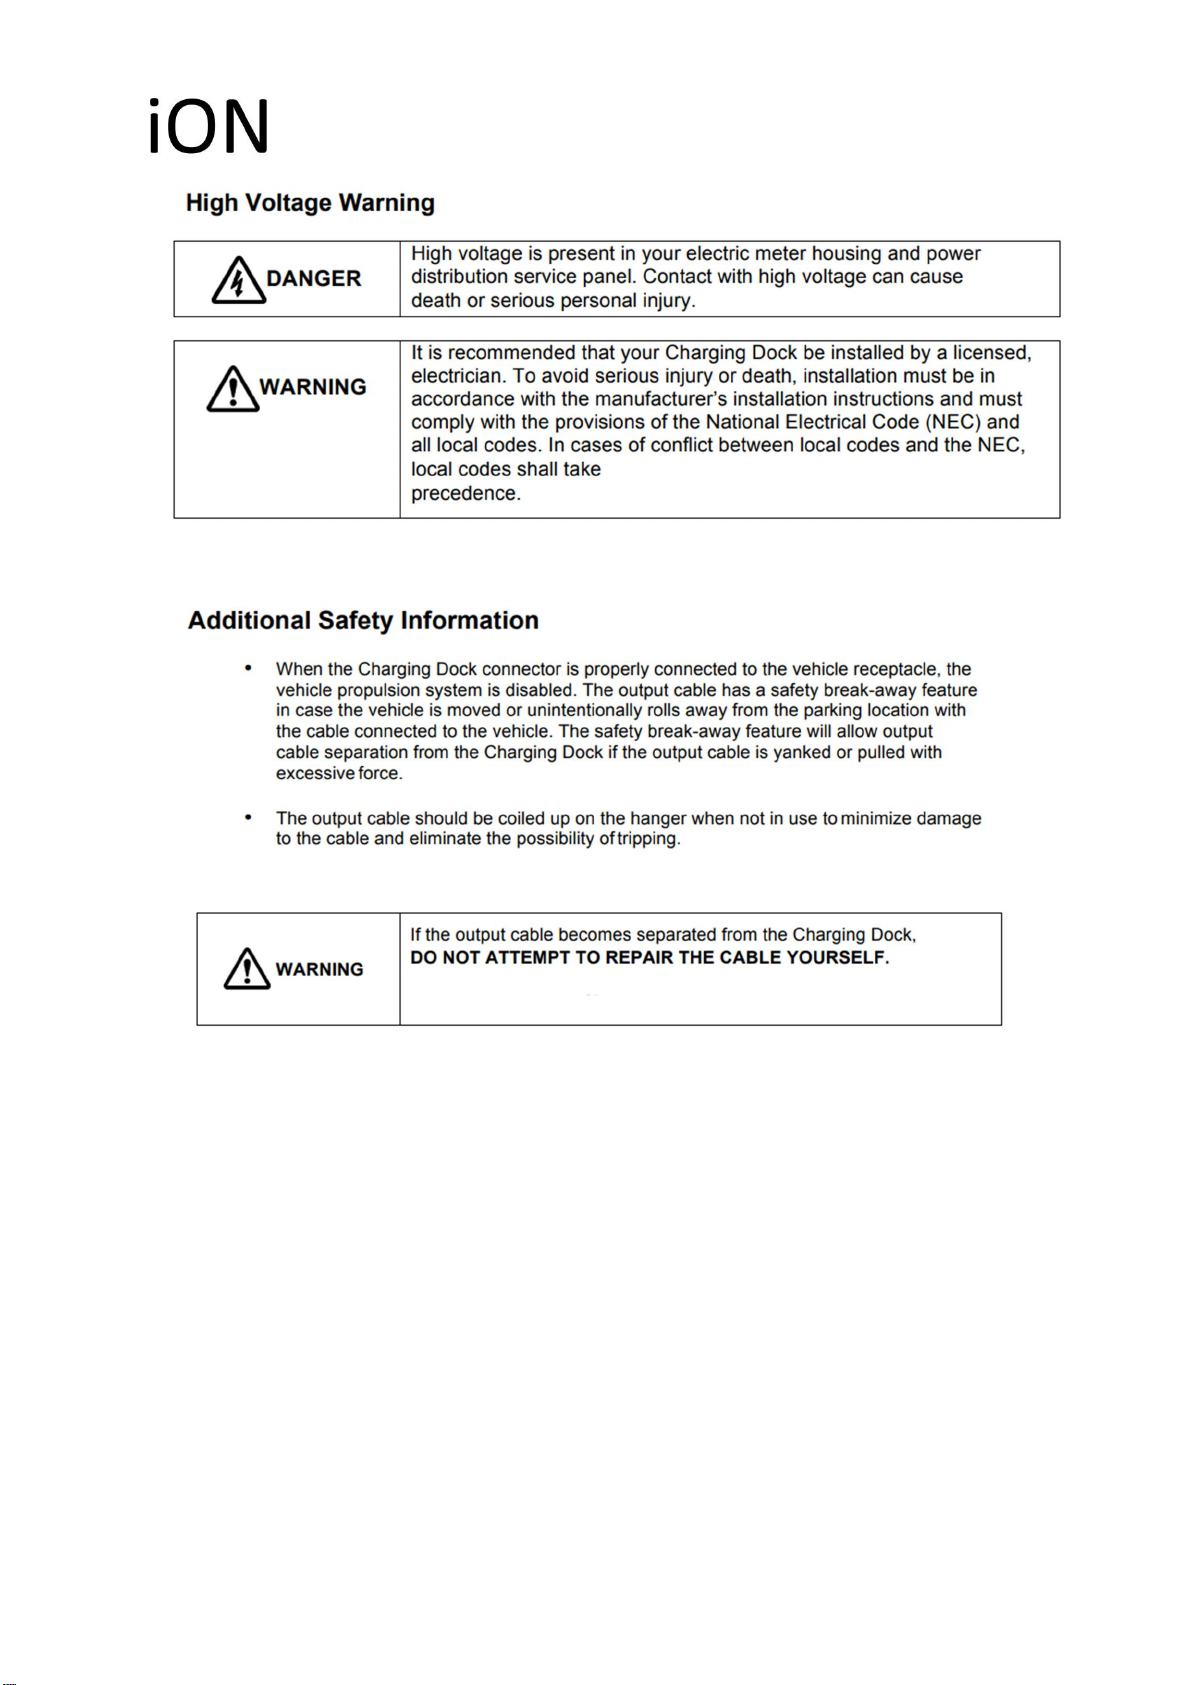
1. Safety notices` ................................................................................ 1
2. Product Overview ........................................................................... 2
2.1.Parameters ............................................................................. 2
2.2. Brief Description .................................................................... 3
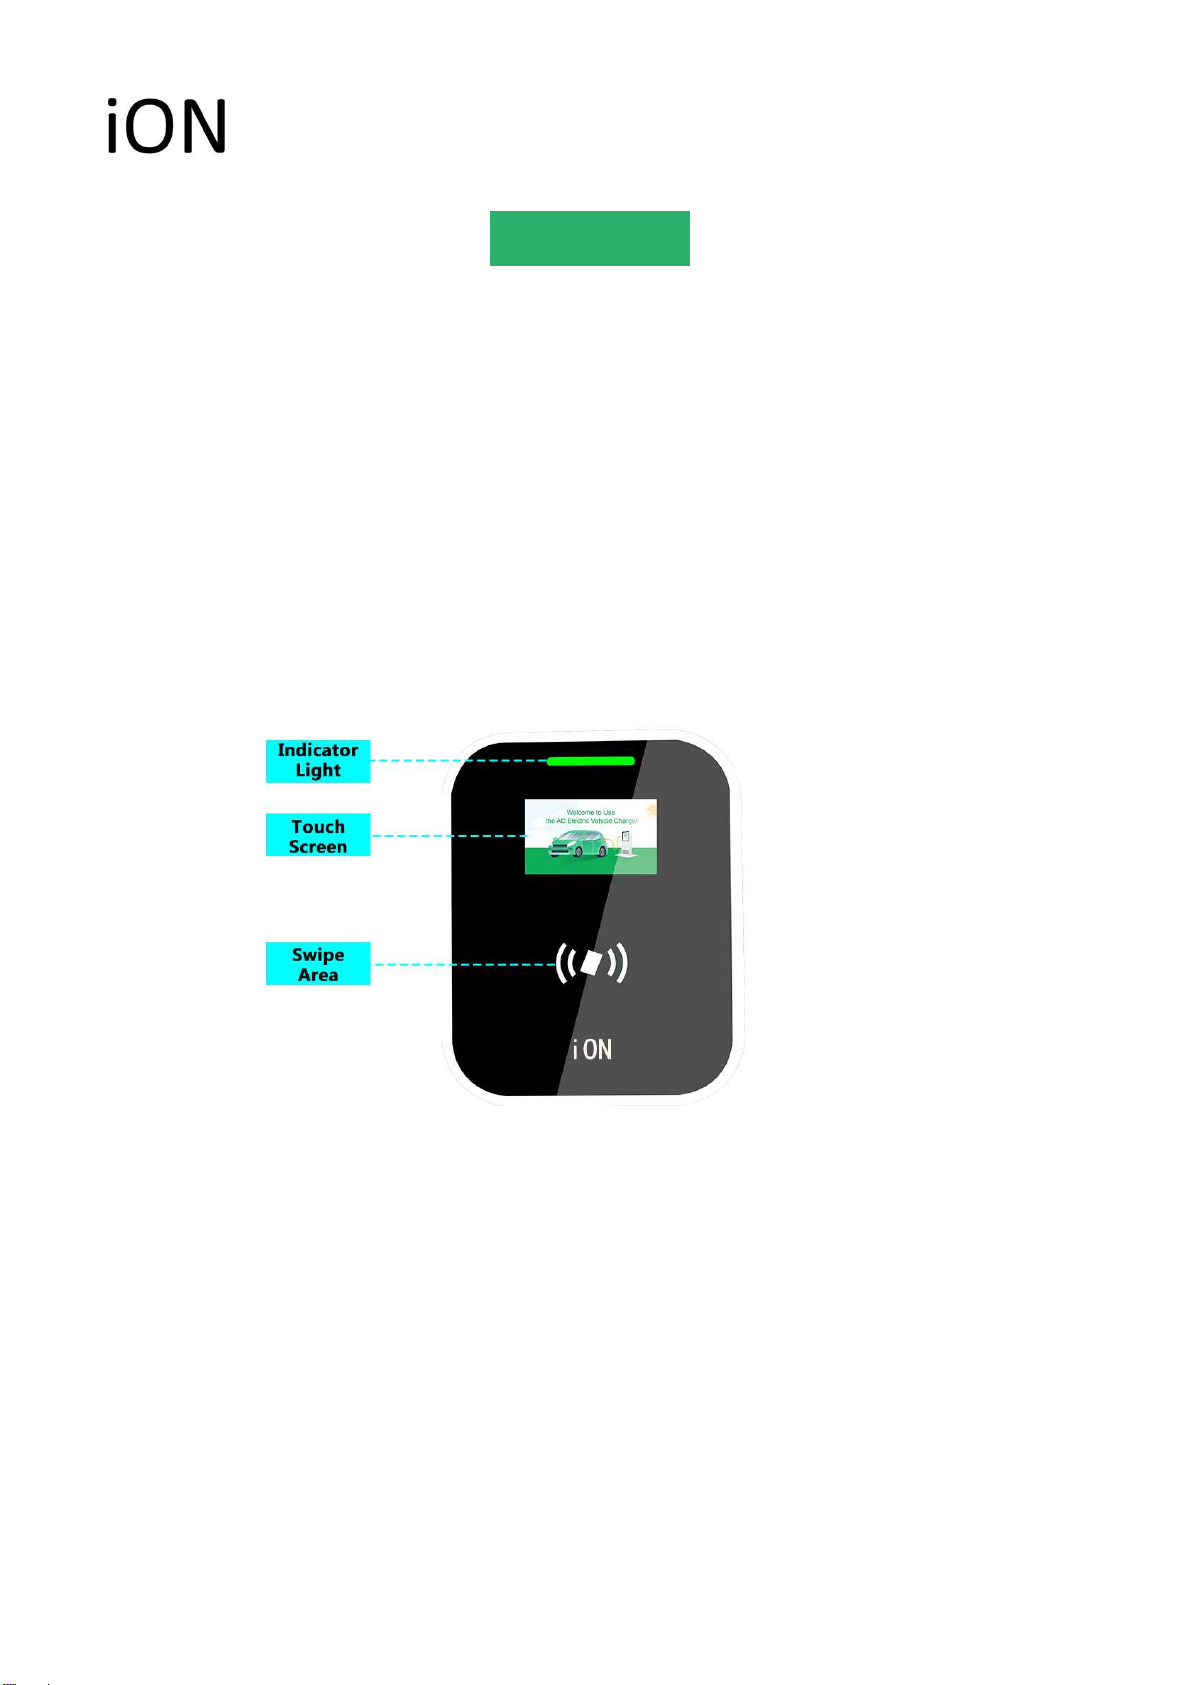
2.3. Appearance` ........................................................................... 3
2.4. Inside details .......................................................................... 4
3. Installation ...................................................................................... 5
3.1. External installation ............................................................... 5
3.2. Internal connection................................................................. 6
4. Operations ....................................................................................... 7
4.1. Preparation Before Use .......................................................... 7
4.2. Homepage Introduction` ........................................................ 7
4.3. Remind gun insert interface ................................................... 8
4.4. System Settings ...................................................................... 8
4.4.1. Enter the password ........................................................ 8
4.4.2. Three charging configurations ...................................... 9
4.5. Four charging mode operation ............................................. 10
4.5.1. Online version ............................................................. 10
4.5.2. Single mode-Charge by card ....................................... 11
4.5.3. Reservation charging mode ......................................... 12
4.5.4. Plug and charge ........................................................... 13
4.6. Failure page .......................................................................... 14
5. Thanks for using ........................................................................... 14

Installation must be undertaken by a registered electrician.
1. introduction
Thank you for purchasing the iON™ Home Electric Vehicle Charging Station for use with
your electric vehicle. This User Guide shows how to use the Charging Dock with installation
instructions for an electrician.
This document is your guide to the Home Charging Dock. It provides easy to-use
instructions for using the Charging Station with your electric vehicle. Our chargers have
multiple certifications CE and CQC and with its dual temperature detection function
protection our chargers can withstand high and low operating temperatures.
Please Note
This user’s manual includes the latest information available at the time of printing. ION,
Inc. reserves the right to make changes to this manual or product without further notice.
Changes, modifications, or repairs to this product by parties other than an Authorised
service provider could void the product warranty.


Charging
1. Connect charger: Take down the charging gun from the pile and insert it into the charging
socket of the electric car. Please carefully check whether it is inserted in place to ensure reliable
connection.

2. Use the swipe card enclosed with your charger to simply tap to start charging
or
3. Download the app to controller the charger compatible with Smart life APP or Tuya Smart APP.
.
4. 0. Wi-Fi Operations
Open the smart home application and use the add device. Follow the instructions and add you home Wi-Fi by
selecting the SSID and entering your Wi-Fi password. Once connected the charger will show up in the list of
devices add the charger
Note the Bluetooth is only used for connecting the charger to your Wi-Fi and to obtain data from the
application in the background
The charger cannot be connected to Bluetooth as a paired device If you are out of range to your Wi-Fi the
charger cannot work with the applications on your phone.
4.1 Preparation Before Use
1) Ensure that there are no open flames around the station and the surrounding space is open without any
blockages.
2) Ensure that the charging station body and charging cable are intact.
3) Ensure proper maintenance of equipment

4) Make sure that the emergency stop button is in the pop-up state. If it has been pressed, rotate the knob in
the direction indicated by the knob arrow to return to the pop-up state.
4.2 Online version:
1) Download the "Smart Life" APP on mobile phone, as shown in the following figure.
2) After the download is complete, start the APP, select Add Device, and follow the
operation instructions to add the new device, as shown in the following figure, then you can start charging and
know the state of charge.
5. Use the app to start charging or set charge start time and duration other features depend on the app you
choose to use.

Please read the operation instruction carefully before operation in order to familiarize yourself with the
correct operation of the equipment.
Safety Notices
(1) Do not place flammable, explosive or combustible materials, chemicals, vapors and other
dangerous items near the charging station;
(2) Keep charging head clean and dry, please use clean dry cloth wipe it if has dirt, it is strictly
forbidden to touch the charging gun core with power on;
(3) Strictly forbidden to use the charging station when charging gun or charging cable has any damage,
for example cracks, wear, broken and charging cable naked wire exposed:
(4) Do NOT try to disassemble, maintain and rebuild the charging station, contact your electrician in
the unlikely event the charger requires maintenance, incorrect operation maybe cause damage. water
leakage. electric leakage and other situation including risk of electric shock and death:
(5) Strictly forbidden to unplug the gun head during charging:
(6) Press down the emergency stop button in any the abnormal situations during use, cut off the input
power from the supply;
(7) Please charging carefully when raining and thunder weather:
The input and output voltage of this equipment is high
voltage. This will endanger people's life & safety. Please
strictly follow all warnings and operating instruction on
machine and manual.
WARNING
This product must be installed by a qualified and certified
electrician. Warrantee claims must be accompanied by an
electrical installation invoice or certificate.
WARNING

(8) KEEP AWAY FROM CHILDREN!
(9) Forbidden to drive the vehicle during charging, only can charge when at static situation, ensure the
charger plug is safely stowed before starting the car and driving.
2. Product Overview
2.1 Parameters
Item Specification
Name AC EV Charger APP/Wi-Fi/RFID
Environment
Temperature -30°C~+55°C
Humidity 5%~95% no congeal
Altitude height 2000m
Noise control less than 30db
Safety standards GB/T20234.GB/T18487.GB/T27930.NB/T33008.N
B/T3300L RoHS Approved BT Radio
Electrical
Input voltage AC220V±15%/AC380V±15%
Input frequency
50Hz/60Hz
The max power
(Rated)
7kw 32 AMP
Electric relay
specification 50A 250VA
Rated output
Single gun max output 32A
Structure
Charging method RFID card//APP
Application Indoor/Outdoor

2.2 Brief Description
This product is outdoor single gun AC charging station, multi-function
WIFI/APP/Bluetooth/RFID, which provides AC charging power to Type 2 EV’s, and provides a
friendly easy to use computer interaction touch screen, card reader with APP controller.
2.3 Appearance:
FUNCTION

3 . Installation
3.1. External installation:
Installation Method
Accessories:
Mounting plate: 1 piece
Screw M5*10MM: 4pcs
Screw M4*8MM: 3pcs
Steps:
①4 holes by M5*10MM to fix mounting plate on the wall;
②Install 2 pieces M4*8MM screws at the side hole of the charger.
③
Install 1 piece M4*8MM screws at the bottom hole of the charger

3.2. Internal connection
(1)
(2) connection by External metering
(1) Normal connection
(1)
(3)Connection by Load Balancing
①
by CT
②
by electric
meter
③
by Wireless
CT
(Under Developing)

4. Operations
4. Wi-Fi Operations
Open the smart home application and use the add device. Follow the instructions and add you home
Wi-Fi by selecting the SSID and entering your Wi-Fi password. Once connected the charger will show
up in the list of devices add the charger
Note the Bluetooth is only used for connecting the charger to your Wi-Fi and to obtain data from the
application in the background. The charger cannot be connected to Bluetooth as a paired device
If you are out of range to your Wi-Fi the charger cannot work with the applications on your phone.
4.1 Preparation Before Use
1) Ensure that there are no open flames around the station and the surrounding space is open without
any blockages.
2) Ensure that the charging station body and charging cable are intact.
Installation method (2)-no need mounting piece:
Accessories
Expansion screw M6 * 40MM: one piece
Expansion Screw M4*8MM: 2pcs
Installation method:
①install one expansion screw M6 * 40MM, and
extend out of the wall for 3MM-4MM;
②Hang the blue top position at the protruding
expansion screw and pull it down to ensure that the
screw is at the top of the blue hole.
③Remove the shell of the charger, install M4
screws in the green hole inside the charger to fix;
④
Install the charging station housing.
Installation method (1)
Accessories:
Mounting plate: 1piece
Screw M5*10MM: 2pcs
Expansion screws M8*80MM: 4pcs
Screw M4*8MM: 2pcs
Installation method:
①4 holes(red) by M8*80MM to fix mounting piece on the
wall;
②Install 2pcs M5 screws at the yellow hole of the charger,
hang the charger on the yellow hole of the wall mounting
piece, and pull it down to ensure that the screw is hung in the
yellow hole.
③Remove the shell of the charger, install M4 screws in the
green hole inside the charger to fix;
④
Install the charging station housing.

3) Ensure proper maintenance of equipment
4) Make sure that the emergency stop button is in the pop-up state. If it has been pressed, rotate the
knob in the direction indicated by the knob arrow to return to the pop-up state.
4.2 Homepage Introduction
4.3 Remind gun insert interface
It will stay at user insert gun page after charging pile start, but user not connect to charge.

4.4 System Settings
4.4.1 Enter the password 888888
4.4.2 Three charging configurations
(1) First, “basic parameter ”,
users can set the charging pile
number, installation time, rated
current and load balancing current
by themselves
(2) Middle, “Communication data
configuration”, User need input:
Network port
Protocol
Wifi name
Wifi password

4.5 Four charging mode operation
Select the required charging mode firstly, then connect the charging gun.
Note: The charging mode will be set according to customer’s need before leaving the factory.
4.5.1 Online version: user connect the charging gun,control via mobile APP
1) Download the "Smart Life(智能生活)" APP on mobile phone, as shown in the following figure.
2) After the download is complete, start the APP, select Add Device, and follow the
operation instructions to add the new device, as shown in the following figure, then you can start
charging and know the state of charge.
(3) Third, “basic function configuration”:
①
4 charging modes:
Online version /single mode-Card /reservation
mode/plug and charge
②Metering mode: internal meter/external
meter
③
Ground detection and PEN protection:
use/prohibition

4.5.2 Single mode-Charge by card:
vvvv
User connect the charging
gun, the interface prompts to
charge by card, please do it
Charging
Please swipe the card to end
charging

.4.5.3 Reservation charging mode
To set-up a time for auto start stop charging follow these steps.
1. enter the time you want to start charging in the scheduled charging screen
2. enter number of hours to charge for in reservation time screen
Charge according to the power. If
you need to customize the power,
you can manually enter the required
power
Charge according to the amount. If
you need to customize the amount,
you can manually enter the required
amount

Click the charging mode you need, confirmed it, then you will be making an appointment for
charging, and not draw the gun. Swiping the card again to cancel the appointment.
Charge according to time. If you
need to customize the charging
time, you can manually enter the
required charging time
Scheduled charging. If you need to
customize the charging time, you
can manually enter the required
charging time

4.5.4 Plug and charge
Insert the charging gun, start to charge.
4.6 Failure page
(1) The equipment will jump to failure page when occur failure, and remind the
failure reason
(2) The equipment occur failure then can’t charge, only can jump to normal charging interface till
failure recovered,
Find helpful support follow the support link from our website: www.iontech.ltd
This manual suits for next models
2
Table of contents
Other ION Batteries Charger manuals
Popular Batteries Charger manuals by other brands

Victron energy
Victron energy Quattro 12/5000/200 User's manual & installation manual

MicroAire
MicroAire 7500-700 Instructions for use

Sony
Sony BC-VW1 operating instructions

Schumacher Electric
Schumacher Electric SC1304 owner's manual

Panasonic
Panasonic Li-ion EY0L82 operating instructions

ABB
ABB TPL69-A30 Operation manual