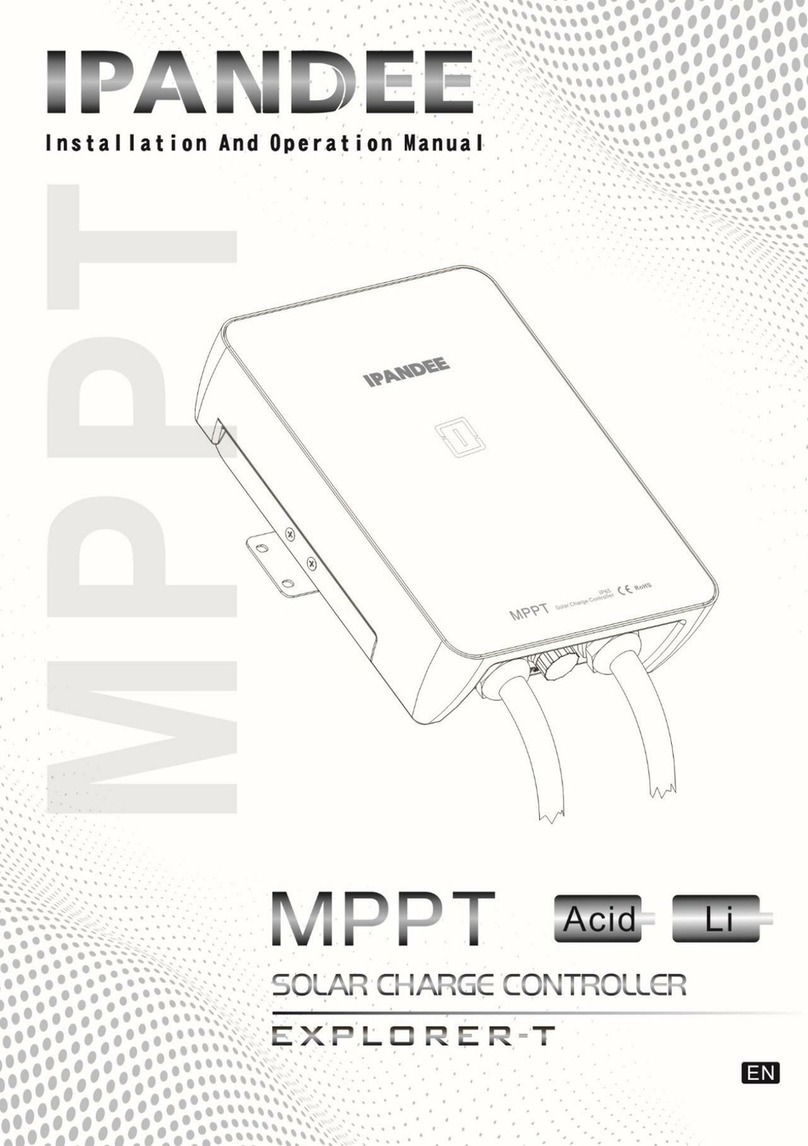
IPANDEE MS48L80 User manual

User Manual of MPPT Solar
Charge Controller
System voltage: 12V/ 24V/ 36V/ 48V/ 96V

2
Important safety instructions (Please keep this handbook for future
reference. Please read all instructions and precautions in the manual
carefully before installation.)
This manual contains all the safety, installation and operation instructions of this
series solar charge controller (hereinafter referred to as "controller"):
Install the controller in a well ventilated place. The controller’s case temperature may be very high
during operation. Please don’t touch the metal shell directly to prevent burns.
It is recommended to connect fuse or circuit breakers to the input, load and battery terminals to
prevent electric shock hazard during use.
After installation,check all wiring connections are secure, so as to avoid the danger of heat build-up
caused by virtual connection.
If the controller does not display properly when first use, please cut off the fuse or circuit breaker
immediately and check whether the wiring connection is correct or not.
If the solar system needs to connect the inverter, please connect the inverter directly to the battery,
instead of the load terminal of the controller.
Don’t disconnect the battery when the controller is charging. Otherwise, it may damage the DC load.
System Voltage and Battery Types
1)The controller identifies the system voltage according to the battery voltage at start-up.And the controller
will re-identify the system voltage after power-off and restart. Please confirm the system voltage displayed
in controller is consistent with the actual voltage. Otherwise, need to recheck the battery pack voltage.
Note: Please refer to Table 9 for the battery system detailed system identification voltage.
2)The controller has set 3 kinds of conventional battery charging parameters (Table 1) . To charge other
types of batteries, please select “USE” , then set up by PC software or APP. To charge lithium battery ,
please select “Lit”, then set up on the controller, APP or PC software.
Battery type
Constant voltage
= C*N(V)
Floating voltage
= F*N(V)
1. C = Cell’s constant charging parameter.(9≤F<C≤15)
2. F = Cell’s floating charging parameter.(9≤F<C≤15)
3. N = Series number of battery.
[e.g. N=2,battery system is 24V]
4. Example:If battery system is 48V,then N=4;If the cell's
voltage C=14.6V, then Constant voltage= 14.6*4=58.4V.
Flooded(FLD)
14.6 * N
13.8 * N
Sealed(SEL)
14.4 * N
13.8 * N
Gel(GEL)
14.2 * N
13.8 * N
User (USER)
C * N
F * N
Li-ion(Lit)
Set the charging and protection parameters
according to the specifications of the
selected lithium batteries.
Cell Specifica tion
Nomina l Voltage:3.7V
Charge Voltage:4.2V
Cut-off Voltage:2.7V
6 cells
in series
Reference Settings
S05 : 2 5.2V
Charge Voltage
S06 : 2 2.2V
Nominal Voltage
S07 : 1 6.2V
Under-volt protection
Table 1 (The MPPT controller can not wake up lithium ion battery.)
Strip Indicator Instruction
User can identify the controller current working status according to the flash rule of thelight. (Red - ALARM,

3
Blue - Charging, Green - DC load)
Strip Indicator Light
Controller Status
Blue - Charging
Flash for every second
Constant current charging mode(CC)
Flash for every 3 second
Constant voltage charging mode(CV)
Keep on lighting
Floating charging mode(CF)
Green - DC load
Lighting
DC load turn on
Go out
DC load closed
Red - ALARM
Lighting
Fault mode
Go out
Normal mode
Table 2
1.Characteristics
Figure 1
2.Accessories Instruction
Table 3 (If there is any part missing, please contact your dealer. )
3.Installation position of controller
According to the size of the controller
shown in Figure 2, the installation position
of the controller should be reasonably
selected. The space around the controller
should be kept above 30CM, and the
installation environment should be ventilated
so that the controller can have good heat
dissipation. Figure 2
Item
Name
1
LCD
2
Upper cover plate
3
PV terminals
4
Battery terminals
5
Load terminals
6
Communication interface
7
Heat sink
8
Signal lamp
9
Button
Description
Quantity
Product
MPPT solar charge controller
1 unit
Installation accessories
package
Temperature sensing wire
1 pcs
RS485 to USB cable
1 pcs
Information pack
User Manual
1 unit
Optional
External WIFI communication module
1 unit
Bluetooth communication module
1 unit

4
4.Serial connection (string) of PV modules
The Table 4 is the quantity(N) of PV modules in series, for reference only.
Table 4
5.DC Load Output Voltage and Max. Discharge Current
The controller has DC LOAD output function, and its output voltage range is the same as battery pack.
For example, if the battery’s voltage is 48.6V, the instant DC output voltage is 48.6V, too.
It can supply power to DC LOAD continuously if the DC LOAD’s current in within the rated range.
When the DC LOAD’s working current is 100%-120% of rated current for 5 minutes, DC LOAD will be
OFF.
As soon as DC LOAD’s working current is over 120% of rated current, the DC LOAD will be OFF
immediately.
To restart DC LOAD, user should set Load Type to “ON” or “USE” manually through controller/APP/PC.
6. Steps of Switch on and off
Figure 3
Make sure that the controller is installed and connected as above
Opening process:
Step 1: open the circuit breaker on the battery side(breaker), make sure that the controller is connected
with the battery (the LCD of the controller will display the content), and set the battery type.
Step 2: if you need to use the DC load output, then set the output control mode first, and then open the
Voc * N = PVinput < DC150V
System
Voltage
Voc<23V
Voc<31V
Voc<34V
Voc<38V
Voc<46V
Voc<62V
Max.
Best
Max.
Best
Max.
Best
Max.
Best
Max.
Best
Max.
Best
12V
6
2~3
4
2
4
2
3
1
3
1
2
1
24V
6
3
4
2
4
2
3
2
3
2
2
1
36V
6
4
4
3
4
3
3
2~3
3
2
2
1
48V
6
5
4
4
4
4
3
3
3
3
2
2
Voc * N = PVinput < DC300V
System
Voltage
Voc<23V
Voc<31V
Voc<34V
Voc<38V
Voc<46V
Voc<62V
Max.
Best
Max.
Best
Max.
Best
Max.
Best
Max.
Best
Max.
Best
48V
13
5~8
9
4~6
8
4~6
7
3~5
6
3~4
4
2~3
96V
13
10~12
9
7~8
8
6~8
7
6~7
6
5~6
4
4

5
DC output circuit breaker(breaker).
Step 3: open the circuit breaker on the input side of the solar panel PV(breaker), if the PV input voltage
is in the charge range of the controller, then the controller will enter the charging state.
Closing process: turn off the circuit breaker in turn:
7.Communication port description
The communication port of the controller is compatible with RS485-USB communication cable for real-
time monitoring by PC software and Wi-Fi module to have remote cloud monitoring by APP.
The communication port is a standard 8 pin RJ45 interface, and the pins are defined as follows(Table 5):
Table 5 ( Figure 4 )
(Note:The pin definition is applicable to our related products ONLY!)
When the Load output is off due to the triggering protection mechanism, the dry contact output interface
is ON (low impedance). Otherwise, it is OFF (high impedance).Dry contact access voltage 5V~12V.
The controller has dual RS485 communication ports. It can be used for parallel connection.
If need to monitor multiple controllers centrally, please set the device address order (1~254) of the
controllers accordingly. For example, 5 controllers in parallel connection and monitor centrally, set
controllers’ address order as 1, 2, 3, 4, 5. (Figure 5)
If want to monitor the multiple controllers in Master-Slave communication, set the host device address to
255. For example, 5 controllers in parallel connection, just need to set the MASTER controller address
order as 255.
Warning:
If the system needs to connect the inverter, please connect the inverter directly
to the battery, and do not connect with the load end of the controller.
When the controller is in the normal charge state, do not disconnect the battery
connection, otherwise the DC load may be damaged.Therefore, the damage to
the controller will not be within the warranty.
PIN
Function
1
RS485-A
2
RS485-B
3
Dry contact
4
Dry contact
5
GND(isolation)
6
GND(isolation)
7
+5V(isolation)
8
+5V(isolation)
( Figure 5 )

6
8.Operation
8.1 Function key
Buttons
Instruction
UP
Page up and numerical increase
DOWN
Page down and numerical reduction
ENTER
Enter in
ESC
Exit and save data
Table 6
8.2 Menu introduction(Table 7)
Main menu
Display contents
Introduction
Work Status
Fault:
Normal work will display No Fault.
Abnormal work will display relevant Faults:
Bat OVP:battery overcharge protection
PV OVP:PV input over voltage protection
Chg OCP:over Charge current protection
Load OCP:load output over current protection
Bat OTP:battery over temperature protection
CHG OTP:MPPT internal over temperature protection
PV UVP:PV input low voltage protection
Stop Charge: Communication command control stops
charging
Unidentified: Battery system identification error (for lead acid
batteries)
Charging mode:
CC or CV or CF
PV Volt:
PV input voltage
Bat Temp:
After accessing the battery temperature line, the real-time
temperature of the battery pack will be displayed.
HS Temp:
Temperature of heat sink
Load Current:
DC load output current
Charge Current:
Charging current
Charge Power:
Charging power
Charge Volt:
Charging voltage
Setting
Load Set
Load: ON Mode
BatLoadOff:
BatLoadOn:
DC Load control mode:ON/OFF mode.
Under voltage turn off DC load.
Recovery voltage turn on DC load.
Load: Light Ctrl
PV Load On:
Delay Time:
DC Load control mode:Light Ctrl mode.
If PV is less than this voltage, the dc load can be turned on.
Delay time of turnning on DC load.
Load: FT1-LigCtr-X
PV Load On:
Ctr2: FT1-LigCtr-X
PV Load Off:
DC Load control mode:Time&Light(PV) control mode:
FT1-LigCtr-X:Shut down after Xhours in the dark.
Defines the PV voltage at which the sky turns dark.
FT2-LigCt-X:Turn on Xhours before daylight.
Defines the PV voltage at which the sky brightens.
Load: D-Time Ctrl
――NO――OFF――
am 05:10 06:30
pm 18:30 21:30
DC Load control mode:Dual period control mode.
Turn on time and turn off time of the dc load in the morning.
Turn on time and turn off time of the dc load in the evening.
Time&Addr Set
Time:
System clock setting.

7
Date:
System date setting.
Addr
Controller device address number setting
Bat Set
Type:USER 12V:Auto
Bulk Volt :
Float Volt :
MaxChgCurr :
Over Volt :
(Recovery) :
Under Volt :
(Recovery) :
Lead-acid battery type(GEL,SEL,FLD,USER).
Quantity of batteries in series.
Cell’s constant charging voltage setting.
Cell’s float charging voltage setting.
Max.Charging Current setting.
Cell’s over-voltage protection voltage setting.
Cell’s over-voltage recovery voltage setting.
Cell’s under-voltage protection voltage setting.
Cell’s under-voltage recovery voltage setting.
Type:Li-ion
Full Volt :
NormalVolt :
MaxChgCurr :
Over Volt :
(Recovery) :
Under Volt :
(Recovery) :
Lithium ion battery type.
Full charging voltage setting.
Nominal voltage setting.
Max.Charging Current setting.
Over-voltage protection voltage setting.
Over-voltage recovery voltage setting.
Under-voltage protection voltage setting.
Under-voltage recovery voltage setting.
Information
12/24/36/48V100A
Controller type
Li BAT CHG SYS
System voltage
Load :
DC load output control mode after user set
TOTAL :
Total energy from this machine
Firmware :
Firmware Ver.
Bat :
Battery Type display
9.Common fault and trouble shooting.
Common Problems
Possible Reasons
Solution
Controller cannot start up,
screen can not be on
Battery positive and negative reverse
connected
Check the wiring sequence of power line
connector plug and reconnect in the right
order
Controller not charging, PV
voltage undetectable
PV Input positive and negative reverse
connected
Check the wiring sequence of power line
connector plug and reconnect in the right
order
Charging and standby keeps
circulating
Number of solar panels is too less in
series and PV voltage is low
PV Vmpp voltage must be greater than Vbat.
Please refer to the proposed series-parallel
scheme(Table 4)
It may occur in cloudy weather or in
early morning and at dusk
Normal phenomenon
Unreasonable configuration of solar
panels
Based on sufficient power, please refer to the
proposed series-parallel scheme(Table 4)
Controller is on and PV
voltage is normal, but not
charging
The controller can not recognize
battery system voltage (The “System”
in LCD flashes)
Check whether battery voltage in LCD is in
the range of controller system recognition
The battery is in a low energy
state or emptying for a long
time
Solar panels number are too less to
generate enough energy
Increase solar panels quantity
Battery capacity is too small to Store
enough energy
Increase battery capacity
Table 8

8
10.Parameters(Table 9)
MS48L80
MS48L100
MS48H80
MS96H50
Product category
MPPT efficiency
≥99.5%
Standby power
< 3‰Rated power
Battery system voltage
Automatic recognition
48V
96V
Heat-dissipating method
Natural-cooling
Battery system voltage range(Lead acid)
9~15Vdc(12V sys) \ 18~30Vdc(24V sys) \
32~40Vdc(36V sys) \ 42~60Vdc(48V sys)
36~60Vdc
72~120Vdc
Li-ion battery system
9~60Vdc
36~60Vdc
72~120Vdc
Input
Characteristics
Max.PV input voltage(VOC)
DC150V
DC300V
Start the charge voltage point
Battery volt. + 3V
Battery volt. + 10V
Battery volt. + 20V
Low input voltage protection point
Battery volt. + 2V
Battery volt. + 5V
Battery volt. + 10V
Over voltage protection point
DC150V
DC300V
Over voltage recovery point
DC145V
DC295V
Rated PV power
12V system
1040W
1300W
-
-
24V system
2080W
2600W
-
-
36V system
3120W
3900W
-
-
48V system
4160W
5200W
4160W
-
96V system
-
-
-
5200W
Charge
Characteristics
Battery types (Default Gel battery)
Sealed(SEL), Gel(GEL), Flooded(FLD), User-defined(USE), Li-ion(Lit)
Charge rated current
80A
100A
80A
50A
Output voltage stability precision
≤±0.2V
Charge method
3-Stage: CC(Constant current fast charging),CV(constant voltage charging),CF(float charging)
LOAD
Characteristics
Load voltage
The same as the battery voltage
Load rated current
80A
100A
80A
50A
Load control mode
On, Off , PV voltage control, Dual-time control, PV + Time control
Low voltage protection
The default protection point is 10.5V, and it is restored to 11V (can be set)
Setup method
PC software / APP / controller display
Display &
Communication
Display mode
LCD (128*64 dots) &backlight
Dry contact access voltage
5V~12V
Communication mode
Dual RJ45 port / RS485 protocol / Centralized monitoring / Support Modbus
communication protocol / PC (via RS485-USB Cable) & APP (via Wi-Fi module or
Bluetooth module) support WiFi module for APP cloud monitoring
Other Parameters
Protect function
Input-output over \ under voltage protection,Prevention of connection reverse protection etc.
Operation ambient temperature
-20℃~+50℃
Storage temperature
-40℃~+75℃
IP(Ingress protection)
IP65
Max. connection size
50mm2
Recommended breaker
≥120A
≥150A
≥120A
≥80A
Net weight (kg)
13.2
Gross weight (kg)
14
Product size(mm)
420*350*135
Packing size(mm)
610*440*300
This manual suits for next models
3
Table of contents
Other IPANDEE Controllers manuals