manuals.online logo
Brands
  1. Home
  2. •
  3. Brands
  4. •
  5. iquatics
  6. •
  7. Aquarium
  8. •
  9. iquatics Bio Phos Reactor User manual

iquatics Bio Phos Reactor User manual

Ensure that the pump inlet and impellor are regularly
cleaned and kept free from debris.
The Reactor itself can be emptied and the centre
pipe carefully lifted out, complete with the bottom
plate and nozzles.
There are two plastic screws underneath the bottom
plate, which when removed, will disassemble the
jets to allow for thorough cleaning. When reassem-
bling, the screws only need to be finger tight.
MAINTENANCE
All plastic parts should be cleaned with fresh water only.
Q. What If clogging occurs?
A. This can be down to lack of flow, please
adjust the pump until you get a satisfactory
flow. Check that sponges are not clogged.
Q. I’ve adjusted the pump but
things still don’t seem correct?
A. Be carefull not to add/use to much media,
the pump supplied is sufficently strong
enough to adequately run this reactor, if you
are finding it not powerful enough you have
probably added a little too much media.
[email protected]
COMPANY REG 06954492 | VAT REG 978518363
WWW.IQUATICS.CO.UK
WE HOPE YOU ENJOY YOUR NEW IQUATICS REACTOR
Bio Phos
Reactor
TROUBLE SHOOTING
TIP Use caution when screwing sections together, Hand tighten screw do not use a screwdriver. TIP Posotioning your Reactor- You should now decide if you are positioning your reactor inside or outside of the sump.
Step 1
Loosen by hand, (do not remove) the 2 lid
retaining screws at the top of the Gyractor (a)
and remove the lid (b), by slightly rotating the lid
and lifting up.
Lift up the clear inner tube to access the blue
filter sponge (c).
Lift out the top blue filter sponge (d) to gain
access to the main cavity.
Step 2
Place the desired quantity of Bio Phos 80 into
the main body of the reactor, being careful not to
allow any to fall down the centre feed pipe. (e)
It’s a good idea to block this pipe with your finger
or a piece of kitchen paper. (f)
Step 3
Check the top of the main body to ensure there
is no stray media that will prevent the lid from
creating a good seal when replaced.
Step 4
Replace the top filter sponge and lid, being
careful not to over tighten the plastic screws.
Finger tight is sufficient to prevent any leaks.
Step 5
Push the supplied connector into the pump inlet (1)
followed by the pump (2). The pump will only fit in one
position. (3)
Ensure bottom sponge is under the plastic plate and the
small red seal is sitting above this. (4)
WARNING - the pump needs to be submerged in the
sump
Step 6
At this point, you can power the reactor up. The Bio
Phos 80 media is very dense so there will be very little
movement in the reactors. The heavier mass allows
water to pass through without causing channeling giving
more even surface contact time.
Step 3 - Pump instructions
apply to pumps supplied by
iQuatics
At this point, you can power the reactor up. Some
media may float to the top at first because air
bubbles have stuck to it.
A sharp tap on the side of the reactor will release
most, any that remain will eventually fall back.
Set the flow control to give a gentle simmer at the
top of the Gyractor with a much more aggressive
cleaning action at the bottom. The pump is
purposely overrated to allow you to increase flow if
the nozzles or top filter sponge start to clog slightly.
The best starting point on pump adjustment is 2
clicks up from the lowest flow.
INSIDE SUMP
If you need to extend the pipework, you can use standard 19mm internal diameter Poly Pipe,
(a)
(a)
(c) (4)
(1)
(2 )
(f)
(c)
(e)
Set the flow control on the pump.
+
-
(3)
Package Contents
iQuatics Bio Phos Reactor
1 x Pump Connector
1 x SICCE Syncra 1.0 Silent Pump (If ordered
with reactor from iQuatics)

Other iquatics Aquarium manuals

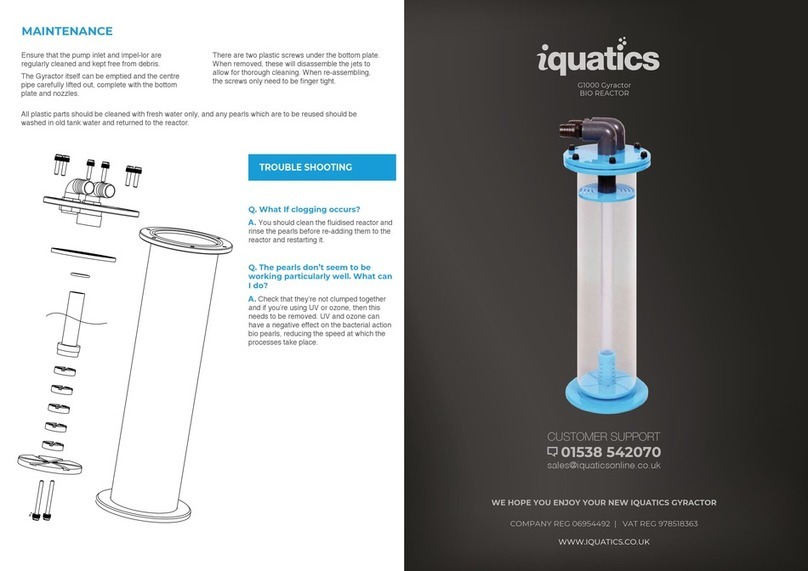
iquatics G1000 User manual

iquatics

iquatics G1000 User manual

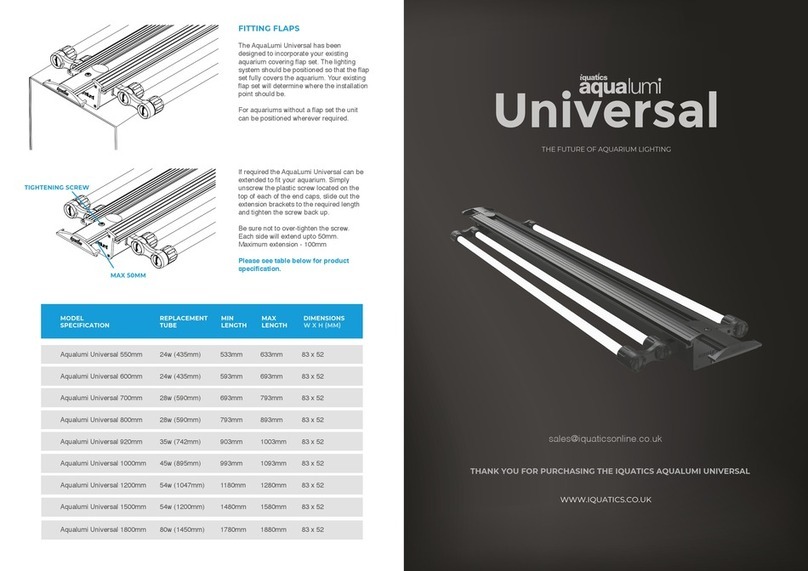
iquatics Aqualumi Universal User manual

iquatics

iquatics Aqualumi Universal User manual

Popular Aquarium manuals by other brands

Hagen FLUVAL accent user guide

Hagen

Hagen FLUVAL accent user guide

D-D The Aquarium Solution H2Ocean COMPACT ATO Product user manual

D-D The Aquarium Solution

D-D The Aquarium Solution H2Ocean COMPACT ATO Product user manual

JBL Aqua In Out complete set Product information

JBL

JBL Aqua In Out complete set Product information

EHEIM powerLED+ Series operating manual

EHEIM

EHEIM powerLED+ Series operating manual

Red Sea REEFER 750 G2 Assembly manual

Red Sea

Red Sea REEFER 750 G2 Assembly manual

Aquavitro division 125 user manual

Aquavitro

Aquavitro division 125 user manual

Dupla MARIN VG Ocean Lux LED instructions

Dupla MARIN

Dupla MARIN VG Ocean Lux LED instructions

LVY TECH ZL-30 instruction manual

LVY TECH

LVY TECH ZL-30 instruction manual

JUWEL Aquarium SmartCam instruction manual

JUWEL Aquarium

JUWEL Aquarium SmartCam instruction manual

Oase BioMaster 250 operating instructions

Oase

Oase BioMaster 250 operating instructions

Marineland Eclipse HEX 5 Quick setup guide

Marineland

Marineland Eclipse HEX 5 Quick setup guide

Tunze Care Magnet nano Instructions for use

Tunze

Tunze Care Magnet nano Instructions for use

Aqua Medic Turboflotor 10000 Operation manual

Aqua Medic

Aqua Medic Turboflotor 10000 Operation manual

A/DA MIZUKUSA MIST WALL 90 manual

A/DA

A/DA MIZUKUSA MIST WALL 90 manual

Aqua One Betta Oasis quick start guide

Aqua One

Aqua One Betta Oasis quick start guide

Blue Marine Polario 4000 instruction manual

Blue Marine

Blue Marine Polario 4000 instruction manual

Aqua One ReefSys 180 manual

Aqua One

Aqua One ReefSys 180 manual

SISTEMA DOMOVOY user manual

SISTEMA

SISTEMA DOMOVOY user manual

manuals.online logo
manuals.online logoBrands
  • About & Mission
  • Contact us
  • Privacy Policy
  • Terms and Conditions

Copyright 2025 Manuals.Online. All Rights Reserved.