Quick User Guide - English
9
3. Click IRIScanTM Pro 3 Wifi to install the driver. Follow the on-screen instructions.
4. Click ReadirisTM Corporate 14 to install it. Follow the on-screen instructions.
5. Click CardirisTM Corporate 5 to install it. Follow the on-screen instructions.
On Mac OS
The IRIScanTM Pro 3 Wifi comes with the software packages ReadirisTM Corporate 14 and
CardirisTM Pro 4. On Mac OS you cannot scan directly from these applications, but load
the scans after scanning.
1. Insert the DVD-ROM into your DVD-ROM drive.
2. Click the DVD-ROM icon that appears on the Desktop.
3. Click the ReadirisTM Corporate 14 installer and follow the on-screen instructions.
4. Click the CardirisTM Pro 4 installer and follow the on-screen instructions.
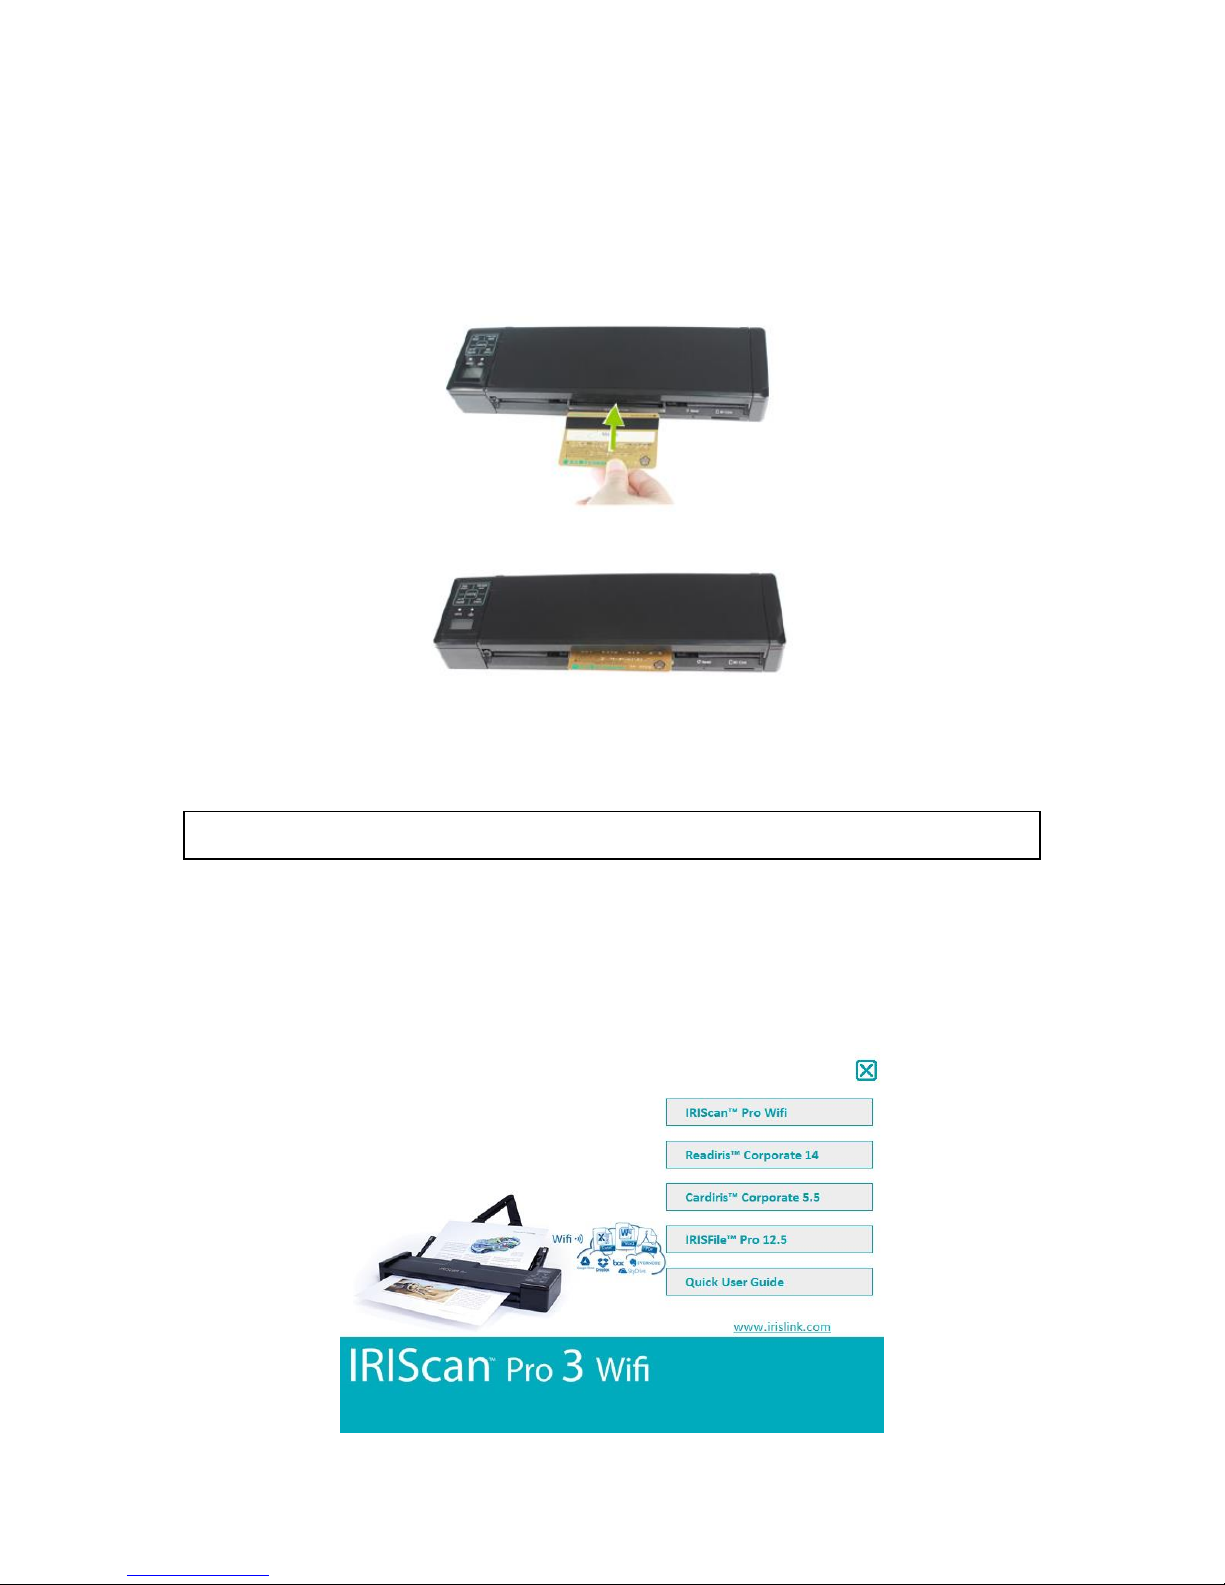
6. Scanning Documents in SD Mode
Step 1: Scan Documents
When scanning documents in SD Mode, you scan them independently from a computer.
The scans are stored in the internal memory or on the SD card, and can then be
transferred to your computer, or opened in ReadirisTM and CardirisTM.
1. Power on the scanner.
The Scan LED lights up and the default settings are displayed on-screen.
2. The scanner is set to SD Mode by default.
Note: in case PC is displayed on the screen, press the button SD/PC Wifi once.
3. Select the required scan settings (See LCD Display).
4. Insert one or more documents and press Scan to start scanning.