IRiver T8 User manual


Other manuals for T8
1
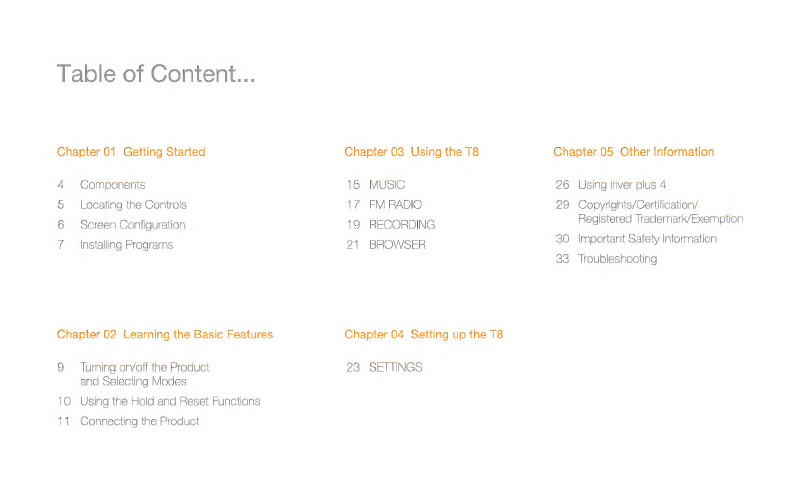
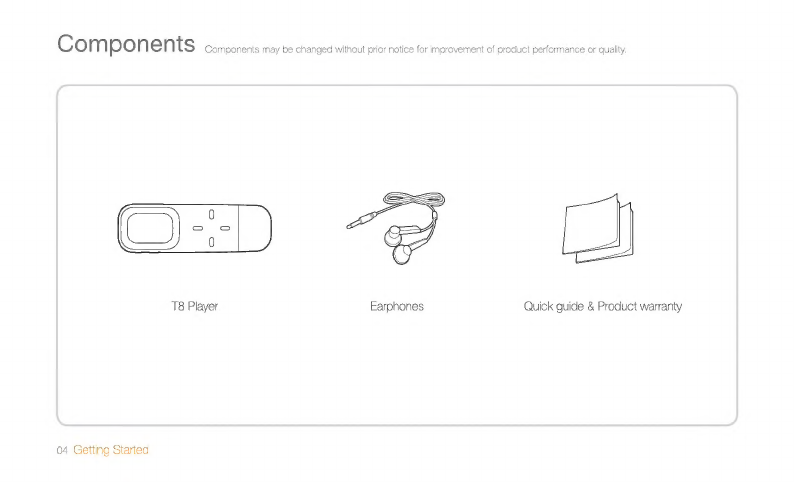
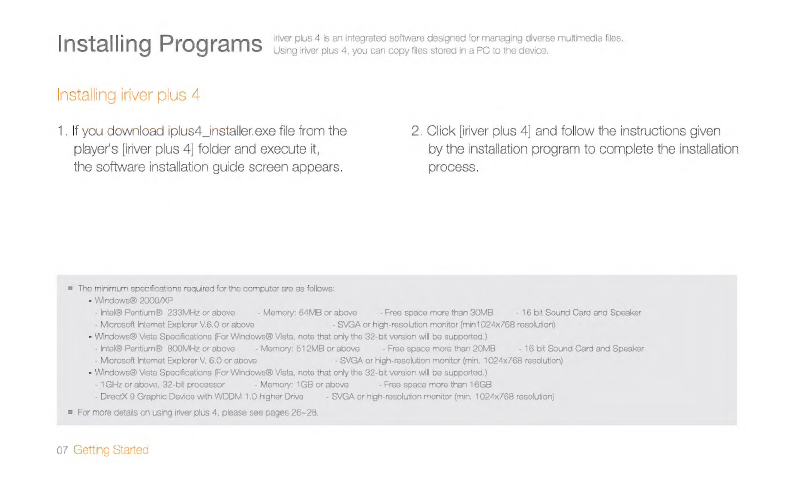
Table of contents
Other IRiver MP3 Player manuals

IRiver
IRiver Astell & Kern AKT1 User manual

IRiver
IRiver X20 User manual

IRiver
IRiver H10 User manual

IRiver
IRiver iHP-100 Series User manual

IRiver
IRiver Spinn 4GB User manual

IRiver
IRiver X20 8GB User manual

IRiver
IRiver iFP-1090 Mounting instructions

IRiver
IRiver S100 Soft Silhouette User manual

IRiver
IRiver H10 5GB User manual

IRiver
IRiver iFP-990 User manual

IRiver
IRiver T7 2GB User manual

IRiver
IRiver Astell & Kern AK380 User manual

IRiver
IRiver Astell & Kern AK120 II User manual

IRiver
IRiver N10 512MB User manual

IRiver
IRiver T5 User manual

IRiver
IRiver MP3 Player T30 User manual

IRiver
IRiver T20 User manual

IRiver
IRiver IFP-800 Series Assembly Instructions

IRiver
IRiver MPlayer User manual

IRiver
IRiver N10 User manual


