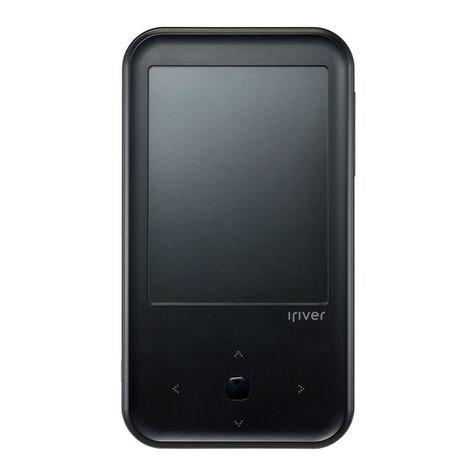
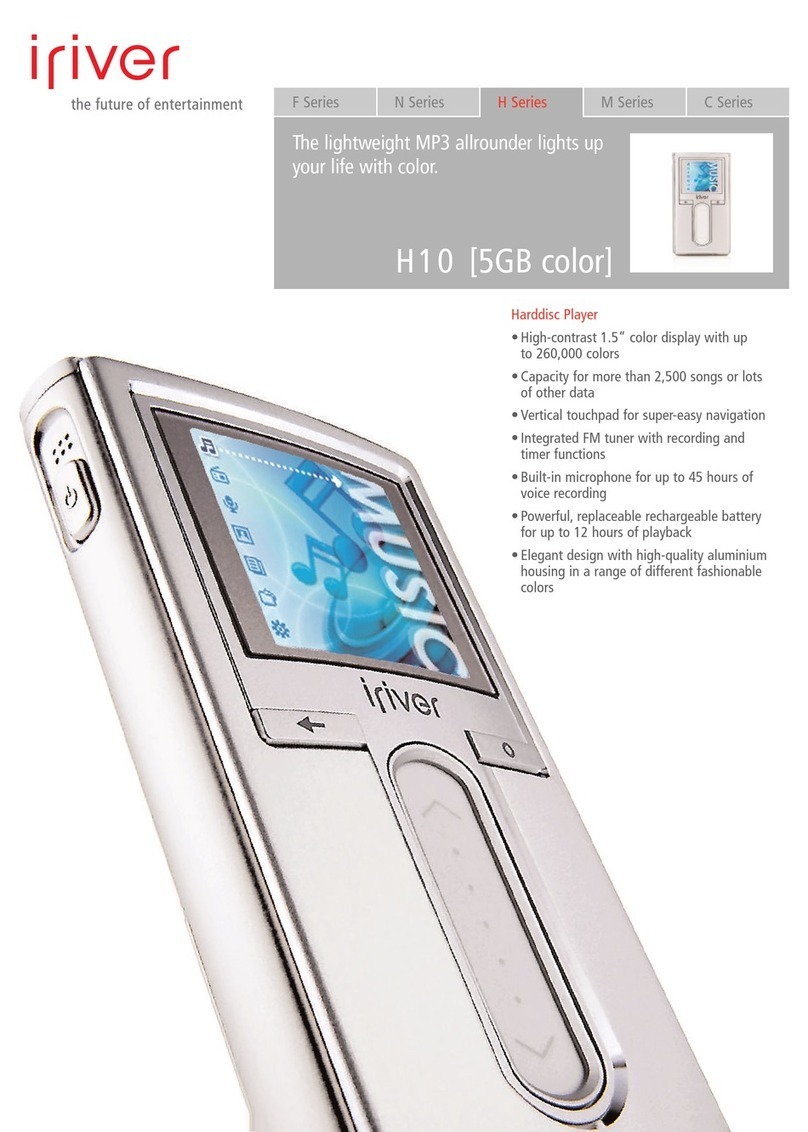
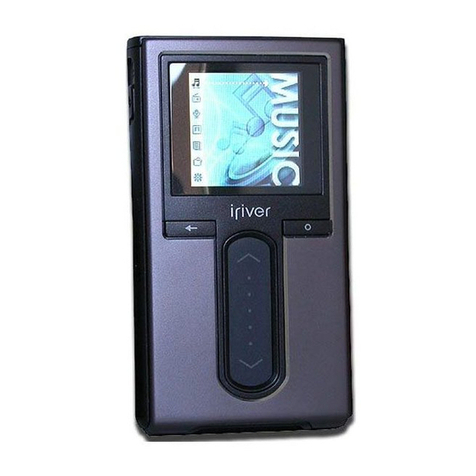
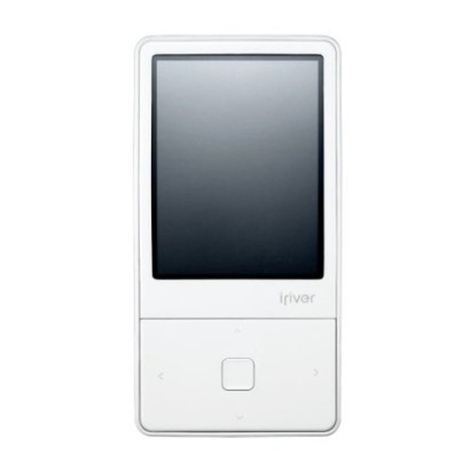
IRiver E10 User manual

мег
everyday!
everywhere!
easy!
everything!
<
722"
User's
Guide

Index
1
Getting
Started
Before
Using
E10
for
the
First
Time
Locating
the
Controls
Using
E10
Controls
2
Quick
Siar
eee
eee
06
3
Managing
Digital
Media
Contents
Adding
Contents
to
Your
iriver
plus
2
Library
--
09
Creating
Playlists
--
10
Adding
Contents
to
Your
E10
-
11
Deleting
Contents
from
E10
Copying
Saved
Recordings
from
Your
E10
to
Your
Computer
-----------------------=------
14
Media:Requiremerils.
Еее
ЕЕ
ee
e
memereceHREE
EUER
RII
ege
Ed
een
teste
14
.
4
Using
E10
Music
----
15
Pictures
- -
18
Video
FM
Radio
Extras:
ЕБЕ
so
eO
GE
PE
Spee
EIE
sr
ere
eet
ornare
es
eee
ee
eee
ee
23
5
Customizing
E10
—------------------
29
6
Additional
Information
ТгоиЫіеѕһоойпо
------------------------
===
32
Upgrading
the:
Firmtiware:
‘===
яз
ен
ЕЕ
еее
еее
33
Initializing
E10
Precautions
and
Safety
---
Copyrights
/
Trademarks
/
Limited
Liability
Certification

02
N
Getting
Started
Before
Using
E10
for
the
First
Time
Your
E10
includes
the
following
components
:
Carrying
Pouch
User's
Guide
&
Installation
CD
USB
Cable
To
use
E10,
you
must
have
the
following
:
*
А
computer
with
500MHz
or
higher
processor
speed
Microsoft
Windows
98SE,
Windows
ME,
Windows
2000
,
Windows
XP
operating
system
iriver
plus
2
(included
in
the
Installation
CD)
USB
2.0
or
USB
1.1
connection

N
Locating
the
Controls
HOLD
/
UNIVERSAL
REMOTE
CONTROL
С
VOLUME
SLIDE
*
SMART
KEY
И]
Dp
POWER
G5
d
*
wl
MICROPHONE
=
"NE
©)
ud
RESET
HOLE
USB
CONNECTOR
EARPHONE
JACK
STRAP
HOLE
03

04
N
Using
E10
Controls
To
operate
E10,
click
the
four-directional
navigation
keys
marked
with
arrow.
Scrolls
up
to
select
the
previous
item
in
the
list.
©
Returns
to
the
Enters
into
the
selected
previous
menu
menu,
or
play
the
item
Scrolls
down
to
select
the
next
item
in
the
list.
The
function
of
each
navigation
key
will
be
displayed
on
the
screen
as
an
icon
or
a
text.
87.5
мн“
й
Preset
—
ff
12:34
AMn
01/22/2008
&
06:00
АМ
8
Alarm
Clock
=
Getting
Started

Click
and
hold
[Left]
to
return
to
the
main
menu.
L2
BEES
Enligh
ten
ME
00:00:09
>
00:04:55
05:33
РМ
Sounds
Display
,
‹
Smart
Key
~
Timer
Advanced
Settings
-
Getting
Sta
rted*
05:39
РМ
FM
Radio
Now
Playing
Music
^
Pictures
Videos
L7
Evermore
Enligh
ten
ME
When
E10
is
playing
a
content,
click
and
hold
[Right]
to
display
the
sub
menu.
05:33
PM.
св
(7
Evermore
+
Enligh
ten
ME
*
Play
Моде“
Add
to
Quick
Lis
SelectEQ
СЕЗ
а
Click
and
hold
[Smart
Key]
to
change
the
function
assigned
to
the
Smart
Key.
(Please
refer
to
page
30
for
details.)
LZ
Evermore
Enligh
ten
ME
00:00:09
>
00:04:55
05:39
PM.
"Ноте
Play/Pausg
*
Shuffle
All”
А-В
Repeat
Start/Stop
Recor
SmartKey
—
05

06
D
Y
Quick
Start
Quick
Start
Follow
these
steps
to
play
your
favorite
music
on
E10
:
Step
1
|
Install
iriver
plus
2.
‘Insert
the
Installation
CD
into
the
CD
or
DVD
drive
of
a
computer.
:
Follow
the
on-screen
instructions
on
the
computer
to
complete
the
installation.
Step
2
|
Turn
on
your
E10.
&
:
Press
the
Power
button.
С)
(>)
Step
3
|
Connect
E10
to
your
computer.
:
Use
the
included
USB
cable
to
connect
E10
to
your
computer.
Step
4
|
Execute
iriver
plus
2.
*
Double-click
the
shortcut
to
iriver
plus
2
on
your
desktop,or
in
the
[Start
>
Programs
>
iriver
E»)
>
iriver
plus
2].
bd

n
Quick
Start
Step
5
|
Add
music
to
iriver
plus
2
library.
:
Use
[File
>
Add
to
"All
Music"]
menu
to
add
your
===>
favorite
songs
to
your
iriver
plus
2
library.
P
E
Step
6
|
Add
music
to
your
E10.
*
Select
the
music
in
your
library.
*
Drag
the
selected
songs
to
E10
displayed
on
the
left.
Step
7
|
Disconnect
E10
from
the
computer.
*
Do
not
disconnect
the
device
while
the
files
are
transferred
to
E10.
*
Click
[Safely
Remove
Hardware]
button
on
your
taskbar,
and
select
the
USB
mass
storage
that
indicates
E10.
Step
8
|
Play
music.
-
In
E10’s
main
menu,
select
[Music]
by
clicking
[Right].
-
Scroll
[Up]
ог
[Down]
to
browse
for
a
song.
-
Click
[Right]
to
play
your
selected
song.
07

08
Charging
the
Battery
*
While
E10
is
connected
to
the
computer
via
USB
cable,
it
will
charge
its
built-in
battery.
*
The
battery
is
fully
charged
in
about
2.5
hours.
*
Only
use
the
USB
cable
included
in
the
package.
Otherwise,
the
device
may
malfunction.
*
Check
if
E10
is
connected
to
a
high-power
USB
2.0
port.
Some
low-power
USB
ports
may
not
provide
enough
power
to
charge
or
sync
your
E10.
-
If
E10
is
connected
to
a
low-power
USB
ports
found
in
some
keyboards
or
the
USB
hubs
without
their
own
AC
power
connection,
the
device
may
not
be
connected
to
the
computer.
-
If
E10
is
connected
to
a
USB
hub,
media
files
may
be
damaged
while
being
transferred
to
E10.
+
If
the
computer
is
in
sleep
mode,
E10
may
not
be
charged.

D
Y
Managing
Digital
Media
Contents
Managing
Digital
Media
Contents
Adding
Contents
to
iriver
plus
2
Library
Ripping
songs
from
a
CD
.
Execute
iriver
plus
2.
2.
Insert
the
CD
into
the
CD-ROM
or
DVD-ROM
drive
in
your
computer.
3.
The
title
of
the
CD
will
be
displayed
in
the
Media
Library.
If
you
select
the
CD,
the
track
list
will
be
displayed.
If
the
information
on
the
songs
in
the
CD
is
not
displayed
automatically,
click
[Gracenote
CDDB]
button.
Then,
the
information
will
be
entered
automatically.
4.
Click
the
check
box
in
front
of
the
tracks
you
want
to
add
to
your
library.
Click
[©]
button
in
the
bottom
right
corner
of
the
Media
Library.
6.
Encoded
songs
will
be
automatically
added
in
the
[All
Music]
folder
in
the
library.
=
о
Adding
the
contents
in
your
computer
Using
iriver
plus
2
1.
Execute
iriver
plus
2.
2.
Select
[File
-
Add
to
“All
Music"]
or
[File
-
Add
to
“All
Pictures"]
іп
the
top
menu.
3.
Select
[Add
File...]
menu
to
add
the
files
you
want,
or
select
[Add
Folder...]
menu
to
add
the
folder.
Using
Windows
Explorer
1.
Execute
Windows
Explorer
and
iriver
plus
2.
2.
Select
the
songs
or
the
pictures
you
want
to
add
to
the
library
in
the
Windows
Explorer,
and
drag
them
to
the
iriver
plus
2
Media
Library,
in
the
[All
Music],
[All
Pictures]
or
any
other
playlist.
09

10
Creating
Playlists
1.
Execute
iriver
plus
2.
2.
Right-click
on
the
[All
Music]
or
[All
Pictures]
in
the
Media
Library,
and
select
[New
Playlist...].
3.
Enter
the
name
of
the
new
playlist.
4.
Select
the
media
contents
you
want
in
the
[All
Music]
or
[All
Pictures],
and
drag
them
to
the
new
playlist.

Adding
Contents
to
E10
Using
iriver
plus
2
*
Use
iriver
plus
2
to
transfer
music
and
picture
files
to
E10.
Configuring
the
Sync
Option
1.
Right-click
on
the
icon
of
the
E10
in
the
Media
Library,
and
select
[Sync
Option].
2.
Select
the
sync
option
you
want,
and
click
[OK]
button.
The
selected
music
and
the
playlists
will
be
automatically
transferred
to
E10
once
you
connect
the
device.
Auto
Sync
"All
Music"
&
Playlists
:
Transfers
all
the
music
in
the
library
and
the
selected
playlists.
Only
the
playlists
:
Transfers
only
the
selected
playlists.
Manual
Transfer
You
can
manually
transfer
the
songs
and
pictures
you
want
to
E10.
Auto
Sync
+
|f
the
sync
option
is
set
to
[Auto
Sync],
all
the
music
in
the
media
library
and
the
selected
playlists
will
be
transferred
to
E10,
once
you
connect
E10
to
your
computer.
Manual
Sync
1.
Select
the
songs,
pictures
and
playlists
in
the
library.
2.
Drag
the
selected
contents
to
the
playlist
in
E10,
or
click
[
=}
]
icon
in
the
bottom-right
corner.

A
Using
Windows
Explorer
*
Use
Windows
Explorer
to
transfer
video,
text
and
Macromedia
Flash
files
to
E10.
1.
Connect
E10
to
your
computer,
and
execute
Windows
Explorer.
2.
In
the
Windows
Explorer,
drag
the
media
files
to
the
corresponding
folder
in
E10.
Video
E10
:
Video
Text
E10
:
/Text
Macromedia
Flash
E10
:
/Flash
Games
+
Other
data
files
can
be
stored
in
E10
using
Windows
Explorer,
so
that
you
can use
E10
as
a
portable
storage.
Use
Windows
Explorer
to
create
a
temporary
folder
in
E10
and
copy
the
data
files
into
the
folder.
Warning
*
When
the
hard
disk
drive
in
E10
is
in
operation,
E10
is
very
vulnerable
to
impact.
Please
be
careful
not
to
expose
E10
to
impact,
while
it
is in
operation.

Deleting
Contents
from
E10
Using
iriver
plus
2
•
The
songs
and
the
pictures
can
be
deleted
in
the
iriver
plus
2
1.
Connect
E10
to
your
computer,
and
execute
iriver
plus
2.
E10
will
be
displayed
in
the
Media
Library.
2.
Select
the
media
file
you
want
in
the
[All
Music],
[All
Pictures]
or
any
playlist.
3.
Right-click
on
the
files,
and
select
[Delete]
in
the
menu.
Using
Windows
Explorer
*
Videos,
recorded
files,
texts
and
Macromedia
Flash
files
can
be
deleted
in
Windows
Explorer.
*
Deleting
songs
or
pictures
in
Windows
Explorer
may
damage
the
database
in
E10,
so
that
the
device
may
malfunction.
1.
Connect
E10
to
your
computer,
and
execute
My
Computer
or
Windows
Explorer.
2.
Browse
the
folders
in
E10
and
select
the
files
you
want
to
delete.
3.
Right-click
on
the
selected
files,
and
select
[Delete].

м
Managing
Digital
Media
Contents
Copying
Saved
Recordings
from
E10
to
Your
Computer
You
can
backup
the
saved
recordings
from
E10
to
your
computer
using
Windows
Explorer.
1.
Connect
E10
to
your
computer,
and
execute
My
Computer
or
Windows
Explorer.
The
recorded
files
are
located
in
E10:/Recordings
folder.
2.
Select
the
recording
you
want
to
backup,
and
drag
it
to
your
computer.
Media
Requirements
Category
s
MP3,
WMA,
ASF
8
~
320kbps
usic
OGG
01-010
Picture
JPG JPG
(
Progressive
JPG
is
not
supported.)
Video
:
MPEG4
SP
/
QVGA(128x128)
/
15fps
/
384kbps
Audio
:
MP3
128kbps
/
44.1kHz
CBR
Text
TXT
Unicode
/
local
code
text
file
Type
:
Macromedia
Flash
Lite
2.0
/
30fps
Audio
:
ADPCM
/
MP3
128kbps
/
44.1kHz
Video
АМ
Flash
Games
SWF

Using
ЕТО“
Usi
ЕТ
ооо
ооо
ооо
о
мне
Basic
Features
Select
[Music]
in
the
main
menu.
*
Searching
for
a
song
*
Scroll
[Up]
or
[Down]
to
select
a
song
by
artist,
album,
genre,
song
title
and
playlist.
*
Click
[Left]
to
return
to
previous
menu,
and
click
[Right]
to
select
an
item.
*
Playing
a
song
*
Select
the
desired
song/playlist
and
click
[Right]
to
play.
*
Click
[Right]
during
playback
to
pause/play
the
song.
*
Click
[Up]
or
[Down]
to
play
the
previous/next
song.
*
Click
and
hold
[Up]
or
[Down]
to
fast-forward/rewind
the
song
in
the
playback.

Advanced
Features
*
During
navigation
Click
and
hold
[Right]
in
the
artist,
album,
genre
list
to
open
the
following
sub
menu
:
*
Add
to
Queue
:
Adds
the
songs
in
the
selected
list
to
the
Now
Playing
queue,
so
that
they
can
be
played
after
the
songs
in
the
current
Now
Playing
list.
*
Add
to
Quick
List
:
Adds
the
songs
in
the
selected
list
to
the
Quick
List.
*
Quick
Shuffle
:
Shuffle-plays
the
songs
in
the
selected
list.
Click
and
hold
[Right]
in
the
song
list
to
open
the
following
sub
menu
:
*
Add
to
Queue
:
Adds
the
selected
song
to
the
Now
Playing
queue,
so
that
it
can
be
played
after
the
songs
in
the
current
Now
Playing
list.
*
Add
to
Quick
List
:
Adds
the
selected
song
to
the
Quick
List.
*
Play
:
Plays
the
selected
song.
*
Rate
:
Rates
the
song
in
playback.
e
During
playback
Click
and
hold
[Right]
during
the
playback
to
open
the
following
sub
menu
:
.
Play
Mode
:
Selects desired
play
mode
applied
to
the
current
playlist.
.
Add
to
Quick
List
:
Adds
the
song
in
the
playback
to
the
Quick
List.
.
Select
EQ
:
Selects
desired
equalization
applied
to
the
song
in
the
playback.
:
Rate
:
Rates
the
song
in
playback.
.
Scan
Speed
:
Selects
the
speed
of
fast-forwarding/rewinding.
-
Playback
Speed
:
Selects
the
speed
current
song
is
played.
-
Lyric
Display
:
Displays
the
lyric
of
the
song,
in
case
it
is
included
іп
the
music
file.

*
Now
Playing
Using
ЕТО“
The
[Now
Playing]
screen
displays
the
information
on
the
song
currently
playing
back.
*
Select
[Now
Playing]
in
the
main
menu
or
the
[Music]
menu,
or
click
and
hold
[Right]
in
the
elsewhere
to
return
to
the
[Now
Playing]
screen.
Note
The
Playlist
and
the
Quick
List
You
can
create
and
listen
to
the
series
of
your
favorite
songs
on
E10.
There
are
two
types
of
song
list
in
E10,
the
playlist
and
the
Quick
List.
.
The
playlists
are
created
on
your
Computer
using
the
iriver
plus
2.
-
Please
refer
to
the
page
10
for
the
details
on
how
to
create
a
playlist.
-
The
playlists
transferred
to
E10
can
be
found
on
[Music
-
Playlists]
menu.
+
The
Quick
List
is
created
on
your
E10
on
the
go.
-
Follow
these
steps
to
create
the
Quick
List
on
your
iriver
clix
:
*
Select
[Music]
in
the
main
menu
by
clicking
[Right].
*
While
browsing
for
your
favorite
song
or
album,
click
and
hold
[Right]
in
the
list.
*
Select
[Add
to
Quick
List]
menu
to
add
the
selected
item
to
the
Quick
List.
-
The
Quick
List
can
be
found
in
the
[Music
-
Playlists
-
Quick
List].

18
Using
ЕТ
o
Pictures
KED
Basic
Features
Select
[Pictures]
in
the
main
menu.
*
Searching
for
a
photo
The
thumbnail
and
brief
description
of
the
images
stored
in
E10
will
be
displayed.
Scroll
[Up]
or
[Down]
to
select
previous/next
thumbnail
image.
Click
[Right]
to
display
the
selected
image
in
full
screen.
»
Viewing
a
photo
Click
[Up]
or
[Down]
to
view
previous/next
image.
Click
[Right]
to
begin/pause
a
slide
show.
Advanced
Features
*
During
Navigation
Click
and
hold
[Right]
while
searching
for
a
picture
to
return
to
Now
Playing
screen.
*While
viewing
a
photo
Click
and
hold
[Right]
while
viewing
a
photo
to
open
the
following
sub
menu
:
*
Image
Delay
:
Selects
the
time
each
picture
is
displayed
on
the
screen
during
a
slide
show.
*
Slide
Transitions
:
Enables/disables
overlap
effects
between
each
image
during
a
slide
show.
*
Set
As
Wallpaper
:
Replaces
the
current
wallpaper
with
the
selected
picture.

jo
Videos
°°(&
Basic
Features
Select
[Videos]
in
the
main
menu.
*
Searching
for
a
video
-
Scroll
[Up]
or
[Down]
to
select
previous/next
video
file.
-
Click
[Right]
to
play
the
selected
video
file.
*Playing
a
video
.
Click
and
hold
[Up]
or
[Down]
to
rewind/fast-forward
current
video.
-
Click
[Right]
to
pause/play
the
video.
-
Click
[Left]
to
exit
from
the
video
playback.
-
E10
will
remember
the
last
played
position
of
10
recent
video
files.
Table of contents
Other IRiver MP3 Player manuals

IRiver
IRiver T20 User manual

IRiver
IRiver iFP-590 User manual

IRiver
IRiver E200 User manual

IRiver
IRiver H10 User manual

IRiver
IRiver iFP-195T How to use

IRiver
IRiver H10 5GB User manual

IRiver
IRiver astell & kern AK100 User manual

IRiver
IRiver T7 2GB User manual

IRiver
IRiver T8 User manual

IRiver
IRiver Simple S7 User manual

IRiver
IRiver H10 User manual

IRiver
IRiver iFP-790 Assembly Instructions

IRiver
IRiver T10 User manual

IRiver
IRiver H300 Series User manual

IRiver
IRiver ACTIVO CT10 User manual

IRiver
IRiver H10 User manual

IRiver
IRiver X20 User manual

IRiver
IRiver T20 1GB User manual

IRiver
IRiver S100 Soft Silhouette User manual
IRiver
IRiver X20 2GB User manual