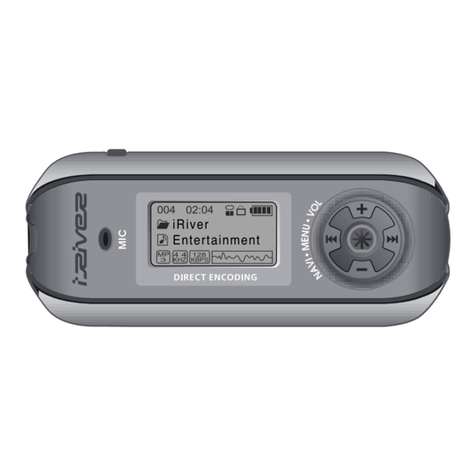
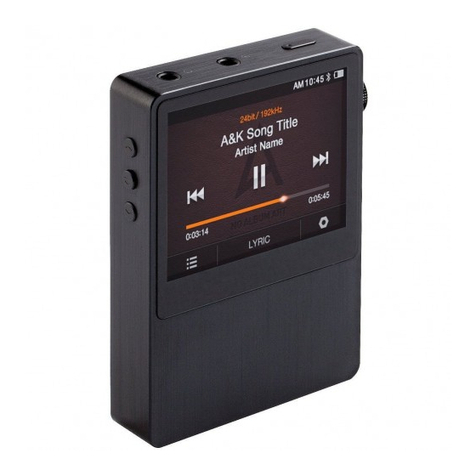
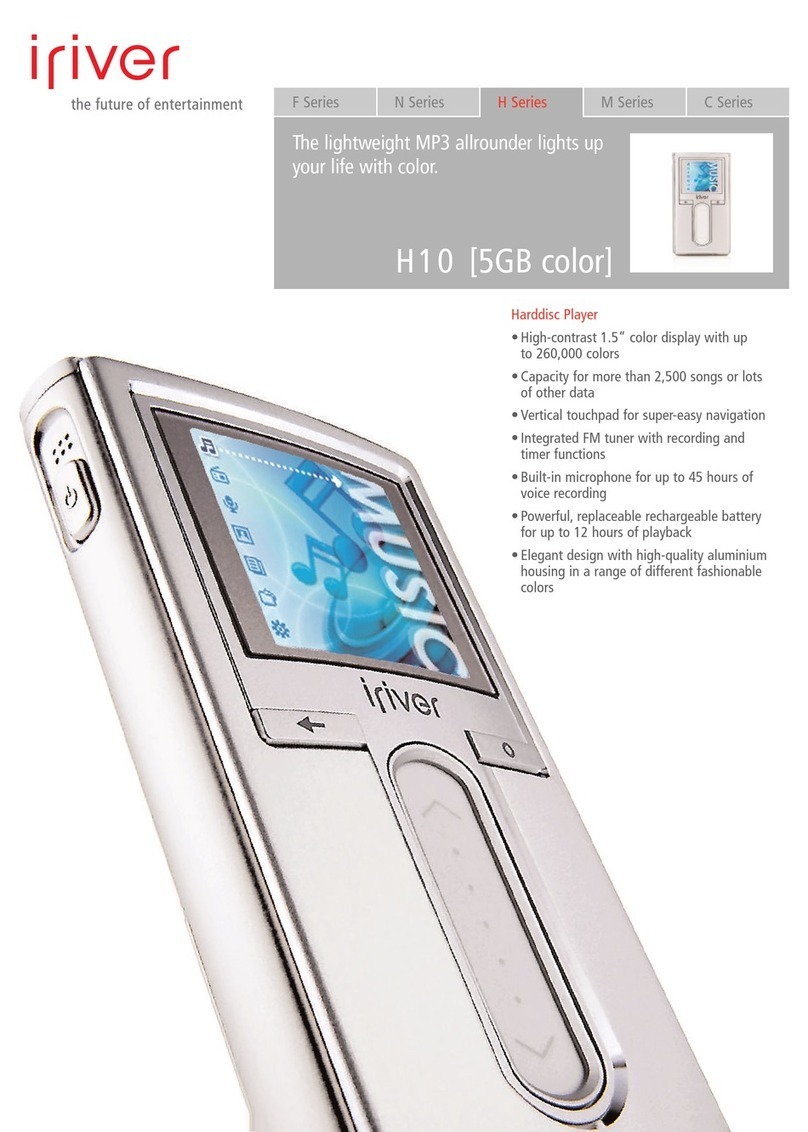
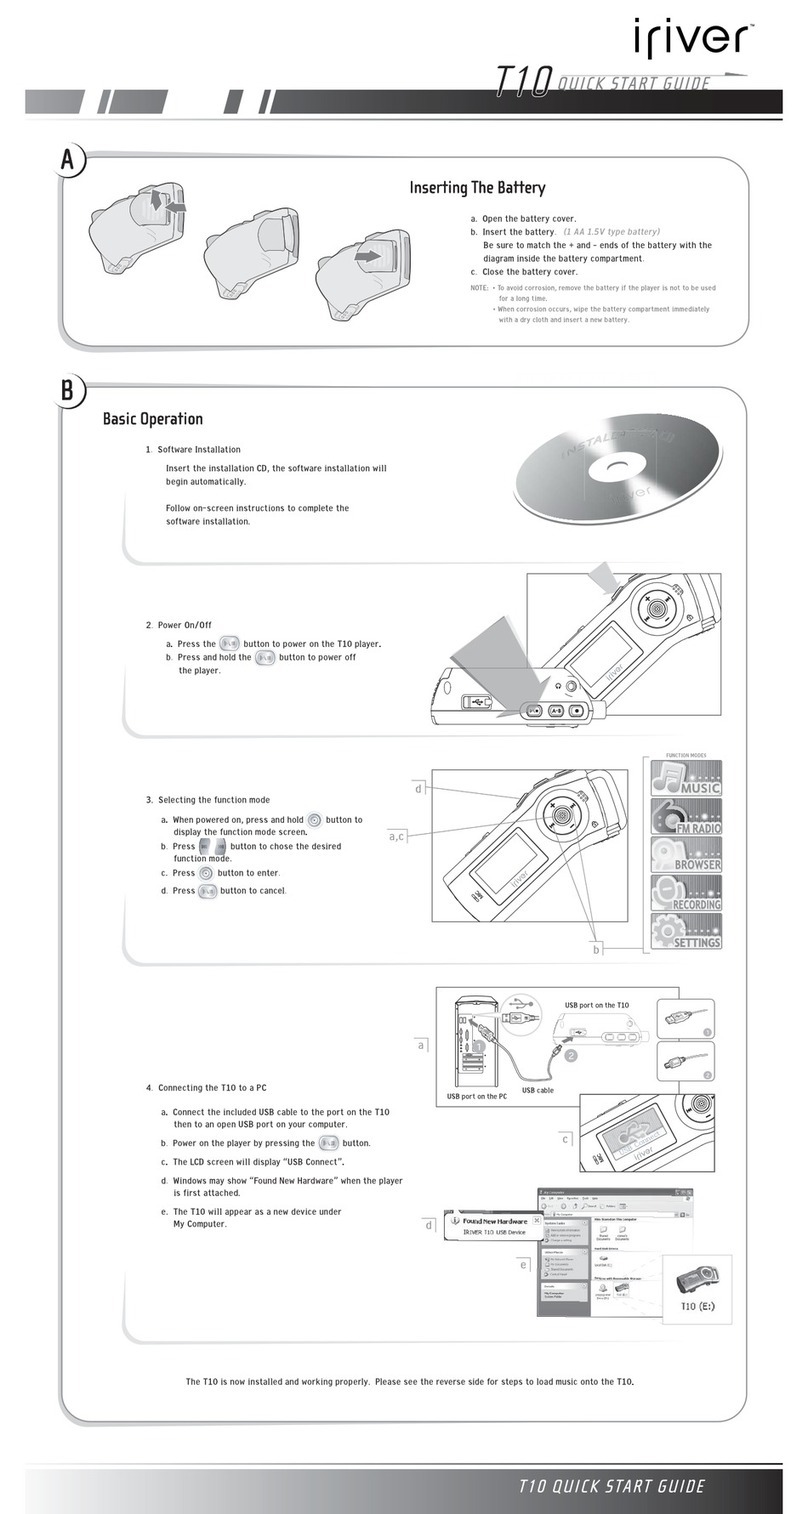
IRiver Simple S7 User manual

iriver
S7
User's
Guide


Getting
Started
Before
Using
the
S7
for
the
First
Time
Locating
the
Controls
Introducing
the
iriver
D-Click
System
Quick
Start
Using
the
Earphones
Using
HOLD
Charging
the
Battery
Managing
Digital
Media
Contents
Adding
Contents
to
Your
Library
Adding
Contents
to
the
S7
Changing
Contents
Playback
Order
in
the
S7
Deleting
Contents
from
the
S7
Setting
FM
Radio
Channels
Setting
SRS
WOW
HD
options
Using
the
$7
MUSIC
FM
RADIO
Advanced
Features
Additional
Information
Troubleshooting
Upgrading
the
Firmware
Safety
Instructions
Copyrights/Certification/Trademarks/Limited
Liability
Federal
Communications
Commission
(FCC)

Getting
Started’
Before
Using
the
S7
for
the
First
Time
Your
S7
package
consists
of
following
components.
:
LO
S7
Earphones
mini
USB
Adapter
users
Guide
Installation
CD
Minimum
requirements
for
using
the
S7
:
-
A
Windows
PC
with
233MHz
or
higher
processor
speed
-
Windows
98SE,
Windows
ME,
Windows
2000,
Windows
XP
Home
or
Professional
-
Pre-installed
iriver
plus
3
software
(iriver
plus
3
is
included
with
the
Installation
CD.)
-
USB
2.0
or
USB
1.1
connection
(If
using
a
USB
1.1
connection,
overall
system
performance
including
file
transfer
may
be
decreased.)
02

Getting
Started’
Locating
the
Controls
L@:=
|
an
EARPHONES
&
MINI
USB
ADAPTER
m
ra
>)
nj
POWER
i
RESET
8
SHUFFLE
8
SRS
Pai
CU
Si
I
J
LED
03

Getting
Started’
Introducing
the
iriver
D-Click
System
Turning
on
the
player
-
Press
and
hold
the
[POWER]
button
to
turn
on
the
S7;
you
will
hear
a
beep
and
see
the
green
LED
light.
Turning
off
the
player
-
Press
and
hold
the
[POWER]
button
to
turn
off
the
S7;
you
will
hear
a
beep
and
see
the
red
LED
light.
Note
m
Ifthe
S7
does
not
turn
on
when
pressing
the
[POWER]
button,
check
to
see
if
the
battery
is
properly
charged.
m
Ifthe
earphones
are
disconnected,
music
in
the
S7
will
not
be
played.
Connect
the
earphones
to
resume
music
playback.
04

Getting
Started’
Music
(Press
the
POWER
button
to
turn
the
S7
on
and
off
during
playback;
Music
playback
mode
will
be
resumed.)
-
If
you
press
and
hold
the
[POWER]
button,
[Music]
will
be
automatically
turned
on
with
a
beep
and
the
green
LED
light.
Volume
+
Playing
Previous
Music
Playing
Next
Music
.
Volume
-
FM
Radio
(Press
the
POWER
button
to
turn
the
S7
on
and
off
while
listening
to
the
radio;
FM
Radio
mode
will
be
resumed.)
-
If
you
press
and
hold
the
[POWER]
button,
[FM
Radio]
will
be
automatically
turned
on
with
a
beep
and
the
green
LED
light.
Volume
+
Tuning
Frequency
-
Scanning
Previous
Station
Tuning
Frequency
+
Scanning
Next
Station
05

Getting
Started’
Quick
Start
Follow
the
steps
to
play
your
favorite
music
with
the
S7.
1
06
Install
iriver
plus
3.
-
Insert
the
Installation
CD
into
the
CD
or
DVD
drive
of
your
computer.
-
Follow
the
on-screen
instructions
on
the
computer
to
complete
the
installation.
Turn
on
your
S7.
-
Press
and
hold
the
[POWER]
button.
Connect
the
S7
to
your
computer.
-
Use
the
included
mini
USB
adapter
to
connect
the
S7
to
your
computer.
Open
iriver
plus
3.
-
Double-click
the
shortcut
to
iriver
plus
3
on
your
desktop.
Or,
select
[Start>Programs>iriver>river
plus
3]
and
click
iriver
plus
3.
(For
Windows
XP)

Getting
Started’
Add
music
to
your
S7.
-
Add
music
to
your
library
in
iriver
plus
3.
-
Check
the
boxes
that
you
want
to
transfer
to
the S7.
-
Click
the
©
button
on
iriver
plus
3.
Disconnect
the
S7
from
the
mini
USB
adapter.
-
Select
[Disconnect
Portable
Device]
in
iriver
plus
3.
You
can
also
use
the
[Safely
Remove
Hardware]
menu
on
the
system
tray
of
Windows
OS.
Connect
the
earphones
to
the
S7.
-
Refer
to
the
next
page
for
instructions
on
connecting
the
earphones
to
the
S7.
Turn
on
your
S7.
-
Press
and
hold
the
[POWER]
button
of
the
S7
to
play
music
automatically.
(The
earphones
should
be
connected
to
play
music.)
07

Getting
Started’
Using
the
Earphones
Connecting
Earphones
to
S7
-
Connect
the
included
earphones
to
the S7.
-
Push
the
plug
in
firmly
until
the
hook
snaps
into
the
hole
on
the
back
of
the
S7.
08

Getting
Started’
Connecting/Disconnecting
earphones
while
playing
music
-
Music
playback
will
be
stopped
when
the
earphones
are
disconnected
and
played
when
the
earphones
are
connected.
Connecting/Disconnecting
earphones
while
listening
to
FM
radio
-
FM
radio
will
be
turned
off
when
the
earphones
are
disconnected
and
turned
on
when
the
earphones
are
connected.
Disconnecting
extension
earphones
from
main
line
-
Twist
and
pull
out
the
extension
earphone
cord
to
disconnect.
Note
m
If
you
reconnect
the
earphones
within
20
minutes
after
disconnecting
them,
music/FM
radio
will
be
resumed.
After
20
minutes
of
disconnection,
the
power
will
be
automatically
turned
off.
09

Using
HOLD
Press
and
hold
the
[Shuffle]
and
[SRS]
buttons
together
to
activate
the
HOLD
function.
Press
and
hold
the
same
buttons
again
to
deactivate
the
function.
When
the
HOLD
function
is
activated,
only
the
[POWER]
button
can
be
operated.
If
you
turn
off
the
S7,
the
HOLD
function
will
be
automatically
deactivated.
Note
m
If
you
disconnect
the
earphones,
the
HOLD
function
will
be
automatically
activated.

Getting
Started’
While
the
S7
is
connected
to
the
computer,
it
will
charge
its
built-in
battery
automatically.
The
battery
will
be
80-percent
charged
in
about
1
hour
(with
red
LED),
and
fully
charged
within
about
1.5
hours
(with
green
LED).
Charging
the
Battery
Note
m
Only
use
the
mini
USB
adapter
included
in
the
package.
Otherwise,
the
device
may
malfunction.
m
Check
if
the
S7
is
connected
to
a
high-power
USB
2.0
port.
Some
low-power
USB
ports
built
in
some
peripheral
devices
such
as
certain
keyboards
and
USD
hub
without
integrated
power
may
not
provide
enough
power
to
charge.
Em
If
the
computer
is in
sleep
mode,
the
S7
may
not
be
charged
in
some
computers.
11

Managing
Digital
Media
Contents
|
Adding
Contents
to
Your
Library
Adding
Media
to
iriver
plus
3
1
When
you
run
iriver
plus
3
for
the
first
time,
the
Add
Media
Wizard
will
start.
2
Follow
the
on-screen
instructions
on
the
computer
to
add
music
files
to
the
library.
Ripping
Songs
from
a
CD
1
Start
iriver
plus
3
and
insert
an
audio
CD
into
the
CD
drive.
2
Click
the
CD
drive
with
the
right
button
of
the
mouse,
and
select
[CD
ripping].
3
Choose
tracks
on
the
CD
that
you
want
to
be
ripped
and
click
[Start
Ripping].
4
Click
the
[Music]
tab
and
then
[All
Music].
You
can
find
the
ripped
music
in
your
library.
12

Managing
Digital
Media
Contents”
Adding
Contents
to
the
$7
Using
iriver
plus
3
1
Connect
the
S7
to
the
PC
with
the
mini-USB
adapter,
and
start
iriver
plus
3.
2
Click
the
[Music]
tab
and
check
the
boxes
of
the
files
that
you
want
to
transfer
to
the S7.
3
Click
the
©
button.
Using
Windows
Explorer
1
Connect
the
S7
to
the
PC
with
the
mini-USB
adapter.
2
Check
to
see
if
the
S7
is
displayed
as
new
drive.
3
Select
[My
Computer>Removable
Disk>S7]
and
copy
file
to
the S7.
Note
m
While
the
files
are
being
transferred,
the
red
LED
light
will
be
blinking.
If
you
disconnect
the
USB
connection,
the
data
may
become
corrupted.
13

Managing
Digital
Media
Contents”
Changing
Contents
Playback
Order
in
the
$7
Changing
Playback
Order
in
iriver
plus
3
1
Connect
the
S7
to
the
PC
with
the
mini-USB
adapter,
and
start
iriver
plus
3.
2
Click
the
[Music]
tab
and
check
the
boxes
of
the
files
that
you
want
to
transfer
to
the
S7.
3
Click
the
©
button.
4
Select
the
[Music]
folder
and
click
the
right
button
of
mouse
to
select
[Changing
Playback
Order].
5
Move
up/down
the
file
you
want
and
click
the
OK
button.
Note
=
The
S7
supports
media
formats
as
shown
below.
MP3,
WMA,
ASF
8
~
320kbps
OGG
Q1
~
Q10
m
The
S7
recognizes
a
total
of
400
folders
(8
depths),
and
a
total
of
1,000
music
files.
14

Managing
Digital
Media
Contents”
Deleting
Contents
from
the
$7
Using
Windows
Explorer
1
Connect
the
S7
to
the
PC
with
the
mini-USB
adapter.
2
Check
to
see
if
the
S7
is
displayed
as
new
drive.
3
Choose
the
file
you
want
in
[My
Computer>Removable
Disk>S7]
and
press
the
[Delete]
key
on
the
keyboard.
Setting
FM
Radio
Channel
Setting
FM
Radio
Channel
on
iriver
plus
3
1
Connect
the
S7
to
the
PC
with
the
mini-USB
adapter
and
open
iriver
plus
3.
2
Select
[Tools>Portable
Device>Setting
up
Radio
Tuner].
3
The
FM
Radio
Setup
window
is
displayed
with
the
region
and
channel
of
FM
radio.
4
Enter
broadcasting
station
name
and
frequency
to
the
channel
you
want,
and
then
click
the
[Save
as
Portable
Device]
button
to
save
it
to
the
S7.
15

Managing
Digital
Media
Contents”
Setting
SRS
WOW
HD
options
Setting
SRS
WOW
HD
options
in
iriver
plus
3
1
Connect
the
S7
to
the
PC
with
the
mini-USB
adapter
and
open
iriver
plus
3.
2
Select
[Tools>Portable
Device>SRS
WOW
HD
Setting].
3
When
the
SRS
WOW
HD
setting
window
appears,
click
the
[Save
as
Portable
Device]
button
to
save
it
to
the
S7.
Ss
Note
m
Ifyou
close
the
window
without
saving
the
changed
setup,
the
pop-up
window
to
confirm
the
save
will
appear.
-
[Yes]
button
:
Closes
the
window
after
saving
changes.
-
[No]
button
:
Closes
the
window
without
saving
changes.
16

(Using
the
$7"
MUSIC
Basic
Features
If
you
press
and
hold
the
[POWER]
button,
[Music]
will
be
automatically
turned
on
with
a
beep
and
the
green
LED
light.
e
Playing
music
files
-
While
playing
music,
click
the
[Up]
or
[Down]
button
to
control
the
volume.
-
While
playing
music,
click
the
[Left]
or
[Right]
button
to
play
previous
or
next
file.
-
While
playing
music,
click
and
hold
the
[Left]
or
[Right]
button
to
fast
forward
or
fast
reverse.
17

Using
the
$7"
®
Switching
to
FM
radio
while
listening
to
music
-
If
you
press
the
[POWER]
button,
music
will
be
played;
you
will
hear
a
beep
and
the
green
LED
light
will
be
on
for
1
second.
Note
m
If
there
is
a
music
file
to
play,
the
last
played
music
will
be
played
when
you
press
the
[POWER]
button.
If
there
is
no
music
to
play,
you
will
hear
a
beep
one
time
per
2
seconds.
m
If
an
error
occurs
after
playing
music,
it
will
skip
to
the
next
song
after
2
beeps.
m
If
remaining
battery
power
is
not
sufficient,
the
power
will
be
automatically
turned
off
after
3
beeps.
18
Other manuals for Simple S7
1
Table of contents
Other IRiver MP3 Player manuals

IRiver
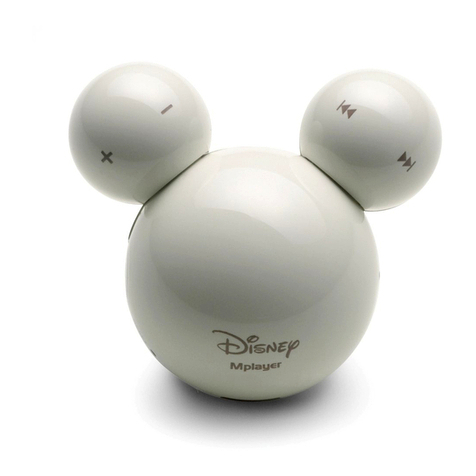
IRiver MPlayer User manual

IRiver
IRiver T20 User manual

IRiver
IRiver PMP-120 User manual

IRiver
IRiver X20 2GB User manual

IRiver
IRiver H10 User manual

IRiver
IRiver H10 User manual

IRiver
IRiver ACTIVO CT10 User manual

IRiver
IRiver iFP-500 Series User manual

IRiver
IRiver X20 User manual

IRiver
IRiver T20 User manual

IRiver
IRiver T60 1GB User manual

IRiver
IRiver T8 User manual

IRiver
IRiver iGP-100 User manual

IRiver
IRiver H10 User manual

IRiver
IRiver T5 User manual

IRiver
IRiver E300 User manual

IRiver
IRiver N10 User manual

IRiver
IRiver T30 512MB User manual
IRiver
IRiver Spinn 4GB User manual

IRiver
IRiver H120 User manual