manuals.online logo
Brands
  1. Home
  2. •
  3. Brands
  4. •
  5. Irradian
  6. •
  7. Measuring Instrument
  8. •
  9. Irradian L203 SMU User manual

Irradian L203 SMU User manual









 
  
 

 





  
    
     
    
  


Handbook Ref No. MH070/Issue I
File Ref: L203SMU-vI.doc








 
  
  

 





  
    
      
      
   


    
        
     1. Introduction
2. Specification
3. Operation
4. Eyepiece Adjustment
5. Lens Care
6. Mounting
7. Lens Selection Chart
8. Use of Extension Tubes
9. Environmental Care, Recycling and Disposal
L203 SMU Supplement Irradian Limited
1
   
      
    


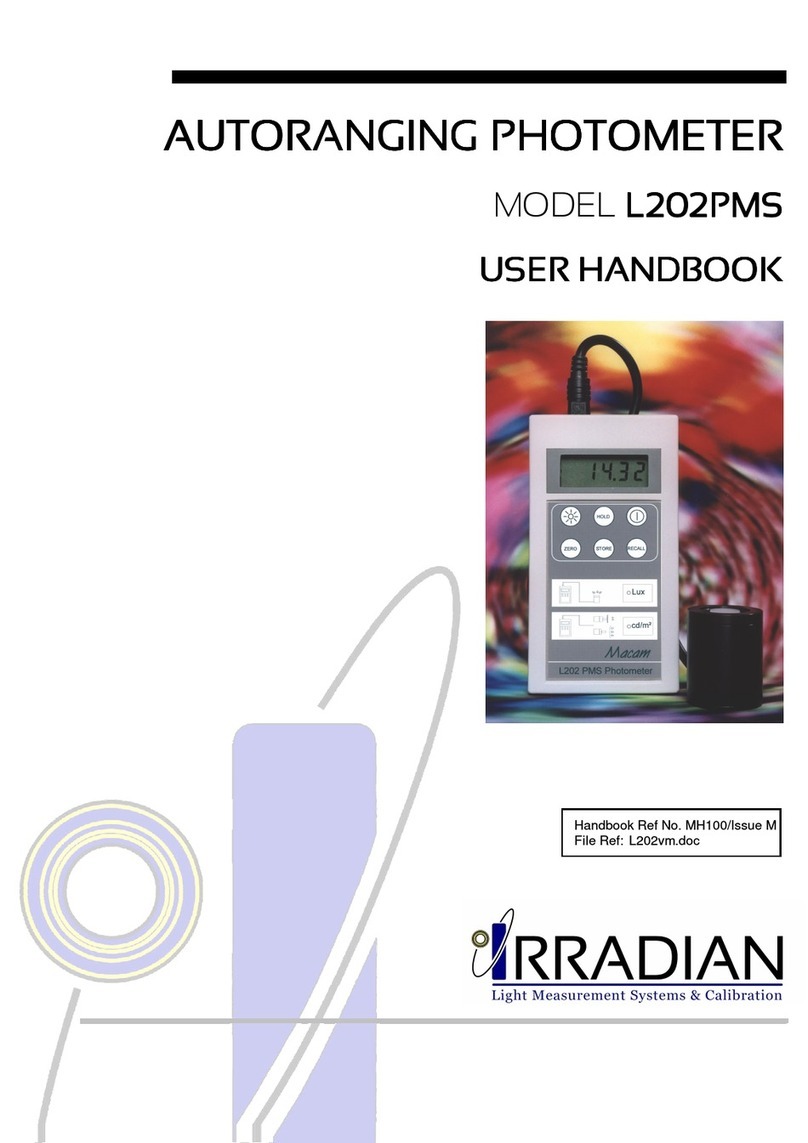
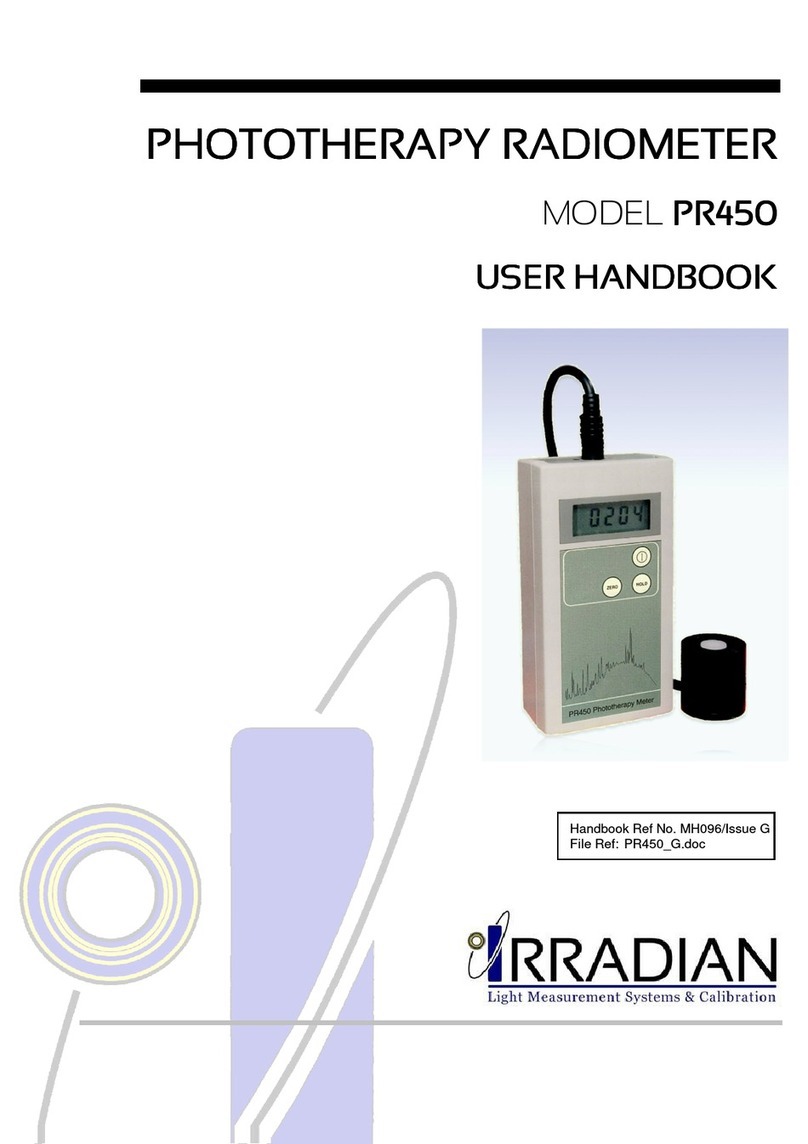
The Irradian L203 SMU203 Photometer is a customised portable
instrument designed for accurate measurement of spot luminance and
(optionally) luminance in cd.m
-2
or footLamberts and (optionally)
illuminance in lux or footcandles, according to the type of head supplied
with the unit.
The photometer comprises of a hand held display unit with micro
processor control, a detector / amplifier assembly / connecting cable,
spot measuring unit and an intermediate photopic filter ring, and other
possible accessories of a cosine corrected photopic filter ring for
illuminance measurements (L203 illuminance/luminance model) and a
photopic 6°field of view lens assembly.
The reflex viewing spot measuring unit, model SMU203 is a compact
telescope with off-axis eyepiece, permitting accurate measurements of
luminance when used in conjunction with the L203 photometer, detector
and photopic filter. The eyepiece provides a view of the imaged scene
superimposed on an aperture mirror. The aperture (seen as a dark circle
spot in the centre of the field of view) allows light to travel directly to the
detector or light guide. This method of detection gives high levels of
immunity from scattered light.
Irradian Limited L203 SMU Supplement
2
   
      
    


DISPLAY UNIT (Ranges:)
Luminance with Up to 4 full scale decades measuring from:
SMU203-25/50/75 0 to 199.99 cd.m
-2
(25/50/75 mm f/l lens)
0 to 1999.9 cd.m
-2
0 to 19999 cd.m
-2
0 to 19999 x 10 cd.m
-2
Resolution 0,01 cd.m
-2
on range 1
(Optional) Up to 5 full scale decades measuring from:
0 to 19.999 fL
0 to 199.99 fL
0 to 1999.9 fL
0 to 19999 fL
0 to 19999 x 10 fL
Resolution 0,001 fL on range 1
For details of the ranges associated with the optional illuminance filter ring and luminance
6°field of view accessories, please refer to the L203 & L203 Lux handbook.
Calibration Absolute calibration accuracy estimated as
± 5.0 % traceable to NPL standards.
L203 SMU Supplement Irradian Limited
3 
   
      
   
(continued):


Interchangeable Lenses
Eyepiece
Thread Mount to Irradian
Detectors or Optical Fibre
Light Guides
Detector and Filter
Combination
SMU203 Spot Measurement Accessory
1 / 4 UNC
Tripod Mount
Irradian Limited L203 SMU Supplement
4
   
      
   
(continued):



SMU203 Spot Measurement Accessory
Detector / Amplifier / Digitiser
Intermediate Filter Ring
Tilted Aperture
Mirror
(Alternative Spot
Dia’s available)
Mounted on
removeable Angled
Rod for ease of
replacement
Lens 25mm / 50mm /
75mm Focal Length.
Available with
Extension Tubes for
macro use.
Eyepiece permits view of
target. Mirror Aperture
seen as black spot.
L203 SMU Supplement Irradian Limited
5 


 


SPOT LUMINANCE SETTING UP
1) Carefully screw the CIE-INT intermediate filter ring to the SMU203
telescope and the DET203Vis detector to the intermediate filter ring.
Remove the rear lens cap and screw either the 25, 50 or 75 mm 'C'
mount lens to the SMU (including any other optical components such
as a x2 converter or extension tube). If an extension tube is fitted
check the calibration certificate for the multiplication factor.
2) With the unit OFF, plug the detector 8 way connector into the socket
on the top of the display unit.
3) Press and release the power switch on the L203 display key pad. The
micro controller will initiate with the display momentarily showing:-
The radiometer will now search for the optimum range on the detector
amplifier. A typical display is shown below.
An LED will illuminate indicating the units. This will be the same units
prior to the last power off.
4) Press and release the UNITS switch to select the correct units for
luminance measurements. The correct setting will be one of cd.m
-2
, fL
or Aux as detailed on the calibration certificate, supplied with the
meter.
5) View the source to be measured by sighting through the eyepiece
viewer, noting that the size of the source must be greater than the dark
circle spot observed on the reflex mirror. Light sources that appear to
be totally obscured by the black spot will not be accurately measured.
In this case move toward the source until it overfills the spot.
Irradian Limited L203 SMU Supplement
6



(continued):


Important note: In all situations other than darkroom operation, the
eyepiece blanking cap must be used to cover the viewer once the
telescope has been correctly aligned with the target source. Failure to do
so may lead to incorrect luminance values being given.
ZERO
It is recommended that the photometer amplifier is nulled periodically. To
do this place lens caps over both the front of the lens and the eyepiece. It
is important that both caps are in place before commencing the zero
operation as it is possible to obtain a false zero level (and consequently
incorrect readings) if ambient light levels are high and either of the optical
inputs are unblocked.
Press and release the ZERO switch, the display will show:-
The micro controller will now measure the amplifier offset on each of the
available gain ranges and store these values in the non-volatile memory.
All subsequent measurements will first have one of these offsets
subtracted before displaying the measurement.
At the end of the nulling sequence the display will show :-
Note: If the units fL are in use, the display will show 0.000 following the
nulling sequence.
Remove the light covers. The equipment is now ready for use.
AVERAGE
When the light is unstable, press and release the MODE switch. The
photometer will now switch to manual ranging, Manual LED on, if not yet
previously in manual ranging. The Average LED will now switch on, but
the Units LED will remain unchanged.
L203 SMU Supplement Irradian Limited
7 



(continued):


To start an average sequence press and release the HOLD/RUN switch.
Immediately the display will show a fluctuating signal, reflecting the light
source fluctuations. After a short time the amplitude of the fluctuations
will decrease and the display will begin to show a reading which
represents the average light level during the period of the measurement.
At any time the averaging process can be halted by pressing the
HOLD/RUN button.
At any time the averaging sequence can be reset by pressing and
releasing the FUNCTION RESET switch.
If the light level fluctuations are large and any one reading causes the
detector amplifier to overload at this range the averaging process will be
terminated and the display will show:-
To avoid an overload conditions RESET the photometer and Manually
change the RANGE to a lower lever. e.g. from a 34.00 range to 34.0.
MIN. & MAX. LEVELS
During an average measurement the maximum and minimum values
attained in the period are recorded. Press HOLD to halt the averaging
sequence. Press the MODE button to select between Average, Min and
Max. Note. The Integrate display may overload and display - 0 L -.
It is also possible to view a MIN or MAX recording sequence by selecting
MIN or MAX prior to selecting RUN.
Press FUNCTION RESET to set the maximum and average values to
zero and the minimum to - 0 L -. Note the FUNCTION RESET will
operate during a measurement sequence or in the HOLD mode.
Irradian Limited L203 SMU Supplement
8







(continued):
INTEGRATE
For measurements of the integrated dosage or exposure press the
MODE switch to select Integrate. Press the RUN switch to start the
measurement. The display will now autorange as the dosage increases.
Note the detector amplifier will not autorange and as with Average
measurements if the amplifier overloads the display will show - 0 L - and
the measurement will halt.
Units for integrated measurements are mJ.m
-2
.sr
-1
or J.m
-2
.sr
-1
.
At the end of the integration period HOLD the display. Use the MODE
switch to also display the Min,Max and Average values.
Press FUNCTION RESET to set the integrate, maximum and average
values to zero and the minimum to - 0 L -. Note the FUNCTION RESET
will operate during a measurement sequence or in the HOLD mode.
L203 SMU Supplement Irradian Limited
9 




   
        
    


The SMU203 eyepiece is set for zero dioptre correction. If it is necessary
to adjust for operators vision, the eyepiece barrel can be unlocked (the
grubscrew access is above the detector mounting thread), and the barrel
moved into the body of the SMU by up to 1mm (giving over 3 dioptre
adjustment). Ensure that the barrel is relocked after adjustment.
   
     
   
If the external optics of the SMU203 become dirty, remove loose dust
with a photographic 'puff' brush or a proprietary dust remover (e.g.; Dust-
Off). More difficult marks may be removed using Iso-Propyl Alcohol and
lens tissue. (Do not flood the optics with alcohol, apply to the lens tissue
and gently wet the optics surface.)
Cleaning of the internal optics is not recommended. With care dust may
be blown out, but the mirror is easily damaged. Contamination is usually
cosmetic and unlikely to affect the instruments performance.
   
      
   
The SMU203 is fitted with a ¼"-UNC tripod mount thread on the flat
beneath the main body. Several tripods are available as accessories.
     
          
     
Focal
Length
(mm)
F#
(Min.)

Field of View
(Min.) Spot
FOV Spot Size
at 1m Min. Focus
Distance

25 1.6 22° 5° 9cm 0.3m
50 1.8 11° 2.5° 4.5cm 0.5m
75 1.8 7.5° 1.5° 2.5cm 0.5m

Details subject to change.
!  "  
!  "  !  "  
!  "     
      
    
Minimum operating distance (and spot size) can be reduced through the
use of extension tubes. With the standard 25mm lens details of less than
1mm can be measured at just several centimetres range.
Irradian Limited L203 SMU Supplement
10
#
##
# $    %    
 $    %    $    %   
 $    %   


  
    
  


The purpose of the European Commission WEEE directive (Waste
Electrical and Electronic Equipment; 2002/96/EC) is to ensure that
electrical and electronic products are recycled using the best treatments,
recovery and recycling techniques that are currently available. This is so
that high health standards and a lasting environmental protection can be
achieved and maintained.
This product has been designed and manufactured using high quality
materials and components, many of which can be recycled and reused.
Please remember to observe the local regulations that govern both the
disposal of the packaging materials accompanying this product and any
used batteries.
DO NOT DISPOSE OF THIS PRODUCT IN YOUR
GENERAL WASTE BIN.
Please inform yourself about your local WEEE collection
system which is available for electrical and electronic
products that are marked with the symbol shown here.
When disposing of this meter, please use one of the following options:
1) Use your local designated WEEE collection facilities to dispose of the
complete product (including cables, detectors, filters & accessories).
2) Return the complete product back to Irradian, marking it clearly as
intended for WEEE disposal.



 &'
 &' &'
 &'


9 Elphinstone Road Telephone: +44 (0)1875 898-083
Tranent Facsimile: +44 (0)1875 616-528
East Lothian E-mail: [email protected]
Scotland EH33 2LG Web: www.irradian.co.uk

Other Irradian Measuring Instrument manuals

Irradian L203 Instruction Manual

Irradian

Irradian L203 Instruction Manual

Irradian UV201 Instruction Manual

Irradian

Irradian UV201 Instruction Manual

Irradian L202PMS Instruction Manual

Irradian

Irradian L202PMS Instruction Manual

Irradian UV203 Instruction Manual

Irradian

Irradian UV203 Instruction Manual

Irradian PM203 Instruction Manual

Irradian

Irradian PM203 Instruction Manual

Irradian PR203 Instruction Manual

Irradian

Irradian PR203 Instruction Manual

Irradian UV203-3 User manual

Irradian

Irradian UV203-3 User manual

Irradian PR450 Instruction Manual

Irradian

Irradian PR450 Instruction Manual

Irradian PR203 User manual

Irradian

Irradian PR203 User manual

Popular Measuring Instrument manuals by other brands

TESTO 312-1 instruction manual

TESTO

TESTO 312-1 instruction manual

WIKA CPH6200-S1 operating instructions

WIKA

WIKA CPH6200-S1 operating instructions

Klemsan Klea 320P-D user manual

Klemsan

Klemsan Klea 320P-D user manual

CLA-VAL X144D e-FlowMeter Quick Start Installation & Removal Instructions

CLA-VAL

CLA-VAL X144D e-FlowMeter Quick Start Installation & Removal Instructions

Fluke WaveRunner Getting started guide

Fluke

Fluke WaveRunner Getting started guide

AST AccuGauge AG200 manual

AST

AST AccuGauge AG200 manual

KROHNE ALTOFLUX M900 installation instructions

KROHNE

KROHNE ALTOFLUX M900 installation instructions

wilks InfraCal CVH Calibration manual

wilks

wilks InfraCal CVH Calibration manual

KYOWA WDS-180A instruction manual

KYOWA

KYOWA WDS-180A instruction manual

JB Systems Polar Operation manual

JB Systems

JB Systems Polar Operation manual

JENCO 3011M Operation manual

JENCO

JENCO 3011M Operation manual

Teledyne SierraNet M408 quick guide

Teledyne

Teledyne SierraNet M408 quick guide

Varian CP-3800 GC Operator's manual

Varian

Varian CP-3800 GC Operator's manual

RKI Instruments GX-2001 Operator's manual

RKI Instruments

RKI Instruments GX-2001 Operator's manual

Blue-White F-300 quick start guide

Blue-White

Blue-White F-300 quick start guide

Texmate LEOPARD DL-40US-PROCESS manual

Texmate

Texmate LEOPARD DL-40US-PROCESS manual

Trotec B1DL Original instructions

Trotec

Trotec B1DL Original instructions

Circutor DHB-402 instruction manual

Circutor

Circutor DHB-402 instruction manual

manuals.online logo
manuals.online logoBrands
  • About & Mission
  • Contact us
  • Privacy Policy
  • Terms and Conditions

Copyright 2025 Manuals.Online. All Rights Reserved.