8www.i-sens.com www.i-sens.com 9
The VetMate meter comes with two 3.0 V lithium batteries.
Before using the meter, check the battery compartment and
insert batteries if empty. When the symbol appears on the
display while the meter is in use, the batteries should be replaced
as soon as possible. The test results may not be saved if the
batteries run out.
Replacing the Batteries
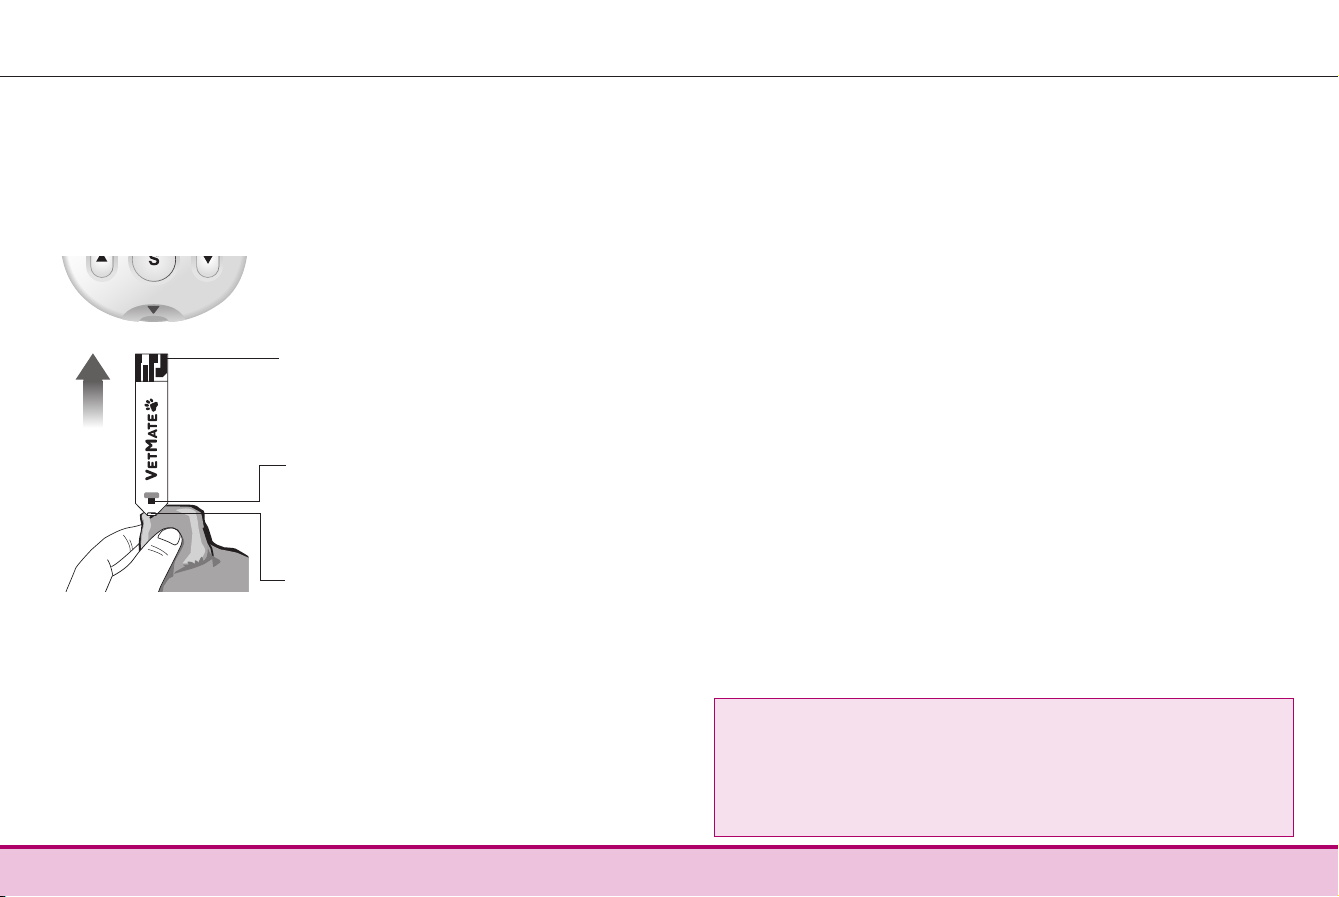
Step 1
Make sure the meter is turned off. Push
the cover in the direction of the arrow to
open the battery compartment.
Step 2
Remove the used batteries one at a time.
Slip your index finger under the battery to
lift and pull out as shown. Insert two new
batteries with the + side facing up and make
sure the batteries are inserted firmly.
Step 3
Place the cover on the battery
compartment. Push it down until you hear
the tab click into place.
Note: Removing the meter batteries will not affect the stored
results. However, you may need to reset the meter settings.
See pages 14-19.
Caring for the System
Use a soft cloth or tissue to wipe the meter exterior. If
necessary, dip the soft cloth or tissue in a small amount of
alcohol.
Do not use organic solvents such as benzene, acetone, or any
household and industrial cleaners that may cause irreparable
damage to the meter.
Caution:
• Do not expose the meter to direct sunlight, heat, or excessive
humidity for an extended period of time.
• Do not let dirt, dust, blood, or water enter into the meter’s test
strip port.
• Do not drop the meter or submit it to strong shock.
• Do not try to fix or alter the meter in any way.
• Strong electromagnetic radiation may interfere with the
proper operation of this device. Keep the device away from
sources of strong electromagnetic radiation, especially when
measuring your pet's blood glucose.
• Keep the meter in a cool and well ventilated place.
• Store all the meter components in the carrying case to prevent
loss and help keep the meter clean.
Disposal of the meter
If you need to throw your meter away, you should follow
existing policies and procedures of your own country or region.
For information about correct disposal, please contact your
local council or authority. If you need assistance, contact your
authorised i-SENS sales representative or visit www.i-sens.com.