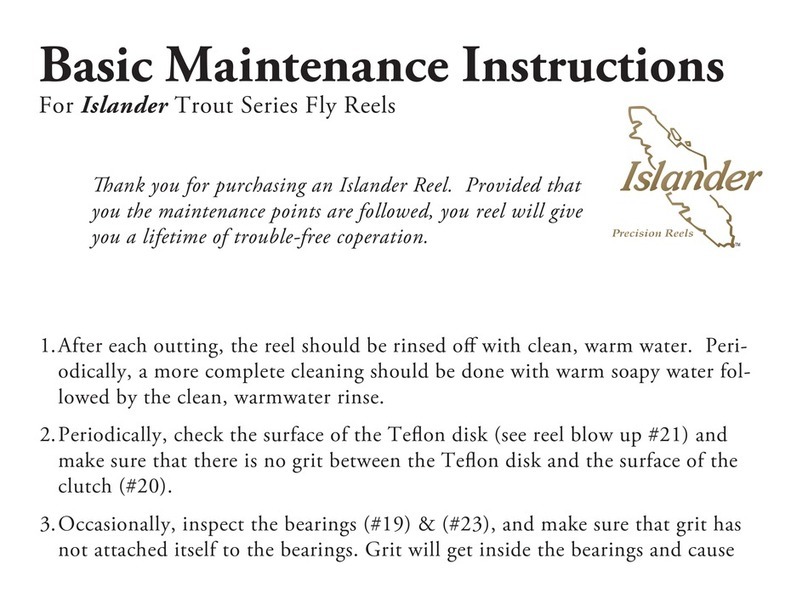
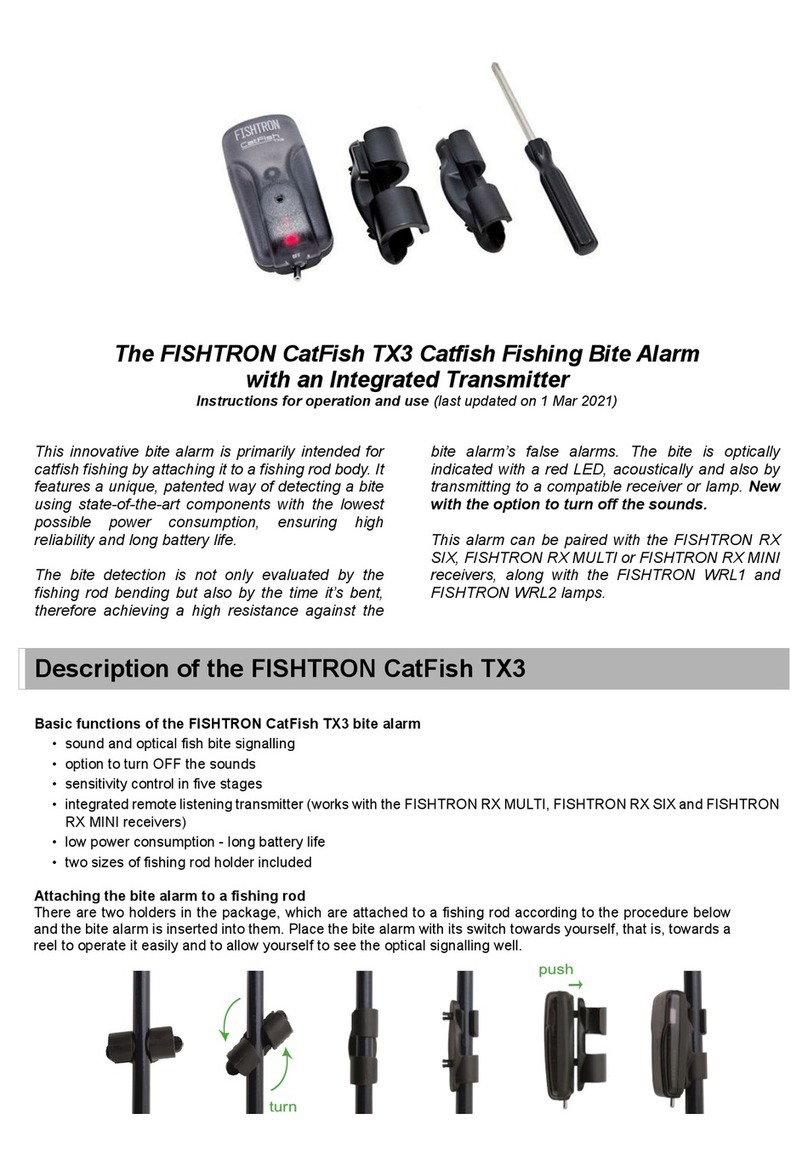
Spool
7. Remove all the old grease from the gear (5). You may
need to use a small, soft brush.
8. Clean the bearings (6 — there is another identical
bearing opposite to the one shown); use a soft cloth to
remove any debris that may have accumulated.
9. Clean inside the spool cavity with a soft cloth to
remove any contaminant which may have collected.
10. Oil and grease all of the indicated locations.
Remember to oil both the front and back bearings.
11. The o-ring under the spindle screw should be cleaned of any build up and then oiled (Figure 7).
12. The handle assembly (Figure 8) does not have to be lubricated. Simply remove the screw holding the
handle with a at bladed screw driver and clean thoroughly by wiping down the base with a soft cloth
and running a cotton swab through the handle.
Figure 6 - Spool
5) Gear
(Grease teeth)
6) Bearing
(Oil front &
back bearings)
Figure 7 -
Spindle Screw Figure 8 - Handle Assembly
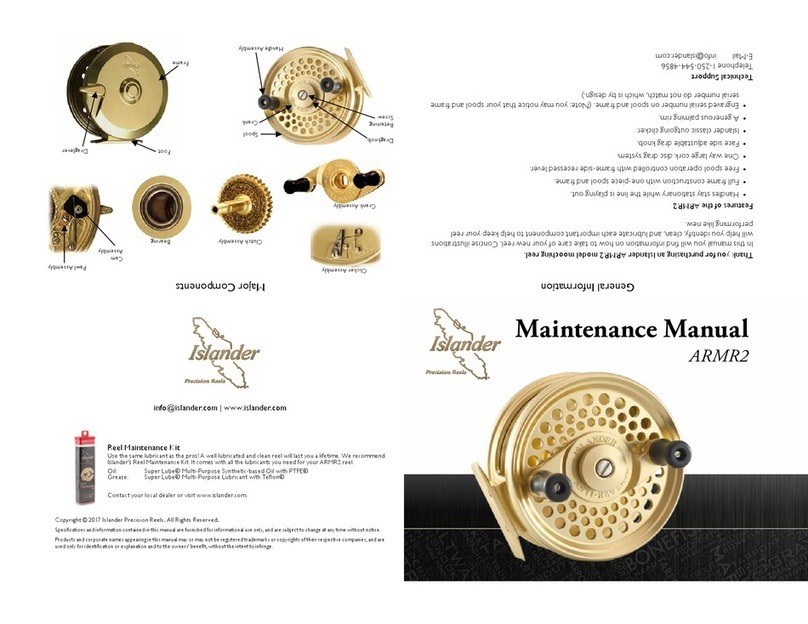
Your reel comes lubricated from the factory. This level of maintenance should be
carried out once every 3-4 shing trips to maintain optimum per formance.
After use in saltwater, it is important to rinse the reel with warm water.
While the reel is saltwater safe, the quick rinse will help your reel
perform better in the long run. Avoid immersing the spool in water if
there is backing/line present — moisture will be retained by the line.
4. Clean the inside of the frame with a soft cloth to remove
any contaminants which may have collected.
5. Oil and grease all of the indicated locations.
6. After lubrication, work the clicker button (4) back and
forth a few times to work the lubrication through the
button and clicker assemblies.
Figure 4 - Frame
3) Spindle
(Oil)
2) Clicker
(Oil &
Grease)
1) Clicker
Spring
4) Clicker Button
(Oil underneath)
Frame
1. Disassemble your reel as shown above.
2. Clean the Spindle (3) using a soft cloth to remove any
old buildup that may have accumulated.
3. Clean around the Clicker (2) and Spring (3). You may
have to use a small, soft brush to remove the old oil,
grease and grit from this location.
Figure 5 -
Frame
Cleaning and Lubricating Your Reel
Tuning
Troubleshooting
1. If you nd that your handles are still, remove the handles as show below and clean
them. Most poor turning handles are caused by a collection of grit that accumulates
between the handle and the handle base. (See step 12 bellow.)
2. If you nd that your clicker button does not engage or disengage properly, clean and
oil around the clicker and button assemblies as shown below.
It is possible to tune the intensity of the reel’s click, to a
certain extent. For these adjustments, you will need to
disassemble your reel.
1. If you nd that your reel is too quiet when
the click-drag is engaged, push the clicker
spring (1) in the direction indicated by (A).
2. If you nd that your reel is too loud when
the click-drag in engaged, push the clicker
spring (1) in the direction indicated by (B).
1) Clicker Spring
A) For a louder click
B) For a softer click
Figure 3
How To Disassemble Your Reel
1. Remove the spindle screw (2) by turning it
counterclockwise, using a snug-tting screw
driver.
2. Once the screw is removed, you may notice
that there is a captive rubber O-ring on the
underside of the spindle screw (2). There is
no need to remove this O-ring, and it will
not fall out on its own.
3. Grasp the outside of the frame (3) with one
hand and the spool (1) with the other, and
start to pull the reel apart gently in a straight
line manner. Nothing should be forced during
disassembly or reassembly.
At this point, there should be 3 free assemblies:
Spindle Screw (2), Spool (1), and Frame(3).
Reassembly Notes
• Disengage the clicker, as illustrated in Figure 2.
• Do not overtighten the spindle screw (2). Tighten the
screw just until it meets resistance.
(3) Frame
Figure 1
(2) Spindle Screw (1) Spool
4) Push back
and down to
disengage.
5) Push up
to engage.
Figure 2 - Clicker Button
