iSysmart SGZ716 User manual

1
ZigBeeTM- Humidity/Temperature Sensor
iSysmart User Manual
Humidity/Temperature Sensor
Model: SGZ716
FW V1.1 (20130802)
HW V1.5

2
1. Introduction
ISysmart SGZ716, a humidity/temperature sensor with LCD display, acts as an End Device in ZigBee
network. It does not perform permit-join function as a coordinator or a router for other devices to join the
network. The humidity/temperature data can be also sent to the ZigBee network center wirelessly.
What is ZigBee?
ZigBee is a short range wireless transmission technology based on IEEE802.15.4 standard and supports
multiple network topologies such as point-to-point, point-to-multipoint, and mesh networks. It is defined for
a general-purpose, cost-effective, low-power-consumption, low-data-rate, and easy-to-install wireless solution
for industrial control, embedded sensing, medical data collection, smoke and intruder warning, building
automation and home automation, etc.

3
2. Product Appearance
Humidity/Temperature
Sensor
LCD Display
Binding Key
Setting Key

4
3. Specification
Fully IEEE 802.15.4 compliant
Utilizes 2.4GHz ISM band; up to 16 channels
Power supply: 2 x 1.5V AA batteries
Operating consumption: ≤ 40mA
Standby consumption: ≤ 0.6uA
Humidity/Temperature sensor
Equipped with LCD display
Up to 180 meters wireless transmission range in non-obstacle space
Easy installation and configuration

5
4. Installation
Open the
Front view battery cover
Insert the
Batteries are
batteries
installed
Install the
The device is
battery cover
ready

6
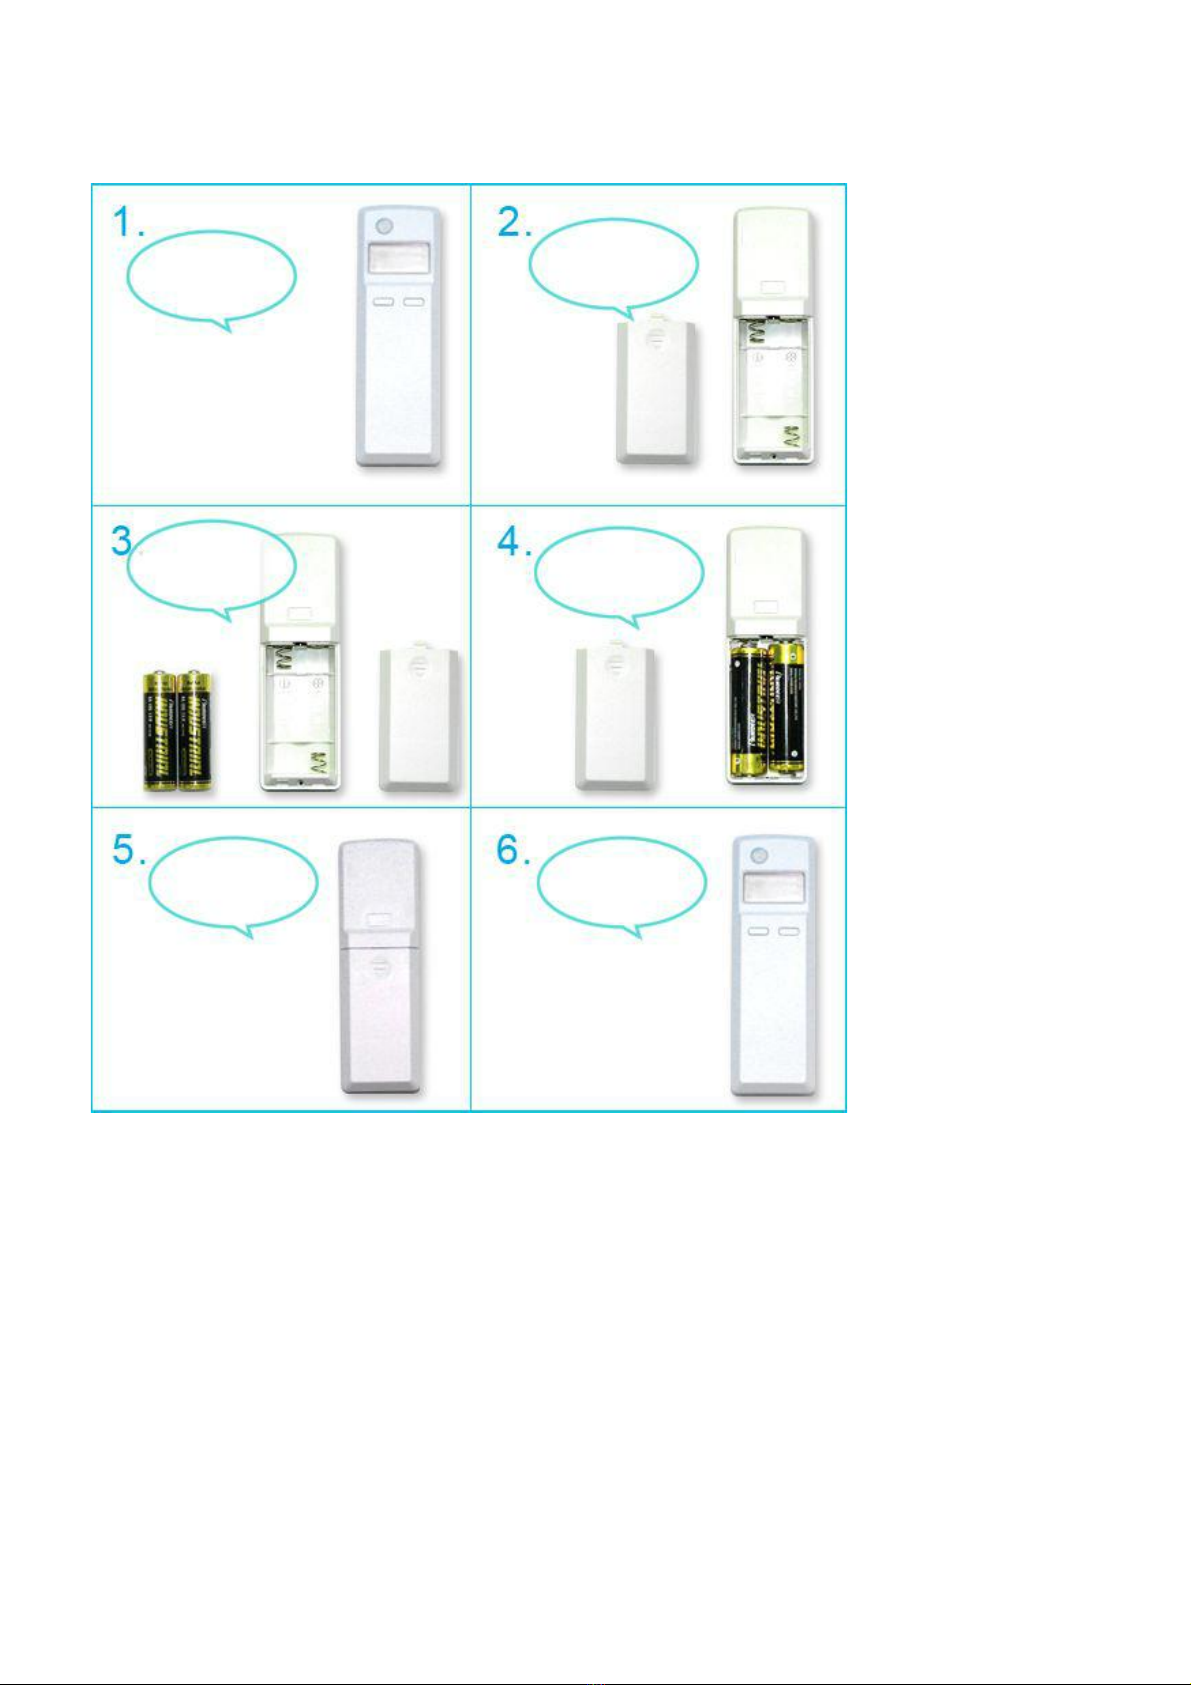
5. Setting up SGZ716
5-1. Turn On SGZ716
To manually turn on SGZ716, press the Binding Key once.
When SGZ716 is first time used or after resetting → it will try to join the network.
When SGZ716 is in a ZigBee network → it will send out the device data, like IEEE
address/Network address, and the LCD display will show for 2 minutes.
When SGZ716 was in a ZigBee network, but by any change it is offline → it will start to rejoin the
ZigBee network.
5-2. Join the ZigBee Network
After SGZ716 is turned on, it will search for an existing ZigBee network and send a request to join the
network automatically. While SGZ716 is under the coverage from a coordinator or a router whose
permit-join feature is enabled, SGZ716 will be permitted to join the network.
Step1. Enable the permit-join function (valid for 60 seconds) of a coordinator or a router (please
refer to the user manual of the coordinator or the router to enable the permit-join feature).
Step2. Turn on SGZ716. It will start to search and join the network.
Step3. The icon will flash once when it finds out a network to join.
Step4. The icon will stay on after it is joined successfully.
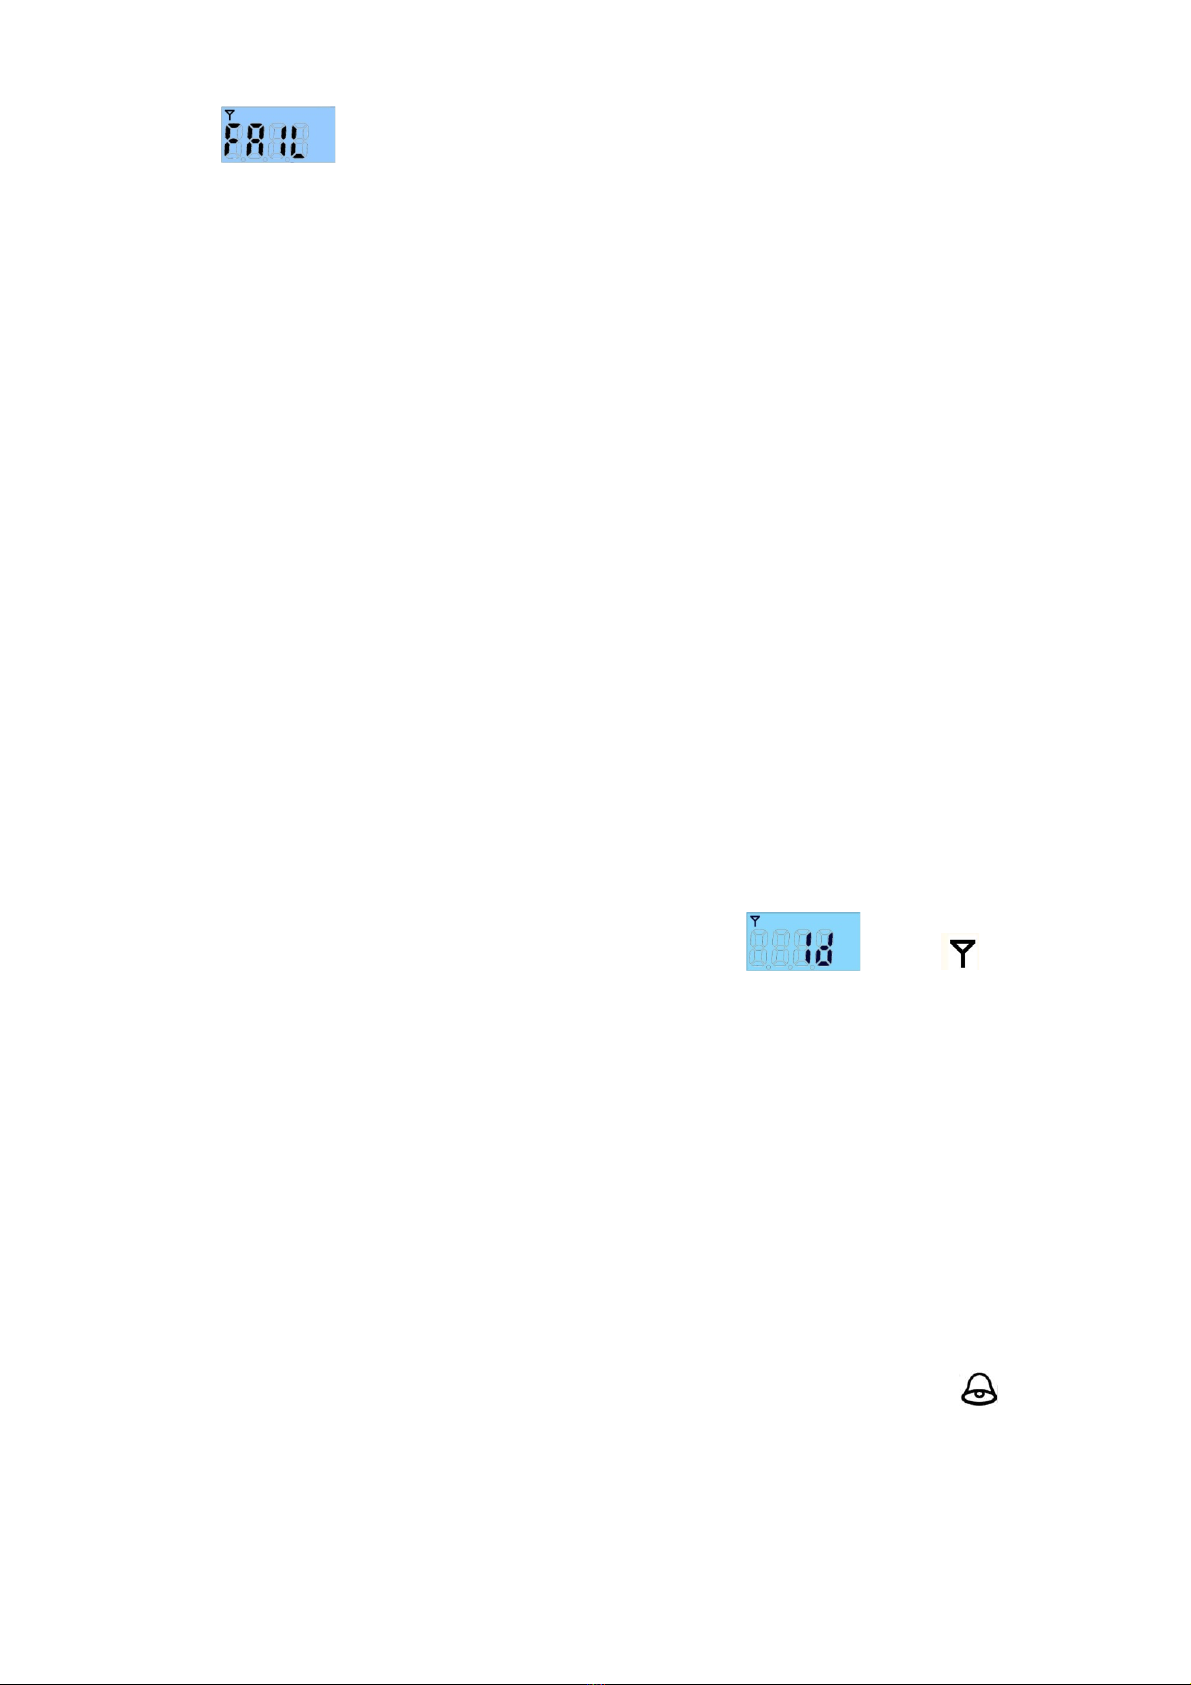
SGZ716 will try 3 times to join the network. After it is failed to join the network, it will go to sleeping
mode and automatically wake up to find out a network to join every 15 minutes.
5-3. Binding
SGZ716 can be bound with the HA Temperature/Relative Humidity device .
Step1. Press and hold the Binding Key for 3 seconds to broadcast the binding request. The LCD will
show once and display . The icon will be flashing. Step2.
Enable the binding feature of the HA Temperature/Relative Humidity device.
Step3. The LCD display shows after the binding is completed; otherwise, it will show

7
.
SGZ716 can be bound with up to 10 devices.
5-4. Sleeping Mode
SGZ716 is designed to go into sleeping mode for power-saving in some situations:
A. While the device is in the network → the sleeping period is 5 minutes; it will wake up
every 5 minutes to keep online.
B. When it doesn’t find a network to join → SGZ716 will go to sleeping mode. It will wake up
every 15 minutes to search a network to join.
C. Once SGZ716 was joined to a network and by any chance the network is no longer existed
or the device is out of the network → SGZ716 will wake up every 15 minutes to find the
network it joined before.
It never keeps in sleeping mode and continues to find out a network every 15 minutes. This condition
would consume up to 30 times power spending compared to normal-operating status. To prevent this
unwanted power consumption, we recommend that users remove the batteries to power off the device.
5-5. Identification
According to the received Identify Times, the LCD display will show and the icon will
flash N times (N = Identify Times. Period = 1 second. Duty cycle = 50%.)
5-6. LCD Display
Users could use the setting key to switch the readings of Temperature → Humidity → Battery Voltage.
To display Celsius/Fahrenheit for temperature, press and hold the setting key for 3 seconds to switch the units.
5-7. Battery
When the operating voltage is lower than 2.5V, the LCD display will flash once and will show the icon.

8
5-8. Restore to Factory Setting
To restore it to factory setting, please follow the steps:
Step1. Press and hold both Binding Key and Setting Key for 5
seconds. Step2. Release the button after the LCD display flashes.
Step3. After the display shows , the restore is completed.

9
7. Important Maintenance Instructions
Please keep the device in a dry place. Precipitation, humidity, and all types of liquids or moisture can
contain minerals that corrode electronic circuits. In cases of accidental liquid spills to a device, please
leave the device dry properly before storing or using.
Do not use or store the device in dusty or dirty areas.
Do not use or store the device in extremely hot temperatures. High temperatures may damage the
device or battery.
Do not use or store the device in extremely cold temperatures. When the device warms to its
normal temperature, moisture can form inside the device and damage the device or battery.
Do not drop, knock, or shake the device. Rough handling would
break it. Do not use strong chemicals or washing to clean the device.
Do not paint the device. Paint would cause improper operation.
Handle your device, battery, and accessories with care. The suggestions above help you keep your device
operational. For damaged device, please contact the authorized service center in your area.

10
FCC Statement:
This device complies with part 15 of the FCC Rules. Operation is subject to the following two
conditions: (1) This device may not cause harmful interference, and (2) this device must accept
any interference received, including interference that may cause undesired operation.
This equipment has been tested and found to comply with the limits for a Class B digital
device, pursuant to part 15 of the FCC Rules. These limits are designed to provide reasonable
protection against harmful interference in a residential installation. This equipment generates,
uses and can radiate radio frequency energy and, if not installed and used in accordance with
the instructions, may cause harmful interference to radio communications. However, there is
no guarantee that interference will not occur in a particular installation. If this equipment does
cause harmful interference to radio or television reception, which can be determined by
turning the equipment off and on, the user is encouraged to try to correct the interference by
one or more of the following measures:
—Reorient or relocate the receiving antenna.
—Increase the separation between the equipment and receiver.
—Connect the equipment into an outlet on a circuit different from that to which the receiver is
connected.
—Consult the dealer or an experienced radio/TV technician for help.
Caution: Any changes or modifications not expressly approved by the party responsible for
compliance could void the user's authority to operate the equipment.

1
1
Table of contents
Popular Accessories manuals by other brands

PCB Piezotronics
PCB Piezotronics ICP 208A15 Installation and operating manual

SICK
SICK SureSense-HTF18 operating instructions

BEGA
BEGA 71190 Instructions for use

Atmel
Atmel ATSAMW25 Getting started guide

Elsner
Elsner KNX L Technical specifications and installation instructions

SOLAC
SOLAC CT8621 Instructions for use