Disclaimer and Limitation of Liability
Playzoom and its suppliers assume no responsibility for any
damage or loss resulting from the use of this Quick Start Guide.
Playzoom and it's suppliers assume no responsibility for any
loss or claims by third parties that may arise through the use of
this product. Playzoom and its suppliers assume no
responsibility for any damage or loss caused by deletion of data
as a result of malfunction dead battery, or repairs.
Company: American Exchange Group
For customer service call +1 (888) 200-6081
CTCSS (Continuous Tone-Coded Squelch System)
VOX SELECTION
VOX SELECTION
These devices have an “8/20/22” channel system,
meaning you can always find a free channel if
someone in your vicinity is using one and you don’t
want interference.
Your devices also have sub-channels called the
CTCSS. Using this transmits one of 99 low-frequency
tones (67-250 Hz) along with your voice signal.
Note: This feature does not impact operation or
quality; to disable, select code “0F” in the menu;
press the TALK button to confirm.
Change the CTCSS Code
• Press the MENU button twice; the current CTCSS
code will flash on the LCD screen.
• Press up & down buttons to change the code.
• Press the TALK button to confirm.
These devices are capable of voice-activated (VOX)
control. This means the walkie-talkie will transmit
any sound it picks up without pressing the TALK
button. It is not recommended that VOX mode be
used in a noisy or windy environment.
Note: Walkie-talkies must be set to the same
channel and CTCSS code.
• VOX Mode is overridden when you press the
TALK button.
• Press the Menu button 3 times and the current
VOX setting will flash on the screen with an icon.
• Press the up button to set VOX intensity between
1 and 3, the higher the number, the more sensitive.
• Press the down button until you see “OF” to turn
off VOX Mode.
• Press the TALK button to confirm.
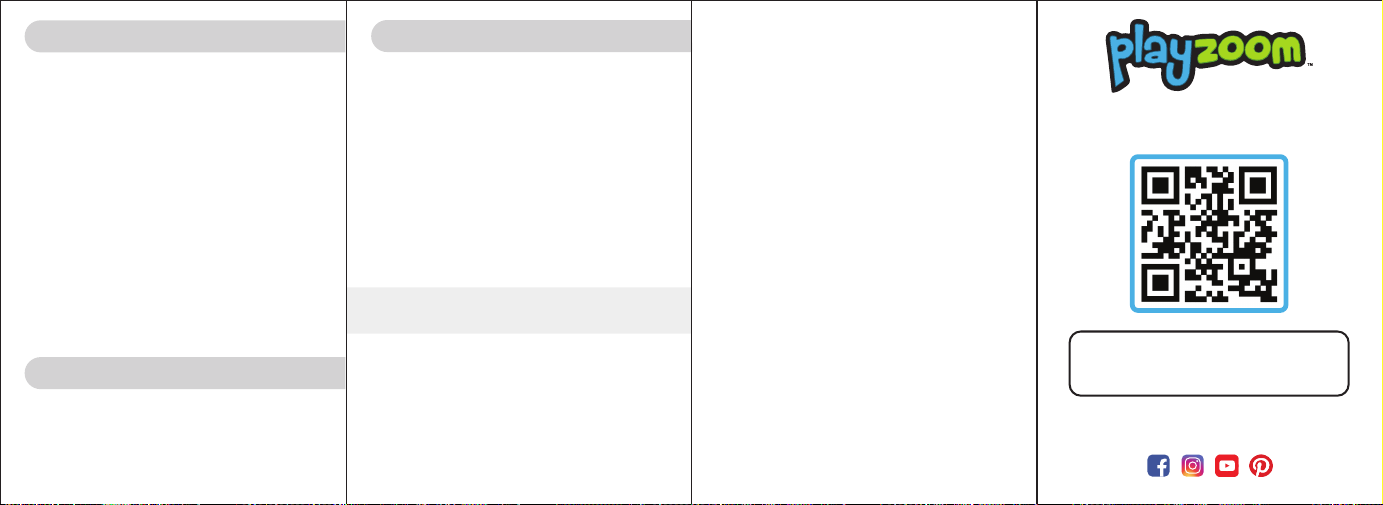
For full user manuals and
detailed features, please visit
www.playzoom.com/manuals
Need help? Visit us at
www.playzoom.com/help
Connect with us!
@itouchwearables | @itouchplayzoom
Important Note: Creating and developing Stem Learning
products is accompanied by a responsibility that we at
Playzoom take very seriously. We make every effort to
ensure the accuracy of the information which forms the
value of our products. However, errors sometimes can occur.
It is important for you to know that we stand behind our
products and encourage you to call our Customer Service
Line at +1 (888) 200-6081 with any problems and/or
suggestions that you might have. A service representative
will be happy to help.
Note: This equipment has been tested and found to comply
with the limits for a Class B digital device, pursuant to Part
15 of the FCC Rules. These limits are designed to provide
reasonable protection against harmful interference in a
residential installation. This equipment generates, uses and
can radiate radio frequency energy and, if not installed and
used in accordance with the instructions, may cause harmful
interference to radio communications. However, there is no
guarantee that interference will not occur in a particular
installation. If this equipment does cause harmful
interference to radio or television reception, which can be
determined by turning the equipment off and on, the user is
encouraged to try to correct the interference by one or
more of the following measures:
- Reorient or relocate the receiving antenna.
- Increase the separation between the equipment
and receiver.
- Connect the equipment into an outlet on a circuit
different from that to which the receiver is connected.
- Consult the dealer or an experienced radio/TV
technician for help.
FCC ID: 2ARUI-WT388US
WARNING: All packaging materials such as tape,
plastic sheets and tags are not part of this toy, and
should be discarded for your child’s safety.


