iTrainer iTrainer Mini User manual


What’s in the Box
The iTrainerMiniTM package includes the following
items.
iTrainerMini Device Quick Start Guide
iTrainerMini
TM
USB Data / Charge Cable

Your iTrainerMiniTM Device
1. Power Switch
2. Status Indicator
3. USB/Power Connector
4. Visual Cue Indicators
5. Memory Card Socket

Charging your iTrainerMiniTM
The micro-USB connector acts as both a charge
connector and a data communication port for
firmware updates and diagnostics.
The supplied micro-USB-to-standard USB cable
should be connected to a PC or USB charger. The
device should be powered off prior to plugging in
the charge cable to allow it to charge more quickly.
When connected to a charger, the status indicator
glows red while charging and extinguish once the
charge cycle is complete.

Turning the
iTrainerMiniTM On/Off
The power switch is located on
the rear of the unit below the
MicroUSb connector.
Make sure the USB cable is
disconnected, then press and
hold the button for 0.5 seconds
to power the unit on. The status
indicator will cycle through
various colours before settling to a blinking green,
then white.
The unit will automatically power off after 5 minutes
of inactivity and you will need to repeat the above
procedure to turn it back on.
To power off the device, press and hold the button
for 3 seconds; the status indicator will blink red a
few times and the device will power off.
Note: If the power cable is connected and plugged
into a PC or charger when the power button is
pressed, the device will enter the bootloader mode.
You need to press and hold the button for around 5
seconds to switch it off.

Installing Software & Drivers
Device Drivers
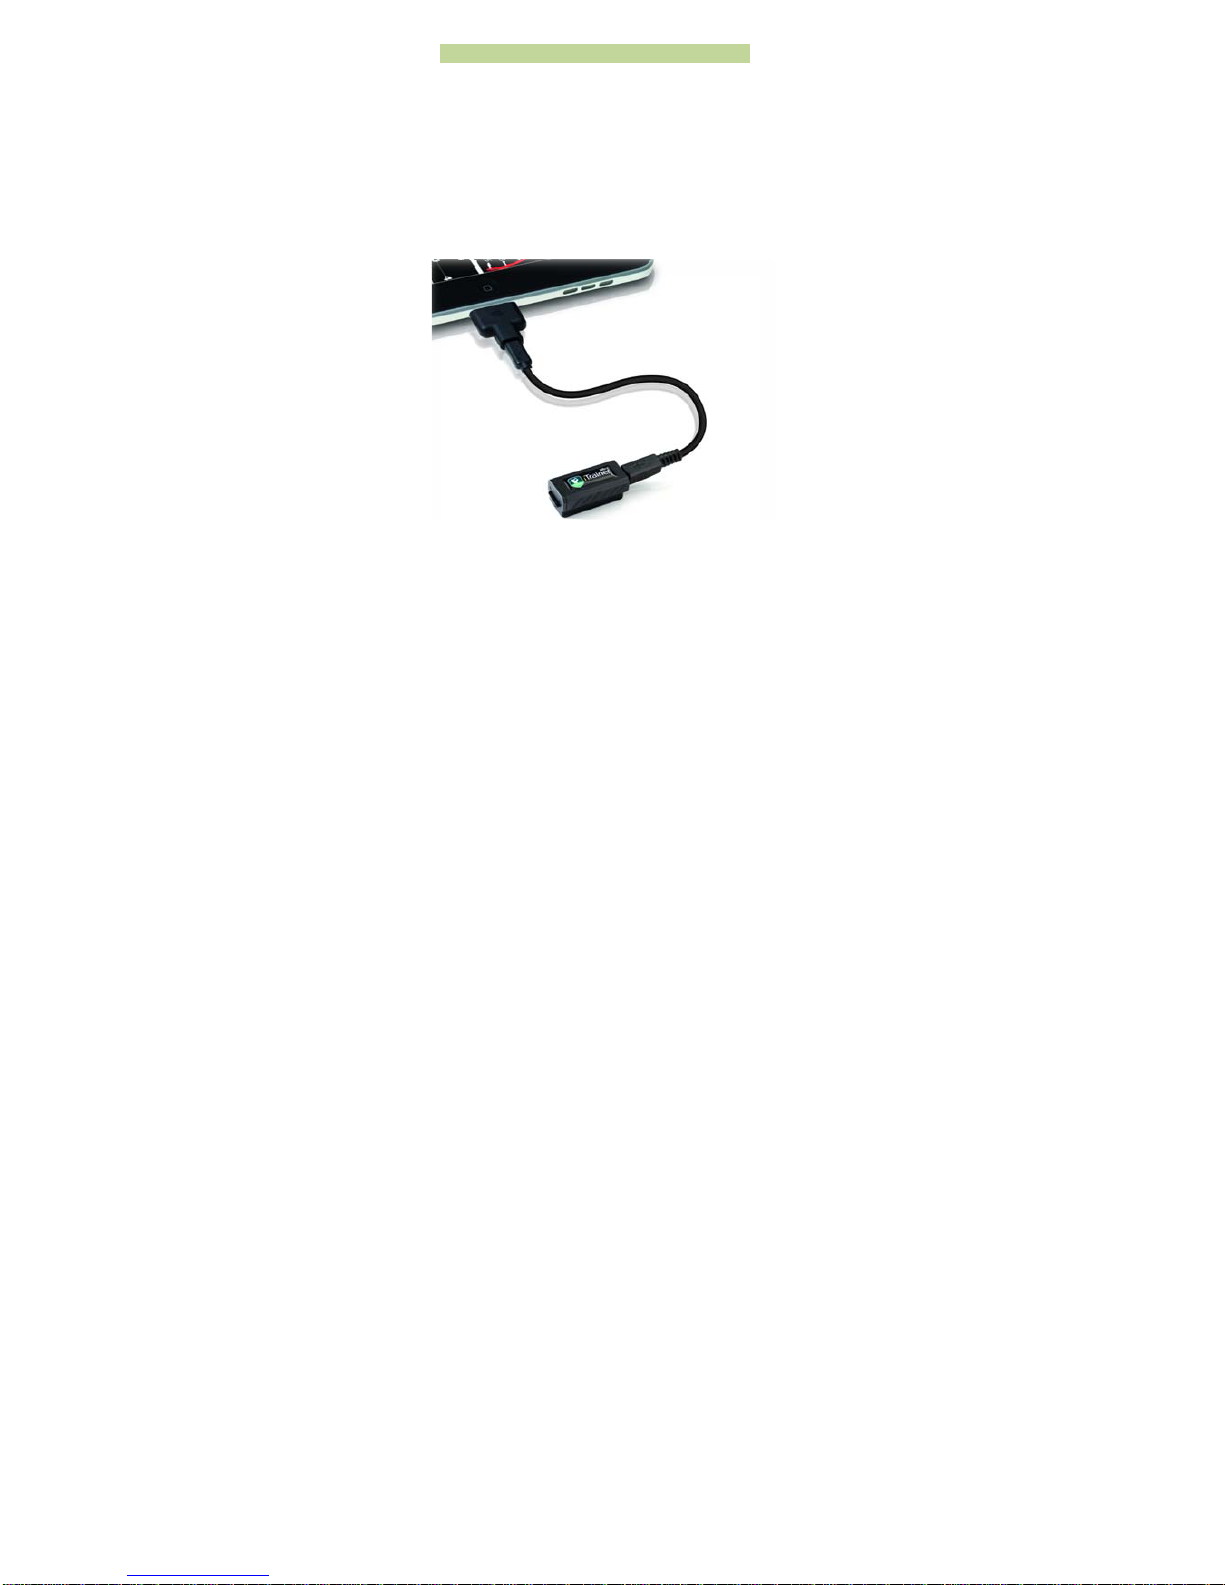
The first time the mini is connected to a PC running
Microsoft Windows, you will be asked to install the
device drivers. You can ignore the step relating to
the CDC driver and allow Windows to install the
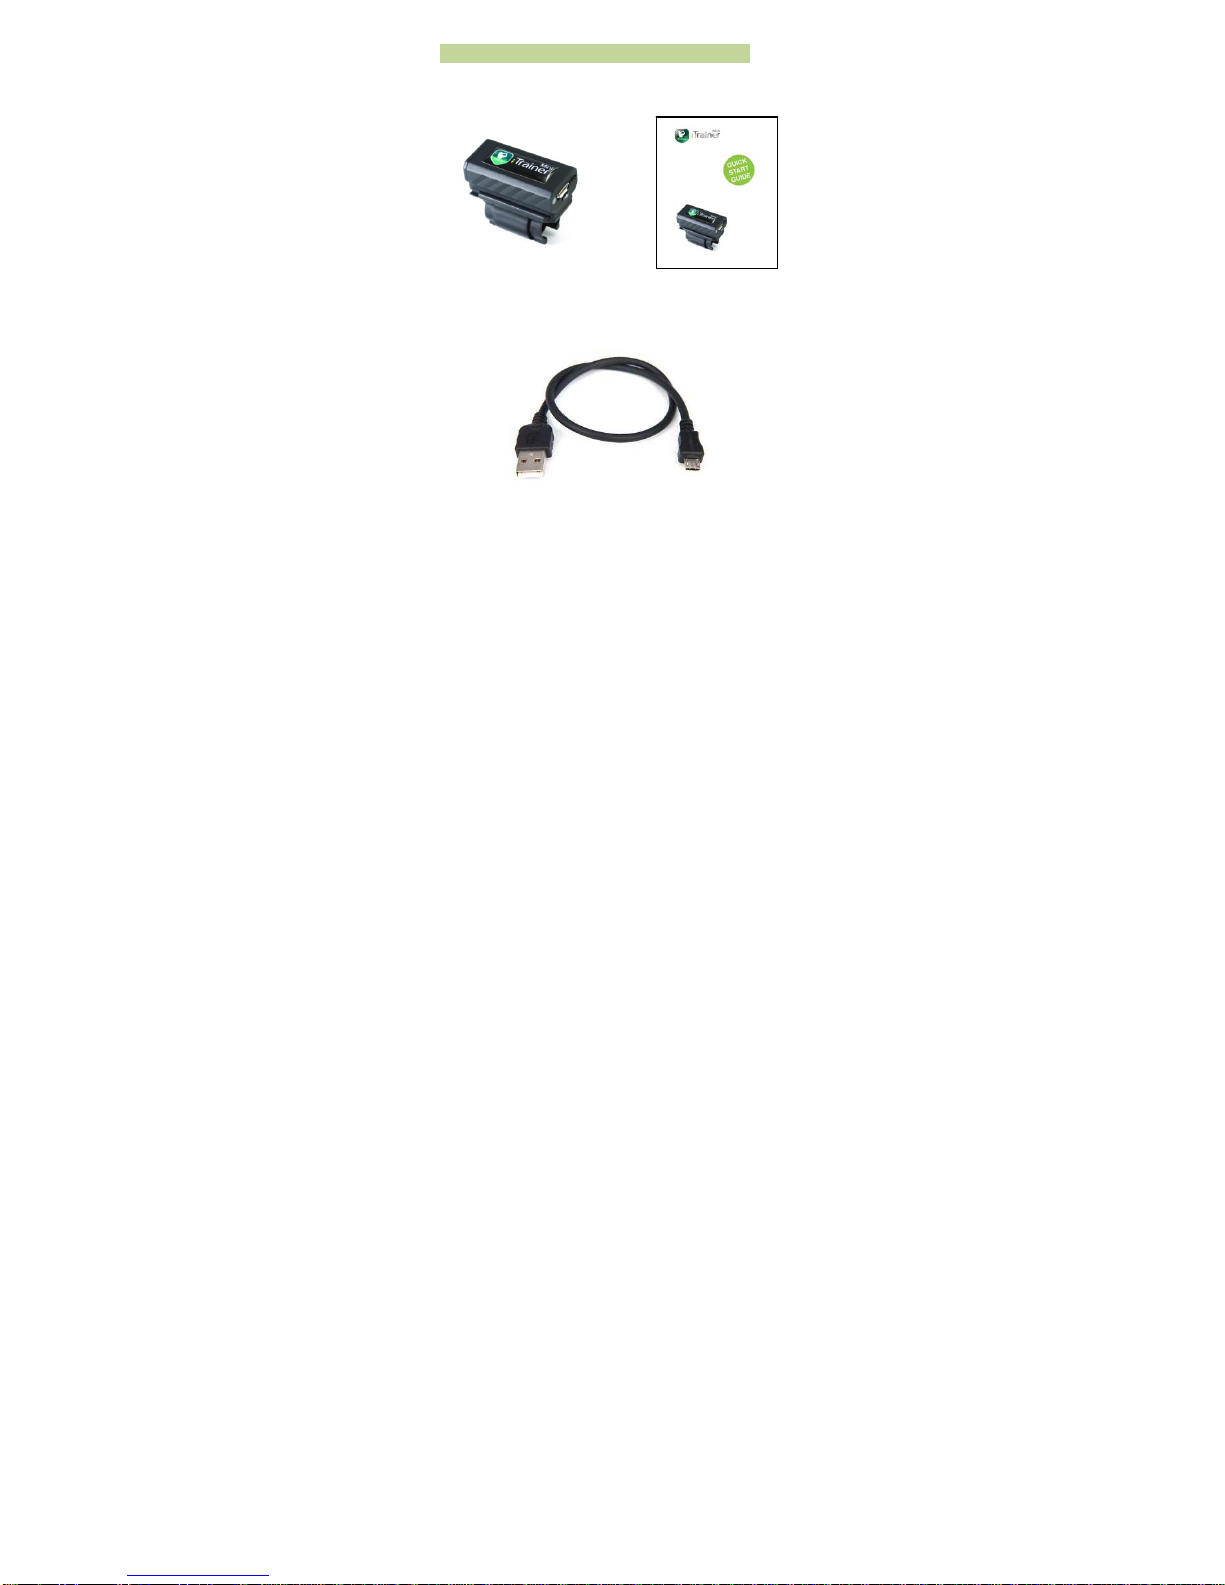
Mass Storage Device. Once installed, the
iTrainerMiniTM will appear as a disk drive on your
computer. If you wish to install the CDC drivers,
point Windows to the Setup folder on the
iTrainerMiniTM drive and it will find the necessary
files and install the driver.
My Personal Golf Trainer
If you purchased an iTrainerMiniTM / MPGT bundle,
you have the choice of installing the MPGT base
software from memory card in the iTrainerMini.
Locate the MPGT folder and run the SETUP.exe
program to install the MPGT software. Information
about MPGT can be found on the following website:
www.mypersonalgolftrainer.com
iConsoleTM
iConsole is an application for Android and iOS
powered phones and tablets that is specifically
designed to work with the iTrainerMiniTM and
iTrainer. You can download the entry level
application from the Android market or iTunes store.

Setting up the iTrainerMini™
The iTrainerMini™ comes fully charged, but
recommend you charge the device for at least 2
hours before first use.
Before working with the iConsole™ software, turn
on the iTrainerMini™ and configure the Bluetooth
Settings under the settings page on the iConsole’s
home screen.

Updating the iTrainerMini Firmware
In the event the iTrainerMini™ requires a firmware
update, you need to plug the device into the PC
using the supplied USB cable and then power on
the unit.
Note: The power button, by design, is more difficult
to press when the cable is plugged in.
Once the iTrainerMini™ status indicator starts
flashing rapidly green, run the firmware setup
program that you have downloaded from the Insight
website and follow the instructions to update the
firmware on the device.
Once the firmware update is complete, unplug the
iTrainerMini™ from the PC and power it off by
holding the power button for around 5 seconds.
Note: In the event of an accidental interruption
during the firmware update procedure; power the
iTrainerMini™ off and then back on again and
repeat the procedure described above.

Attaching the Mini to a Club
The iTrainerMini is designed to snap securely onto
the shaft of any golf club or putter. The addiitonal
locking ring is a safety measure to prevent the
device coming off the shaft under extreme vibration
or shock.
Attaching iTrainerMini™ to the club
1) Open the ‘C’ clamp on the bottom of the
iTrainerMini™
2) Snap the iTrainerMini™ onto the shaft, just
below the grip. Try to line it up so the iTrainer
is perpendicular to the clubface. Note: It is ok
for the clamp to touch the grip, but if it
iinteferes with the hands, move it down slightly
3) Rotate the locking ‘C’ ring to the closed
position and ensure it catches and holds in
place.
Removing the iTrainerMini from the club
The iTrainerMini™ clamp is designed such that it
can be left on the club if needed. The sensor
assembly is designed to slide off the clamp. And
you can purchase additional clamps for other clubs.
To remove the clamp, lift the end of the ‘C’ clamp
and rotate it away from the shaft, then pull the
device off the shaft and close the ‘C’ ring.

More Information
Safety precautions
•AVOID placing the iTrainerMini™ in direct
sunlight.
•AVOID high temperatures when operating the
device
•DO NOT submerge the iTrainerMini™ in water.
•DO NOT drop the iTrainerMini™ onto a hard
surface from a height of 6 feet or more
•DO NOT use the iTrainerMini™ in an area
closer than 500 metres from blast sites in
case of radio frequency triggers
•DO NOT turn on the iTrainerMini™ while
aboard an aircraft until permitted by airline
staff.
Additional information can be found on our website:
www.insight-sports.com
User manuals are included in the device as PDF
files under the SETUP folder or can be downloaded
from the Updates section of the WebSite.
Please keep your iTrainerMini™ firmware up to date,
periodically check our website for updates.
Insight Limited
Unit 902, 168 Queen’s Road
Central, Hong Kong
+852 2544-8672
support@insight-sports.com

FCC WARNING
This device complies with Part 15 of the FCC Rules.
Operation is
subject to the following two conditions:
(1) This device may not cause harmful interference,
and (2) this device must accept any interference
received, including interference that may cause
undesired operation.
NOTE 1: This equipment has been tested and found
to comply with the limits for a Class B digital device,
pursuant to part 15 of the FCC Rules. These limits
are designed to provide reasonable protection
against harmful interference in a residential
installation. This equipment generates, uses and
can radiate radio frequency energy and, if not
installed and used in accordance with the
instructions, may cause harmful interference to
radio communications. However, there is no
guarantee that interference will not occur in a
particular installation. If this equipment does cause
harmful interference to radio or television reception,
which can be determined by turning the equipment
off and on, the user is encouraged to try to correct
the interference by one or more of the following
measures:
- Reorient or relocate the receiving antenna.

- Increase the separation between the equipment
and receiver.
-Connect the equipment into an outlet on a circuit
different from that to which the receiver is
connected.
-Consult the dealer or an experienced radio/TV
technician for help.
NOTE 2: Any changes or modifications to this unit
not expressly approved by the party responsible for
compliance could void the user's authority to
operate the equipment.
Table of contents
Popular Accessories manuals by other brands

GE
GE WIR-10-SR-G-D-W installation instructions

Vaillant
Vaillant Air/Flue Gas System installation manual

Dorner
Dorner AquaPruf 7400 Ultimate CE Series Installation, Maintenance, and Parts Manual

Topgreener
Topgreener TDOS5 installation instructions

Jasmine
Jasmine JS-TA214J user manual

Ultra Products
Ultra Products Dual UV 80mm Round Cold Cathode Light Kit... Specification sheet