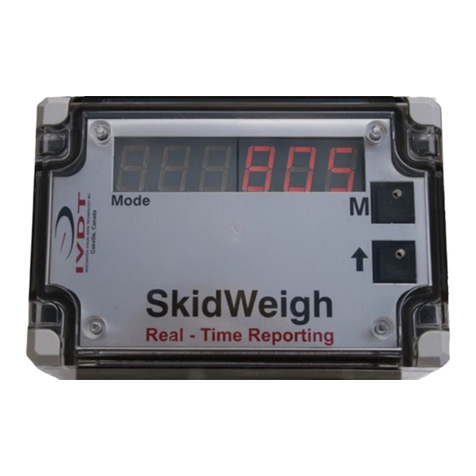
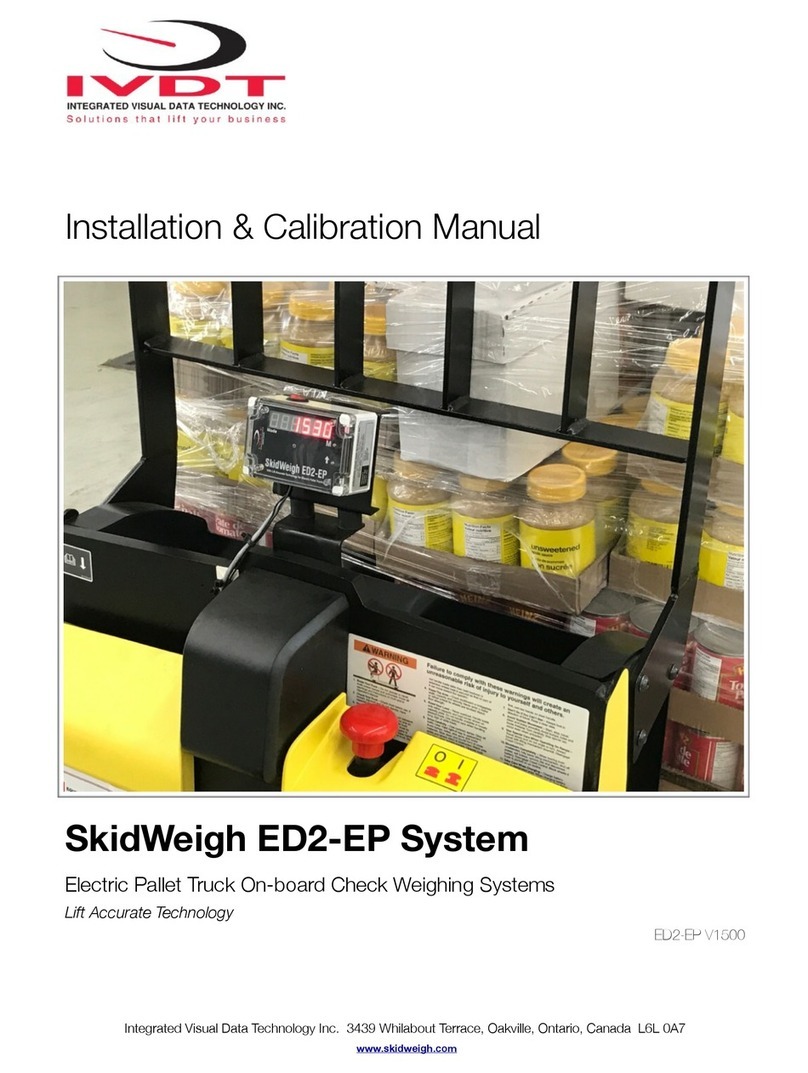
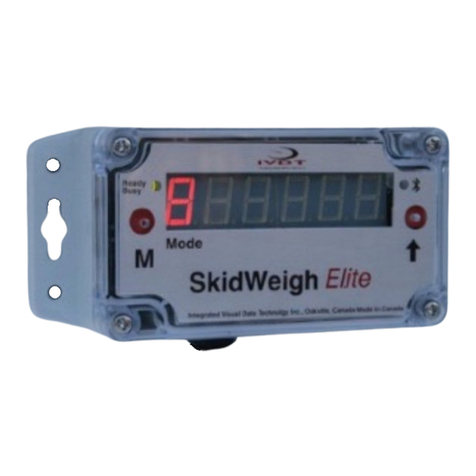
IVDT SkidWeigh Plus ED3-IM User manual

SkidWeigh Plus ED3/4-IM: Quick Reference Calibration &
Operation Guide
(9) Function Key
(F) Function Key
(<)(>)
Scroll Keys
Admin Menu
SkidWeigh Plus ED3/4-IM Key Pad Operator Access Programming Functions
Note: All Keypad access control from the factory will come with 111 up to 999 (9 slots) pre-
programmed into each unit. Therefore the first 9 slots should be reprogrammed when commissioned
into your application.
Step 1.: Power on the unit. A correctly installed unit will show ‘ENTER ID.’ Enter the following code
742F.
Step 2.: The system will automatically begin on slot 1, which from the factory will be programmed with
111. Enter the new 3 digit operator code and press enter. Once accepted it will then move to slot 2.
Repeat step 2 until all operator codes are entered into the system.
Step 3.: Removing Operator Codes: Power on the unit. Enter 742F using the keypad. Press enter
until you come to the slot with the code to be removed. Enter 0 and press enter.
Alpha/Numeric
Keypad
SkidWeigh Plus ED3/4-IM Key Pad
(0) Function Key
(P) Key
•Print Tickets (systems with compatible printer)
•Save Data to USB
•Send Data to Base Station
•Waybill # ID Input
•Decimal Input (used with parts count by weight)

SkidWeigh Plus ED3/4-IM: Quick Reference Calibration &
Operation Guide
SkidWeigh Plus ED3/4-IM Administration Programming Configuration
Note: The administration menu is a password protected area that allows users with authority to
configure specific options and download event data. Depending on how the unit is equipped, not all
options may be available.
To Access Administration Menu: Using the keypad press Fthen 9 then enter the code 521
1.) Calibration of On-board Scale
Note: Before beginning the calibration procedure you will need a load with a known weight suited to
the forks or attachments on the lift truck.
Step 1.: With the lift truck turned on and the forks empty to the floor with no pressure in the
hydraulic system press (F) then (9) and enter the ‘Supervisor Code’.
Step 2.: The system will ask you to toggle between functions, select ‘Calibrate Forklift’ and lift the
empty forks when asked. Do not manipulate the tilt, side shift or fourth lever function during the
zeroing process.
Step 3.: The system will ask you to ‘Lower Empty Forks’ and then to ‘Enter Known Weight’. Enter
the load of the weight secured before the calibration process and press ‘Enter’.
Step 4.: The system will now ask you to ‘Lift Loaded Forks’, similar to Step 2, Do not manipulate
the tilt, side shift or fourth lever function during the zeroing process.
Step 5.: Calibration is now complete press (F) to exit the ‘Supervisor Mode’.
SkidWeigh Plus ED3/4-IM RFID Card Access Programming Functions
Note: All systems equipped with RFID Card or Fob readers will come with a Master Card for
programming and 2 cards that will allow the vehicle to start till secure sequenced cards specific to
operators are added.
Step 1.: Power on the unit. The LCD display will show ‘Scan Card’ touch the master card to the
reader. The system will prompt you to ‘add or delete cards’
Step 2.: Simply touch the cards you want programmed into the system - make sure that you see the
card number added on the screen. When finished press ‘Enter’ the system is configured and will
require those cards to start the vehicle.

SkidWeigh Plus ED3/4-IM: Quick Reference Calibration &
Operation Guide
3.) Setting High and Low Impacts
Note: Every application is different and finding the correct impact value will take time and
monitoring. The Low impact should be that threshold just beneath the High impact that pre-warns
operators to be careful and or slow down. The High impact should be that threshold that upon
detection warrants an vehicle investigation.
Step 1.: With the lift truck powered on press (F) then (9) and enter the ‘Supervisor Code’. Use the
arrows to scroll to ‘Set Impact’ and press enter.
Step 2.: The system will first ask you to set ‘Low Impact’ use the arrows to select a value then
press enter.
Step 3.: The system will next ask you to set ‘High Impact’ use the arrows to select a value then
press enter.
Step 4.: The system will then prompt you to ‘Enter High Impact Buzzer’ Yes or No. Select then
press enter.
Step 5.: If Yes was selected for Impact Buzzer the system will ask if you want it ‘Continuous’ Yes or
No. Select then press enter.
Step 6.: If No was selected for Continuous the system will ask you to enter a ‘Time (1-60)?’
Referring to seconds enter the value desired and press enter. The system will let you know you are
finished by displaying ‘Impacts Configured’.
2.) Set Clock
Step 1.: With the lift truck powered on press (F) then (9) and enter the ‘Supervisor Code’.
Step 2.: Use the arrow keys to scroll to ‘Set Clock’ press enter.
Step3.: The system will prompt you to select ‘Auto’ or ‘Manual’. Auto refers to the SkidWeigh Plus
ED4 and communicates with the required Base Station communication hub. Select ‘Auto’ and press
enter the system will then show ‘Synchronization’ and retrieve the time from the Base Station.
Step 4.: For the SkidWeigh Plus ED3-IM select ‘Manual’ and press enter. Enter the correct time.
Use enter to move through the date and time until finished. When complete the system will show
configured.

SkidWeigh Plus ED3/4-IM: Quick Reference Calibration &
Operation Guide
5.) Save to USB
Note: For all events on the SkidWeigh Plus ED3/4-IM the system will record and provide a
downloadable report.
Step 1.: With the lift truck powered on press (F) then (9) and enter the ‘Supervisor Code’. Use the
arrows to scroll to ‘Save to USB’ and press enter.
Step 2.: Make sure that a proper USB is fitted into the back of the unit before pressing enter. the
system will acknowledge and show the download process.
Step 3.: When complete the system will ask you if you want to ‘Erase SDRAM Flash Memory’ Yes
or No. If No you are complete if Yes the system will ask you ‘Are You Sure?’. Select Yes again and
you are finished and the memory is clear.
6.) Set Safety Time
Note: For pre-shift operator check the system will ask an OSHA compliant safety check at start of
shift. This selection allows you to set your shift cycle. The system will come preset with 8 hour
shift, continental 12 hour or daily 24 hour.
Step 1.: With the lift truck powered on press (F) then (9) and enter the ‘Supervisor Code’. Use the
arrows to scroll to ‘Set Safety Time’ and press enter.
Step 2.: The system will prompt for ‘Start ?’ Enter the time shifts begin and press enter. The
system is now configured to the clock on the unit.
4.) Setting Vehicle ID
Note: All reports will display a vehicle identification number as well as responsible operator. You
can assign a numerical value to your lift truck up to 3 digits.
Step 1.: With the lift truck powered on press (F) then (9) and enter the ‘Supervisor Code’. Use the
arrows to scroll to ‘Set Vehicle IDt’ and press enter.
Step 2.: Enter the numerical ID assignment and press enter. When complete the system will
display ‘Vehicle ID Configured’.

SkidWeigh Plus ED3/4-IM: Quick Reference Calibration &
Operation Guide
SkidWeigh Plus ED3/4-IM Data Export Menu
Note: The data export menu is a password protected area that allows users with authority to
download data from one on-board unit and upload to another. Depending on how the unit is
equipped, not all options may be available.
To Access Administration Menu: Using the keypad press Fthen 5 then enter the code 521
Note: Sometimes USB functions may require pressing enter more than once while the drive format
is being accepted by the system.
1.) Download Data (From On-board unit to USB)
Step 1.: With USB inserted into the back of the on-board unit, scroll to Download Data and press
enter. Wait for the system to inform of completion and remove USB.
2.) Upload Data (From USB to On-board unit)
Step 1.: With USB inserted into the back of the on-board unit, scroll to Upload Data and press enter.
Wait for the system to inform of completion and remove USB.
SkidWeigh Plus ED3/4-IM Weighing Operations
Note: Systems with the SkidWeigh Plus Weigh Scale will provide the ability to weigh pallets and or
attachment loaded product. Depending on how the unit is equipped, not all options may be
available. Before attempting to weigh product see calibration instructions above.
1.) SkidWeigh Plus Operation Guide
Step 1.: Drive forks into palleted load or secure load with attachment.
Step 2.: Make sure that forks or attachment are completely on the ground with no pressure in the
system.
Step 3.: Lift the load approximately 2” to 4” off the ground using only the lift lever - same as normal
usage if accelerator applies.

SkidWeigh Plus ED3/4-IM: Quick Reference Calibration &
Operation Guide
SkidWeigh Plus Operation Guide (continued)
Step 4.: Do not manipulate the tilt, side shift or fourth lever function during the weighing process
Note: It is important to maintain consistency in the above process, similar to the process in the
calibration guide. All SkidWeigh systems are supplied with a mast sticker that details the above. If
you require a lost or replacement sticker please contact or go to www.skidweigh.com.
2.) Accumulative Totalling
Note: Accumulative totalling allows you enter a multiple load weight measuring cycle and capture
the total weight.
Step 1.: Lift the load in accordance to the above operation guide and wait till the first load is
displayed on the LCD screen. Press (Enter Key ↵) to start accumulating loads.
Step 2.: Repeat the lifting process, Pressing the (Enter Key ↵) each time to move to the next
load. The system will automatically display the individual weight of the last load lifted as well as the
amalgamated total of all loads lifted in the multiple load measuring cycle.
Step 3.: When the total number of loads required to be weighed has been reached. Press (P) to
complete the cycle. The information pertaining to the multiple load weigh cycle will be transferred to
a data source such as USB, print ticket, and or Base Station. The system will automatically be
reset.
3.) Waybill# Load Identification
Note: Systems with the waybill option will allow you to code your load or series of loads with an
identification number.
Step 1.: Lift the load in accordance to the above operation guide and wait till the first load is
displayed on the LCD screen. Press (Enter Key ↵) to start accumulating loads. or Press (P) to
enter waybill#
Note: Upon system prompt - enter first digit of waybill # and press (Enter Key ↵) with each digit
added and to forward to the next digit press (Enter Key ↵) When the last waybill digit is required
press (Enter Key ↵)to complete load weight cycle ID#.
(A) By pressing (Enter Key ↵)the accumulative load weight cycle with waybill# will be reset. Load
weight information will automatically be saved to USB, printer, and or Base Station, depending
on system.

SkidWeigh Plus ED3/4-IM: Quick Reference Calibration &
Operation Guide
Note: Waybill# Load Identification (continued)
(B) When a single load weight is displayed on the LCD press (P) to advance to the waybill# input.
With the last waybill digit entered press (Enter Key ↵)complete the single load weigh cycle
with waybill#.
Operator Admin Function
Note: The operator admin menu provides the following setup and operation functions on demand.
some functions may not be available depending on the configuration of the system.
Step 1.: To enter the Operator Admin Menu press (F) then (0) and use the < > keys to scroll to the
function to required.
(A).: Unit Weight Display
Allows operator to select weight unit for display, use < > keys to scroll between lb’s or Kg’s
press (Enter Key ↵)change measurement unit.
(B).: Parts Count
Allows the operator to enter a part or unit weight to divide into the total of the load to
a parts estimation count. Enter the weight of the standardized part, use the (P) key to input a
decimal and press (Enter Key ↵) to set system. To reset system input 1.0.
(C).: Tare
Allows the operator to weigh a load and subtract a known bin or container weight to arrive at a
net load weight. Tare default is automatically set to 0. To change input the known weight and
press (Enter Key ↵) When finished reset the default to 0 and press (Enter Key ↵)
(D).: Bluetooth
Allows the operator to pair with a printer or scanner. The system has 3 modes, AUTO,
MANUAL and INQUIRY, default and use INQUIRY and press (Enter Key ↵) to initiate the
pairing process. Make sure that the printer or scanner are turned on while the LCD display
shows SEARCHING. After a few seconds the LCD display will show FOUND 1 press !
(Enter Key ↵) and the LCD display will show CONNECTING.
Note: Printer and scanner models must be compatible with SkidWeigh systems. To find out contact
us at www.skidweigh.com.
V1.3809/0520
This manual suits for next models
1
Table of contents
Other IVDT Accessories manuals

IVDT
IVDT SkidWeigh ED2-AT Series Use and care manual

IVDT
IVDT SkidWeigh ED2-EP Use and care manual

IVDT
IVDT SkidWeigh ED2 Series Setup guide

IVDT
IVDT SkidWeigh ED2E-EP Series Use and care manual

IVDT
IVDT SkidWeigh ED2-SSL Series User manual

IVDT
IVDT SkidWeigh ED7 Series Use and care manual

IVDT
IVDT SkidWeigh ED2-EPT Series User manual
Popular Accessories manuals by other brands

Honeywell
Honeywell SK-PHOTO-T-W Installation and maintenance instructions

Leuze electronic
Leuze electronic CML 730i Original operating instructions

Eaton
Eaton Series NRX Instruction leaflet

Shure
Shure SEK-2 instruction manual

Moeller
Moeller Xcomfort CSEZ-01/11 Assembly instructions

Frigidaire
Frigidaire GLMB186C installation instructions