10/16 System Operation Manual - IZIP E3 Twn:exp
03/10/14
Basics
IMPORTANT: The IZIP owner’s manual included with your bike contains most of the
important safety and usage information about this bike, which is not included in this system
operation manual. Be sure to read the owner’s manual before you begin riding or working
on your bike.
Battery charging
You should charge the battery fully before
riding for the rst time, following the instructions
below. Be sure to check the section of your
owner’s manual discussing “Battery care &
safety” for additional information.
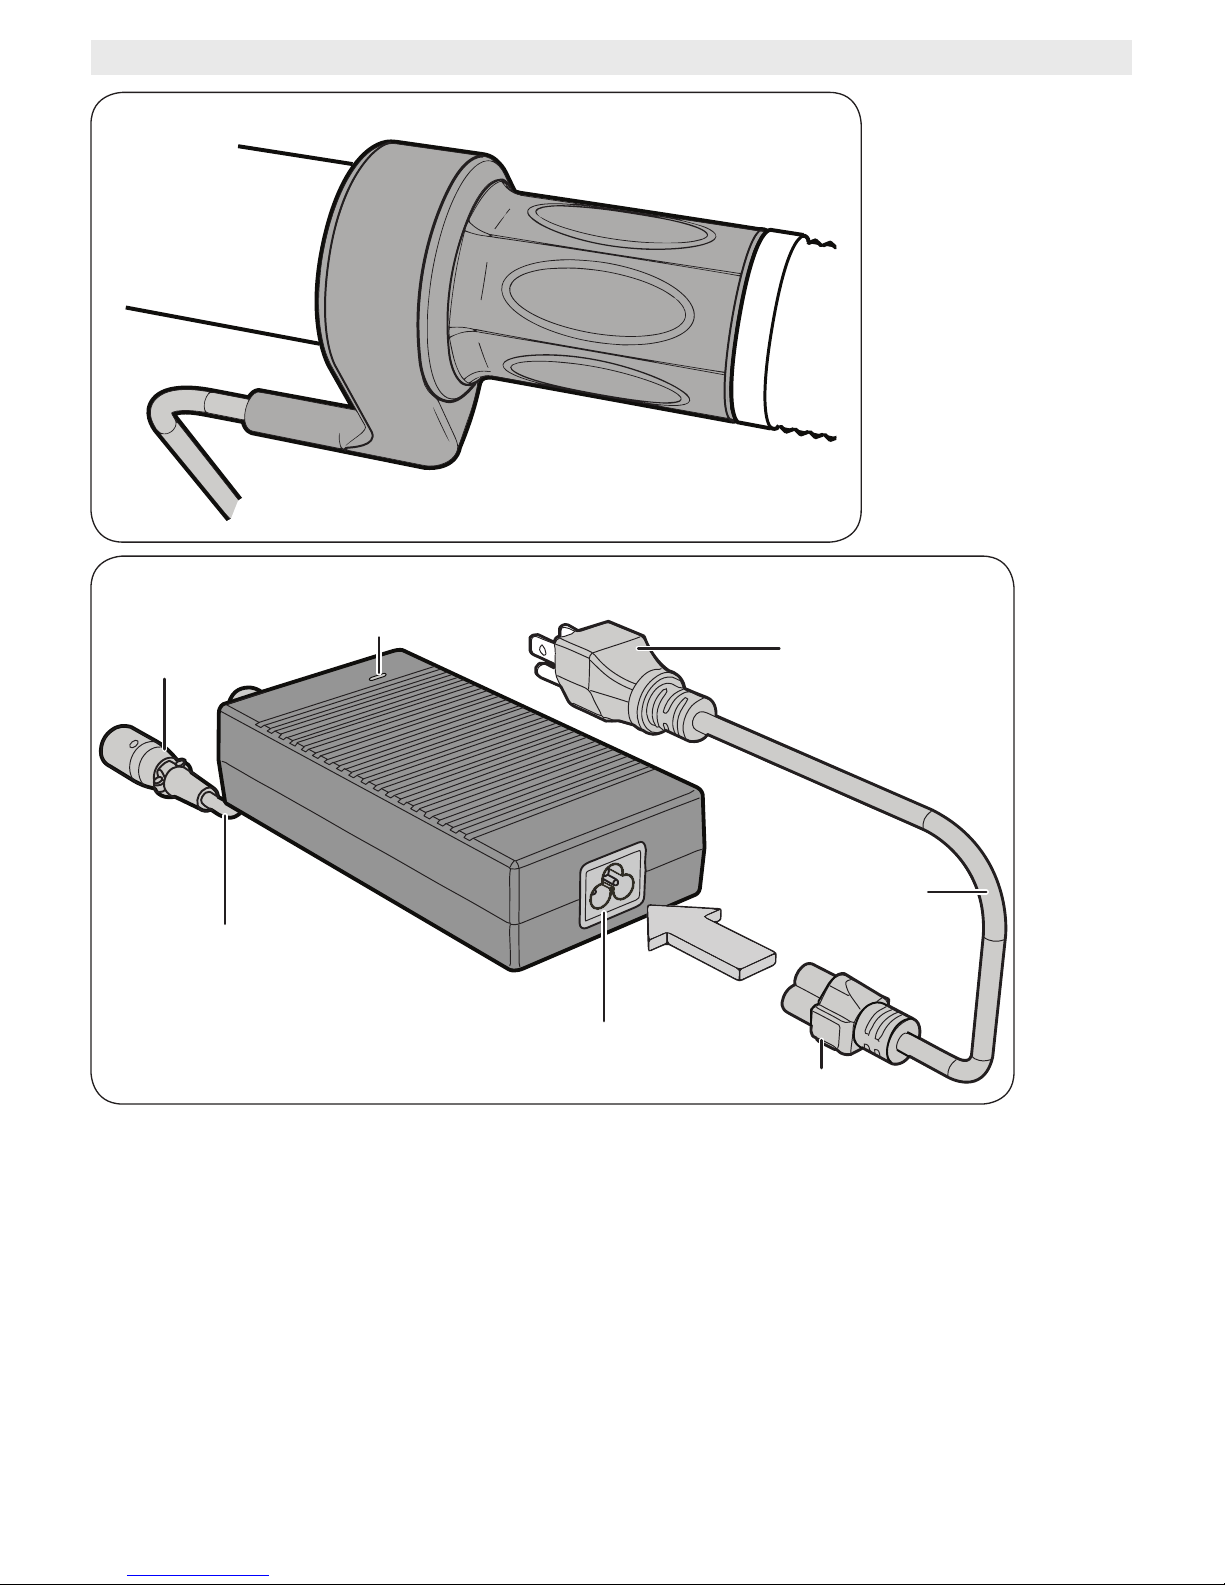
Charging procedure
Connect the power cord to the battery
charger. Plug the charging plug into the
battery’s charging port, then plug the wall
plug into a wall outlet.
The charger should always be plugged
rst into the battery, then into the wall
outlet.
Charging will begin immediately. The
charger’s LED indicator will light up to show
its status.
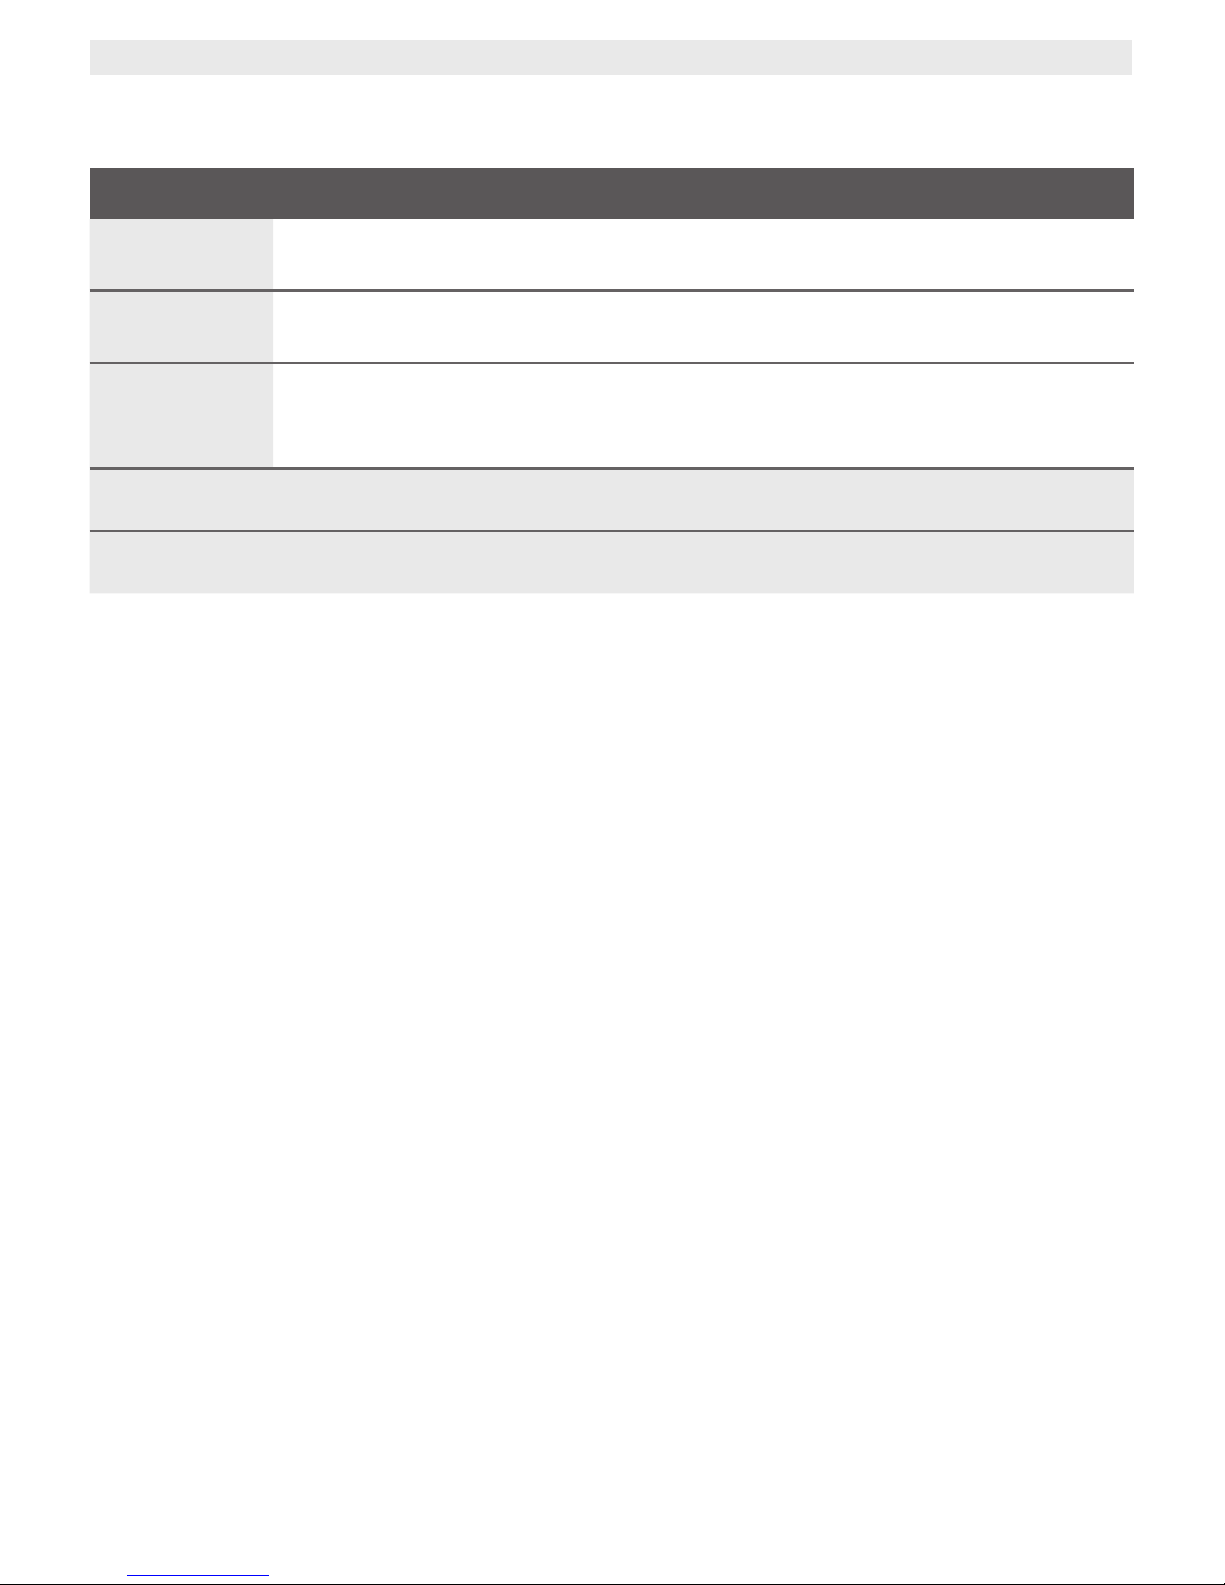
LED STATUS
Red Charging
Green Finished charging
Red
(ashing)
Charging error; see
“Charging issues” below
If the battery is attached to the bicycle,
and the bicycle is turned on, the battery level
indicator on the bike’s display will show the
current charge level. See “Turning the bike
on and off” on page 11.
The battery does not have a “memory”. This
means that it can be charged at any time, or
partially charged, without causing damage
or decreasing performance.
Charge time
The amount of time needed to charge the
battery varies based on the battery’s charge
level. A completely empty battery will take
between 4 and 6 hours to charge. A battery
at 50% may only need 2-3 hours to come
to a full charge.
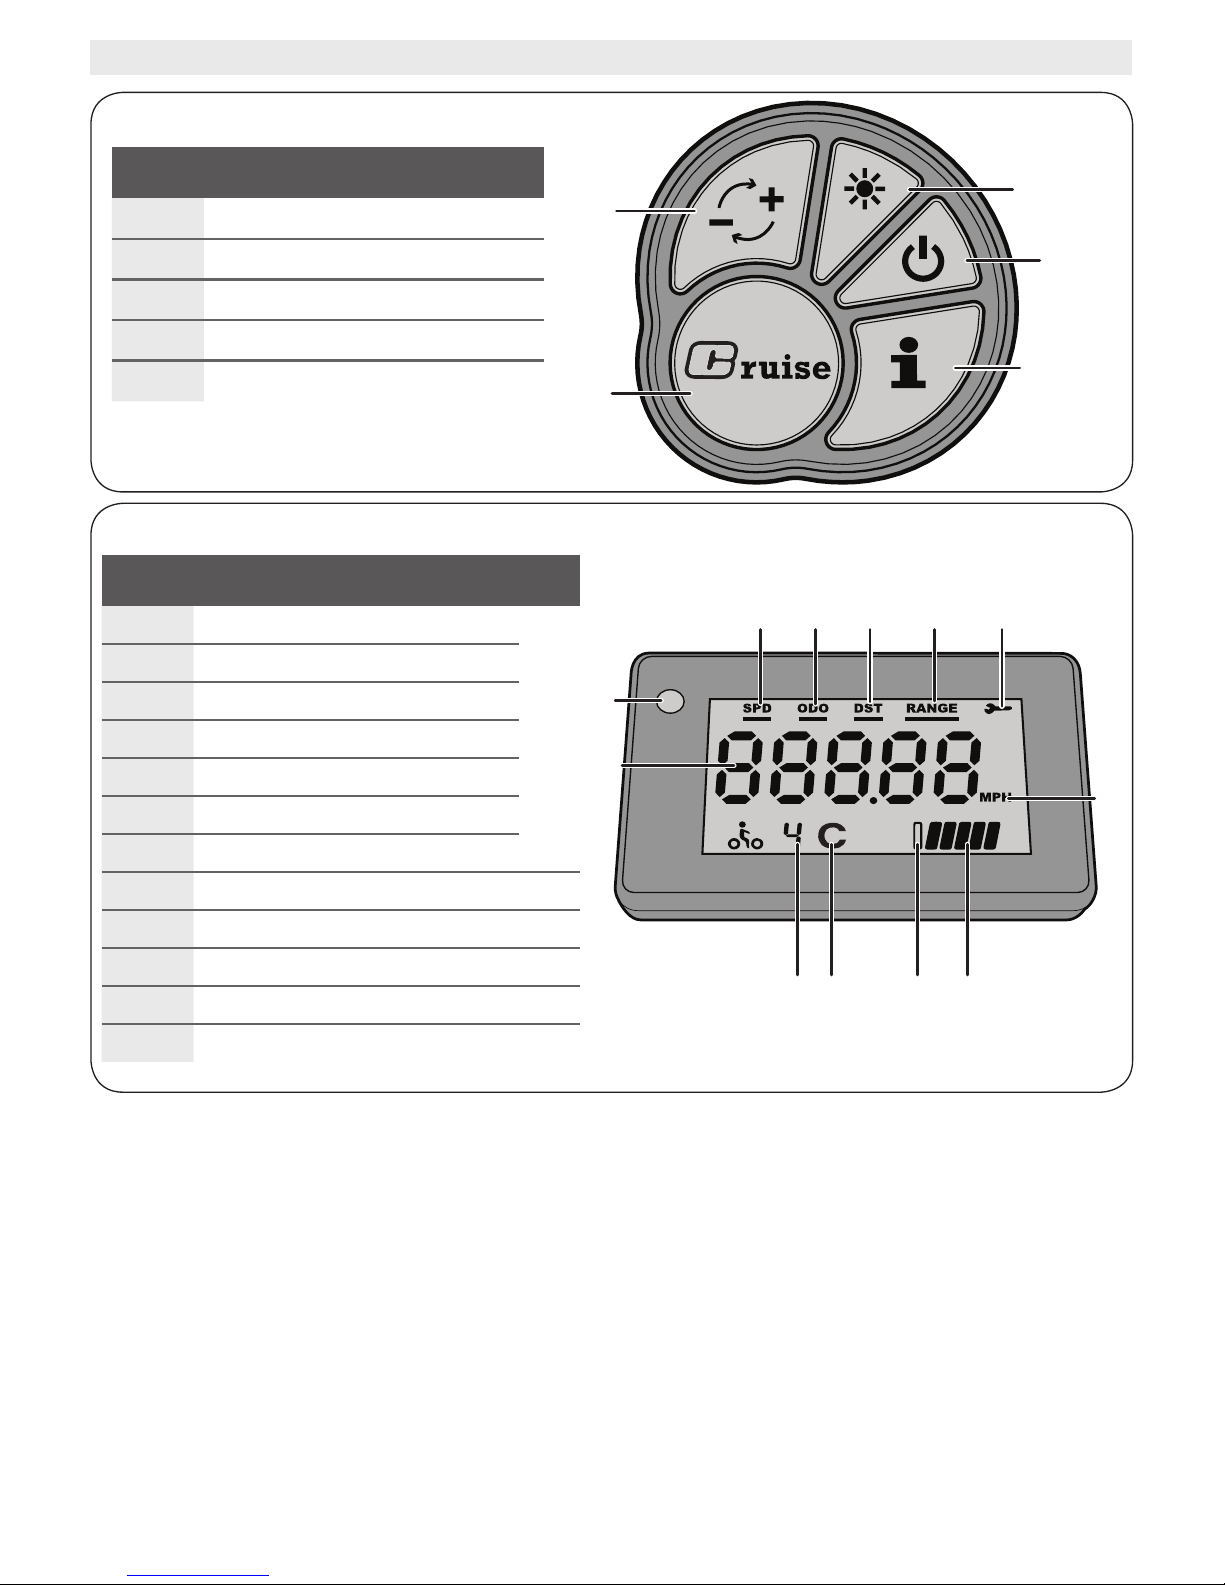
Checking the battery’s charge
level
Before riding, you should check the
battery’s charge level. If the battery is not
fully charged, riding range will be reduced.
To check the battery’s charge level, rst
install the battery in the bike, then turn the
bike on (see “Using the battery” on page
11). The battery level indicator on the
display will show the battery’s charge level.
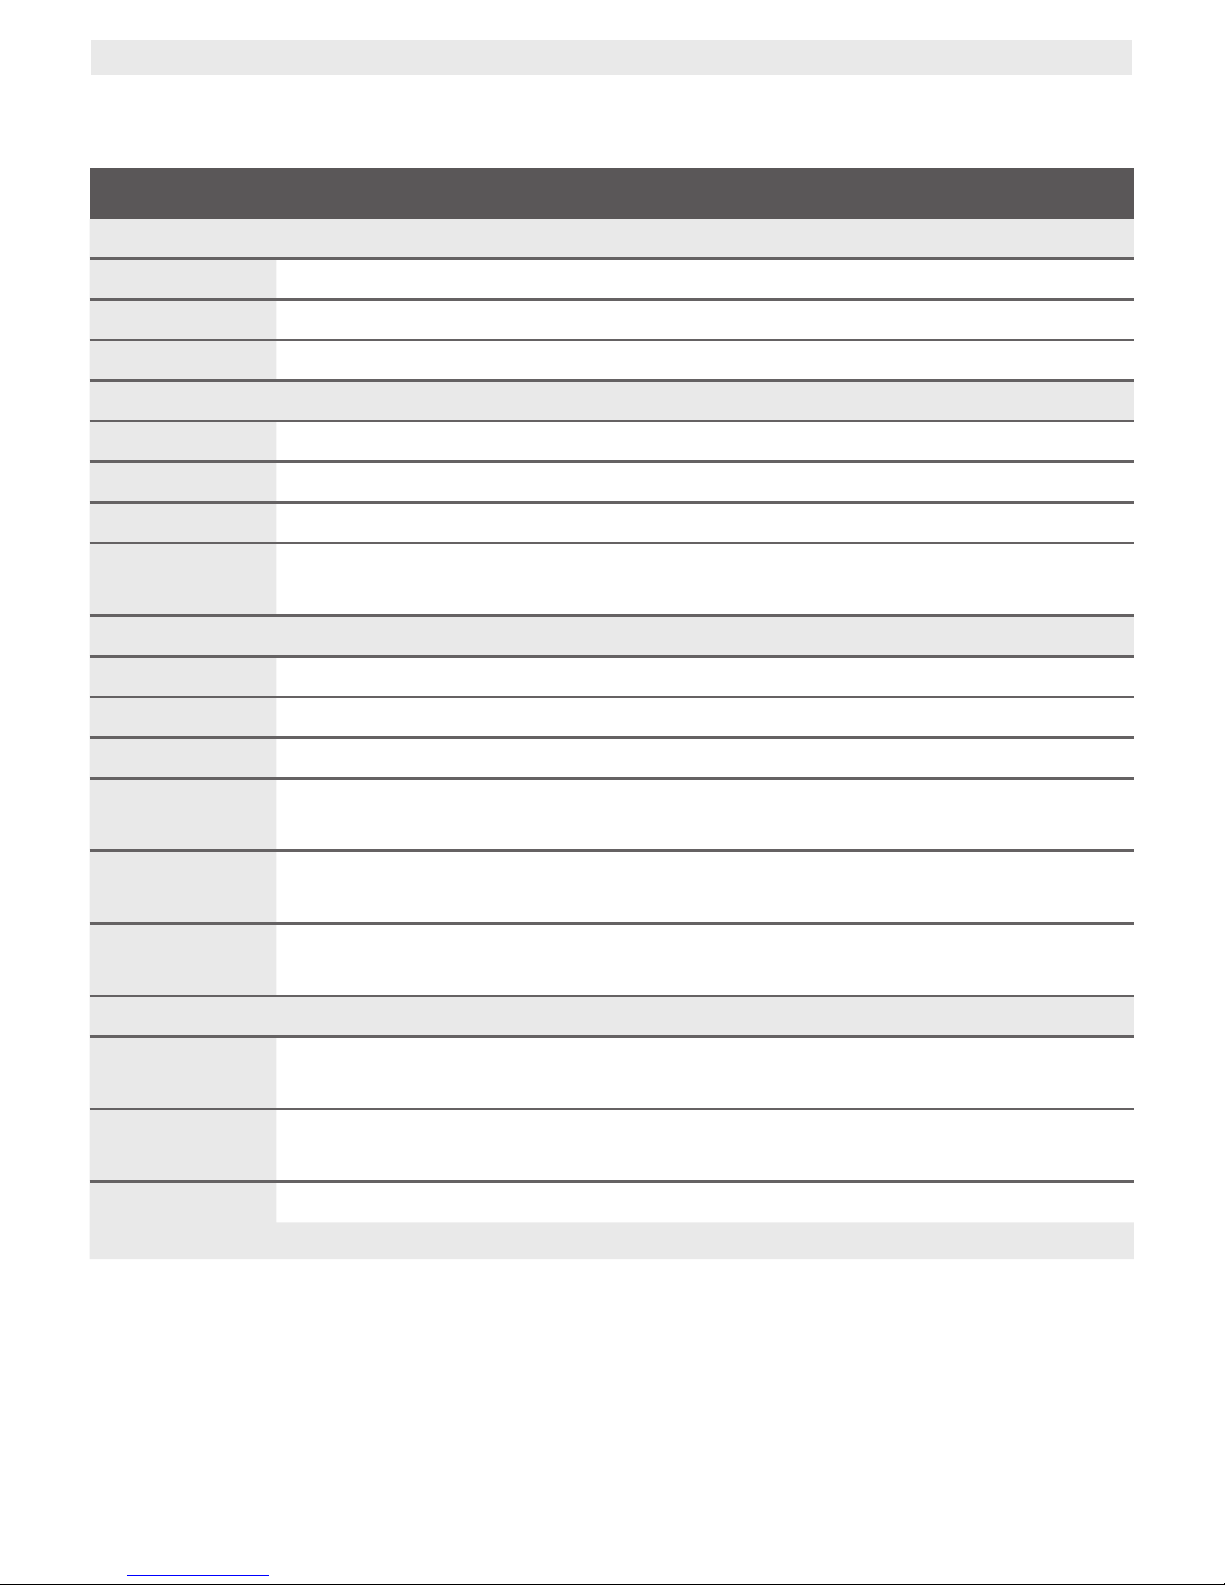
Each bar represents about 20% capacity:
BARS BATTERY CHARGE
(low battery
warning) <5%
1≤20%
2 ~20– 40%
3 ~40 – 60%
4 ~60 – 80%
5 ~80 – 100%