JAI GOX-5105M-PGE User manual

Thank you for purchasing this product.
Be sure to read this documentation before use.
This documentation includes important safety precautions and instructions on how to operate the unit. Be sure to read this documentation to ensure
proper operation.
The contents of this documentation are subject to change without notice for the purpose of improvement.
© 2022 JAI
User Manual
GOX-5105M-PGE GOX-5105C-PGE
GOX-8105M-PGE GOX-8105C-PGE
GOX-12405M-PGE GOX-12405C-PGE
GOX-16205M-PGE GOX-16205C-PGE
GOX-20405M-PGE GOX-20405C-PGE
GOX-24505M-PGE GOX-24505C-PGE
CMOS Digital Progressive Scan
Monochrome and Color Camera with GigE Interface
Document Version: 1.0
Go-X_Series_PGE_Manual_Ver.1.0_2022-09-20

User Manual (Ver. 1.0) - Table of Contents
GOX-5105MC-PGE | GOX-8105MC-PGE | GOX-12405MC-PGE | GOX-16205MC-PGE | GOX-20405MC-PGE | GOX-24505MC-PGE
- 2 -
Table of Contents
Table of Contents 2
About Technical Note 7
Notice/Warranty 8
Notice 8
Warranty 8
Certifications 8
CE Compliance 8
FCC 8
Warning 9
KC 9
Supplement 10
Supplement 11
Usage Precautions 12
Notes on Cable Configurations 12
Notes on Attaching The Lens 12
Notes on LAN Cable Connection 12
Phenomena Specific to CMOS Image Sensors 13
Notes on Exportation 13
Features 14
Feature Overview 14
Parts Identification 15
①Lens Mount (C-Mount) 15
②RJ-45 Connector 16
③LINKLED 16
④ACTLED 16
⑤POWER/TRIG LED 17
⑥DC IN/TRIG Connector (6-Pin Round) 17
⑦ ⑧ Camera Locking Screw Holes 18
Recommended Circuit Diagram (Reference Examples) 18
Recommended External Input Circuit Diagram 18

User Manual (Ver. 1.0) - Table of Contents
GOX-5105MC-PGE | GOX-8105MC-PGE | GOX-12405MC-PGE | GOX-16205MC-PGE | GOX-20405MC-PGE | GOX-24505MC-PGE
- 3 -
Recommended External Output Circuit Diagram 18
Characteristics of the Recommended Circuits for Opto OUT 19
Preparation 20
Step 1: Install the Software (First Time Only) 21
Step 2: Connect Devices 21
①Lens 22
②Direct Mounting (or Use MP-46 Tripod AdapterPlate) 23
③LAN Cable 23
➃Network Card 23
⑤DC IN / Trigger IN Connection Cable 23
⑥AC Adapter (Power Supply) (If Necessary) 24
Step 3: Verify Camera Operation 24
Step 4: Verify the Connection between the Camera and PC 24
Step 5: Change the Camera Settings 27
Step 6: Adjust the Image Quality 28
Adjust the Gain 29
Adjust the White Balance 30
Adjust the Black Level 31
Step 7: Save the Settings 32
To Save User Settings 33
To Load User Settings 34
Main Functions 35
Acquisition Control 35
Changing the Frame Rate 36
Exposure Mode 37
Actual Exposure Time 38
RCT Mode 38
Burst Trigger Mode 39
Burst Trigger Mode Usage Examples 40
Trigger Control 42
When Using the FrameStart Trigger 43
Pixel Format 44

User Manual (Ver. 1.0) - Table of Contents
GOX-5105MC-PGE | GOX-8105MC-PGE | GOX-12405MC-PGE | GOX-16205MC-PGE | GOX-20405MC-PGE | GOX-24505MC-PGE
- 4 -
SensorDigitizationBits 45
Image Flip Function 45
GPIO (Digital Input/Output Settings) 46
VideoProcessBypassMode 47
Calculate the Maximum Frame or Trigger Rate (Approximate) 48
1. Calculate the H Period 48
2. Calculate the Minimum Frame Period 51
3. Calculate the Maximum Frame Rate or Maximum Trigger Rate 52
Timing Chart 54
Exposure Mode = Timed (Overlap Readout) 55
GOX-5105M-PGE, GOX-5105C-PGE 56
GOX-8105M-PGE, GOX-8105C-PGE 57
GOX-12405M-PGE, GOX-12405C-PGE 58
GOX-16205M-PGE, GOX-16205C-PGE 59
GOX-20405M-PGE, GOX-20405C-PGE 60
GOX-24505M-PGE, GOX-24505C-PGE 61
Exposure Mode = TriggerWidth (Overlap Readout) 62
GOX-5105M-PGE, GOX-5105C-PGE 63
GOX-8105M-PGE, GOX-8105C-PGE 64
GOX-12405M-PGE, GOX-12405C-PGE 65
GOX-16205M-PGE, GOX-16205C-PGE 66
GOX-20405M-PGE, GOX-20405C-PGE 67
GOX-24505M-PGE, GOX-24505C-PGE 68
Exposure Mode = Timed (RCTMode) 69
GOX-5105M-PGE, GOX-5105C-PGE 70
GOX-8105M-PGE, GOX-8105C-PGE 71
GOX-12405M-PGE, GOX-12405C-PGE 72
GOX-16205M-PGE, GOX-16205C-PGE 73
GOX-20405M-PGE, GOX-20405C-PGE 74
GOX-24505M-PGE, GOX-24505C-PGE 75
Gain Control 76
Automatic Gain Level Control 76

User Manual (Ver. 1.0) - Table of Contents
GOX-5105MC-PGE | GOX-8105MC-PGE | GOX-12405MC-PGE | GOX-16205MC-PGE | GOX-20405MC-PGE | GOX-24505MC-PGE
- 5 -
White Balance 77
Color Temperature 77
ALC (Automatic Level Control) Function 78
To Use the ALC Function 78
Gamma Function 79
To Use the Gamma Function 79
LUT (Lookup Table) 80
To Use the LUT Function 80
LUT Value 80
BlemishCompensation 81
Automatic Detection 81
Manual Configuration 82
Shading Correction 83
To Use the Shading Correction Function 84
Binning Function 85
Image Scaling Mode (Xscale) 86
Limitations on Image Scaling Mode (Xscale) 87
Specifying the Scaling Ratio 88
Decimation Mode 90
Gradation Compression Mode 91
Examples 92
Overlay Mode 94
ROIFunction (Single ROI) 95
Single ROI - Example 96
ROIFunction (Multi ROI) 97
Configuration Example 99
Edge Enhancer 100
Sequencer Function 101
TriggerSequencer Mode 101
Sample TriggerSequencer Mode Operation 102
CommandSequencer Mode 103
Pulse Generator 104

User Manual (Ver. 1.0) - Table of Contents
GOX-5105MC-PGE | GOX-8105MC-PGE | GOX-12405MC-PGE | GOX-16205MC-PGE | GOX-20405MC-PGE | GOX-24505MC-PGE
- 6 -
Counter and Timer Control Function 105
Counter Occurrence Diagram 105
Internal Camera Blocks 106
To Use the Counter Function 106
Action Control Function 107
Action Control Example 107
Event Control Function 109
Chunk Data Function 110
PTP (Precision Time Protocol) 110
Non-Volatile Flash Memory 111
Functions That Cannot Be Used Together 112
Setting List 113
Selector 113
Feature Properties 114
DeviceControl 114
TransportLayerControl 116
ImageFormatControl 120
MultiROIControl 126
AcquisitionControl 128
DigitalIOControl 130
PulseGenerator 133
AnalogControl 135
LUTControl 137
AutoLevelControl 138
ImagingControl 140
ShadingControl 141
BlemishControl 142
SequencerControl 143
CounterAndTimerControl 145
ActionControl 146
EventControl 147
ChunkDataControl 148

User Manual (Ver. 1.0) - Table of Contents
GOX-5105MC-PGE | GOX-8105MC-PGE | GOX-12405MC-PGE | GOX-16205MC-PGE | GOX-20405MC-PGE | GOX-24505MC-PGE
- 7 -
TestControl 149
UserSetControl 149
Miscellaneous 150
Troubleshooting 150
Power Supply and Connections 150
Image Display 150
Settings and Operations 150
Specifications 151
Package Contents 157
Spectral Response (GOX-5105M-PGE/GOX-5105C-PGE) 158
Spectral Response (GOX-8105M-PGE/GOX-8105C-PGE) 159
Spectral Response (GOX-12405M-PGE/GOX-12405C-PGE) 160
Spectral Response (GOX-16205M-PGE/GOX-16205C-PGE) 161
Spectral Response (GOX-20405M-PGE/GOX-20405C-PGE) 162
Spectral Response (GOX-24505M-PGE/GOX-24505C-PGE) 163
Dimensions 164
Comparison of the Decibel Display and Multiplier Display 165
User's Record 166
Revision History 167
About Technical Note
Some additional technical information is provided on the JAI website as Technical Notes. In this
manual, if a technical note is available for a particular topic, the above icon is shown. Please refer to
the following URL for Technical notes.
https://www.jai.com/support-software/technical-notes

User Manual (Ver. 1.0) - Notice/Warranty
GOX-5105MC-PGE | GOX-8105MC-PGE | GOX-12405MC-PGE | GOX-16205MC-PGE | GOX-20405MC-PGE | GOX-24505MC-PGE
- 8 -
Notice/Warranty
Notice
The material contained in this manual consists of information that is proprietary to JAI Ltd., Japan, and
may only be used by the purchasers of the product. JAI Ltd., Japan makes no warranty for the use of
its product and assumes no responsibility for any errors which may appear or for damages resulting
from the use of the information contained herein. JAI Ltd., Japan reserves the right to make changes
without notice.
Company and product names mentioned in this manual are trademarks or registered trademarks of
their respective owners.
Warranty
For information about the warranty, please contact your factory representative.
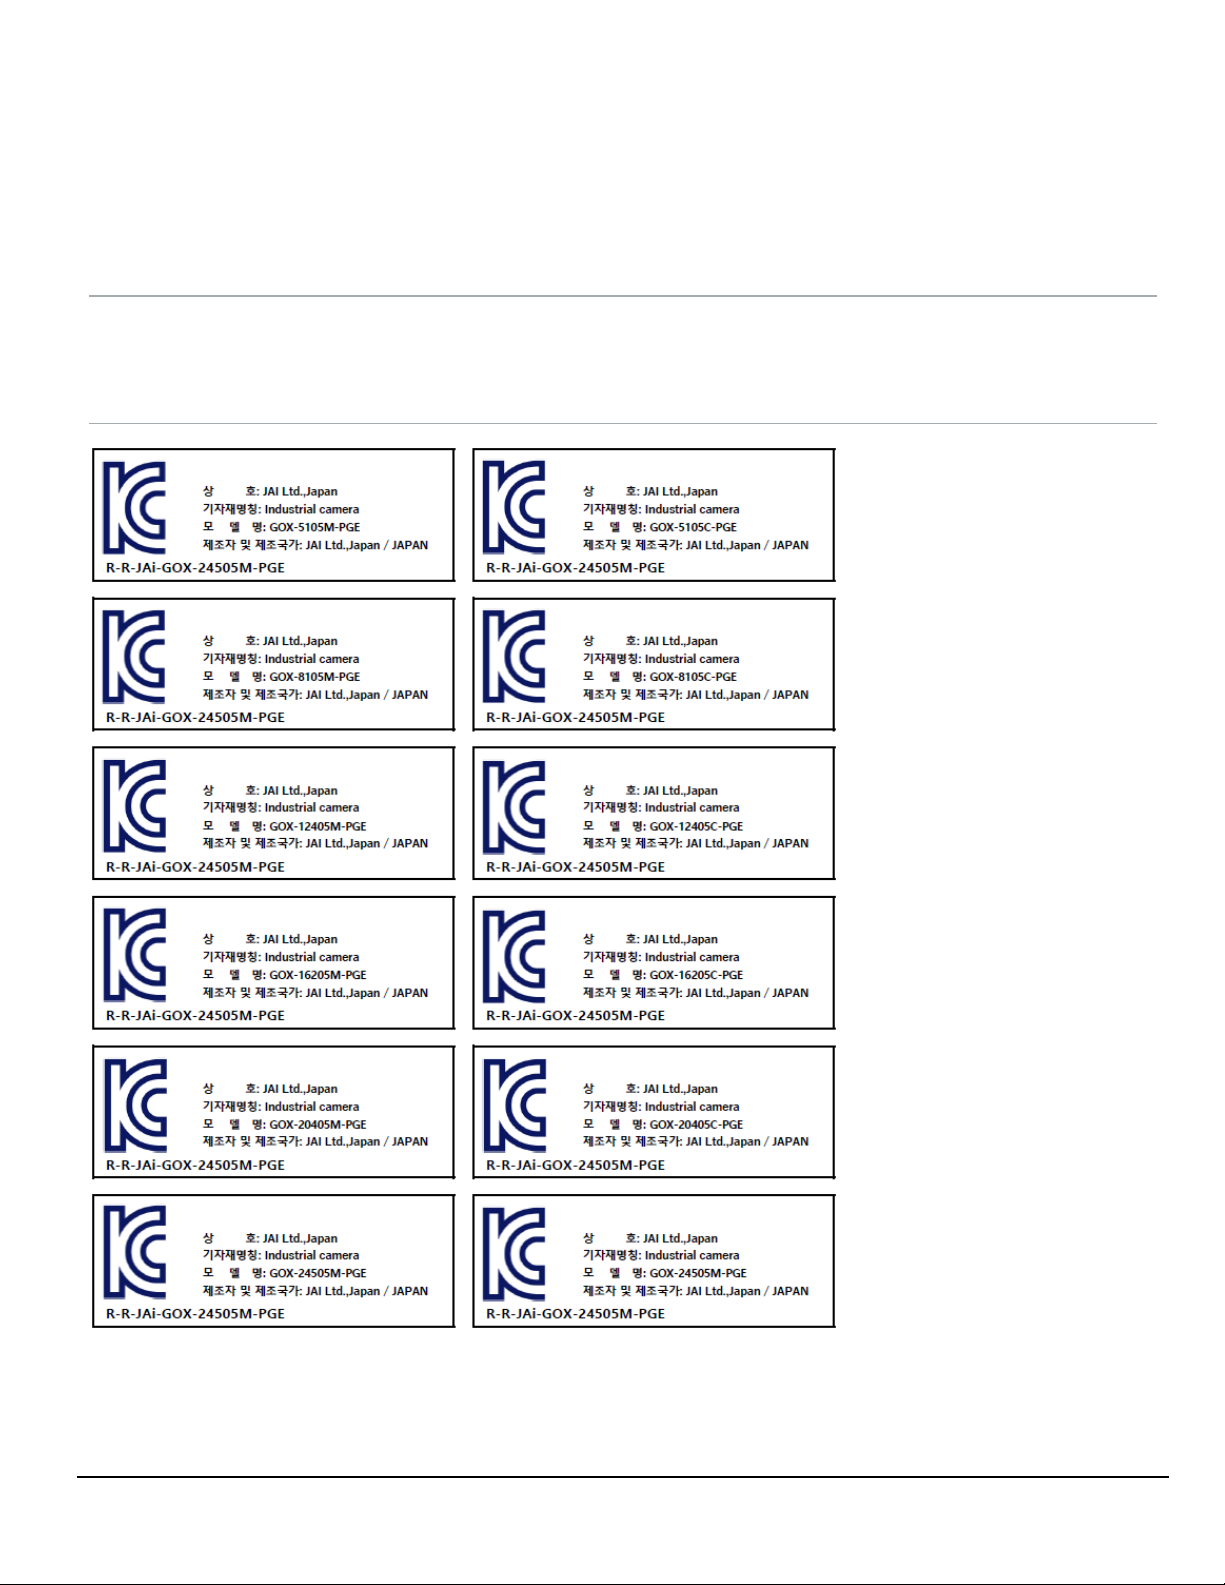
Certifications
CE Compliance
As defined by the Directive 2004/108/EC of the European Parliament and of the Council, EMC
(Electromagnetic compatibility), JAI Ltd., Japan declares that GOX-5105M-PGE, GOX-5105C-PGE,
GOX-8105M-PGE, GOX-8105C-PGE, GOX-12405M-PGE, GOX-12405C-PGE, GOX-16205M-PGE,
GOX-16205C-PGE, GOX-20405M-PGE, GOX-20405C-PGE, GOX-24505M-PGE, and GOX-24505C-
PGE comply with the following provisions applying to their standards.
EN 55032:2015(CISPR32:2015)
EN 55035:2017(CISPR35:2016)
FCC
This equipment has been tested and found to comply with the limits for a Class B digital device,
pursuant to Part 15 of the FCC Rules. These limits are designed to provide reasonable protection
against harmful interference in a residential installation. This equipment generates, uses, and can
radiate radio frequency energy and, if not installed and used in accordance with the instructions, may
cause harmful interference to radio communications. However, there is no guarantee that interference
will not occur in a particular installation. If this equipment does cause harmful interference to radio or
television reception, which can be determined by turning the equipment off and on, the user is
encouraged to try to correct the interference by one or more of the following measures:
lReorient or relocate the receiving antenna.
lIncrease the separation between the equipment and receiver.

User Manual (Ver. 1.0) - Notice/Warranty
GOX-5105MC-PGE | GOX-8105MC-PGE | GOX-12405MC-PGE | GOX-16205MC-PGE | GOX-20405MC-PGE | GOX-24505MC-PGE
- 9 -
lConnect the equipment into an outlet on a circuit different from that to which the receiver is
connected.
lConsult the dealer or an experienced radio/TV technician for help.
Warning
Changes or modifications to this unit not expressly approved by the party responsible for FCC
compliance could void the user’s authority to operate the equipment.
KC
제조년월은 제품상자의 라벨을 참조하십시오.

User Manual (Ver. 1.0) - Notice/Warranty
GOX-5105MC-PGE | GOX-8105MC-PGE | GOX-12405MC-PGE | GOX-16205MC-PGE | GOX-20405MC-PGE | GOX-24505MC-PGE
- 10 -
Supplement
The following statement is related to the regulation on “Measures for the Administration of the Control
of Pollution by Electronic Information Products “, known as “China RoHS“. The table shows contained
Hazardous Substances in this camera.
mark shows that the environment-friendly use period of contained Hazardous Substances is 15
years.
Applicable models: GOX-5105M-PGE, GOX-8105M-PGE, GOX-12405M-PGE, GOX-16205M-
PGE, GOX-20405M-PGE, GOX-24505M-PGE
重 要 注 意 事 项
有毒,有害物质或元素名称及含量表
根据中华人民共和国信息产业部『电子信息产品污染控制管理办法』, 本产品《 有毒,有害物质或
元素名称及含量表》如下.
部件名称
有毒有害物质或元素
铅
(Pb)
汞
(Hg)
镉
(Cd)
六价铬
(Cr (VI)) 多溴联苯
(PBB) 多溴二苯醚
(PBDE)
电路板 × 〇 〇 〇 〇 〇
螺丝 × 〇 〇 〇 〇 〇
插座 × 〇 〇 〇 〇 〇
..... ..... ..... ..... ..... ..... .....
〇:表示该有毒有害物质在该部件所有均质材料中的含量均在GB/T 26572-2011规定的限量要求以下。
×:表示该有毒有害物质至少在该部件的某一均质材料中的含量超出GB/T 26572-2011规定的限量要求。
环保使用期限
电子信息产品中含有的有毒有害物质或元素在正常使用的条件下不会发生外 泄或突变、
电子信息产品用户使用该电子信息产品不会对环境造成严重污染 或对其人身、财产造成
严重损害的期限。
数字「15」为期限15年。

User Manual (Ver. 1.0) - Notice/Warranty
GOX-5105MC-PGE | GOX-8105MC-PGE | GOX-12405MC-PGE | GOX-16205MC-PGE | GOX-20405MC-PGE | GOX-24505MC-PGE
- 11 -
Supplement
The following statement is related to the regulation on “Measures for the Administration of the Control
of Pollution by Electronic Information Products “, known as “China RoHS“. The table shows contained
Hazardous Substances in this camera.
mark shows that the environment-friendly use period of contained Hazardous Substances is 15
years.
Applicable models: GOX-5105C-PGE, GOX-8105C-PGE, GOX-12405C-PGE, GOX-16205C-
PGE, GOX-20405C-PGE, GOX-24505C-PGE
重 要 注 意 事 项
有毒,有害物质或元素名称及含量表
根据中华人民共和国信息产业部『电子信息产品污染控制管理办法』, 本产品《 有毒,有害物质或
元素名称及含量表》如下.
部件名称
有毒有害物质或元素
铅
(Pb)
汞
(Hg)
镉
(Cd)
六价铬
(Cr (VI)) 多溴联苯
(PBB) 多溴二苯醚
(PBDE)
电路板 × 〇 〇 〇 〇 〇
螺丝 × 〇 〇 〇 〇 〇
插座 × 〇 〇 〇 〇 〇
光学滤镜 × 〇 × 〇 〇 〇
..... ..... ..... ..... ..... ..... .....
〇:表示该有毒有害物质在该部件所有均质材料中的含量均在GB/T 26572-2011规定的限量要求以下。
×:表示该有毒有害物质至少在该部件的某一均质材料中的含量超出GB/T 26572-2011规定的限量要求。
环保使用期限
电子信息产品中含有的有毒有害物质或元素在正常使用的条件下不会发生外 泄或突变、
电子信息产品用户使用该电子信息产品不会对环境造成严重污染 或对其人身、财产造成
严重损害的期限。
数字「15」为期限15年。

User Manual (Ver. 1.0) - Usage Precautions
GOX-5105MC-PGE | GOX-8105MC-PGE | GOX-12405MC-PGE | GOX-16205MC-PGE | GOX-20405MC-PGE | GOX-24505MC-PGE
- 12 -
Usage Precautions
Notes on Cable Configurations
The presence of lighting equipment and television receivers nearby may result in video noise. In such
cases, change the cable configurations or placement.
Notes on Attaching The Lens
How to Clean a Sensor
Avoiding Dust Particles
When attaching the lens to the camera, stray dust and other particles may adhere to the sensor
surface and rear surface of the lens. Be careful of the following when attaching the lens.
lWork in a clean environment.
lDo not remove the caps from the camera and lens until immediately before you attach the lens.
lTo prevent dust from adhering to surfaces, point the camera and lens downward and do not
allow the lens surface to come into contact with your hands or other objects.
lAlways use a blower brush to remove any dust that adheres.
lNever use your hands or cloth, blow with your mouth, or use other methods to remove dust.
Notes on LAN Cable Connection
Secure the locking screws on the connector manually, and do not use
a driver. Do not secure the screws too tightly. Doing so may wear
down the screw threads on the camera. (Tightening torque: 0.147 Nm
or less)
Caution: Secure manually. Do not secure too tightly.

User Manual (Ver. 1.0) - Usage Precautions
GOX-5105MC-PGE | GOX-8105MC-PGE | GOX-12405MC-PGE | GOX-16205MC-PGE | GOX-20405MC-PGE | GOX-24505MC-PGE
- 13 -
Phenomena Specific to CMOS Image Sensors
The following phenomena are known to occur on cameras equipped with CMOS image sensors.
These do not indicate malfunctions.
lAliasing: When shooting straight lines, stripes, and similar patterns, vertical aliasing (zigzag
distortion) may appear on the monitor.
lBlooming: When strong light enters the camera, some pixels on the CMOS image sensor may
receive much more light than they are designed to hold, causing the accumulated signal charge
to overflow into surrounding pixels. This “blooming” phenomenon can be seen in the image but
does not affect the operation of the camera.
lFixed pattern noise: When shooting dark objects in high-temperature conditions, fixed pattern
noise may occur throughout the entire video monitor screen.
lDefective pixels: Defective pixels (white and black pixels) of the CMOS image sensor are
minimized at the factory according to shipping standards. However, as this phenomenon can be
affected by the ambient temperature, camera settings (e.g., high sensitivity and long exposure),
and other factors, be sure to operate within the camera’s specified operating environment.
Notes on Exportation
When exporting this product, please follow the export regulations of your country or region.

User Manual (Ver. 1.0) - Features
GOX-5105MC-PGE | GOX-8105MC-PGE | GOX-12405MC-PGE | GOX-16205MC-PGE | GOX-20405MC-PGE | GOX-24505MC-PGE
- 14 -
Features
These camera models are industrial progressive scan cameras equipped with a global shutter CMOS
image sensor. These small-size cameras (approx. 29mm x 29mm x 55mm) are also lightweight (70 g),
which makes them easy to install and mount. In addition, these provide an attractive combination of
high resolution, high speed, and high image quality for machine vision applications.
Model Name Image Sensor Active Pixels Pixel Size Max Frame Rate*
GOX-5105M-PGE Mono
Type 1/1.8 2472 x 2064 2.74 μm x 2.74 μm 23 fps
GOX-5105C-PGE Color
GOX-8105M-PGE Mono
Type 2/3 2856 x 2848 2.74 μm x 2.74 μm 14 fps
GOX-8105C-PGE Color
GOX-12405M-PGE Mono
Type 1/1.1 4128 x 3008 2.74 μm x 2.74 μm 9 fps
GOX-12405C-PGE Color
GOX-16205M-PGE Mono
Type 1.1 5328 x 3040 2.74 μm x 2.74 μm 7 fps
GOX-16205C-PGE Color
GOX-20405M-PGE Mono
Type 1.1 4512 x 4512 2.74 μm x 2.74 μm 5 fps
GOX-20405C-PGE Color
GOX-24505M-PGE Mono
Type 1.2 5328 x 4608 2.74 μm x 2.74 μm 4 fps
GOX-24505C-PGE Color
*When Pixel Format =Mono8/BayerRG8,SensorDigitizationBits =10 Bits, NetworkThroughputSafetyMargin = 100,
Packet Size = 3976, ExtendedIDMode = Off.
Feature Overview
lGlobal shutter CMOS image sensor with backside illuminated pixel technology
l8/10/12-bit output in choice of monochrome or raw Bayer color models
lFlexible ROI; rescaling function (monochrome and color); traditional 1x2, 2x1, 2x2 binning
(monochrome models); horizontal/vertical image flip function; blemish correction; shading
compensation; sequencer function; and Automatic Level Control (ALC). (See the Main Functions
chapter for details).
lCompact size with excellent shock and vibration resistance
lPoE or via separate 6-pin connector
lLens mount: C-mount

User Manual (Ver. 1.0) - Parts Identification
GOX-5105MC-PGE | GOX-8105MC-PGE | GOX-12405MC-PGE | GOX-16205MC-PGE | GOX-20405MC-PGE | GOX-24505MC-PGE
- 15 -
Parts Identification
①Lens Mount (C-Mount) ②RJ-45 Connector
③LINKLED ④ACTLED
⑤POWER/TRIG LED ⑥DC IN/TRIG Connector (6-Pin Round)
⑦ ⑧ Camera Locking Screw Holes
①Lens Mount (C-Mount)
Mount a C-mount lens, microscope adapter, etc. here.
Note: Before mounting a lens, be sure to refer to ①Lens and confirm the precautions for
attaching a lens and the supported lens types.

User Manual (Ver. 1.0) - Parts Identification
GOX-5105MC-PGE | GOX-8105MC-PGE | GOX-12405MC-PGE | GOX-16205MC-PGE | GOX-20405MC-PGE | GOX-24505MC-PGE
- 16 -
②RJ-45 Connector
Connect a Gigabit Ethernet compatible LAN cable (Category 5e or higher, Category 6 recommended)
here.
RJ45 with Locking Screws
GigE Vision Interface
Pin Signal
1 TRD+ (0)
2 TRD- (0)
3 TRD+ (1)
4 TRD+ (2)
5 TRD- (2)
6 TRD- (1)
7 TRD+ (3)
8 TRD- (3)
③LINKLED
Indicates whether the GigE network connection is established or not.
LED Status
Off The network link is not established (or in progress).
Lit green 1000Base-T link is established.
④ACTLED
Indicates the GigE network status.
LED Status
Off Communication is not active.
Blinking amber Communication is active.

User Manual (Ver. 1.0) - Parts Identification
GOX-5105MC-PGE | GOX-8105MC-PGE | GOX-12405MC-PGE | GOX-16205MC-PGE | GOX-20405MC-PGE | GOX-24505MC-PGE
- 17 -
⑤POWER/TRIG LED
Indicates the power or trigger input status.
LED Status
Lit amber Camera initializing
Lit green Camera in operation
Blinking
green
During operation in trigger mode, trigger signals are being input.
Note: The blinking interval is not related to the actual input interval of the external
trigger.
⑥DC IN/TRIG Connector (6-Pin Round)
Connect the cable for a power supply (optional) or for DC IN / trigger IN here.
Camera Side: HR10A-7R-6PB (Hirose Electric or equivalent )
Cable Side: : HR10A-7P-6S (Plug) (Hirose Electric or equivalent )
Pin No. Input/Output Signal Description
1 Power In DC In DC in +10V ~+25V
2 In Opto In+
Line 5
3 In Opto In-
4 Out Opto Out+
Line 2
5 Out Opto Out-
6 GND GND
Notes:
lSee Recommended Circuit Diagram (Reference Examples) for the recommended
Input/Output circuit diagrams.
lRefer to the GPIO (Digital Input/Output Settings) topic as well.

User Manual (Ver. 1.0) - Parts Identification
GOX-5105MC-PGE | GOX-8105MC-PGE | GOX-12405MC-PGE | GOX-16205MC-PGE | GOX-20405MC-PGE | GOX-24505MC-PGE
- 18 -
⑦ ⑧ Camera Locking Screw Holes
Use these holes when mounting the camera directly to a wall or other structural system.
⑦Upper part of camera: M3, 3mm depth, 20mm pitch
⑧Lower part of camera: M3, 4mm depth, 21mm pitch (lens side)
Recommended Circuit Diagram (Reference Examples)
Related Setting Items: DigitalIOControl
OPTO-In Circuit Characteristics
Note: The OptInFilter function (DeviceControl) can eliminate the chattering that occurs when
switching between the Low and High OptoIn signals up to 40ms.
Recommended External Input Circuit Diagram
Recommended External Output Circuit Diagram
Reference Example

User Manual (Ver. 1.0) - Parts Identification
GOX-5105MC-PGE | GOX-8105MC-PGE | GOX-12405MC-PGE | GOX-16205MC-PGE | GOX-20405MC-PGE | GOX-24505MC-PGE
- 19 -
Characteristics of the Recommended Circuits for Opto OUT
OUTPUT LINE RESPONSE TIME
For the operating conditions of applied voltage (User Power) +12V, load resistance 10kΩ, and cable
length 1m, the timing is shown in the table below.
Item Result (Typ)
TDR (Time Delay Rise) 0.48 (μs)
RT (Rise Time) 3.08 (μs)
TDF (Time Delay Fall) 3.16 (μs)
FT (Fall Time) 52.4 (μs)
Note: Since it varies depending on the applied voltage, load resistance, cable length, etc., check
the actual environment before use.
Cautions:
Please note that the recommended load resistance of Opto output is 10 kΩ (rated 1/10 W) or
more. The 270 Ω resistor shown in the circuit diagram is the MINIMUM resistance that should be
used. The response speed from On (High) to Off (Low) depends on the voltage applied to Opto
output and the value of the load resistance. Higher load resistance results in a slower response. If
the response at 10 kΩ is slower than desired, you can try reducing the load resistance in order to
increase the response speed but DO NOT go below the minimum 270 Ω value.
The load resistance loss can be calculated as follows.
load resistance loss ≒(voltage applied to Opto output )2/ (load resistance)

User Manual (Ver. 1.0) - Preparation
GOX-5105MC-PGE | GOX-8105MC-PGE | GOX-12405MC-PGE | GOX-16205MC-PGE | GOX-20405MC-PGE | GOX-24505MC-PGE
- 20 -
Preparation
Read this section to learn how the camera connects to devices and accessories. The preparation
process is described below.
Step 1: Install the Software (First Time Only)
lInstall the software for configuring and controlling the camera (eBUS SDK for JAI) on the
computer.
Step 2: Connect Devices
lConnects the lens, LAN cable, computer, and other devices.
Step 3: Verify Camera Operation
lVerify whether the camera is turned on and ready for use.
Step 4: Verify the Connection between the Camera and PC
lVerify whether the camera is properly recognized via Control Tool.
Step 5: Change the Camera Settings
lRefer to the procedure for changing the output format setting as an example, and change
various settings as necessary.
Step 6: Adjust the Image Quality
lRefer to the procedures for adjusting the gain, white balance, and black level as examples, and
adjust the image quality.
Step 7: Save the Settings
lSave the current setting configurations in user memory.
This manual suits for next models
11
Table of contents
Other JAI CCTV Camera manuals