2 JAMESONTOOLS.COM |800.346.1956 PDM202204A
Scan QR Code
to learn more
Operating Instructions
UNLOCKING THE HANDLES
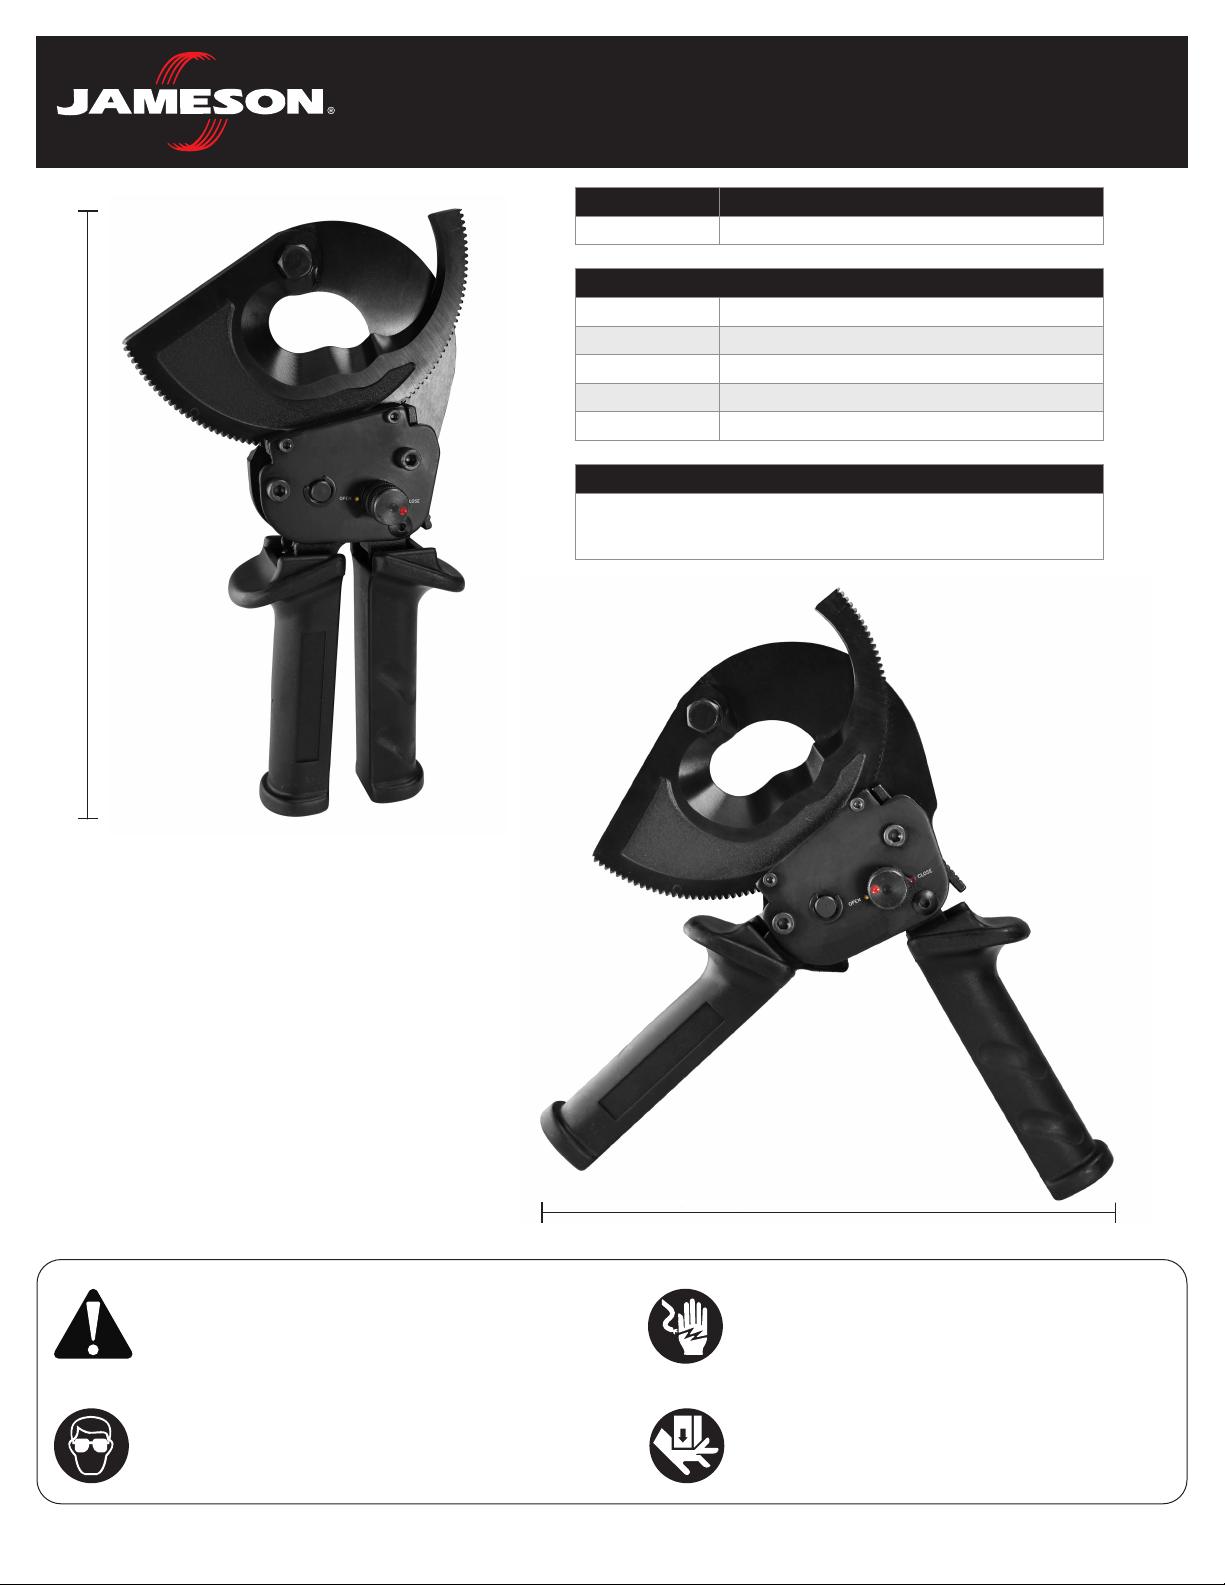
1. Turn the Lock/Release Axle Knob so that the red dot on the knob lines up with the green dot on the frame.
CUTTING A CABLE
1. Insure the cutter handles are unlocked.
2. With no cable inserted into the cut entry, cycle the blade forward through the ratchet simply by pushing it through. This is to release the
blade for an open end entry to the cutting area.
3. Insert the cable into the cutting area.
4. Push the moving blade forward until it contacts the ratchet gears and “clicks.” Continue pushing until both blades are in contact with cable to be
cut to ensure cut is in the desired location.
5. Squeeze handles together until blade clicks, then release handles until blade clicks again. The blade will ratchet forward in steps for each
handle motion. Repeat these movements until the cable is completely cut through.
EMERGENCY BLADE RELEASE AND OPENING
1. With the handles in the full open position, turn the Lock/Release Axle Knob so that the red dot on the knob is positioned pointing downward
located between the red and green dots on the tool frame.
2. Press down on the Blade Release Thumb Ratchet located on the right hand side of the tool. The ratchet should open and release contact with
the moving blade.
3. While holding down the blade release ratchet, use the left hand to pull the moving blade back out of the ratcheting mechanism.
LOCKING THE HANDLES
1. Completely close the handles and hold them in place.
2. Turn the Lock/Release Axle Knob so that the red dot on the knob lines up with the red dot on the frame.
BLADE SHARPENING
1. The blades may periodically become dulled after repeated use. Grinding the edges to keep them sharp and free of burrs is recommended.
2. Remove the moving blade by removing the bolt that joins the two jaw halves. Do not separate the fixed blade from the rest of the tool.
3. Grind each blade making sure original shape is maintained.
PRECAUTION FOR THE TOOL
1. Always point the tool AWAY from other people.
2. If the tool is stored for an extended period at a temperature of less than 25º F (-4ºC), the tool should be allowed to return to room
temperature to ensure smooth operation Use the tool only after it has been at room temperature for 1 hour.
3. Do not drop the tool. Dropping the tool may damage it and result in it not functioning correctly.
4. Keep the tool clean and free of debris.
5. Do not allow tool to be submerged in water. The tool may be used in damp or wet environments. However it is recommended for tool to be
air-dried before use.
6. Never use the tool on live electrical circuits.
7. Do not exceed the tool's cutting capacity.
TROUBLESHOOTING FOR THE TOOL
1. Die hang up is common with all types of compression tools. Should this occur, the jaws can easily be separated by removing the bolt that joins
the two jaw halves. Never attempt to hit tool jaw with hammer as this will damage tool.
2. Always clean tool after use to keep it clear of dirt and debris.
MAINTENANCE AND INSPECTION
1. Daily maintenance is required to ensure that the tool is kept in good working condition.
2. Do not store the tool in a humid environment.
3. Wipe away any excess oil with a soapy cloth.
4. Provided that maintenance of the tool is carried out regularly, the tool should provide many years of service.
5. Lubricate the tool by applying a small amount of grease to the moving blade. Target the gears and the surface where both blades
touch each other.
WARRANTY
Jameson products carry a warranty against any defect in material and workmanship for a period of one year from date of shipment unless failure is
due to misuse or improper application. Jameson shall in no event be responsible or liable for modifications, alterations, misapplications, or repairs
made to its products by purchaser or others. This warranty is limited to repair or replacement of the product and does not include reimbursement for
shipping or other expenses incurred. Jameson disclaims any other express or implied warranty.