8)"5,*/%0'#*,&*4*5
Adult bicycles can be broadly categorized into four types, according to the intended use for
which the bike was designed: Road Bikes, Mountain Bikes, Cross Bikes and City or Cruiser
Bikes. While there is a lot of use overlap in bike design, each type of bike is designed to
provide optimum performance, comfort and safety under specific use conditions. Which type
is your new bike?
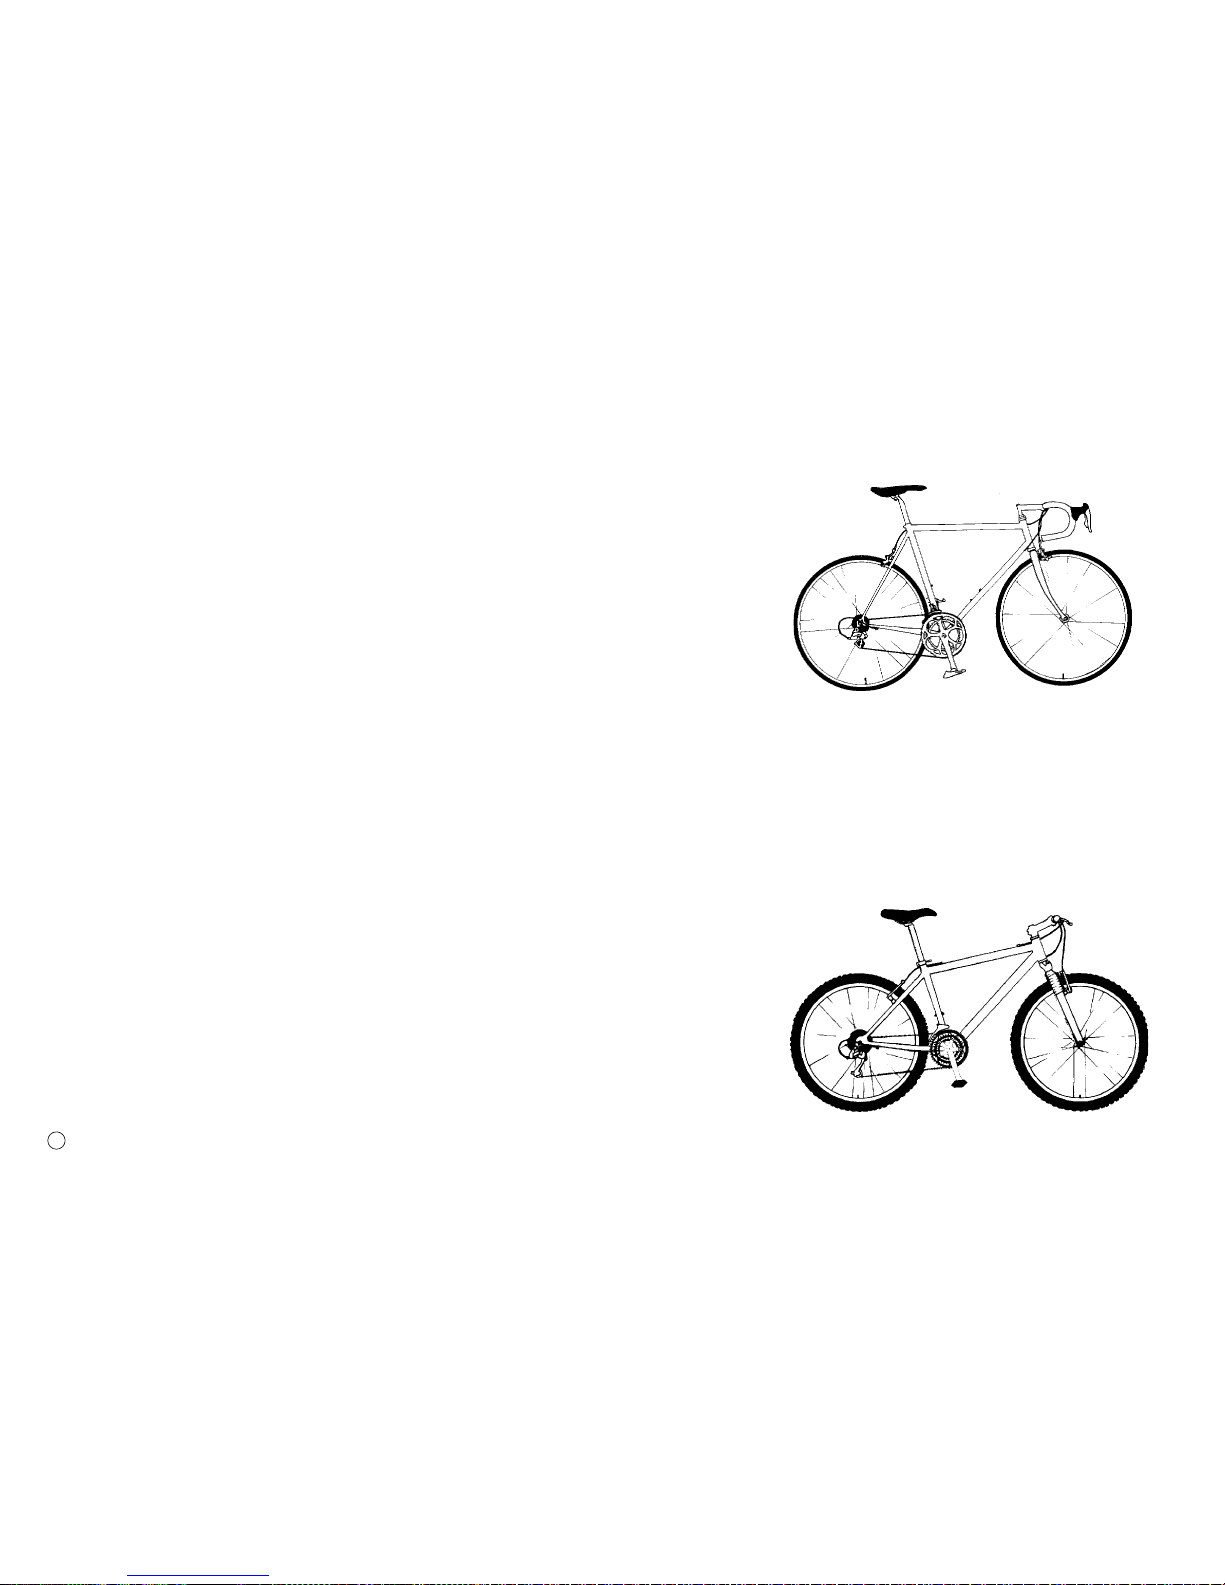
The Road Bike, sometimes called a racing bike because it is derived from the bikes used by
bicycle road racers and triathletes, is for fast travel, hard training and competition on paved
surfaces. It is the lightest, most aerodynamic and “fastest” type of bike. Because it is generally
ridden on relatively smooth paved roads, its frame is made as stiff and light as possible, and
its frame geometry is designed to give it quick, very precise response to rider input. Its components, especially wheels, tend to be lighter than
those for other categories, again because they are not designed to get banged around as much. Its dropped handlebars, sometimes equipped with
aero bar extensions, are designed to give the rider good leverage for climbing and sprinting, and to position the rider in an aerodynamic “tuck” for
speed. Its high-pressure, narrow tires reduce rolling resistance to a minimum.
But: The ride tends to be too stiff for comfort on rougher surfaces. The frame and components are too light to take the pounding of off-road
excursions. The handlebars position the rider in a way that many find uncomfortable for more casual riding. The narrow tires are not recommended
for use on loose surfaces.
The Mountain Bike is designed to give the rider maximum control and durability on a
wide variety of harsh terrain. Everything about the Mountain Bike is more rugged. Its frame
geometry provides maximum ground clearance and allows you to quickly and easily shift your
weight to change the balance of the bike as terrain conditions demand. Its wide, high-volume
tires absorb shock and provide a bigger, more stable footprint on loose or slippery surfaces.
Its wide-range gearing, usually with 18 or more speeds, provides the right choice for almost
any condition. Many Mountain Bikes come equipped with suspension systems which help
absorb the shocks and vibrations of rough trails.
))'#1"-$#'( #$
#,#-
.%-#2%,'+(%2-!(+#3#'-( (.+
-2),(+#'!-(-"#'-'., (+0"#"-"#$
0,,#!'(#$,(.'-#'#$,+(,,#$,'
#-2(++.#,+#$,"#%-"+#,%(-( .,(/+%)#'
#$,#!'"-2)( #$#,,#!'-()+(/#
()-#&.&)+ (+&'(& (+-', -2.'+,)# #
.,('#-#(',"#"-2)#,2(.+'0#$
",(&-#&,%%+#'!#$
.,#-#,+#/ +(&-"#$,.,2#2%+(
++,'-+#-"%-,#, (+ ,--+/%"+-+#'#'!'
(&)-#-#('(')/,.+
,-#,-"%#!"-,-&(,-
+(2'&#'4 ,-,-5
-2)( #$.,#-#,
!'+%%2+#'('+%-#/%2
,&((-")/+(,#-, +&
#,&,,-# '%#!"-,
)(,,#%'#-, +&!(&
-+2#,,#!'-(!#/#-*.#$/+2)+#,+,)(',-(
+#+#').--,(&)(''-,,)#%%20"%,-'-(
%#!"-+-"'-"(, (+(-"+-!(+#,!#'.,-"2
+'(-,#!'-(!-'!+(.',&."-,
+())"'%+,,(&-#&,*.#))0#-"+(+
1-',#(',+,#!'-(!#/-"+#+!((%/+!
(+%#&#'!',)+#'-#'!'-()(,#-#('-"+#+#''
+(2'-.$5 (+,)-,"#!")+,,.+'++(0
-#+,+.+(%%#'!+,#,-'-(&#'#&.&
.-"+#-',-(-((,-# (+(& (+-('
+(.!"+,.+ ," +&'(&)(''-,+-((%#!"-
-(-$-")(.'#'!( ( +(1.+,#(',""'%
+,)(,#-#('-"+#+#'02-"-&'2 #'.'(& (+-
% (+&(+,.%+##'!"'++(0-#+,+'(-+(&
&' (+.,('%((,,.+ ,
"! #,,#!'-(!#/-"+#+&1#
&.&('-+(%'.+#%#-2('0#/+#-2( "+,"
-++#'/+2-"#'!(.--"(.'-#'#$#,&(++.!!
-, +&!(&-+2)+(/#,&1#&.&!+(.'%+'
'%%(0,2(.-(*.#$%2',#%2,"# -2(.+0#!"--(
"'!-"%'( -"#$,-++#'('#-#(',
&'-,0#"#!"/(%.&-#+,,(+,"($'
)+(/##!!+&(+,-%
((-)+#'-('%((,(+,%#))+2
,.+ ,-,0#+'!
!+#'!.,.%%20#-"(+
&(+,),)+(/#,-"
+#!"-"(# (+%&(,-'2
('#-#(''2(.'-#'
#$,(&*.#))0#-",.,)',#(',2,-&,0"#""%)
,(+-","($,'/#+-#(',( +(.!"-+#%,
.-(.'-#'#$#,"/#+-"'+(#$-,
0#-#+,"/!+-++(%%#'!+,#,-'-"'+(#$
-#+,"#%&(+(& (+-% (+&'2)()%-"+#+6,
&(+.)+#!"-+##'!)(,#-#('#,+(2'&#%%2#' ##'-
(.'-#'#$#,'(--",-"(# (+%('! ,-+#,('
)/,.+ ,
!!
! #$ ! # # !
!#! " #!"
#
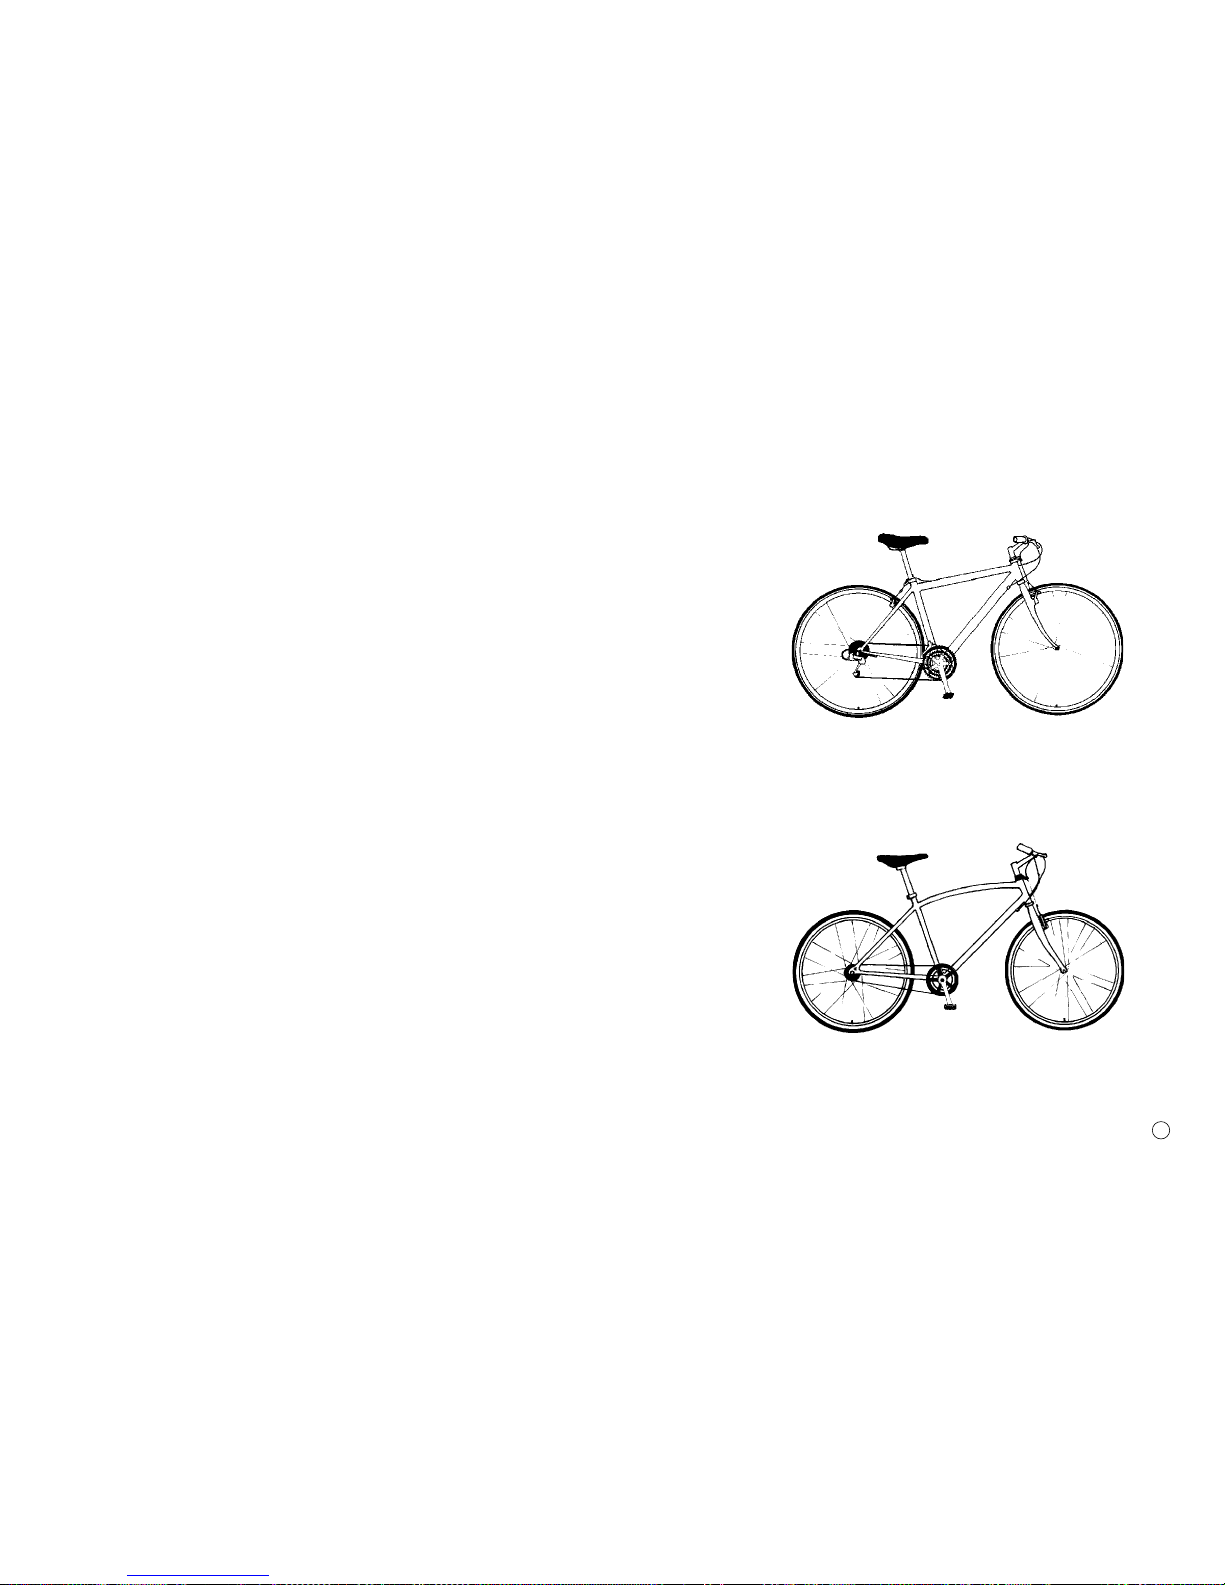
"%,(( -'%%2+#+(,,++#'
#$(+#-',,#$#,%#$0#,,+&2'# #-6,/+,-#%
-((%-"-(,&'2-"#'!,
0%%"+(,,#$#,!((
"(# (+-"+#+0"(#,'6-
%(($#'! (+-".%-#&-#'
)+ (+&'#-"+('(+(
-"+(.-0"(0'-,
#$-"-0#%%"'%)/
+(,#$)-",!+ #+-+#%,'#+-+(,-6,'(-,
,-(')/&'-,(#$'(+#,#-,#!' (+"+
( +(.,('4,#'!%-+$5(++($2+.--+.!!
-++#'%#$(.'-#'#$
2"'!#'!-#+,"'%+,',"# -#'!'+$#'!
('-+(%,2(.+%+'%-++(,,#$6,)+ (+&'
+'!-( /(+#-"+)/+()+ (+&'(+#+-+(
)+ (+&'-(,.#-2(.+#'-'.,
" #%,(( -'%%!(+