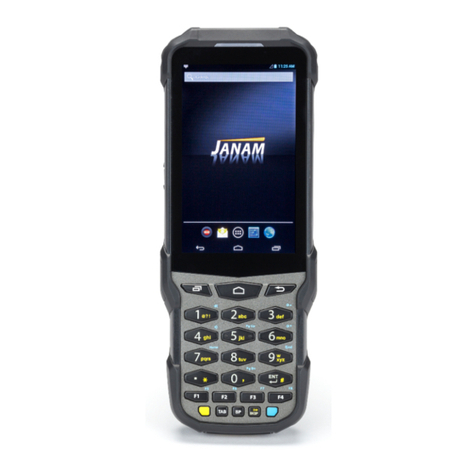
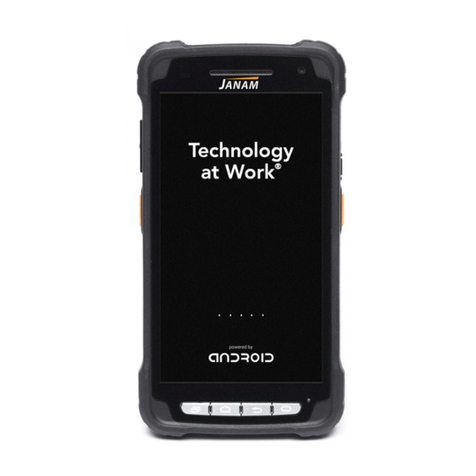
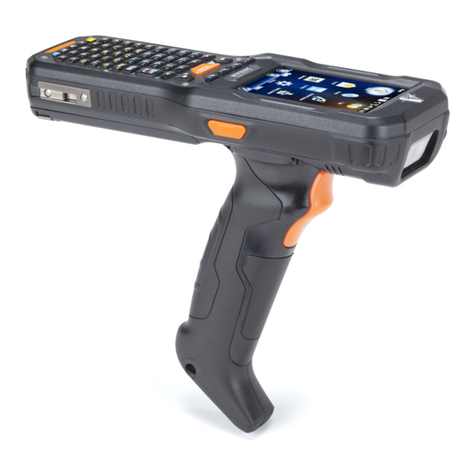
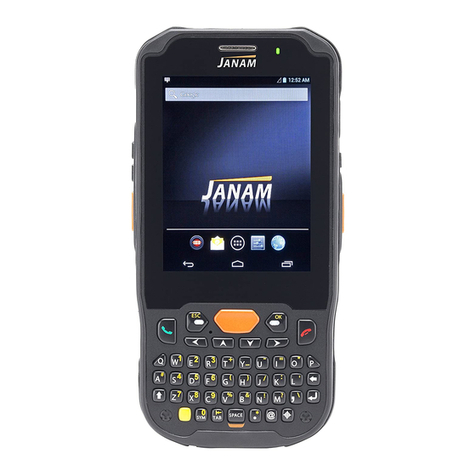
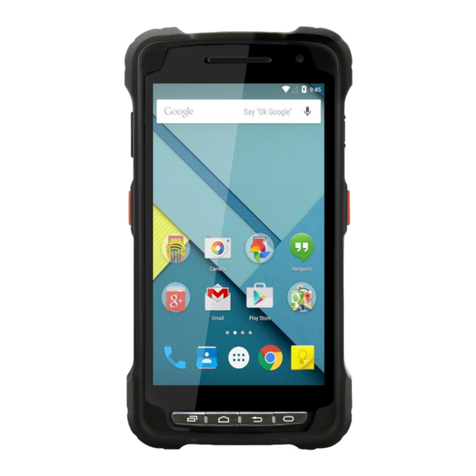
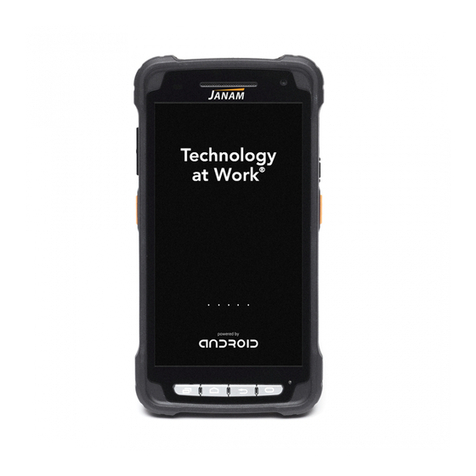
Janam XM7 5 + Series User manual

XM 7 5 + Ser ies Quick St art Guide
Pa ge 2
Ja na m Techn ologies LLC
XM 7 5 + Se rie s Quick St art Guide
Copyright 2021 Janam Tech nologies LLC. All right s reser ved.
XM75+ Series, Janam and t he Janam logo are t r adem ar ks of Janam Technologies LLC. Ot her product and brand
nam es m ay be t radem ar ks or r egist ered t radem ark s of t heir r espect iv e ow ner s.
Janam Techn ologies LLC assum es no r esponsib ilit y for an y dam age or loss resu lt ing from t he use of t his guide.
Janam Technolog ies LLC assu m es no r esponsibilit y for an y loss or claim s by t h ir d part ies w hich m ay arise t hr ough
the use of t his product. Janam Technologies LLC assum es no responsibilit y for any dam age or loss caused by
deletion of dat a as a result of m alfunct ion, dead bat tery or repairs. To prot ect against dat a loss, be sure t o m ake
backup copies ( on ot her m edia) of all im port ant dat a.
Follow all usage, charging and m aint enance guidelines in the Product User Guide. I f you have questions, cont act
Janam . For a copy of t he Product User Guide, visit www .j anam .com .

XM 7 5 + Ser ies Quick St art Guide
Pa ge 3
Ja na m Techn ologies LLC
Cont e nt a nd Ad dit ion al Re sou rce s
To help y ou get st art ed w it h y our XM7 5+ Ser ies m obile com pu t er , t his guide feat u res:
-Hardware Overview
-Get t ing St arted
A. I nst all t he Bat tery
B. Rem ove t he Bat t ery
C. I nst all SI M & SD Card
D. Char ge t h e Bat t ery
-Bat t ery Warning
-Regulatory
Cont en ts of t his guide are subj ect t o change.
For soft ware updates and inform ation, visit www.j anam .com .

XM 7 5 + Ser ies Quick St art Guide
Pa ge 4
Ja na m Techn ologies LLC
Ha rdw are Overvie w
1. Speaker
2. LED indicator & Sensor
3. Touchscreen
4. Software buttons
5. USB Type C connector
6. I/O connector
7. Keypad
8. Scan button (Left)
9. Volume buttons
5
9
3
4
2
1
8
76

XM 7 5 + Ser ies Quick St art Guide
Pa ge 5
Ja na m Techn ologies LLC
Ha rdw are Overvie w
10. Rear camera & Flashlight
11. Battery cover
12. Battery cover release button
13. Hand strap mount
14. Speaker
15. Scan button (Right)
16. Power button
17. Scanner
15
17
10
11
14
12 13
16

XM 7 5 + Ser ies Quick St art Guide
Pa ge 6
Ja na m Techn ologies LLC
Ge t t in g St a r t ed
I m p or t a nt N ot e : The m ain ( rem ovable) bat t ery ch ar ges t h e int er nal back up bat t er y w it h or w it hout an ext ernal
power source.
Ca ut ion: All user dat a w ill be lost if t h e m ain bat t er y is r em ov ed befor e t he int er nal backu p bat t er y is proper ly
charged. I t is recom m ended you check that t he backup bat tery capacity is at 100% prior t o rem oving t he m ain
batt ery. To do t his, access Set t ings-> Bat t er y. I t is also recom m en ded t hat you first su spend t h e device pr ior t o
rem ov ing t he m ain bat t er y.
A. I N STALL THE BATTERY
1. Pr ess t h e bat t er y r elease bu t t on an d gent ly lift u p t he cover .
2. Align t he connect or ( gold con tact ) of t he bat t ery wit h t he bat t ery conn ect or of device.
3. I nsert t op of t he bat t ery first and t hen sn ap in place.
Ca ut ion: Don’t slide t h e b at t er y ov er t h e bat t ery connect or of t he dev ice w hile insert ing t h e bat t ery. I t
m ay dam age t he connector pin.
4. Replace t he bat t ery cover by posit ion in g t h e t op fir st and sliding cov er int o place.

XM 7 5 + Ser ies Quick St art Guide
Pa ge 7
Ja na m Techn ologies LLC
Ge t t in g St a r t ed
B. REMOVE THE BATTERY
1. Rem ove t he back cover by pressing down on t he “Push” but t on and lifting the cover up from bot h sides.
2. Push t he bat tery t owards t he t op of t he com part m ent and lift from t he bottom t o rem ove.
C. I nstall SI M & M I CROSD ca rd
To install t he SI M car d:
1. Open t he bat t er y cover .
2. Slide t he card into the slot wit h the cont acts facing down.
3. To r em ove t he car d, gent ly slide t h e card out fr om t h e slot .
To install t he m icroSD card:
1. Open t he bat t er y cover .
2. Lift the rubber on the bott om side of t he slot .
3. Slide t he card into the slot wit h the cont acts facing down.
4. To r em ove t he car d, gent ly slide t h e card out fr om t h e slot .
[ I nsert ing SI M car d] [I n sert ing m icroSD car d]

XM 7 5 + Ser ies Quick St art Guide
Pa ge 8
Ja na m Techn ologies LLC
Ge t t in g St a r t ed
D . CH ARGE T H E BATT ERY
To charge t he battery using the USB Cable :
1. Connect the AC/ DC adapter t o t he XM75+ .
2. Plug in t he AC/ DC adapt er. Use only easily accessible w all out lets t hat are easily r eached w ith t he lengt h of supplied power
cable.
To charge the battery using a Cra dle Kit :
1. Connect the power supply t o t he cradle, t hen connect the line cord t o the power supply.
2. Plug in t he power supply. Use only easily accessible w all sockets that are easily reached wit h t he lengt h of supplied power cable.
3. Place t he device in t h e cr adle. Th e LED on t he device will illum inat e t o confirm con nect ion.
4. The bat t er y is fully char ged in appr ox. 4 hours.

XM 7 5 + Ser ies Quick St art Guide
Pa ge 9
Ja na m Techn ologies LLC
Ba t t e ry W a rn in g
BATTERY SAFETY GUI D ELI N ES
Use only Janam XM7 5+ Series bat t er ies an d r echar ge bat t eries usin g only Janam approved charging accessories.
Observe t he following guidelines for safe use of Li-ion bat t er ies:
1. Do not expose t h e bat t er y t o ex cessive heat or cold. Do not sh ort -circuit . Do not incin er at e.
2. To avoid risk of fire, burn or dam age t o your bat tery, do not allow a m et al obj ect t o t ouch batt ery cont act s.
3. Do not disassem ble t h e bat t er y. Ther e ar e no u ser ser viceable par t s inside.
4. I f bat tery leakage is observed, av oid any cont act w it h affect ed area and properly dispose of t he bat t ery .
5. I f you com e in cont act wit h bat tery leakage, rinse exposed area wit h soap and wat er. I f it cont acts the eye,
flush t h e ey e w it h w at er f or 1 5 m inut es and seek m edical at t en t ion .
6. Dispose of used bat t ery prom pt ly. Keep away from children. Do not disassem ble or dispose of in fire.
7. When discarding a bat t ery, cont act your local wast e disposal provider t o understand local restrictions for
disposal or recyclin g of bat t eries.
BATTERY CH ARGER SAFETY GUI DELI N ES
1. Do not use t he equipm ent in or near areas in which sparks are likely or possible.
2. Do not let equipm ent ’s m et al contact s and elect rical socket s com e in cont act wit h m et al object s.
3. For indoor use only. Do not expose t he equipm ent to rain or any liquids.
4. Do not use or st or e t he equipm en t in direct su nligh t or in ar eas t hat ar e pr one t o get hot such as in a par ked
veh icle, near a heat duct or close t o ot h er h eat sou rces.
5. Keep equipm ent ’s m etal contact s and elect rical sockets free from debris t hat could obst ruct charging or could
cause a short cir cuit .
CAUTI ON
I F M I SUSED OR MI STREATED TH E BATTERY M AY PRESENT A RI SK OF FI RE OR CH EMI CAL BURN .
RI SK OF EXPLOSI ON I F BATTERY I S REPLACED BY AN I N CORRECT TYPE.
D I SPOSE OF USED BATTERI ES ACCORD I N G TO TH E I N STRU CTI ON S.

XM 7 5 + Ser ies Quick St art Guide
Pa ge 1 0
Ja na m Techn ologies LLC
Re gu la t or y
FCC W arning
This device com plies w it h part 15 of t he FCC Rules. Oper at ion is subj ect t o t he follow ing t wo con dit ions: ( 1 ) This
device m ay not cause har m ful int erfer en ce, and ( 2) t his device m u st accept any int er fer ence receiv ed, in cluding
int erfer en ce t h at m ay cause undesir ed operat ion.
This equipm ent has been t ested and found t o com ply with the lim it s for a Class B digital device, pursuant to part
15 of t he FCC Rules. These lim it s ar e design ed t o p rovide r eason able pr ot ect ion against h arm ful int erfer en ce in a
residen t ial inst allat ion. This equipm ent generat es, uses an d can r adiat e r adio fr equen cy en er gy and, if n ot inst alled
and used in accor dan ce w it h t he inst ruct ions, m ay cause har m ful in t er fer ence t o r adio com m u nicat ion s. How ev er,
t her e is n o guaran t ee t hat in t erference w ill n ot occur in a part icular inst allat ion. I f t his equipm ent does cause
harm ful int erference to radio or t elevision reception, which can be determ ined by t urning the equipm ent off and on,
t he user is encour aged t o t ry t o cor rect t he int erfer en ce by one or m or e of t h e follow ing m easu res:
-Reorient or relocat e t he r eceiving an t en na.
-I n crease t h e separat ion bet w een t he equipm en t an d receiv er.
-Connect t he equipm ent in t o an out let on a cir cuit different from t hat t o w hich t h e r eceiver is conn ect ed.
-Consu lt t he dealer or an ex per ien ced r adio/ TV t echnician for help.
Caut ion: Any changes or m odificat ions t o this device not expressly approved by t he party responsible for
com pliance could void your aut hority t o operat e the equipm ent .
Body- w or n Op er at ion
This device was t est ed for t ypical bodyworn operations with the Front & back of t he device
kept 0.39 inches (1cm ) bet ween t he user’s body and t he Front & back of the device. To
com ply wit h FCC RF ex posu re r equ ir em ent s, a m inim u m separ at ion dist ance of 0 .3 9 in ches
( 1cm ) m ust be m aint ained bet ween the user’s body and t he Front & back of t he device. Any
beltclips, h olst ers, and sim ilar accessories cont aining m et allic com pon en t s m ay not b e used.
Body-w orn accessor ies t hat can not m aint ain 0 .39 inch es ( 1 cm ) separat ion dist ance bet w een
the user’s body and t he Front & back of t he device, and have not been t est ed for t ypical
body-w orn operations m ay not com ply with FCC RF exposure lim it s and should be avoided.

XM 7 5 + Ser ies Quick St art Guide
Pa ge 1 1
Ja na m Techn ologies LLC
Re gu la t or y
I C W arning
This dev ice com plies w it h I n dust ry Canada licen se-ex em pt RSS st andard( s) .Operat ion is subj ect t o t he following
t w o condit ions: ( 1) Th is dev ice m ay not cause int er fer en ce; and ( 2 ) This device m u st accept any int er fer en ce,
inclu ding int erfer en ce t hat m ay cause un desired oper at ion of t h e dev ice.
Le present appar eil est conform e aux CNR d’I ndust rie Canada applicables au x appar eils r adio ex em pt s de licence.
L’ex ploit at ion est aut orisee aux deu x condit ions suiv ant es : ( 1) l’appareil n e doit pas produir e de brouillage, et ( 2)
l’ut ilisat eur de l’appar eil doit accept er t ou t brouillage radioelect rique subi, m em e si lebrou illage est suscept ible d’en
com pr om et t r e le fonct ionnem en t .
This device is r est r ict ed t o indoor use on ly w it h in t he 5.1 5 ~ 5. 35GHz Band.
Cet appar eil est rest reint a l’u t ilisat ion a l’int erieur seulem en t dans la ban de 5. 15 ~ 5 .35GHz.
This equipm ent com plies wit h FCC/ I C radiat ion exposure lim it s set forth for an uncontrolled environm ent . This
transm itter m ust not be collocated or operating in conjunct ion with any ot her ant enna or transm it t er unless
authorized t o do so by t he FCC/ I C.
Cet equipem en t est con for m e aux lim it es d’ex posit ion au x r adiat ions FCC / I C definies pou r un envir onnem ent n on
cont role. Cet em et t eu r ne doit pas et re colocalise ou fon ct ionn er en conj on ct ion avec une au t re ant en ne ou u n
aut r e em et t eu r, a m oins d’et re aut or ise a le faire par le FCC / I C.
E- labe l
Users can access t he product cert ificat e inform at ion in Set t in gs -> About phone -> Cert ificat es.
WCDMA/ LTE feat ure is optional. Som e product opt ions only include WLAN feature.
FCC I D : UTWXM75P
I C : 6914A-XM75P
Table of contents
Other Janam Handheld manuals

Janam
Janam XM60+ User manual

Janam
Janam XT100 User manual

Janam
Janam XG100WM Series User manual

Janam
Janam XG100CE Series User manual

Janam
Janam XM2-RFID User manual

Janam
Janam XP series User manual

Janam
Janam XP20 User manual

Janam
Janam XT3 Series User manual

Janam
Janam XM series User manual

Janam
Janam XG3 Series User manual