PAIRING YOUR HEADSET
In order to use your Jarv Wave Flex Wireless Neckband
Bluetooth Headset with a Bluetooth-enabled device, you
will first need to pair the two.
1. Place the headset and the mobile phone where they
are easily viewable and no more than 3 ft apart.
2. Ensure that the headset is fully charged
3. Ensure that the headset is powered off
4. Press the Multi-Function
button for approximately 5-6
seconds until the red and blue
light flash alternately which
indicates that you are in Pairing
Mode.
(Note: A blue light will turn on at first
but keep pressing down the pairing
button until it changes to a flashing
blue/red light which indicates that
you are in pairing mode).
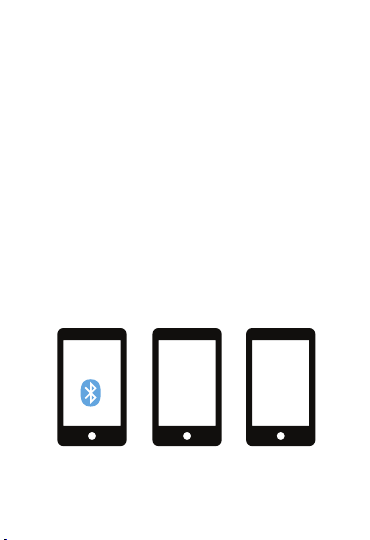
5. Activate your mobile phone's Bluetooth pairing
function.
6. Set the mobile phone to search for Bluetooth
devices within range and select “Wave Flex” from
the list of devices shown.
7. If you are prompted for a Passcode enter “0000”
and press “ok” to pair the headset with your mobile
phone. (Note: If the Bluetooth version of your phone
is 2.1, there is no need to enter the passcode when
pairing.)
8. Now you can use your Bluetooth headset to listen
to music and make and receive phone calls.
7