It is best to carry out your JAS GL Knee Flexion sessions in a seated position
without a shoe on. Your foot needs to slide easily on the floor; placing a sock on
your foot can help it to slide more easily during JAS device use.
FITTING INSTRUCTIONS
CHOOSING & ADJUSTING PULL-PIN SETTING
• There are four pull-pin settings, which allow the GL Knee
to move through four arcs of motion.
1 moves from 50º flexion to 80º flexion.
2 moves from 68
º
flexion to 98
º
flexion.
3 moves from 94
º
flexion to 124
º
flexion.
4 moves from 118
º
flexion to 148
º
flexion.
• Before each JAS session, choose the pull-pin setting that
is closest to your comfortable end range of knee flexion.
NOTE: Most patients will begin therapy in setting 1 or 2.
• Adjust device so that arrows on JAS labels are aligned over
top of knee.
• Orient device so that turning knob is on right side of thigh.
• Feed calf cuff straps through D-rings and secure
comfortably snug.
STEP 1:
INITIAL SET-UP
STEP 2:
PLACE DEVICE OVER LEG
STEP 3:
SECURE THIGH AND CALF CUFF STRAPS (can be done
in any order)
ADJUSTING PULL-PIN SETTING IF DEVICE REACHES
MOTION LIMIT
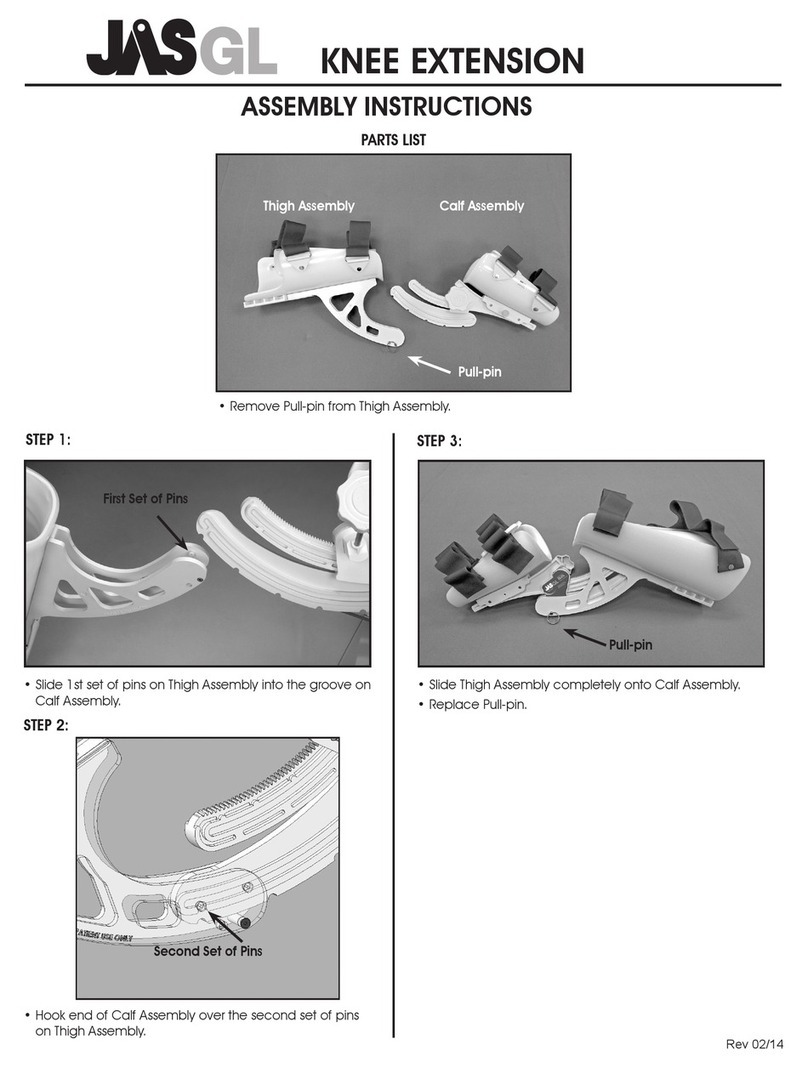
• Remove device from leg and remove pull-pin.
• Slide device apart until the next hole on the calf
assembly lines up with the hole on the thigh assembly.
• Re-insert pull-pin.
• Pull and secure inner thigh straps comfortably snug.
• Pull and secure outer thigh straps comfortably snug.
• Begin treatment session by rotating therapy knob, following
protocol outlined on back of page.
Pull-pin
KNEE FLEXION
Rev 02/14


