learn to solder: Skull Badge Kit Cat no. KM1090 2
RECOMMENDED
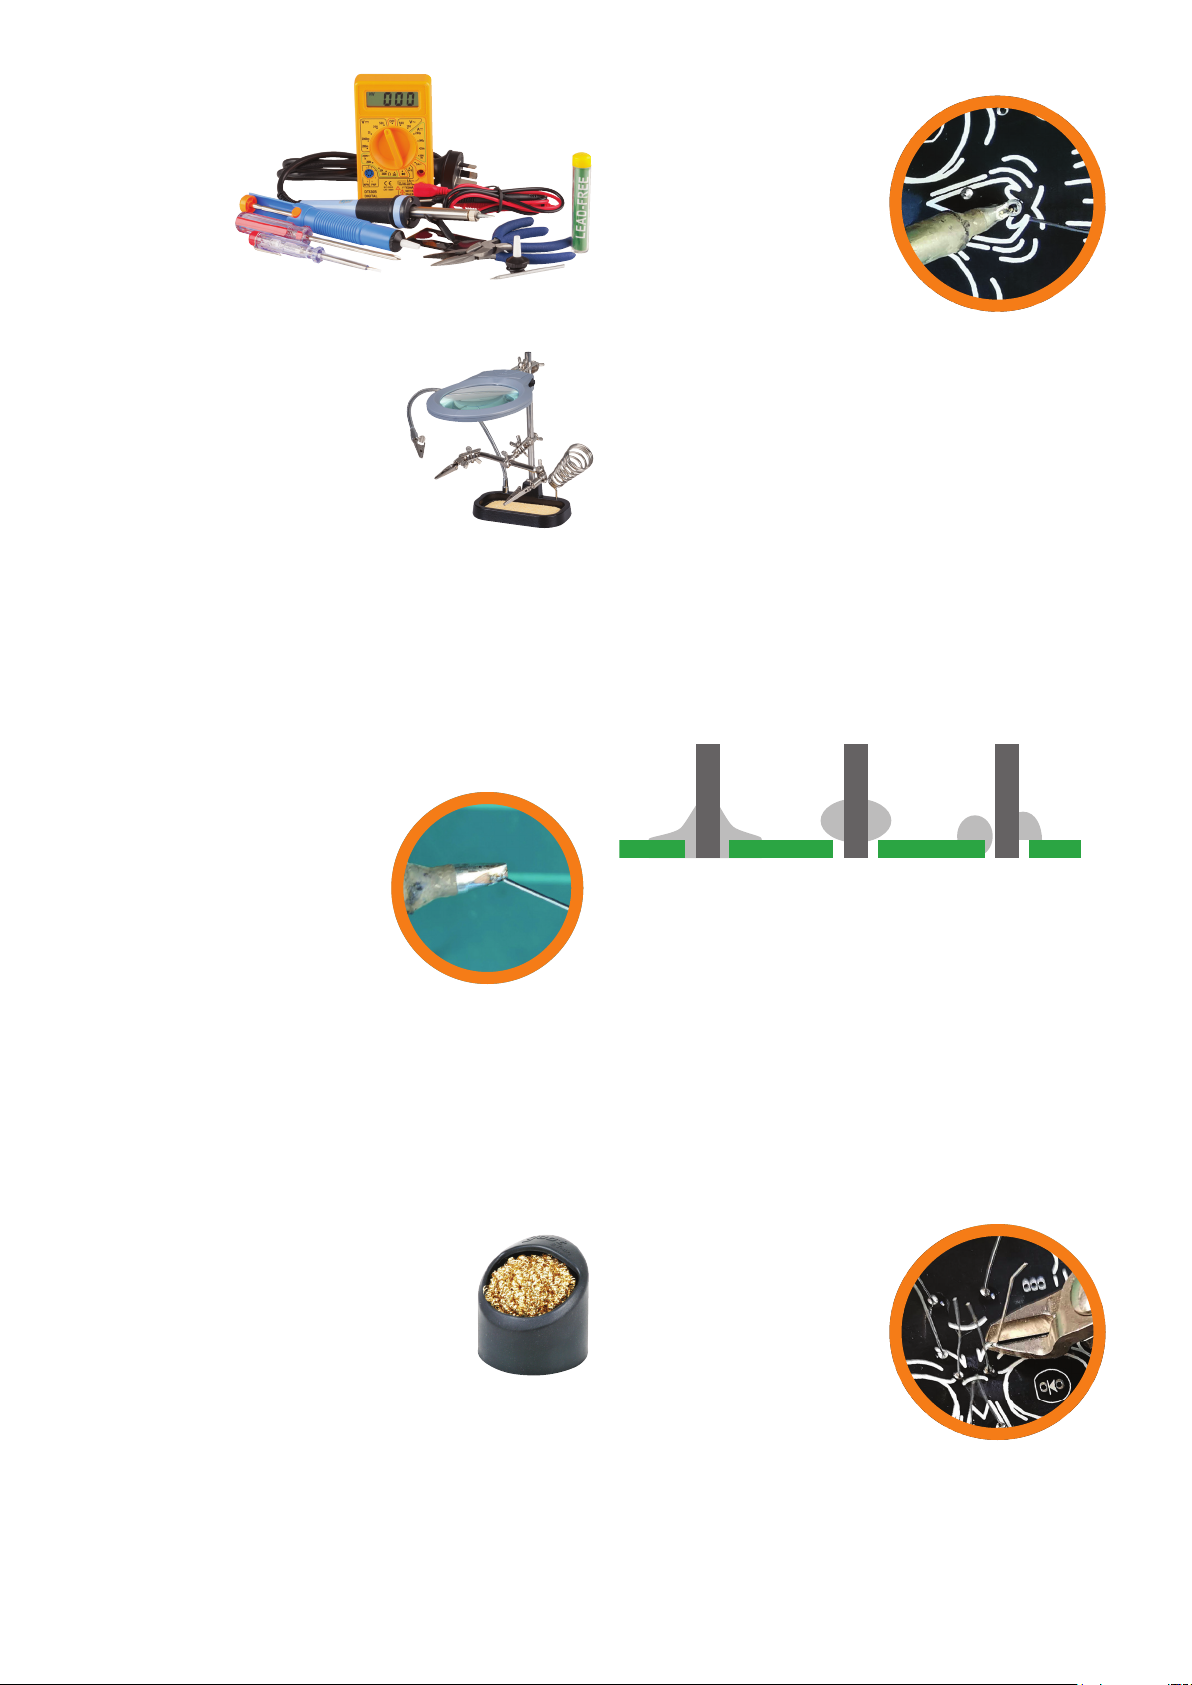
MAKER TOOLS
You will need
the usual Maker
essentials,
including a
soldering iron, solder, and
side cutters. A soldering iron kit is a good place to start if you
are new to electronics, such as the one we show here.
A third-hand PCB holder like the one
shown here is also recommended to
make soldering easier. This product
also includes a soldering iron holder to
securely hold your soldering iron when
you are not using it, a light to make sure
you can see what you are doing, and also a
sponge to clean the soldering iron tip.
Soldering guide:
Before you solder for the rst time, read the following
instructions. We also recommend you watch our Soldering
tutorial video on our YouTube Channel or by visiting:
www.jaycar.com.au/safe-soldering-for-kids
First, a note about safety. A soldering iron
can get very hot and can easily burn
you if you touch the hot end. Make
sure you only have the soldering
iron turned on when you need it
and off when you don’t. Keep it in a
soldering iron stand when not in use
to avoid it falling off your workbench.
Keeping the soldering iron tip clean is
important to create a reliable solder joint.
To prepare your soldering iron tip, turn on the iron and give
it a few minutes to get sufciently hot enough to melt solder.
Touch some solder onto the iron tip so that the solder and ux
(a component of the solder responsible for keeping the joint
clean and “owy”) cleans any rust or dirt off the tip of the iron.
Once you have some solder on the soldering iron tip, you need
to remove it so you are left with a simple clean and shiny
soldering iron tip. You can do this by wiping
the tip onto a damp sponge or rag. (Don’t use
a plastic sponge as it will melt).
If you have a soldering iron tip cleaner that has
a curly brass type cleaner, then stab the tip into
that to clean the tip.
You should now have a clean and shiny soldering iron tip
ready to solder. Use the above tip cleaning process during the
soldering process to keep your soldering iron tip clean.
Jaycar stocks a wide range of solder should you run out. For
example, the NS3013 Hobby Tube.
A GOOD SOLDER JOINT
In simple terms, soldering is joining
two metals together with solder.
In our case, we are soldering each
leg of the components to the
solder pads on the circuit board.
Soldering a component to the
circuit board is a matter of placing the
soldering iron tip against the component’s
leg and the solder pad on the circuit board for a couple of
seconds. This will allow the metals to reach the required
temperature for soldering. You can then quickly add solder by
touching the solder to the pad or lead of the component you’re
soldering (not to the soldering iron tip).
This process needs to be done within a few seconds as you
can damage the component you’re trying to solder if heat is
applied for too long. If the solder joint isn’t great move on to
a different component and let the bad joint cool down before
trying to solder it again.
A bad solder joint may cause your project not to work. If the leg
of the component you are soldering doesn’t reliably join to the
circuit board’s solder pad, the electrical current won’t be able to
ow when you apply power.
The diagram here shows you a good solder joint and two
bad solder joints. A good solder joint is clean and shiny with
a “volcano” shape, which means the component’s leg is fully
soldered to the entire solder pad on the circuit board. If your
solder joint is like the one shown in the middle, it means you
have not applied enough heat to the solder pad on the circuit
board. If your solder joint looks like the one on the right, it
means the component leg was not heated enough by your
soldering iron for the solder to join properly.
TRIMMING THE COMPONENT LEGS
Once you are condent you have a
reliable solder joint, you need to
cut off the leg of the component
that you just soldered. If you don’t
cut away the component legs it
can cause a short circuit when
you apply power to your project.
Using sharp cutters (We recommend
TH1897), trim off the component leg
just above the solder joint.
Note: Make sure you’re holding the lead as you’re cutting as the
cut lead can y off when trimming causing an eye injury.
GOOD
Shiny “Volcano”
type shape
BAD
The solder pad is
too cold
BAD
Component leg
too cold
TS1652 25W
Soldering Iron Starter
Kit with Multimeter
TH1987 PCB Holder
with LED Magnier
TS1510 Soldering
Iron Tip Cleaner


