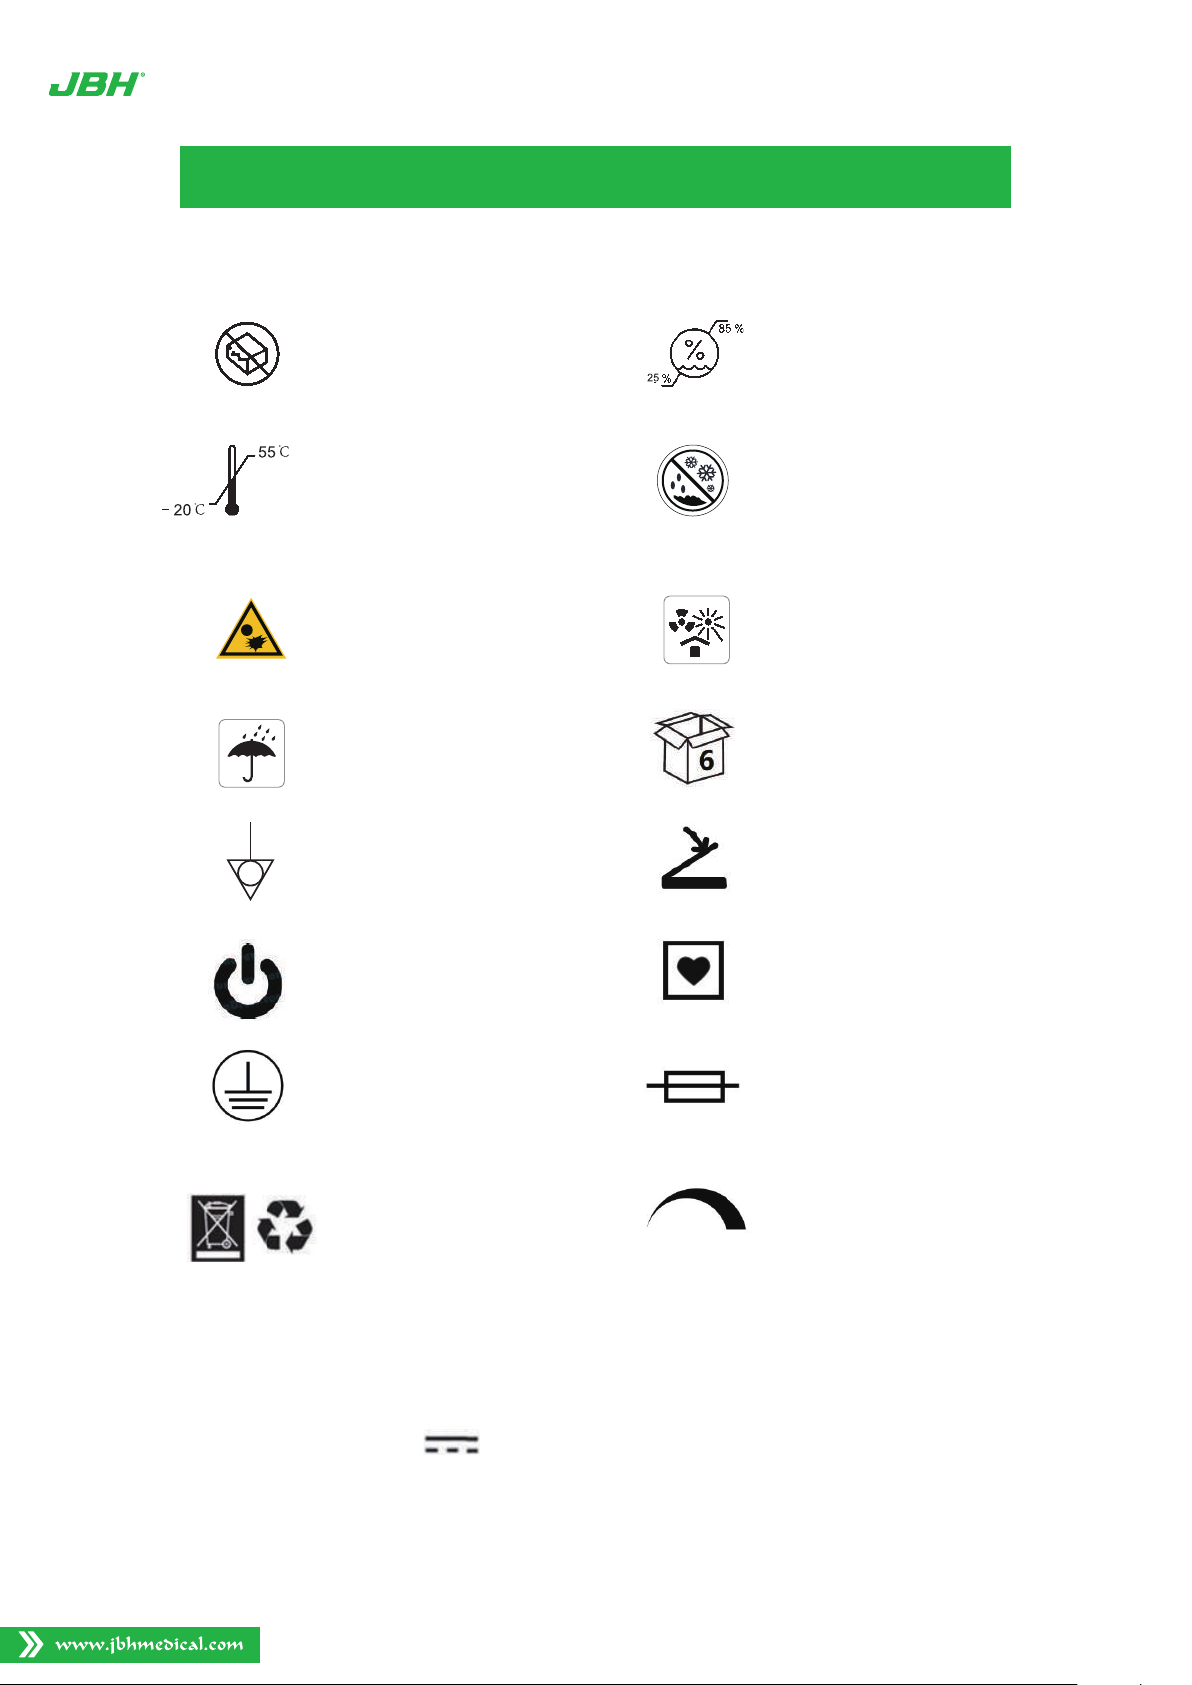
JBH Venture CTS200 User manual

FDB05A
User’s Manual
CTS200
Venture

The company reserves the right to make any change and improvement without prior notice.
It reserves and also the property of models and forbids their reproduction, even partial.
BE FREE
BE EASY
BE YOUR LIFE

Wethank you very much for your choice of JBH Medical.
The manual is to assist you operating and maintaining the scooter, please go through it
with necessary information in mind prior to use thescooter. Any problem which is not cover
in here or any confusion of the manual, feel free to communicate with your local dealers or
distributors. Alternatively, you can direct contact with JBH Medical as follows:
The manual has the content of characteristics on main parts, key components, function
of parts, safety requirements and instructions, battery instructions, point of attention, meth-
odsof coping urgent, and maintenance. Symbols are used for reminding matters need to
care for, an understand of the manual fully is highly suggested.
This manual is writtenwith current product information and product photoas thefollow.
It is for the purpose easier understanding for users. The scooter is under continuous im -
provementand innovation. We reserve the right improved products without notification, any
new improvement please feel free to contact with us any time.
Westrongly believe that the scooter would bring you more convenientand reach the goal
of free life toyou.
PREFACE
Dear Users,
No. 116, Qicang Road, Mingguang, Anhui, 239400, China
ANHUI JBH MEDICAL APPARATUS COMPANY LIMITED
www.jbhmedical.com
Recommendation
Pay attention to “Warning” in the manual is to protect you from any injury.
Unable to follow “Notification” in this manual may result in damage the scooter.

TABLE OF CONTENTS
Major parts...........................................................................
Contents in scooter carton....................................................
Specification.........................................................................
Main Operational Parts Function...........................................
The Folding and Unfolding....................................................
Battery and charging.............................................................
Battery safety and life guide..................................................
Instruction of Operation........................................................
Trouble Shooting and Maintenance.......................................
Warranty .............................................................................
Warranty Statement.............................................................
5
8
6
7
9-11
12
13-14
15
16
17-22
23-24
25-27
28
29
..........................................................1
..............................................................................2
Label of the Scooter
Symbols
Security Guidance................................................................ 3-4
Guidelines and manufacturer's statement-Electromagnetic
Emission.. ...........................................................................
Guidelines and manufacturer's statement-Electromagnetic
Immunity.. ...........................................................................
Specification Diagram..........................................................

1
LABEL OF THE SCOOTER
Label of the scooter
Symbols on the label represent the meaning as below:
Attention, see
instruction for use
IPX
IP Water proof grade
UKCA mark
Type BF applied part
Manufacturer
Medical device
CE mark
Consult instructions for
use
=Radio frequency fields
beyond this point may
exceed FCC general
public exposure limit
Product fulfill
WEEE directive
Date of manufacture
Batch number
Serial number
Use until year &
month (Expiration date)

2
SYMBOLS
l
Temperature
imitation
Don’t use when
packing damaged Humidity limitation
Protect from heat and
radioactive sources
Disposal and recycling
Only authorized recy-
cling companies can
recycle parts of this
mobility wheelchair
Danger of explosion
Store in clean & dry
place protected from
rain, snow, ice, salt
and water.
Keep dry
Equipotential
Package Number
Switch
Foot Switch
PCTB
CF application part
Volume control
Fuse
Power 100~24 ~600VAC, 50 Hz Frequency 500VA
DC output +29.4V 2.0 A

3
SECURITY GUIDANCE
Security Guidance
Weight Limitations
This product is suitable for users with age between 18 to 75 years old.
Do not drive on public highway.
No over cross any gap which is over 100 mm (3.94") in width.
Never try to overpass obstacle which is over 40 mm (1.57") in height.
Scooter is suitable for both outdoor and indoor use, hospital, senior center, family or
similar circumstances use only.
The suitable environment of using electric scooter:
Temperature -10~+50℃, Atmospheric Pressure 860~1060hPa, Humidity 10%~
93%.
Power Source Condition:
Charging Voltage AC 220V 50Hz, Battery Voltage DC 24V 6Ah, Power of Motor ≥
180W environmental conditionsthat might be harmful to the wheelchair (e.g. inclines
greater than 9 degrees, rain, snow, ice, etc.), such as temperature and humidity.
Operate scooter after it is under unfolded condition and only allow one person on
scooter all time.
The scooter is tested with simulation of human model at 120 kgs (265 lb) load capacity.
Your scooter is rated for a maximum weight capacity. Please refer tothe product specifica-
tions table for this limit. Keep in mind that the maximum weight capacity includes the com-
bined weight of the user and any accessories mounted tothe scooter. Stay within the speci-
fied weight capacity of your scooter. Exceeding the weight capacity voids your warranty. We
will not be held responsible for injuries and/or property damage resulting from failure to ob-
serve weight limitations.
We are not responsible forany damage andinquiry causedue to over
weight.
Not to drive on dangerous slopes.
Not to drive backwards when going up and down a hill. Max grad ability
is uphill 8°.
Warning!
Warning!
Warning!
The user must perform all of the procedures in this manual.
8°

4
SECURITY GUIDANCE
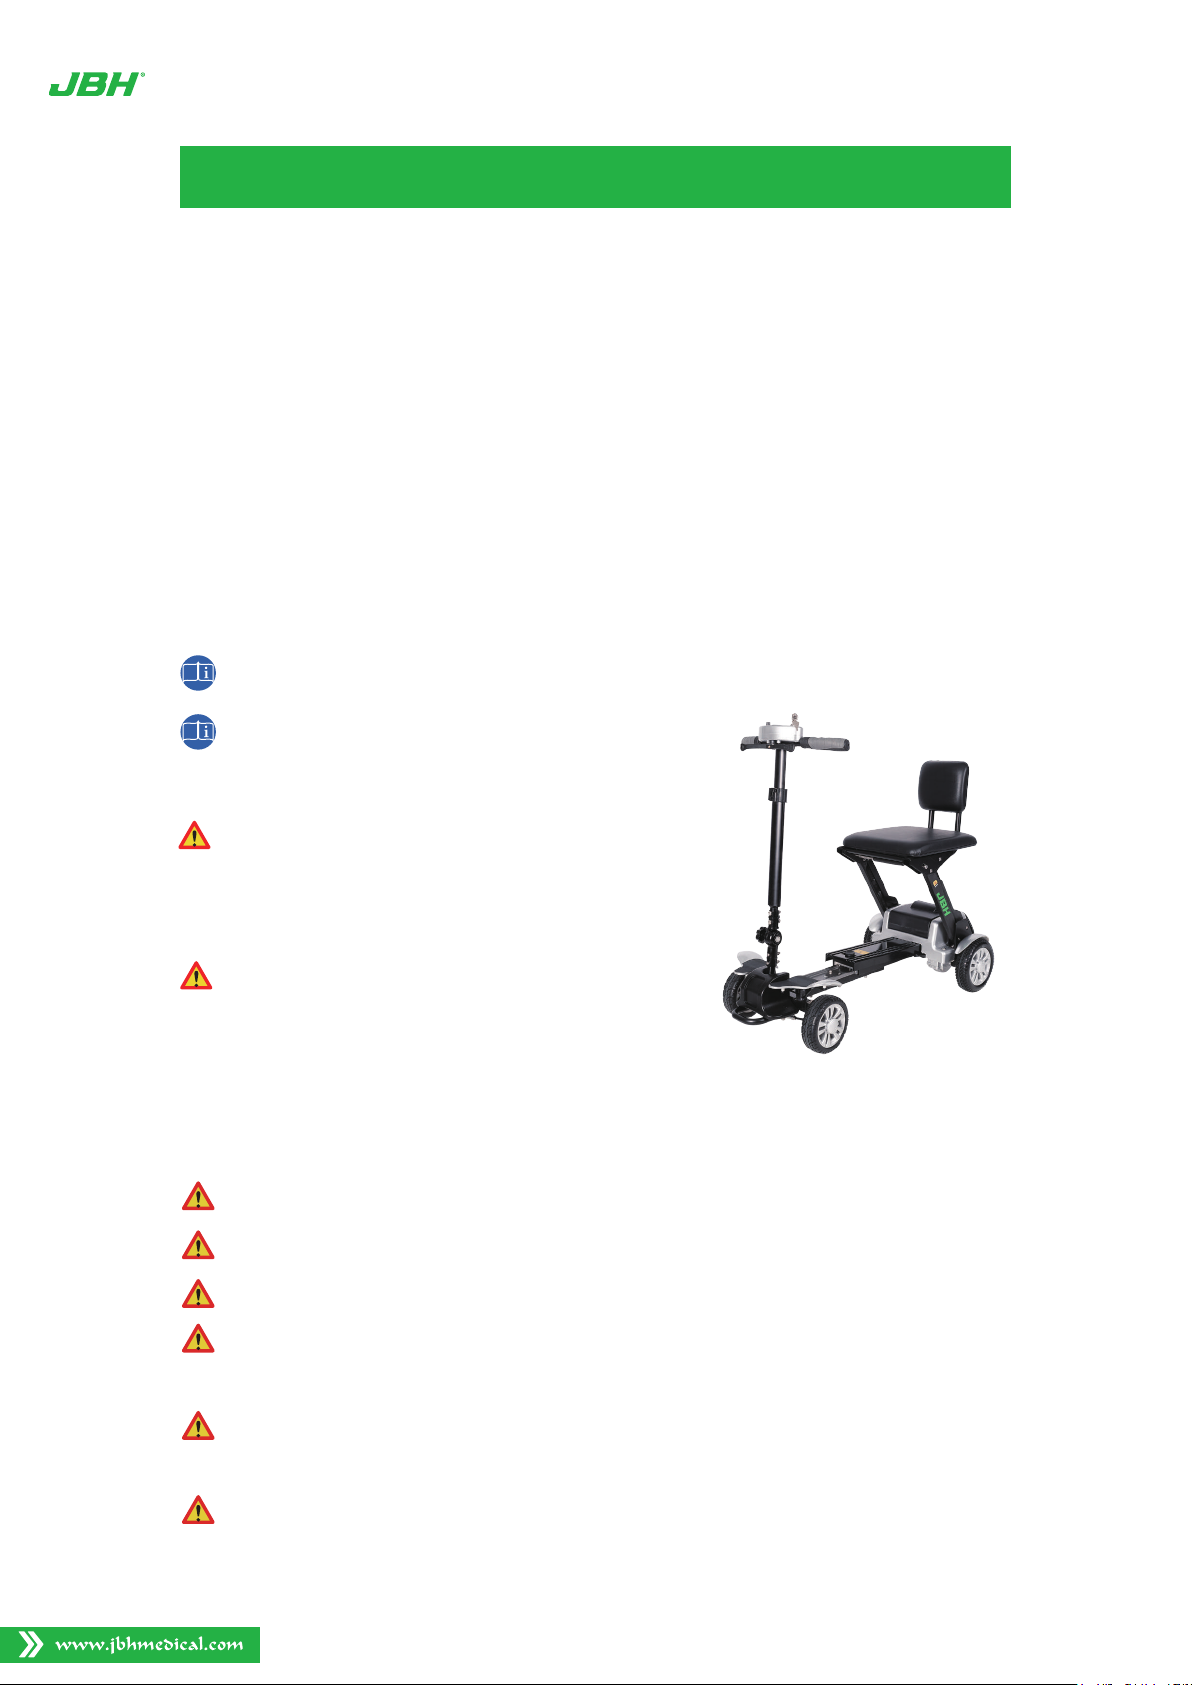
The Scooter (Model FDB05A) has a base with aluminum alloy frame, two front wheels, two
rear wheels, two anti-tip wheels, a seat, an adjustable steering column, a tiller console, an
electric motor, an electromagnetic brake, 2 rechargeable Lithium-Ion Batteries with an
off-board charger. The movement of the scooter is controlled by the rider who operates the
throttle lever, speed control dial and handle on the tiller console. The device is installed with
an electromagnetic brake that will engage automatically when the scooter is not in use and
the brake cannot be used manually. The Scooter only can be operated on the flat road.
Indications for use:
It is a motor driven, indoor and outdoor transportation vehicle with the intended
use to provide mobility to a disabled or elderly person limited to a seated posi-
tion.
Statement
Please read the following statement.
Please, read this manual carefully and under-
stand everything clearly before using the Elec-
tric wheelchair for the first time.
Please, do not use the scooter in any unclear
cases, otherwise, the product may be dam-
aged or people may get hurt.
If you have questions, please contact us.
Please, pay attention to the warning and cau-
tions in this manual. We are not responsible
for any injury and damage caused by wrong
use of this product and neglect of the warnings
and cautions.
Instructions:
WARNING !
NOTICE !
ADVISE !
WARNING !
Improper use will cause death or serious injury.
Improper use will cause damage of wheelchair.
Comply with the manual to keep wheelchair in good condition.
DO NOT make sharp turns at high speed or on inclines or reverse direc-
tion abruptly.
DO NOT utilize brake release / freewheeling option on any incline with-
out assistance to control motion.
To avoid danger of suffocation, keep all the plastic bag in the package
away from babies and children. Do not use the plastic bag in cribs,
beds, carriages or playpens. The plastic bag is not a toy.
WARNING !
WARNING !

MAJOR PARTS
1Directional Control Lever
2Steering Post
3Tiller Angle Fixing Knob
4Front Wheel Cover
5Front wheel
6Front Bumper
7Middle Sliding Outter Frame
8Middle Slinding Inner Frame
9 Transaxel
10 Rear Wheel Cover
11 Rear wheel
12 Batter Holder
13 Rear Bumper
14 Controller
15 Battery
17 Side Seat Support Frame
16 Backrest
18 Rear frame
19 Middle Sliding Frame Cover
20 Seat Cushion
21 Control Panel Cover
22 Fixing Knob
23 Slide
1
2
3
4
6
78910 11 12
13
14
15
16
17
1819
20
21
22
5
23
5
Photo 1. Majorparts name

CONTENTS IN SCOOTER CARTON
Upon receipt of the scooter, please open carton packing and check if the followings are
included:
8
Hex Wrenches 2 PCS
Safety belt 1 PC
Scooter
Four-hole wrench 1 PC
Charger 1 PC
Battery 1 PCS User’s Manual 1 PC
FDB05A
User’s Manual
r’s Manual
Photo 3. Scooter carton content

SPECIFICATION
6
Model FDB05A
Aluminium Alloy
Max 8°
Material
Loading Capacity
Motor
Driving Range
Front Wheels
Rear Wheels
Climbing Slope
Charging Time
Seat Width
Seat Depth
Seat Height
Turning Radius
Drive Model
Braking System
Max Speed
Battery
Rear Drive
Electromagnetic Brake
Net Weight Without Battery
Net Weight (Finished Product)
Gross Weight
180W ×1pc brush motor
24V 10AH ×1pc lithium battery
6 km/h (3.7mph)
20 km(12.4 miles)
160×50 mm (6.3"×2") PU solid wheels
190×54 mm (7.5"×2.1") PU solid wheels
326 mm (12.8")
347 mm (13.7")
550 mm (21.7")
700 mm (27.6")
21 Kgs (46.3 lb)
23 Kgs (50.7 lb)
29 Kgs (63.9 lb)
6~8 hours
940 × 470 × 920 mm (37"×18.5"×36.2")
720 × 470 × 365 mm (28.3"×18.5"×14.4")
Fold Size (L * W * H) (mm/inch)
Unfold Size (L * W * H) (mm/inch)
120 kgs (265 lb)

7
920 mm (36.2")
940 mm (37")
720 mm (28.3")
190×54mm
(7.5"×2.1")
160×50mm
(6.3"×2")
347 mm (13.7")
470 mm (18.5")
550 mm
(21.7")
365 mm
(14.4")
326 mm
(12.8")
SPECIFICATION DIAGRAM
Photo 2. Specification diagram

MAIN OPERATIONAL PARTS FUNCTION
The handle bar set including Control
Panel ,Key Switch, Speed Setting Knob and
Handle, Directional Control Lever. The major
operational functions are set.
The adjustment of driving speed through speed
control knob by finger range from 0 km/h to 6
km/h at your choice. Turn the knob tovery left
for speed like turtle while turn very right rabbit
like speed.
Notice! Humidity of ambient environ-
mentsignificantly affect on the opera-
tional function main parts. Stay in low
moisture surrounding before operating
or during operating is strongly recom-
mended.
Waring! Sudden immediately stop of scooter
occurs when power is switched off during operation
through electromagnetic braking system control.
Warning! Always keep lower speed level during
turning or backward for keeping safe.
Handle Bar Set
Power Switch
Speed Controller
Control Panel
a.
b.
Power is on after key switch turned clockwise,
scooter is ready to go.
Power is off if key is turned anti-clockwise,
sc
ooter cannot be operated. Turn the power off
t
hrough key if driving is terminated.
9
Photo 4. Handle bar set
Photo 5. Control panel
Photo 6. Power switch
Photo 7. Speed controller

Battery Power is shown on display while power
is turned on.
Forward and backward control is under Control
Lever.
a. Gently hold handle with both hands.
b. Scooter go forward by pulling lever on the
right with fingers.
c. Go backward by pulling lever on the left with
fingers.
d. The Control Lever automatically to center
position while released and brake is on at the
same moment.
Display
Steering Post
Direction Control Lever
Tiller angle can be adjusted
by
rotating the knob under the
pos
t.
MAIN OPERATIONAL PARTS FUNCTION
10
Telescopic Handle
Pull up plastic clipper for
adjusting to length of
handle, push back the clip-
per at desired length.
Photo 8. Dispay
Photo 9. Direction control lever
Photo 11. Telescopic handle
Photo 10. Steering post

Located under rear cover which transfer the signal from control panel to motor, brake
and hub.
Notice! Keep controller under low moisture environment and make sure it is in dry
condition before operation.
Controller
Electric / Manual ModeSwitch Lever
Switch Lever
MAIN OPERATIONAL PARTS FUNCTION
Hand Brake on and off can be done by switching the lever
for manual or electric control.
Electric Control Mode
Push down hand brake lever for electric control mode.
Pull up hand brake lever for manual push mode.
Manual Control Mode
11
Photo 12.
Electric and manual mode switching Lever

Folding and unfolding of the scooter is only applied through manual operation.
First lift up and rotate the nob in the middle of frame for sliding in the frame to minimum
len
gth through pushing the front post towards center with one hand, the other hand
p
ushing from back of scooter to center at the same time.
Unlock seat by pulling the lever under seat front till the locking lever ends reaches the
t
op of fixing holes on both side with a click sound, then push seat down slowly till it
a
ttaches bottom frame.
Rotating the locking knob at bottom of steering post for tilting down the post tothe top of
s
eat and lock the knob again through rotating back.Scooter is fully folding to minimum
siz
e.
To unfold the scooter mainly operate the reverse steps of folding scooter manually.
THE FOLDING AND UNFOLDING
12
1.
2.
3.
4.
5.
Caution
Please make sure clearout any obstacle on scooter or
under scooter for avoid getting caught during the pro-
cess of folding and unfolding.
!
Photo 13. Manual fold

BATTERY AND CHARGING
The scooter is designed for maintenance free with long usage of Lithium Ion Battery. It is
suitable to be Charged with 24 V 10 Ah charger.
Fullycharge the battery 5 hours is good for battery usage. At least charge once in every
3 month.
Charge batteryto full level and take apart batteryfrom scooter if not going to use your
scooter for long period of time.
Power off the scooter. Open the cover of charger cap, then insert the charger plug in
charge port of scooter.
Steps of charging battery
1.
13
Warning ! Make sure charger plug is fully plug in the charging port of scooter.
Warning ! Disconnect AC power source after fully charge of battery will keep the life of Lithi-
um Ion Battery longer.
Connect the A/C power plug of charger toHouse power source. Check the light on char-
ger, orange color light means charging is in progress while green light shows power if
full.
Charger red light is off while power source and power of charger is on. Please check if
the power connection is set properly.
The battery can be charged directly with house power source,
simple connect the Terminal of battery with power source,
charging can be started.
Full charge time is around 5 hours duration.
2.
Turn off power charger when battery is fully charged. Disconnect AC power source
before disconnect the DC charging plug.
3.
4.
5.
Charge battery directly
1.
2.
Flip open the charger port protect on
the front of battery.
Use the secondary charger pigtail to adapt the battery
charger to plug into the battery directly.
Caution
Keep charging time in 5hours.
Caution Immediately unplug charger from power source as soon
as indicating lighton charger turns green.
Caution
Do not charge continuously over 5 hours.
Close the ship stype
switch or key switch
Photo 14. Charging port
Photo 15.
Photo 16. Charge battery directly

BATTERY AND CHARGING
Large input of current from charge to battery at low voltage level, small current given
from charger when battery is close tofull. Almost zero or little current given to battery, con-
tinuously charging would not cause over charge, however, it is suggested charge duration
not over 5 hours. The battery will continuous be charged under charger connected situa-
tion.
The charger is designed for batteryofthe scooter. Stronglysuggest do notuse other
type of charger from original manufacturer.
Frequency of Charging
The frequency of charging is based on the following conditions
A. All day long driving of scooter
B. Occasional driving scooter
Safe and reliablebattery charging
Two LED lights are on charger, red stands for power connection, the other is charging
statusindication which shows charging with orange color and turns green on fully charged.
Red lightmay continue after power source disconnection, there maybe something wrong.
Normally red light will be off in a few seconds if disconnected to power source, it is normal
for red light to snuff out while battery voltage is up to level.
How to reach maximum driving distance
A. Make sure full charge before driving
B. Keep away from go up hills, macadam and soft terrain.
C. Carry necessities, reduce load of scooter.
D. Drive smoothly without intermittent.
Suitable specification of battery
Lithium Ion battery with specification listed.
Warning ! Do not take apart battery on your own. No need to add water for the battery.
Miss use of battery cause damage are excluded in warranty.
Some knowledgeon how charger charge battery
Theindication of charger lights
Other type of charger
Charge scooteronce a week when the use frequency is once in a week. Fully
charge takes 5 hours.
B.
Charge scooter after use if scooter is fordaily use, it would full battery fornext day.
Fully charge is 5 hours depends on condition if battery is empty.
A.
Keep battery at full power.
C.
14

High temperature causes battery power loss while low temperature lead to longer
charging hours. It takes afew days for adapting to ambient environment then turn to normal
after transportation. It takes a few days tor returning tostable performance after several
charging and discharging cycles.
The reason ofweak on new battery
The scooter use deep-cycle battery under special chemical technology that allow battery
quick to be charged with longer time use after full charge. Battery along with scooter pack-
ing is charged full, however, the performance of initial power will be reduced in the process
of transportation, such as temperature variation.
Ensure battery life
Full charge of battery keep good performance and life longer, while over charge and
seldom charge of battery damage.
Storage of scooter and Battery
Long time for not using scooter, please following the instruction for storage of scooter
A. Charge full battery
B. Disconnect battery
C. Keep scooter under dry and suitable temperature
D. Avoid dramatically temperature variation during storage
Warning! Keep in warm condition a few days when battery get frozened
Long time storage of scooter ispreferred lay a plate under foot rest panel for supporting
and it will avoid stain on tires after long time pressure tothe ground.
-
Steps ofimproving battery performance
BATTERY SAFETY AND LIFE GUIDE
Always charge tofull when battery is new to ensure battery has 88% at least.
A.
Always charge battery tofull afteruse and keep on driving scooter is safe and famil
iar locations. Stay low speed if you are first time user.
B.
Charge battery tofull after second time driving, it will increase the battery reach 90%
capacity performance.
C.
After 4~5 times of driving with full charging, the performance of scooter will reach
100% level.
D.
15

INSTRUCTIONOF OPERATION
Upon driving the scooter, please follow the following steps:
Before operating instruction
Driving
A. Make sure battery is fully charged.
B. Familiar with the route condition including crowd, animal and potential obstacles.
C. Always keep away from uneven and sloppy terrain.
D. Check if is fully inserted and the brake lever switch is pushed.
E. Steering with both hands rest on handle bar.
F. Sound the horn tocheck if it works.
Unfold scooter fully.
A.
Check if the seat at right position and adjust tiller tocomfortable position.
B.
Turn on power after making seat properly with hands on handle bar.C.
Gently push directional control lever with right thumb.
D.
Brake release automatically and scooter move forward. Do not push control lever to
much in a sudden for the speed would be rapidly pick up.
E.
Turn handle bar to left for turning left.
F.
Right turning of handle bar tomake right turn.
G.
Scooter move straight forward by keeping handle in center position.
H.
Brake is automatically on when control level in center position and once scooter stop
going.
I.
End of Driving
Make sure scooter is fully stopped.
A.
Turn off Power with Key or turn the rocker switchto “O” position.
B.
Carefully get off the scooter.
C.
Fold scooter by manual.
D.
16
This manual suits for next models
1
Table of contents
Popular Mobility Aid manuals by other brands

Joovy
Joovy Spoon b instruction manual

Drive DeVilbiss Healthcare
Drive DeVilbiss Healthcare BTR22BLK Instructions for use

SystemRoMedic
SystemRoMedic MiniLift200 manual

Pride Mobility
Pride Mobility TRAVEL SCOOTER Series owner's manual

Moretti
Moretti MOPEDIA RS918 instruction manual

GIBAUD
GIBAUD EQUALIZER AIR Instructions for use