manuals.online logo
Brands
  1. Home
  2. •
  3. Brands
  4. •
  5. JBL
  6. •
  7. Speakers
  8. •
  9. JBL Control 85M User manual

JBL Control 85M User manual

Other JBL Speakers manuals

JBL SC305 User manual

JBL

JBL SC305 User manual

JBL L166 Horizon User manual

JBL

JBL L166 Horizon User manual

JBL VRX932LA User manual

JBL

JBL VRX932LA User manual

JBL M5 User manual

JBL

JBL M5 User manual

JBL JBL 8100 Series User manual

JBL

JBL JBL 8100 Series User manual

JBL Northridge N28II User manual

JBL

JBL Northridge N28II User manual

JBL LOFT Series User manual

JBL

JBL LOFT Series User manual

JBL L88 Nova Owner's manual

JBL

JBL L88 Nova Owner's manual

JBL BAR STUDIO User manual

JBL

JBL BAR STUDIO User manual

JBL GO User manual

JBL

JBL GO User manual

JBL LSR2300 Series User manual

JBL

JBL LSR2300 Series User manual

JBL FLIX 1 User manual

JBL

JBL FLIX 1 User manual

JBL VTX Series User manual

JBL

JBL VTX Series User manual

JBL L52 Classic User manual

JBL

JBL L52 Classic User manual

JBL JBL1900 User manual

JBL

JBL JBL1900 User manual

JBL FLIP 3 User manual

JBL

JBL FLIP 3 User manual

JBL GO User manual

JBL

JBL GO User manual

JBL MPro MP418SP User manual

JBL

JBL MPro MP418SP User manual

JBL GTO 1002D Instruction manual

JBL

JBL GTO 1002D Instruction manual

JBL j50 User manual

JBL

JBL j50 User manual

JBL Studio S310II User manual

JBL

JBL Studio S310II User manual

JBL LSR User manual

JBL

JBL LSR User manual

JBL Classic Series User manual

JBL

JBL Classic Series User manual

JBL Celebrity 100 User manual

JBL

JBL Celebrity 100 User manual

Popular Speakers manuals by other brands

Electro-Voice LR4S engineering data

Electro-Voice

Electro-Voice LR4S engineering data

Definitive Technology Sound Cylinder user guide

Definitive Technology

Definitive Technology Sound Cylinder user guide

AudioSource LS545 user manual

AudioSource

AudioSource LS545 user manual

Paso C402-T Instructions for use

Paso

Paso C402-T Instructions for use

Altec Lansing 416-8C LF SPEAKER manual

Altec Lansing

Altec Lansing 416-8C LF SPEAKER manual

Kenwood KFC-1072 Servise manual

Kenwood

Kenwood KFC-1072 Servise manual

Peavey ProSys 112 user guide

Peavey

Peavey ProSys 112 user guide

Aura STORM-8 owner's manual

Aura

Aura STORM-8 owner's manual

Oontz ANGLE 3 PLUS quick start guide

Oontz

Oontz ANGLE 3 PLUS quick start guide

Electro-Voice LR4A engineering data

Electro-Voice

Electro-Voice LR4A engineering data

Rave RK-650-ICA-B owner's manual

Rave

Rave RK-650-ICA-B owner's manual

Flux Reference Series installation manual

Flux

Flux Reference Series installation manual

Lanzar AQAWBS64BK installation manual

Lanzar

Lanzar AQAWBS64BK installation manual

DAPAudio DCS-6230 manual

DAPAudio

DAPAudio DCS-6230 manual

Aluratek ABS03F quick start guide

Aluratek

Aluratek ABS03F quick start guide

Kenwood KES-5A instruction manual

Kenwood

Kenwood KES-5A instruction manual

Sonance ORIGINAL SERIES instruction manual

Sonance

Sonance ORIGINAL SERIES instruction manual

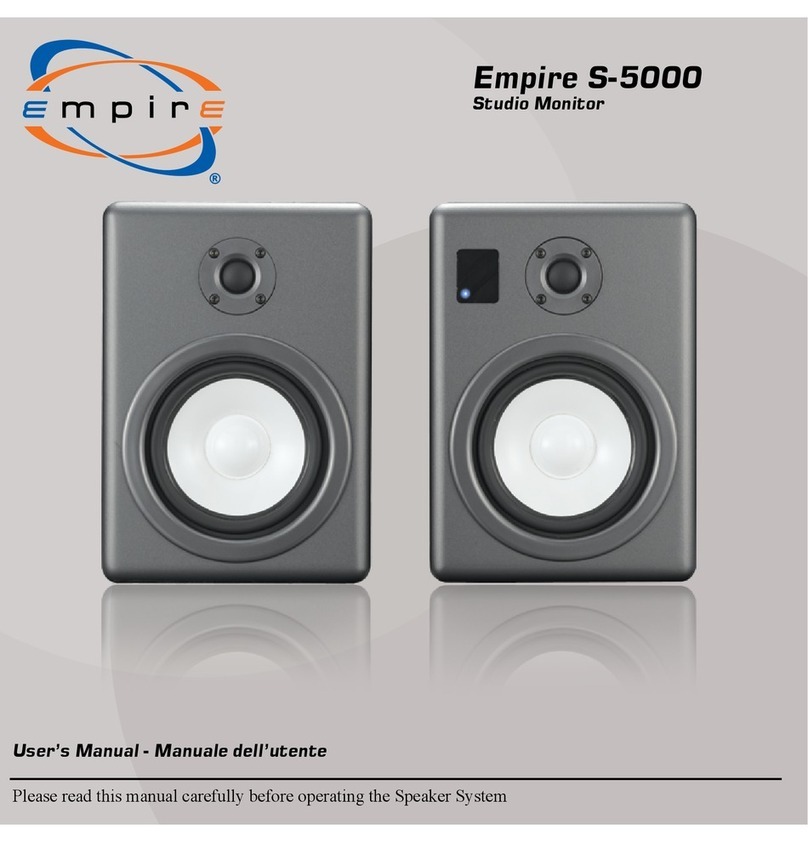
Empire S-5000 user manual

Empire

Empire S-5000 user manual

manuals.online logo
manuals.online logoBrands
  • About & Mission
  • Contact us
  • Privacy Policy
  • Terms and Conditions

Copyright 2025 Manuals.Online. All Rights Reserved.

Twist the top part of the enclosure in a
clock-wise direction until it disengages
from the bottom part.
Lift o the top section.
Control 85M/88M Mushroom Landscape Speaker
Installation Instructions
12
Before nal assembly and installation of the Landsape speaker, it is important to prepare the installation site. The speaker is
designed to be able to sit below grade, with the lower half burried in the soil no deeper than the boundary point where the
two parts of the speaker meet. Another installation method is to place the speaker on the surface and use ground cover
materials to“berm up”to the boundary between the two sections, being careful not to cover the ared waveguide in the upper
half of the speaker, or the speaker can be installed on the top surface of wooden decks or cement slabs. There are three
recessed pathways on the bottom of the speaker to allow for entrance and exit when using mutiple speakers on distributed
lines.
Anchoring the speaker for stability and security can be accomplished using after-market stakes placed through one, two or all
three pre-drilled holes located at the base of each of the legs on the bottom section.
The second gland nut can be installed by drilling a 22 mm
(7/8 in, 0.875 in) hole on the side of the bottom half of the
enclosure, in one of three recesses on the underside of the
enclosure, or other locations as needed, while taking care
that the location chosen does not interfere with the
locking parts so both halfs of the enclosure will mate and
close properly.
Attach one of the two included Gland Nuts into the open
hole on the seal plate as shown above.
Install the gland nut into the hole as shown
above in #6 and feed external wire from
outside through the gland nut and up through
the center hole in the lower half of the speaker
as shown above.
3
4
5
Close-up view of tap setting for the Control 85M and
Control 88M. **Adjusting tap setting required before
powering up system.
88M
85M
6
Continue to extend external wire up through the gland
nut installed on the seal plate and attach to pre-existing
wires from the top section of the speaker with included
gel-lled wire nuts.
7
** To achieve a watertight
seal with these gland nuts,
use only round jacketed
cable with outside diameter
(O.D.) between 4.0mm (0.16”)
and 9.0 mm (0.36”).
IMPORTANT: WIRE SIZE
When all wires are set into place as shown in #9, tighten
down both gland nuts by rotating the larger side until
the gland material clamps down on the wire creating a
water tight seal.
Line up the upper section pins and lower section
grooves.
Begin to re-assemble speaker by taking care to place wire nut
connectors in top section of speaker and reattach the seal
plate with screws as shown above.
Rotate top section counter-clockwise to lock the
top to the bottom section, being careful to line up
the security screw hole with brass nut on the
bottom half of the speaker.
Using included security screwdriver, and making sure you
have lined up the security screw with brass nut, turn clock-
wise so screw will lock top and bottom section together.
89
10 11
12 13
Replace cap covering set screw.
JBL Professional
8500 Balboa Blvd
Northridge, CA 91329
USA
IS-C80MLS
REV A 03/2016
** INCLUDED PARTS IN CARTON
(1) Round Seal Plate (green)
(4) Set Screws (for green seal plate)
(2) Gland Nuts
(2) Gel-Filled Wire Nuts
(1) Security Screw (M4 x 0.7 x 14 mm)
(1) Security Screw Cover
(1) Security Screwdriver