Specifications
Power System 12V DC
Operating Voltage Range 10V to 16V
1 mA (Standby)
2.5 A (Nominal)
Current Draw @ 12V
5.0 A (Maximum)
Operating Temperature
Range
-30° C to 45° C
Storage Temperature
Range
-40° C to 85° C
Maximum Relative
Humidity
100%
Product Weight
(unpackaged)
1.0 lbs.
Output Power RMS 2 x 20 Watts
Output Power Maximum 2 x 40 Watts
Total Harmonic Distortion 0.5%
"WARNING: To Reduce The Risk Of Fire Or Electric Shock, Do Not Expose
This Apparatus To Rain Or Moisture"
The device shall not be exposed to dripping or splashing.
Do not place any sources of danger on the device (e.g. liquid filled objects,
lighted candles).
Bluetooth Operation
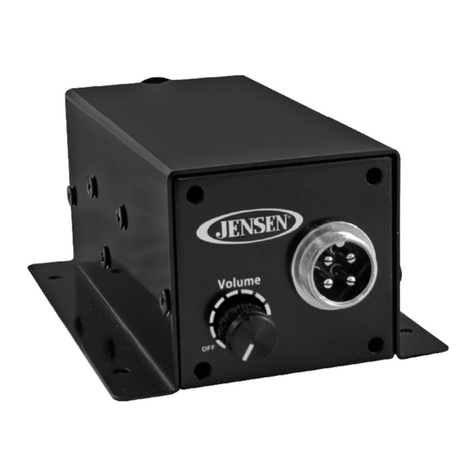
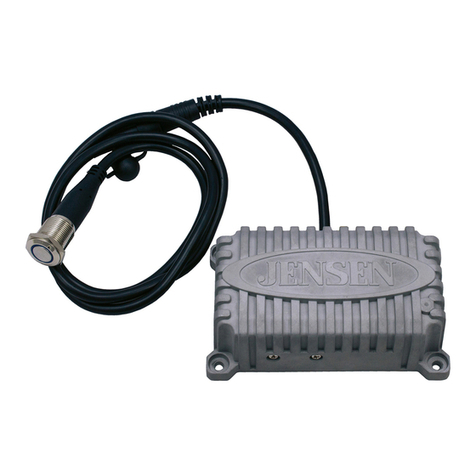
Press the switch to power on JAHD240BT, press again to power off.
The JAHD240BT will automatically try to connect to the last paired Bluetooth device.
When connected, the blue LED light will remain steady
When not connected the blue LED light will flash slowly, see next section to connect a device
Pairing a Bluetooth Device
Press and Hold the switch for about 4 seconds to place the JAHD240BT in pairing mode. The
JAHD240BT will remain in pairing mode for two minutes, and the blue LED will flash quickly.
With a Bluetooth enabled mobile device search for, and connect to the amplifier identifying as
“JAHD240BT” to complete the pairing.
After connecting successfully, you are able to listen to audio from your Bluetooth enabled device.
Adjust Bluetooth enabled device volume to lowest level before connecting to prevent possible
speaker or hearing damage.
Bluetooth Audio Playback
All playback and volume options are controlled by the Bluetooth enabled device.
Bluetooth Range
Bluetooth is a short-range wireless radio protocol and operates at 2.4 GHz with an effective range of approximately 10 meters (30 feet).
If a Bluetooth connected device goes out of range for more than two minutes the JAHD240BT will disconnect and the blue LED will flash
slowly. User intervention on the Bluetooth enabled device may be required to reconnect.
For copy of the owner’s manual visit www.ASAElectronics.com
This equipment has been tested and found to comply with the limits for a Class B digital
device, pursuant to part 15 of the FCC Rules. These limits are designed to provide
reasonable protection against harmful interference in a residential installation. This
equipment generates, uses and can radiate radio frequency energy and, if not installed and
used in accordance with the instructions, may cause harmful interference to radio
communications. However, there is no guarantee that interference will not occur in a
particular installation. If this equipment does cause harmful interference to radio or
television reception, which can be determined by turning the equipment off and on, the user
is encouraged to try to correct the interference by one or more of the following measures:
• Reorient or relocate the receiving antenna.• Reorient or relocate the receiving antenna.
• Increase the separation between the equipment and receiver.
• Connect the equipment into an outlet on a circuit different from
that to which the receiver is connected.
• Consult the dealer or an experienced radio/TV technician for
help.
Caution: Any changes or modifications to this device not
explicitly approved by manufacturer could void your authority to
operate this equipment.
This device complies with part 15 of the FCC Rules. Operation is
subject to the following two conditions: (1) This device may not
cause harmful interference, and (2) this device must accept any
interference received, including interference that may cause
undesired operation.
1) R
ead these instructions.; 2) Keep these instructions. 3) Heed all warnings.
4) Follow all instructions; 5) Do not use this apparatus near water. 6) Clean only with
dry cloth. 7) Do not block any ventilation openings. Install in accordance with the
manufacturer’s instructions. 8) Do not install near any heat sources such as radiators,
heat registers, stoves, or other apparatus (including amplifiers) that produce heat.
9) Do not defeat the safety purpose of the polarized or grounding-type plug. A
polarized plug has two blades with one wider than the other. A grounding type plug
has two blades and a third grounding prong. The wide blade or the third prong are
provided for your safety. If the provided plug does not fit into your outlet, consult an
electrician for replacement of the obsolete outlet.
10) Protect the power cord from being walked on or pinched particularly at plugs,
convenience receptacles, and the point where they exit from the apparatus.
11) Only use attachments/accessories specified by the manufacturer.
12) Use only with the cart, stand, tripod, bracket, or table specified by the
manufacturer, or sold with the apparatus. When a cart is used, use caution when
moving the cart/apparatus combination to avoid injury from tip-over.
13) Unplug this apparatus during lightning storms or when unused for long periods of
time.
14) Refer all servicing to qualified service personnel. Servicing is required when the
apparatus has been damaged in any way, such as power-supply cord or plug is
damaged, liquid has been spilled or objects have fallen into the apparatus, the
apparatus has been exposed to rain or moisture, does not operate normally, or has
been dropped.
