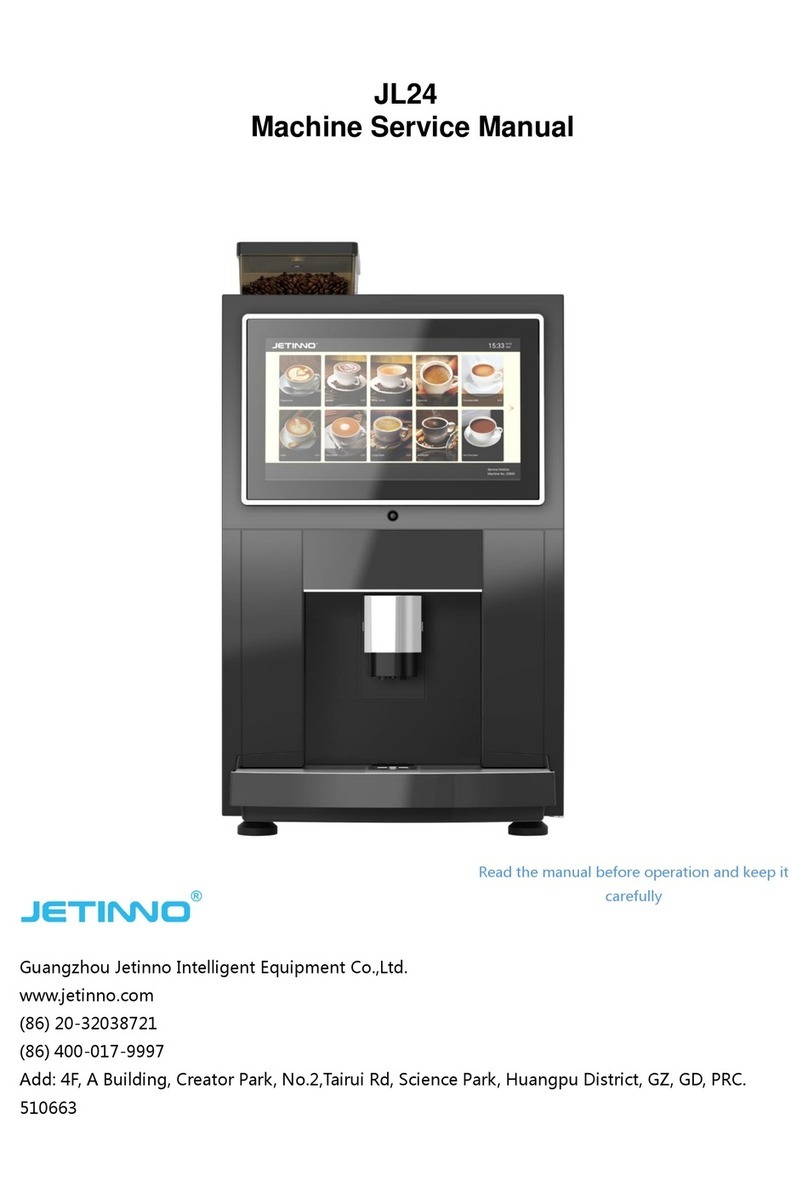
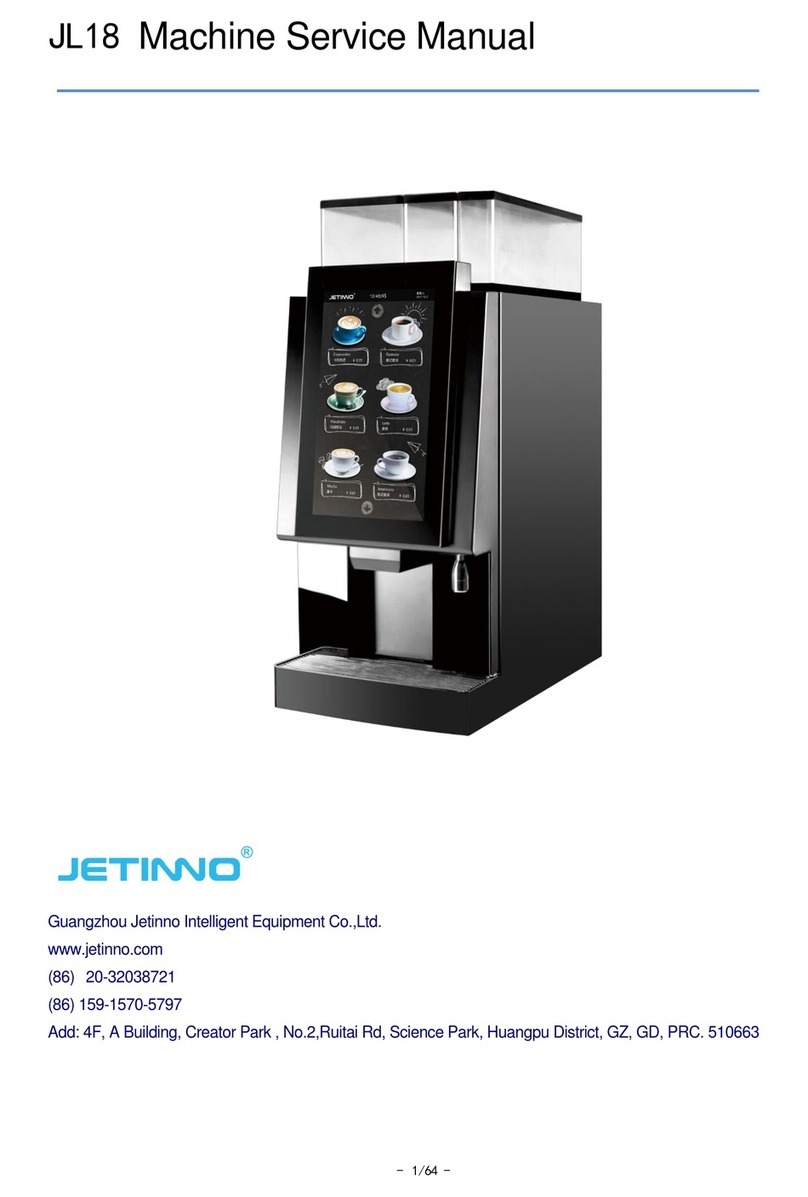
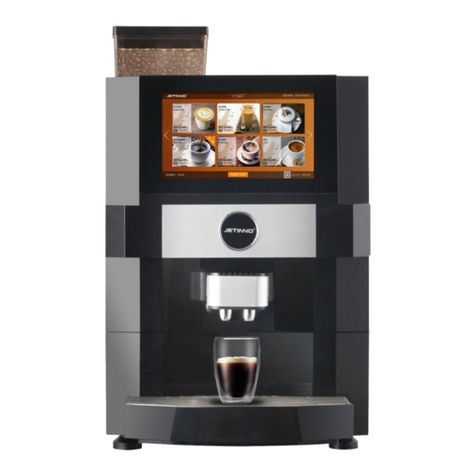
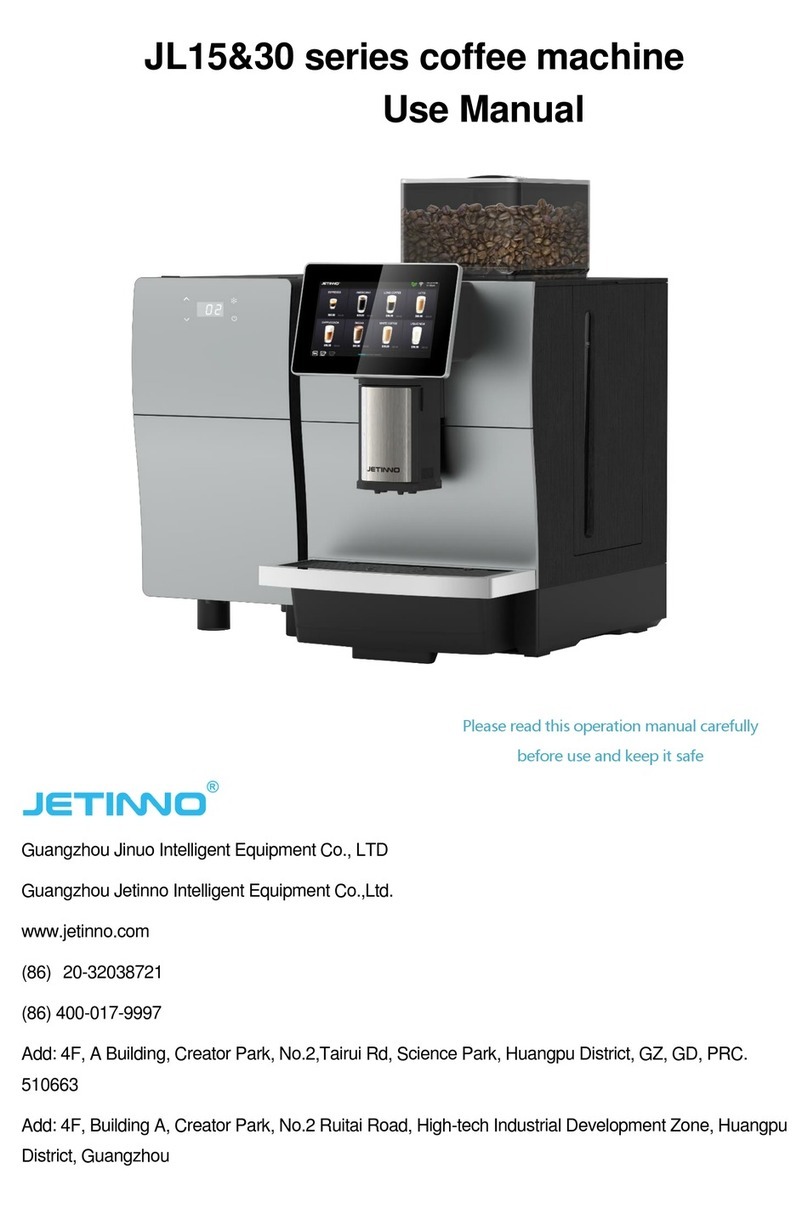
Jetinno JLTT-ES Presto User manual

SERVICE MANUAL
Guangzhou Jetinno Electronics Appliance CO.,Ltd.
3/Floor, No. 3, Qiming building, Tianfeng Road, Science Park, Luogang District, Guangzhou, PRC (510660)
www.jetinno.com

2 Service Manual JLES4C
Contents
SERVICE MANUAL.................................................................................................................1
1BEFORE USE ...................................................................................................................4
1.1 ABOUT THIS MANUAL............................................................................................................. 4
1.2 IMPORTANT SAFTYADVICE...................................................................................................5
1.3 WEAR PARTS........................................................................................................................... 5
1.4 PACKAGING MATERIAL DISPOSAL .......................................................................................6
1.5 MACHINE OUT OF ORDER.....................................................................................................6
2ABOUT THIS MACHINE....................................................................................................7
2.1 MACHINE CHARACTERISTICS...............................................................................................7
2.1.1 GENERAL INFORMATION................................................................................................7
2.2 USER INTERFACE ...................................................................................................................8
2.3 MACHINE CONFIGURATIONS ................................................................................................9
2.4 MACHINE HYDRAULICS PLAN............................................................................................. 11
3TRANSPORT AND STORAGE .......................................................................................11
3.1 TRANSPORT........................................................................................................................... 11
3.2 STORAGE AND TRANSPORT ENVIRONMENT ...................................................................12
3.3 SWITCH OFF THE MACHINE................................................................................................ 12
4MACHINE DESCRIPTION...............................................................................................12
4.1 POSITIONING OF THE MACHINE.........................................................................................12
4.2 ADD-ON UNIT BESIDE THE MACHINE.................................................................................12
4.3 DRINKS SALES PRICE..........................................................................................................13
4.4 WATER SUPPLY..................................................................................................................... 13
4.5 DEFENITION OF USER GROUPS.........................................................................................13
5INSTALLATION...............................................................................................................13
5.1 UNPACK THE MACHINE........................................................................................................14
5.2 PUTTING UP...........................................................................................................................14
5.3 OPEN THE MACHINE.............................................................................................................14
5.4 CONNECT THE MACHINE TO WATER MAINS..................................................................... 16
5.5 CONNECT THE MACHINE ELECTRCITY MAINS.................................................................16
5.6 FILL THE CONTAINERS.........................................................................................................17
5.7 PUT WASTE BINS ON TO THE MACHINE............................................................................18
5.8 SWITCH ON THE MACHINE..................................................................................................18
5.9 FILL THE BOILER................................................................................................................... 19
5.10 MACHINE QUICK SETTING UP.............................................................................................19
5.10.1 CALIBRATE THE GRINDER............................................................................................19
5.10.2 CALIBRATE THE CONTAINER.......................................................................................21
5.10.3 SET THE DRINK RECIPE ...............................................................................................25
5.10.4 SET THE MACHINE VENDING MODE...........................................................................28
6USE THE MACHINE (END USER)..................................................................................30
6.1 GET THE DRINK FROM MACHINE .......................................................................................30
7CLEANING AND MAINTENANCE...................................................................................31
7.1 SAFETY REGULATIONS FOR CLEANINGAND MAINTENANCE........................................ 32
7.2 HYGIENE.................................................................................................................................33
7.3 PERISHABLE FOODS............................................................................................................33
7.4 CLEANNING SOLUTIONS...................................................................................................... 33
7.5 BASIC CLEANING WORKS.................................................................................................... 35
7.6 CLEANING INSTRUCTIONS..................................................................................................35
7.6.1 DOOR OPEN AND CLOSE..............................................................................................35
7.6.2 CLENING THE CONTAINERS......................................................................................... 35
7.6.3 CLEAN THE MIXERS ......................................................................................................37
7.6.4 CLEAN THE NOZZLE AND OUTLETS............................................................................39
7.6.5 PURIFICATION THE BREWERS.....................................................................................40
7.6.6 CLEAN DRIP TRAY .........................................................................................................44
7.6.7 CLEAN WASTE CAKE BIN.............................................................................................. 45

3 Service Manual JLES4C
7.7 MAINTAIN INSTRUCTIONS ...................................................................................................46
7.7.1 HOT WATER SYSTEM....................................................................................................46
7.7.2 EMPTY THE BOILER.......................................................................................................48
7.7.3 EMPTYAIR BREAK.........................................................................................................50
8PROGRAMMING.............................................................................................................51
8.1 SYSTERM BACKUP ...............................................................................................................51
8.2 SYSTERM RESTORE.............................................................................................................52
8.3 SYSTERM UPDATE................................................................................................................53
9CIRCUIT DIAGRAM........................................................................................................53
9.1 CONNECTION PLAN..............................................................................................................53
10 CE , UL, CUL CONFORMITY DECLARATION.........................................................54
11 Q&A...........................................................................................................................54
12 APPENDIX................................................................................................................56
12.1 DEFAULT SETTINGS..............................................................................................................56
12.2 IPD DESIGN MANUAL............................................................................................................56
12.3 OPERATOR MANUAL.............................................................................................................56
12.4 MENU EDITOR MANUAL .......................................................................................................56
12.5 SPARE PARTS LIST ...............................................................................................................56

4 Service Manual JLES4C
1 BEFORE USE
Congratulations to the purchase of your JLTT machines!
Model
Contains
What you get
ES Presto
Just espresso
ES3C
espresso + 2 instant
ES4C
espresso + 3 instant
√
2xES4C
2x espresso + 2 instant
IN4C
4 instant
IN5C
5 instant
IN6C
6 instant
2xFB4C
Bean To Cup Fresh brew coffee + Fresh brew tea + 2 instant
FB4C
Fresh brew coffee (or tea) + 2 instant
FB5C
Fresh brew coffee (or tea) + 3 instant
BTCFB3C
Bean To Cup Fresh brew coffee + 2 instant
BTCFB4C
Bean To Cup Fresh brew coffee + 3 instant
ESFBT4C
espresso + Fresh brew coffee (or tea) + 2 instant
ESFBTCFB4C
espresso + Bean To Cup Fresh brew coffee + 2 instant
1.1 ABOUT THIS MANUAL
This manual serves as reference material for authorized service technicians and people who set up the
machine. It is supposed to help them transport, install, set up, programming, maintain and repair the
machine safely.
Please refer to the individual chapters about service, use and rotating cleaning works.
The following notes describe different kinds of danger zones:
Note
Symbol
Severe mortal danger
Danger!
Danger of personal injury
Caution!
Danger of damage to machine
Attention:
Danger of functional errors
Important:
Information and advice for easier use
Note:
Caution:
JETINNO Guangzhou is not liable for any personal damage or damage to the machine, if it has occurred

5 Service Manual JLES4C
by not (strictly) following the safety regulations and advice or by careless transport, installation, set up,
programming, maintenance and repair of the machine and possible spare parts..
Any change and restructuring is strictly prohibited. In these cases, JETINNO Guangzhou will rule out any
claims for damage to non-cash resources.
Only products that have been agreed with JETINNO Guangzhou may be used. The manufacturer is not
liable for any damage caused by non-compliance. The risk lies alone with the person who runs the
machine.
Always comply with the instructions in the technical handbook and the user manual. The pictograms,
symbols and instructions attached to the machine must not be covered or removed.
Works on the machine may only be performed by accordingly trained and authorized service technicians
and people who set up the machine.
Technical specifications may not be changed
1.2 IMPORTANT SAFTY ADVICE
1) Read this manual carefully before use!
2) Only connect the machine with mains if it corresponds with the voltage on the type badge of your
machine.And make sure the good grounding effect of connected power outlet.
3) Never store or use the machine near heat or gas sources!
4) The machine must be disconnected before cleaning or maintenance works! And the electrical connector
must be dried before the machine is used again!
5) Protect the machine from splash water!
6) Never pull the cable for unplugging!
7) Never put the machine or the cable into water!
8) The machine is designed for the use of drinking water with a water hardness of 8°dH maximum.A filter
must be used if the hardness is higher.
9) When putting up the machine, make sure it stands on stable and firm ground and keep it out of reach of
small children!
10) This machine can be used by children aged from 8 years and above and persons with reduced physical
sensory or mental capabilities or lack of experience and knowledge if they have been given supervision
or instruction concerning use of the machine in a safe way and understand the hazards involved.
Children shall not play with the machine. Cleaning and user maintenance shall not be made by children
without supervision.
11) If the machine or the cable is damaged or no longer functioning perfectly, the machine may no longer
be used. In that case, please contact your nearest store or JETINNO Service centre straight away!
12) Please note the maintenance advice and intervals!
13) Protect the machine from weather effects (like moisture, heat, etc.)!
14) Never use the machine outside!
15) Maintenance, cleaning and repair works other than specifically addressed to the user may only be
performed by trained service personnel from JETINNO!
16) For your own safety, and to ensure a long life for your machine, you are advised to only use the original
JETINNO spare parts!
1.3 WEAR PARTS
Please note that this machine contains parts that underlie technically caused wear depending on use, even if
properly cleaned and maintained. This applies primarily to mechanical parts and parts that are part of the hot
water circuit, e.g. hoses, seals, outlets and the like.
Defects caused by wearing are no subject to warranty! Defects and malfunctioning must be resolved by
service technicians trained by the manufacturer. Please contact your specialty retailer or the JETINNO Service
Centre.

6 Service Manual JLTT-ES
1.4 PACKAGING MATERIAL DISPOSAL
The packaging material consists of the following material: Cardboard, corrugated cardboard, treated wood,
polystyrene-elements and plastic foil.
After installation, ask the client to check with the local communal cleaning service for possibilities to re-cycle or
to dispose of the packaging material in an environmentally friendly way.
1.5 MACHINE OUT OF ORDER
Machines out of order can not be returned. The machines must be disposed of in an environmentally friendly
way. For that reason, the plastic parts are clearly labeled. The badge(s) in the machine and the belonging parts
must be disposed of as electronic waste.
This machine underlies the Waste Electrical and Electronic Equipment Directive (WEEE/EU directive) and
must not be disposed of in the domestic waste.

7 Service Manual JLTT-ES
2 ABOUT THIS MACHINE
2.1 MACHINE CHARACTERISTICS
2.1.1 GENERAL INFORMATION
Size: H700mm, W420mm, D450mm
Water mains: G3/8 or G3/4
Water inlet pressure: 0.5 –7 BAR
Net weight: 40~48kg
Power mains: AC 230V/50 Hz or AC110V/60Hz
Maximum power: 2700W (if AC220V) or 2000W (ifAC110V)
Interior View

8 Service Manual JLTT-ES
2.2 USER INTERFACE
12345 9
10 11 12 13 14
17
1615
18
678
Description: 1) Small company logo.
2) Information button: shows service contact information.
Company logo

9 Service Manual JLTT-ES
3) Cup Detection status, it will highlight in blue color when machine detect a cup in
dispensing area.
4) Operator menu button, enable when door open, entry for operator menu.
5) Current time
6) Card-reader status icon, shown when card-reader device presents, green when card
inserts
7) Banknote reader icon, shown when bank note reader presents
8) Coin changer/coin accepter icon, shown when coin device presents
9) Vending mode, showing in “Free” or current credit;
10) Cancel/escrow button.
11) Language button.
12) Fast-code button: for office user, quick choose product by entering a code.
13) Repeat button: when fast-code mode is enabled, repeat the last choice
14) Confirm button
15) Page browser button
16) Product-page position icon
17) Product buttons. It is in grey when disabled.
18) Reminding message
2.3 MACHINE CONFIGURATIONS
The JLTT-ES Machine’s configuration includes JLTT-ES3C/JLTT-ES4C/JLTT-2xES4C
,

10 Service Manual JLTT-ES

11 Service Manual JLTT-ES
Machine can be adjustable according to customer’s requirement.
2.4 MACHINE HYDRAULICS PLAN
Note:
The hydraulic plan printed on a label and attached in the machine.
3 TRANSPORT AND STORAGE
3.1 TRANSPORT
The machine is wrapped with plastic bag to protect it from damage, moisture and dirt.
For assertion of any claims, it must be checked for any damage or loss immediately on receipt and the carrier
has to sign it on the consignment note. JETINNO is not liable for any damage or loss detected at a later stage.
Attention:
Danger of damage through transport!
In order to avoid damage:
Always transport the machine upright.
Do not stack several machines on top of each other.
Do not put any other objects onto the machine.
Make sure the machine is protected against slipping and falling during transport.

12 Service Manual JLTT-ES
3.2 STORAGE AND TRANSPORT ENVIRONMENT
Attention:
Danger of damage through temperature!
In order to avoid this kind of damage:
Only run the machine at temperatures between +5°C and +35°C
Only run the machine at humidity between 10% and 90%.
Always store the machine in a dry and dust free environment, the temperature should be in range of
0°C to 40°C.
3.3 SWITCH OFF THE MACHINE
If the location changes or the machine is out of use for a prolonged period of time, the air break, water tank and
boiler must be emptied. This will prevent the water tank and boiler from leaking or freezing.
Caution:
Danger of scalding
Before disconnect the pipe to empty boiler, the water in boiler must be cooled to avoid hot water scalding
and splashing.
Before disconnect the pipe to empty boiler, the water in boiler must be cooled to avoid hot water scalding and
splashing.
4 MACHINE DESCRIPTION
4.1 POSITIONING OF THE MACHINE
The machine is not suitable for outside installations, it needs to be installed inside dry premises, with
temperature between 5°C and 35°C and it cannot be installed in environments in which jets of water are used
for cleaning.
The machine shall be positioned next to a wall and in such a way that the back of it is at a minimum distance of
6 cm from the wall in order to allow regular ventilation.
The machine shall not be covered with cloths or similar. The machine shall be positioned so that the maximum
inclination does not exceed 2°. If needed, level it out using the appropriate adjustable feet provided with the
machine.
4.2 ADD-ON UNIT BESIDE THE MACHINE
It is designed according to the clients requirement.
The add-on unit is consists one or all of modules below, payment system, cup warmer, cup dispenser etc.

13 Service Manual JLTT-ES
About the payment system, the machine is supplied with electrical arrangement for systems with protocol
Executive, BDV, MDB and for monitoring 24 VDC validators.
4.3 DRINKS SALES PRICE
A different price can be programmed for each selection; the standard setting foresees the same sales price for
all selections.
The drinks machines have been designed for the commercial dispensation of hot drinks. The compact built
allows the machine to be set up in offices, manufacturing sites, cafeterias, conference rooms and canteens. It
is possible to free-vend products and to use diverse payment systems (coins and cards), making a universal
set up possible.
4.4 WATER SUPPLY
Water supply from mains must be with water pressure between 0.05 and 0.8 MPA (0.5 and 8.0 bar). The
machine's software is arranged for controlling the water supply from an internal tank (optional kit which can be
placed in the bottom cabinet).
Important!! A filter was recommended to use if the water hardness from water main is higher than 8.0︒.
4.5 DEFENITION OF USER GROUPS
User –customer uses the machine only to obtain products, subject to conditions arranged by the person who
runs the machine or has set it up. He does not have access to internal parts of the machine or its programming.
Service technician –trained expert knows the hazards of the machine and who is familiar with the machine's
technical equipments. Service technicians are trained and capable to set up the machine and to maintain,
repair and program it.
Person who sets up the machine –This person is responsible for the correct setup and maintenance of the
machine.
Person who runs the machine –This person is responsible for the correct and regular replenishment and
cleaning of the machine.
Replenishing technician –This person is responsible for replenishing and cleaning the machine.
5 INSTALLATION
Attention:
The machine may only be set up and started by trained personnel!
The following service instructions must be read entirely before starting this machine.
At delivery, check the machine for any damage from transport and/or hidden damages. If you find so-
mething, contact the responsible transport company at once.
Make sure the good grounding effect of the power outlet connected with the machine!
Note:
You will receive this machine ready to use. A tube for drinking water supply is not included in the delivery,

14 Service Manual JLTT-ES
but you can additionally buy one from JETINNO
Steps for first use:
Unpack the drinks vending machine
Put the machine where you want it to be
Open the door via mechanism lock and check machine interior
Connect the machine with your main drinking water supply
Connect the machine with your main electricity supply
Fill the product containers
Put on waste cake bin and waste drip tray
Switch on the machine.
Fill the boiler automatically (If it is not completely refilled, reboot the machine)
Set up the machine according to the customer’s needs.
Note:
The packaging consists of cardboard, corrugated cardboard, untreated wood, EPS-elements and plastic
foil. Packaging disposal should be of an environmentally friendly nature.
5.1 UNPACK THE MACHINE
Transport the machine with a fork lift
Unpack the package and remove the belt, carton box and bottom plates.
Put the feet onto machine and adjust the feet’s height
5.2 PUTTING UP
Important:
Danger of machine malfunction!
When choosing the machine location, please note the following guidelines:
1. The machine may only be put up and run in dry, well ventilated rooms. It is usually put up on even
ground, so the touch screen and the dispensation of products are at an easily accessible height.Align
the machine with a spirit level. You can adjust the machine’s four feet to do this.
2. Please make sure that around the machine, there is enough room for maintenance, cleaning and
re-pair works.
3. The distance to the wall at the back may not be less than 60 mm (for ventilation and drinking water
supply).
4. Make sure the tube for drinking water supply is not bent.
5.3 OPEN THE MACHINE
Open the machine door by emergency lock and check machine interior for any abnormal

15 Service Manual JLTT-ES
Note:
Only trained personnel may open the drinks vending machine!
JETINNO Guangzhou is not liable for any personal damage or damage to the machine which has been
caused by neglecting these safety instructions and notes.
In case of installation or power supply interruptions, the emergency lock will provide access to the inside of
the machine at any time.
1. Find the key
2. Unlock the door

16 Service Manual JLTT-ES
The lock is located on the left side of the machine door
Open the lock by hard key (key located at dispensing area when delivery) and pull up the lock, then
door is unlocked.
Check machine interior for any abnormal.
5.4 CONNECT THE MACHINE TO WATER MAINS
Important
Health hazards through soiled water supply!
Only use permissible mains with drinking water safe for drinking.
Rinse the drinking water mains thoroughly before connecting it to the machine.
Connect the machine with an easily accessible drinking water supply:
Connect the water supply hose with the connection spout. (with G3/8"outer thread).
Make sure the connection is tight.
Note:
The allowed water pressure is 0.5 to 7.5 bar. If the pressure is lower than this, you must use a separate
water pump.
The water hardness on site may not be more than 8°dH, otherwise a water filter has to be used.
5.5 CONNECT THE MACHINE ELECTRCITY MAINS
Attention:
Danger of damages to the machine by false voltage!
Different countries have different voltages!
Make sure your machine is suitable for connection with the local electrical network. Advice for mains
voltage and frequency can be found on the label.
Attention
Find the key

17 Service Manual JLTT-ES
Danger of damages to the machine by voltage variations!
Do not connect the machine with a network that might be subjected to voltage variations when turning on
other machinery due to heavy duty.
Danger!
Must ensure good grounding effect of the the power outlet connect to the machine, otherwise it may
cause the risk of electric shock!
With a grounded power plug, connect the machine with a socket with protective grounding.
Ensure that the plug is always easily accessible, so that the power supply can be interrupted if
necessary.
Connect the machine with the mains power plug.
5.6 FILL THE CONTAINERS
Open the machine door by hard key.
Open the top cover of the machine.
Put the bean hopper onto the machine and screw it (upper side of grinder foaming part)

18 Service Manual JLTT-ES
Open the cover of product containers.
Rotate the container outlet and fill in the products.
Rotate the outlet of the container back.
Important:
The products may only be filled in loosely. Avoid any compression.
Note:
When the machine has been replenished for the first time or has been replenished after being entirely
empty (cleaning), a couple of test dispensations must be run to allow the dispenser coils inside the con-
tainers to fill up completely with products.
Only replenish the machine with suitable products and note their use-by date.
5.7 PUT WASTE BINS ON TO THE MACHINE
5.8 SWITCH ON THE MACHINE
Make sure all of above procedures are correct, and then switch on machine by pressing power on switch. It
1. Unlock the door
3. Open the top cover
2. Open the door
4. Put the bean hopper

19 Service Manual JLTT-ES
will take a few minutes for system start and boiler heating up.
5.9 FILL THE BOILER
The machine will start to fill boiler automatically when the system start working.
Remark: If the boiler refill error, switch off the machine then switch on the machine after 3 seconds, the
system will refill the boiler again.
Note:
When the machine is restarted, the heating element will heat the water until the programmed temperature
is reached. There is a temperature detection device to control this procedure.
The boiler is secured by two safety temperature regulators (STR) and temperature sensor, which will turn
off the heater if the temperature gets too high.
5.10 MACHINE QUICK SETTING UP
There are 5 items those need to be setup.
1. Set the grinder
2. Calibrate the container
3. Set the drink recipe
4. Set GUI language
5. Set machine vending mode
5.10.1 CALIBRATE THE GRINDER
Note:
The coffee grinder default setting is for reference neans, Changing the grinding level with screw in grinder
lid.
The turning direction is depicted on the grinder lid. The grinding level can only be changed by trained
personnel.

20 Service Manual JLTT-ES
Make sure there is no coffee bean in the grinder.
Loosen the counter nut with a spanner.
Activate the grinder in the menu.
With the grinder running, turn the adjustment screw clock-wise (fine), until the grinding wheels are
touching.
With the grinder running, turn the screw counterclockwise (course), until you have reached the
desired grinding level (one line on the wheel = 28 µm).
For filter level (bean to cup fresh brew coffee), open 17 lines.
For Espresso level, open 9 lines.
Switch the grinder off.
Turning the counter nut tight. To make sure the setting is not changed again, the adjustment screw
must be held in place with a screwdriver when pulling the counter disk tight.
Find grinder here
This manual suits for next models
13
Table of contents
Other Jetinno Coffee Maker manuals
Popular Coffee Maker manuals by other brands

Philips
Philips HD7892/60 Service manual

Necta
Necta BRIO Installation, operating and maintanance instructions

Franke
Franke EVOLUTION PLUS operating instructions

Rommelsbacher
Rommelsbacher EKO 364/E instruction manual

KORTING
KORTING KCM9200BG user manual

Melitta
Melitta Cafina ALPHA-F operating instructions