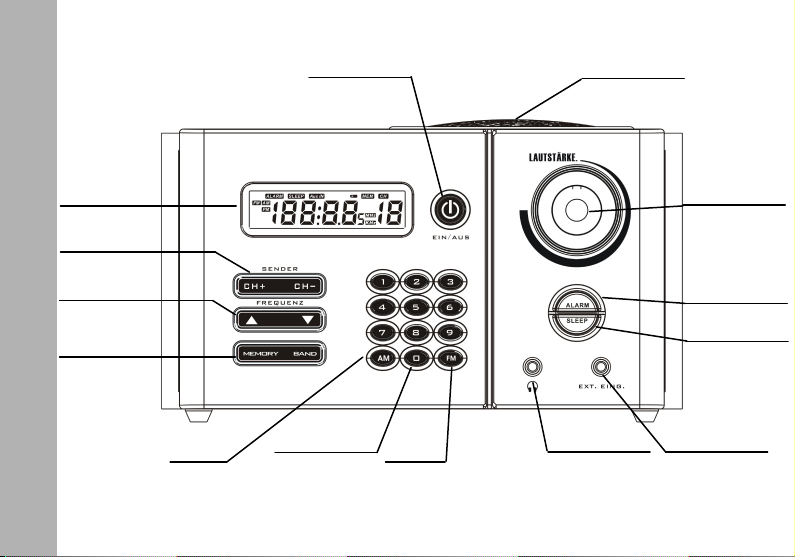
Senderspeicher
Es können bis zu 10 UKW und 10 MW Sender
im Radio gespeichert werden.
1.Stellen Sie den gewünschten Sender ein.
2.Drücken Sie MEMORY, im LCD blinkt “MEM”.
3.Drücken Sie die Zifferntaste (0-9), auf welcher
der Sender gespeichert werden soll.
4.Drücken Sie nochmals MEMORY, die “MEM”
Anzeige hört auf zu blinken und der Sender ist
gespeichert.
Zum Aufrufen eines gespeicherten Senders
einfach im entsprechenden Empfangsband
(UKW oder MW) die entsprechende Zifferntaste
drücken.
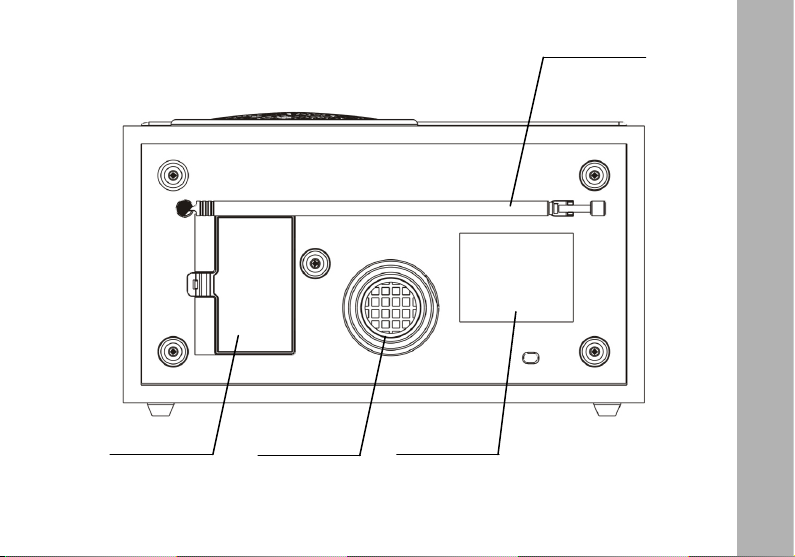
Empfang
• Bei UKW kann der Empfang durch Ausziehen
und Verstellen der Teleskopantenne verbessert
werden.
• Die Antenne für den Mittelwellenempfang ist
im Gehäuse eingebaut, der Empfang kann
durch Drehen des Gerätes verbessert werden.
Uhrzeit und Alarm einstellen
Die Uhr kann nur im Standby eingestellt werden.
1. MEMORY drücken, die Anzeige beginnt zu
blinken.
2.Die Uhrzeit mit den Tasten (Stunden) und
(Minuten) einstellen.
3.Zum Speichern der Einstellungen nochmals
MEMORY drücken .
Alarm einstellen,
1.Die Taste ALARM drücken, die Anzeige
beginnt zu blinken.
2.Die Alarmzeit mit den Tasten ( S tu n d e n )
und (Minuten) einstellen.
3.Zum Speichern der Einstellungen MEMORY
drücken.
Der Alarm ist jetzt aktiv, im LCD erscheint das
ALARM-Symbol.
Um den Alarm abzuschalten, in Bereitschaft die
Taste ALARM zweimal drücken, das ALARM
Symbol erlischt.
DEUTSCH
4