4
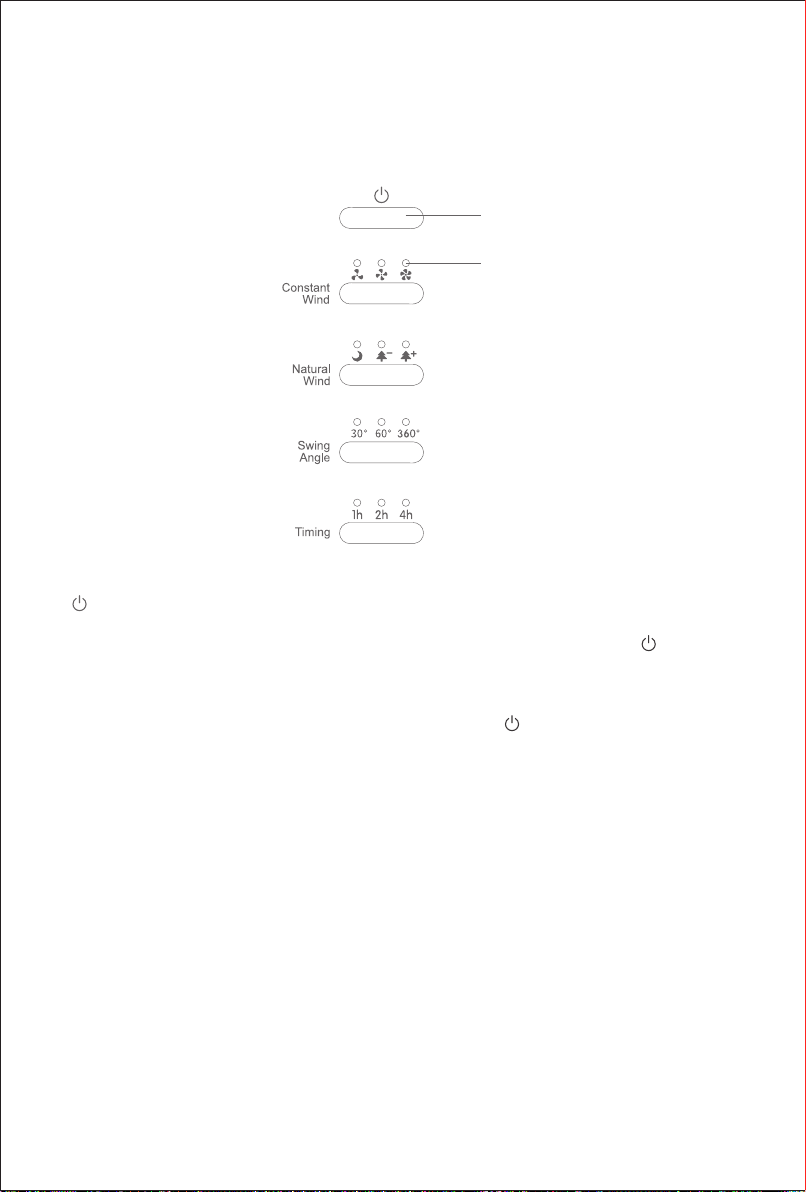
"Swing Angle" button
The machine provides three swing angles of 30°
left and right, 60° right and left, and 360°innite
cycle. The swing of the machine is the left and
right motion centered on the current position.
Press the "swing angle" button to swing the fan
head from side to side for 30°, press two times
to swing the fan head from side to side for 60°,
press three times to rotate the fan head for 360°
indefinitely, and then press the "swing angle"
button to stop. This button is a cyclic key, which
will be accompanied by the prompt sound from
the buzzer. In the selected state of a certain
angle, the corresponding indicator lights up.
"Timing" button
In order to meet the needs of consumers, the
product provides 1-7 hours of timing time. Press
the "timing" button, the timing is 1h, two times
2h, three times 3h, and so on. This button is a
cyclic key, and it will be accompanied by the
prompt sound issued by the buzzer. When the
time is up, the machine stops running.
In the timing state, the indicator light is on.
Timing for 1h, "1h" light on; When is 2n, "2h"
light is on; Timing for 3h, "1h+2h" light; Timing
for 4h, "4h" light on; Timing for 5h, "1h+4h"
light; Timing for 6h, "2h+4h" light; Timing for 7h,
"1h+2h+4h" light. (Picture 4)
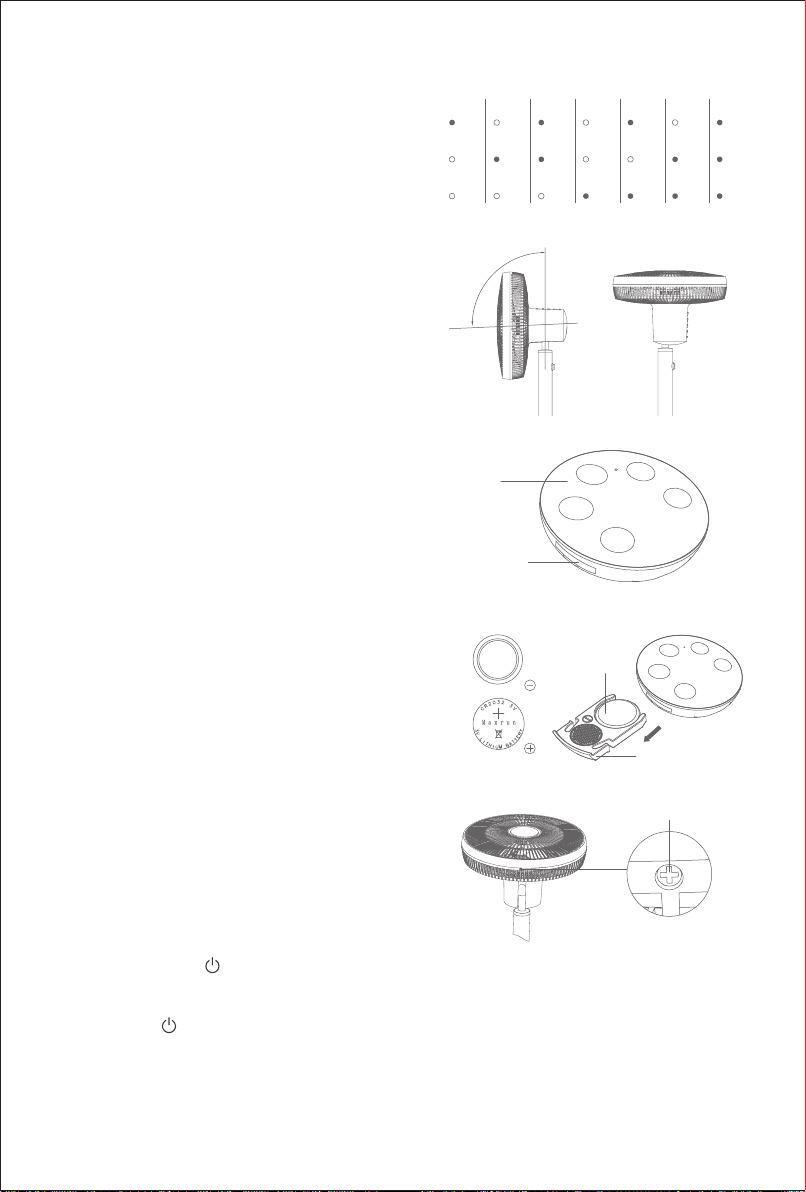
Manual angle adjustment
In addition to the right and left automatic swing
function, the product also can be manually
adjusted at any angle from the bottom to the top
- 5 ° to 90 ° (Picture 5)
Use of Remote Controller
Matching of remote controller and fan
The remote controller and the fan have already
been matched and are normal in use. If there
is no response to operation, please match the
remote controller and fan by means as below:
Keep pressing the " "button tightly , and then
plug in the adapter. After a tinkle sound, the
constant wind high-speed indicator light is on.
Release the" "button and keep pressing the
“natural wind” button on the remote controller
until the fan rotates, then nish the match.
4
5
-5°
90°
1h 2h 3h 4h 5h 6h 7h
1h
2h
4h
1h
2h
4h
1h
2h
4h
1h
2h
4h
1h
2h
4h
1h
2h
4h
1h
2h
4h
6
Button
Battery holder
8 Screw
7Negative
Side Upward
Battery Holder