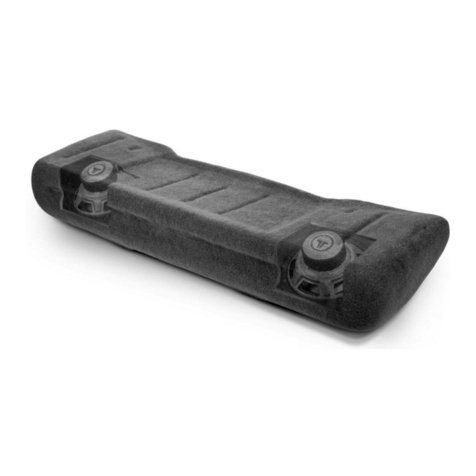
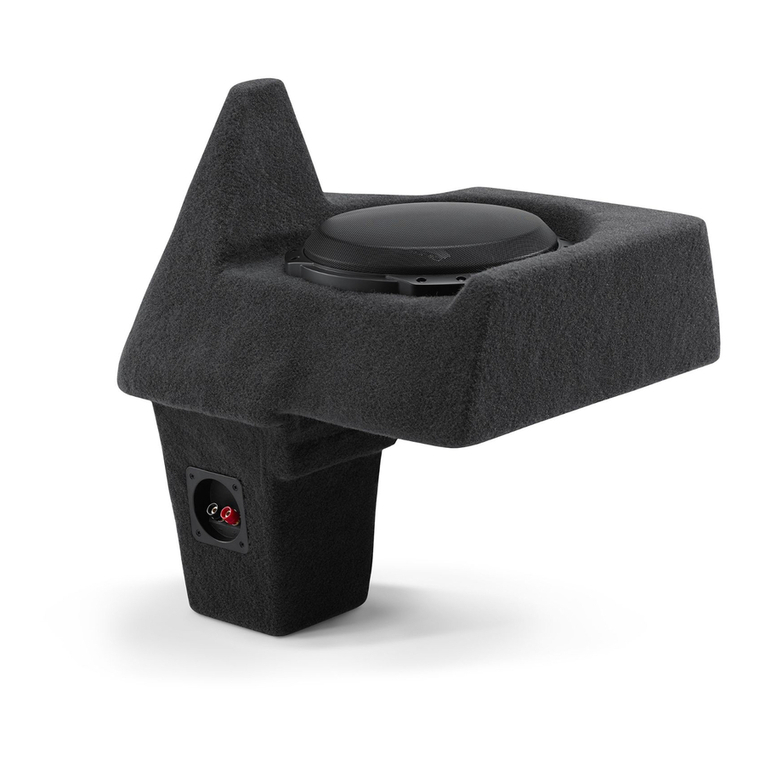
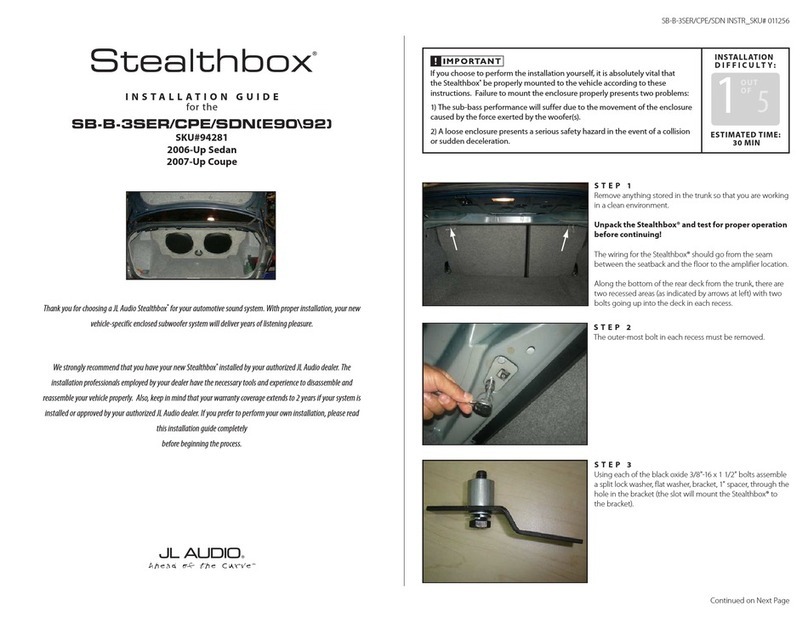
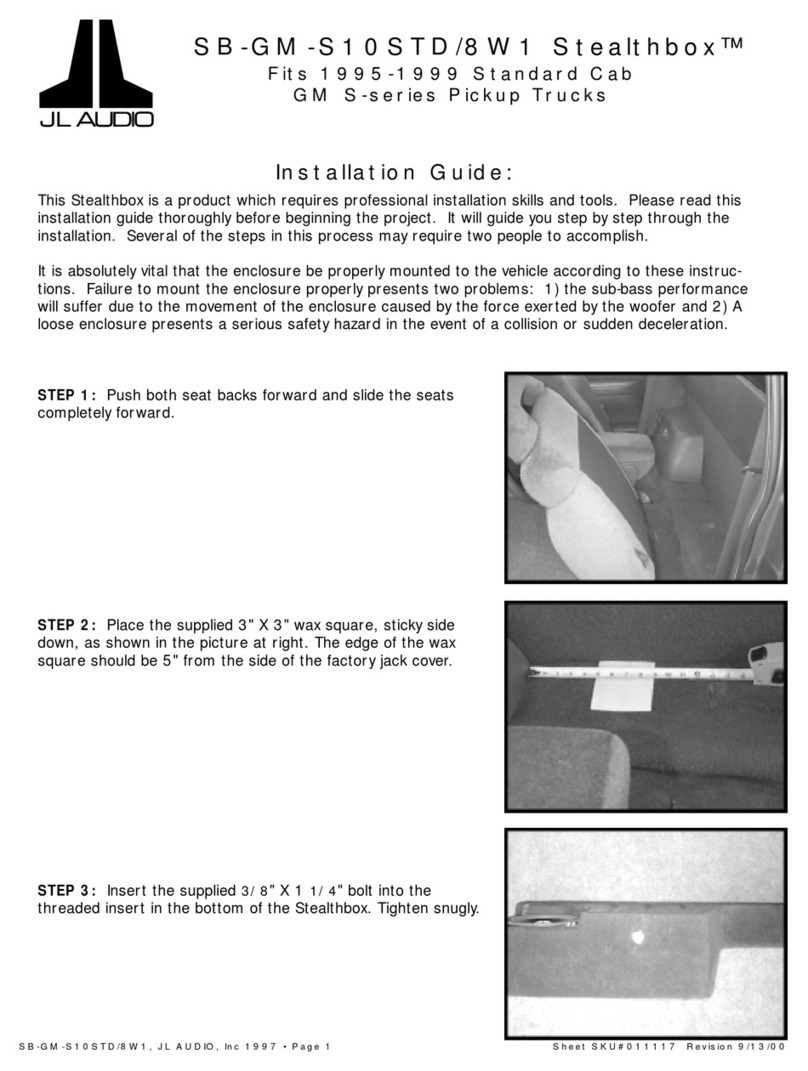
manuals.online logo
Brands
  1. Home
  2. •
  3. Brands
  4. •
  5. JL Audio
  6. •
  7. Car Stereo System
  8. •
  9. JL Audio Stealthbox SB-B-7SER/10W6v2 User manual

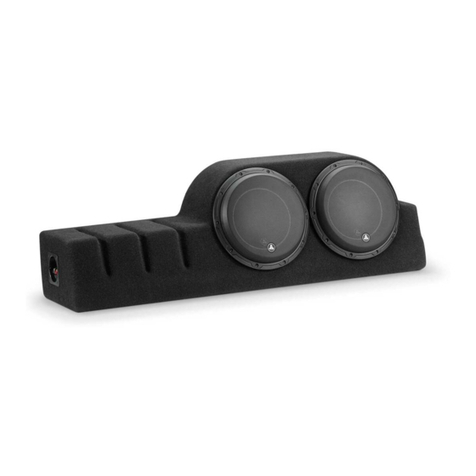
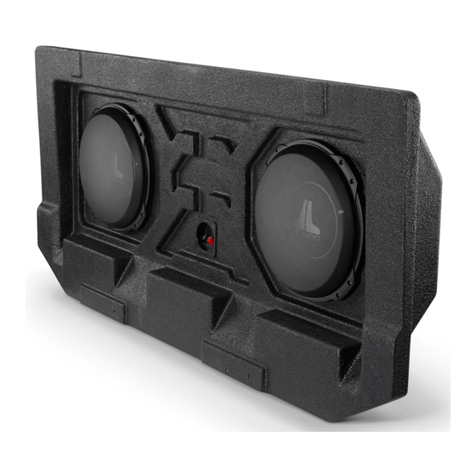
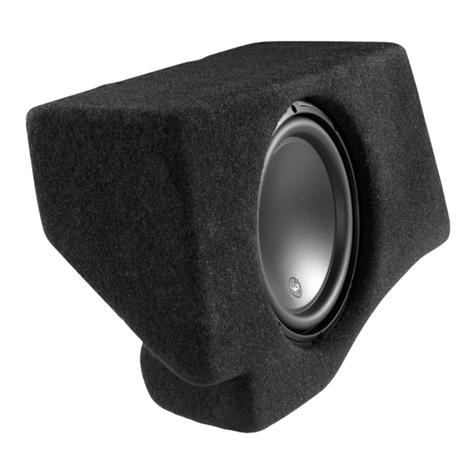
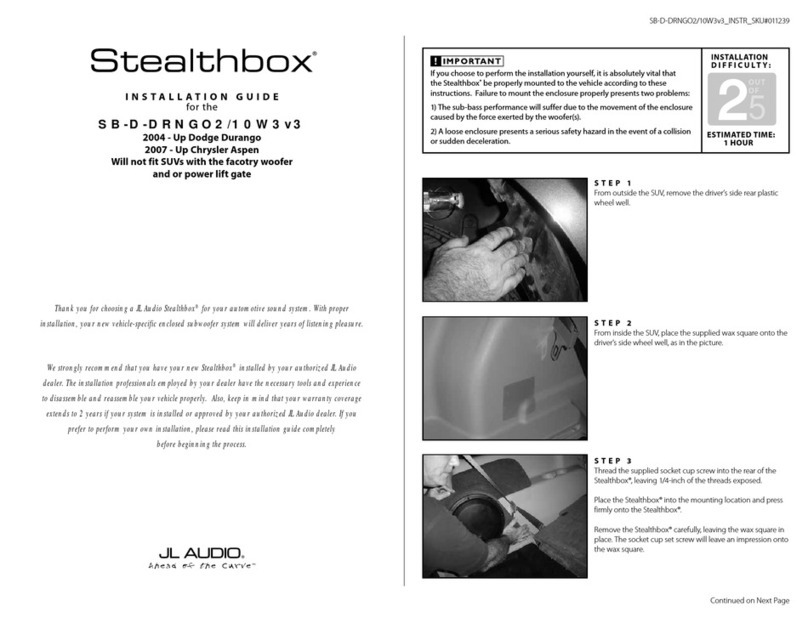
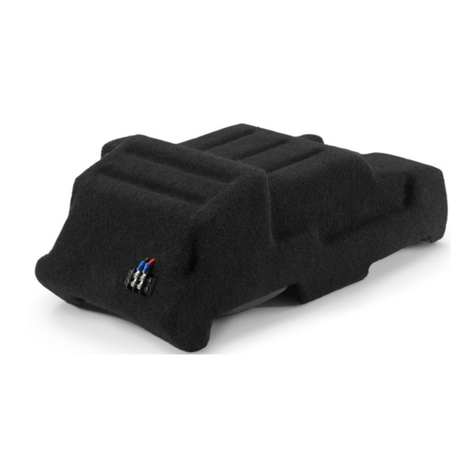
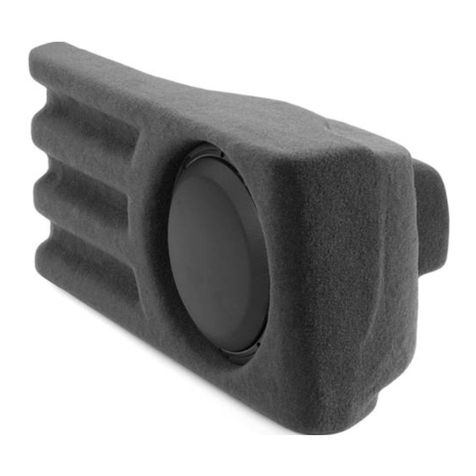
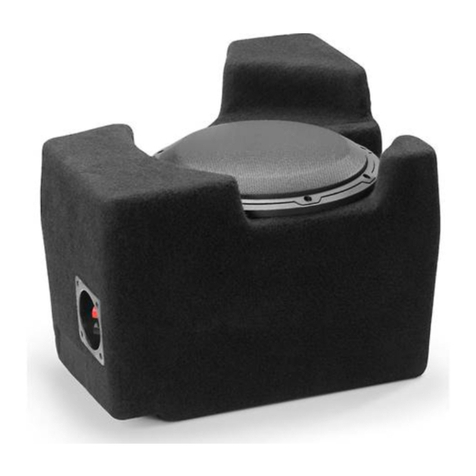
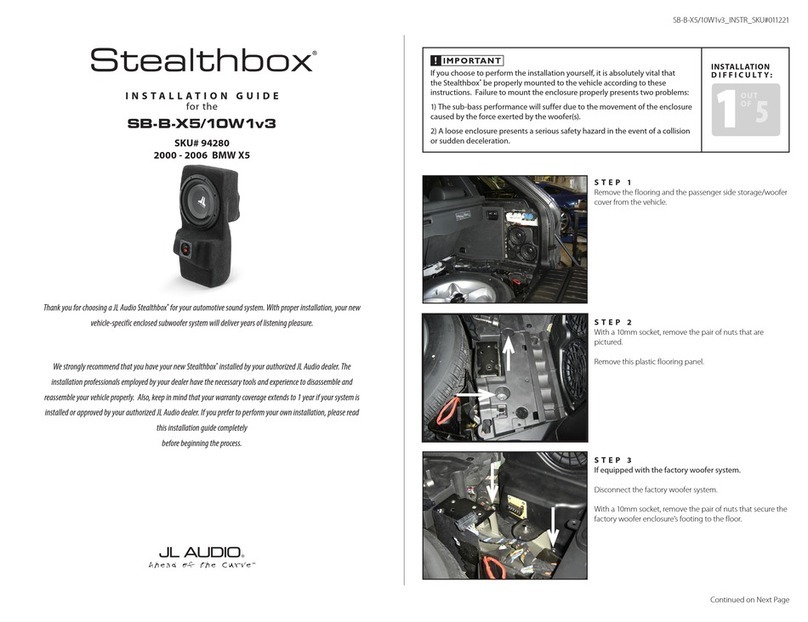
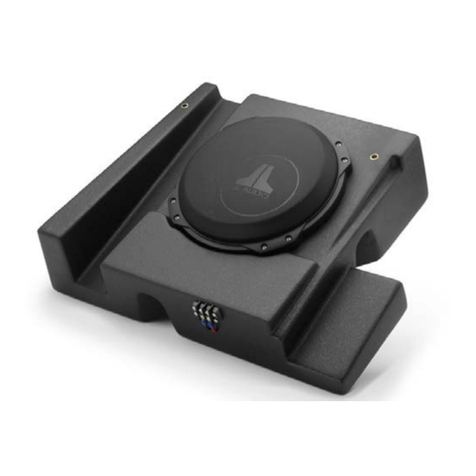
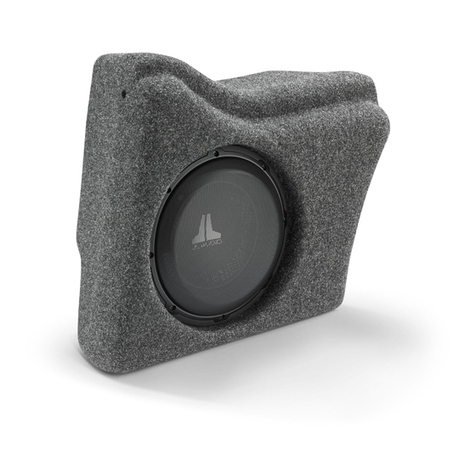
JL Audio Stealthbox SB-B-7SER/10W6v2 User manual

INSTALLATION GUIDE
for the
SB-B-7SER/10W6v2
SKU#94488
2002-2008
Thank you for choosing a JL Audio Stealthbox®for your automotive sound system. With proper
installation, your new vehicle-specific enclosed subwoofer system will deliver years of listening pleasure.
We strongly recommend that you have your new Stealthbox®installed by your authorized JL Audio
dealer. The installation professionals employed by your dealer have the necessary tools and experience
to disassemble and reassemble your vehicle properly. Also, keep in mind that your warranty coverage
extends to 2 years if your system is installed or approved by your authorized JL Audio dealer. If you
prefer to perform your own installation, please read this installation guide completely
before beginning the process.
If you choose to perform the installation yourself, it is absolutely vital that
the Stealthbox®be properly mounted to the vehicle according to these
instructions. Failure to mount the enclosure properly presents two problems:
1) The sub-bass performance will suffer due to the movement of the enclosure
caused by the force exerted by the woofer(s).
2) A loose enclosure presents a serious safety hazard in the event of a collision
or sudden deceleration.
S T E P 1
Empty out the trunk of the car so that you have a clean area
to work in.
Continued on Next Page
S T E P 2
Remove the floor of the trunk compartment and, the rear
bottom cap of the trunk opening as shown.
S T E P 3
Remove the Drivers side trunk liner as shown.
SB-B-7SER/10W6v2 INSTR_SKU# 011311
INSTALLATION
D I F F I C U LT Y :
25
OUT
OF
ESTIMATED TIME:
1 HOUR
Continued on Next Page
SB-B-7SER/10W6v2 INSTR_SKU# 011311
S T E P 7
Install the two Allen Head Studs with Spacers (included) into
the threaded bosses as shown leaving approximately 1/2” of
the Allen Head Studs exposed.
S T E P 6
View the OEM hole that the arrow on the left is pointing to,
place the wax square on the right in approximately the same
location on the right side as indicated by the arrow. Place the
three 2”x2”x13” Foam Support Blocks in front of the armrest
opening as shown.
S T E P 5
Re-assemble the parts that have been removed from the car.
S T E P 4
Remove the rear seat back panel and set aside. This panel
will not be used.
Page 2 • JL Audio, Inc 2010
S T E P 9
The rear seat back cusion is secured at the bottom by a
number of bolts along the bottom edge, locate them and
remove them so that the back cusion can be lifted up and
forward from it’s anchor points.
STEP 11
Remove the rear armrest trim panel and door remove the
door from the assembly and re-install the trim piece without
the door.
STEP 10
Tilt the rear seat back cusion forward (or remove it entirely).
S T E P 8
Remove the bottom cusion of the back seat, it can be just
slid forward and remain in the vehicle if so desired.
Continued on Next Page
SB-B-7SER/10W6v2 INSTR_SKU# 011311
S T E P 1 5
Drill a 1/2” hole thru the wall between the trunk and passenger
compartment where the Wax Square was marked by the Allen
Head Stud.
Before drilling, always make sure that you are not
going to be drilling into any gas lines, brake lines,
tires, transmission lines, electrical wiring, exhaust
systems or anything else that might cause a
reduction in your weekly pay.
Always wear eye protection when drilling!
S T E P 1 4
As the Stealthbox® is slid into position, ensure that the Allen
Head Stud comes through the factory hole located on the
drivers side (as indicated by the arrow on the left in STEP 6).
The Allen Head Stud on the passenger side will mark the Wax
Square that was installed in STEP 6, after the mark is made,
remove the Stealthbox® from the vehicle.
S T E P 1 3
Slide the Stealthbox® into position with the drivers side
going in first (see STEP 14)!
S T E P 1 2
Locate the hole used as a reference (on the left in STEP 6)
and cut through the padding between the wall and the back
seat in front of that hole. Don’t cut all four sides so that it can
fold down to cover the location after your work is done. Cut a
similar access flap on the passenger side in front of where the
Wax Square was positioned in STEP 6.
Page 3 • JL Audio, Inc 2010
STEP 17
The Foam Tape and Foam Support Blocks should be
positioned as shown.
STEP 19
From the access holes cut in STEP 12, secure the Stealthbox®
by installing a Flat Washer, Split Lock Washer and Hex Nut on
each Allen Head Stud. Once everything is installed and the
Stealthbox®has been tested, re-install the back seat stepping
backwards through STEPS 10,9,8.
STEP 18
Attach the wires for the Stealthbox®, test it and slide it into
position.
STEP 16
Lay the Foam Tape as shown, surrounding the sides of the
opening
SB-B-7SER/10W6v2 INSTR_SKU# 011311
Page 4• JL Audio, Inc 2010
All specifications are subject to change without notice. “JL Audio®” and the JL Audio logo, “Stealthbox” and the Stealthbox logo are registered
trademarks of JL Audio, Inc.“Ahead of the Curve”and its respective logo is a trademark of JL Audio, Inc.
JLA-SKU#011311 07.12.2010 • Printed in USA • ©2010 JL Audio, Inc. • U.S. PATENTS: #5,734,734 #5,949,898 #6,118,884 #6,229,902 #6,243,479
#6,294,959 #6,501,844 #6,496,590 #6,441,685 #5,687,247 #6,219,431 #6,625,292 #D472,891 #D480,709 OtherU.S. & Foreignpatentspending.
For more detailed information please visit us online at www.jlaudio.com.
(954) 443-1100
www.jlaudio.com
1 0 3 6 9 N O R T H C O M M E R C E P A R K W A Y • M I R A M A R , F L O R I D A • 3 3 0 2 5 • U S A
I N C L U D E D H A R D W A R E
2) 3/8” Split Lock Washer 2) 3/8” Flat Washer
2) 3/8-16 Hex Nut 2) 3/8-16 x 2-1/4 Allen Head Stud
2) 1/2” x 1” Round Spacer 1) Wax Square
3) 2” x 2” x 13” Foam Support Block Misc. Foam Tape
S P E C I F I C A T I O N S
Enclosure Type: Acoustic Suspension (sealed)
Driver Type: 10W6v2-D4
Nominal Impedance: 4 Ohms (Final)
Continuous Power Handling: 1200 Watts
P O W E R R E C O M M E N D A T I O N
JL Audio recommends high quality amplifiers such as the JL Audio HD1200/1, HD750/1 1000/1v2 or J2 1000.1. The
diagram below shows the recommended crossover, infrasonic filter and equalizer settings for the HD750/1. If
another amplifier is being used, please reference this illustration and use similar settings on that amplifier.
All JL Audio amplifiers are very versatile audio components. Please consult the owner’s manual for even more
detailed information about installing and tuning your amplifier.
C O N N E C T I O N S
Using quality power, signal and speaker wire is essential in ensuring the performance of your Stealthbox®.
JL Audio recommends using a 4 AWG power kit such as the XC-PCS4-1B for your Stealthbox® amplifier, other
kits are available should you be using more than one amplifier. Signal wire such as the JL Audio Premium
Audio Interconnect Cables should be used that will provide signal for both channels of the amplifier. JL Audio
recommends using 12AWG speaker wire for subwoofers such as our XC-BCS12-25.
S Y S T E M U P G R A D E S
There are options for further upgrades to the sound system in this vehicle. JL Audio strongly suggests discussing
those options with a local authorized dealer who can help engineer anything from other simple upgrades to
extravagant customizations.
STEP 21
C O N G R A T U L A T I O N S !
You have completed the installation for this model!
Enjoy your new Stealthbox®!
Please refer to the Power Recommendation section for an
amplifier recommendation and basic set-up help.
STEP 20
The view looking back from the drivers seat with the rear
seat armrest folded down.
Other JL Audio Car Stereo System manuals

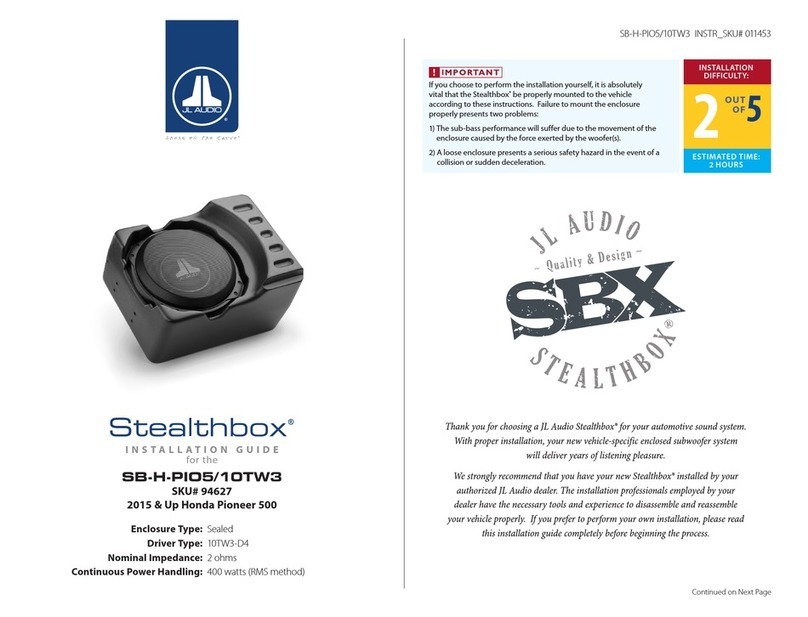
JL Audio Stealthbox SB-H-PIO5/10TW3 User manual

JL Audio

JL Audio Stealthbox SB-H-PIO5/10TW3 User manual

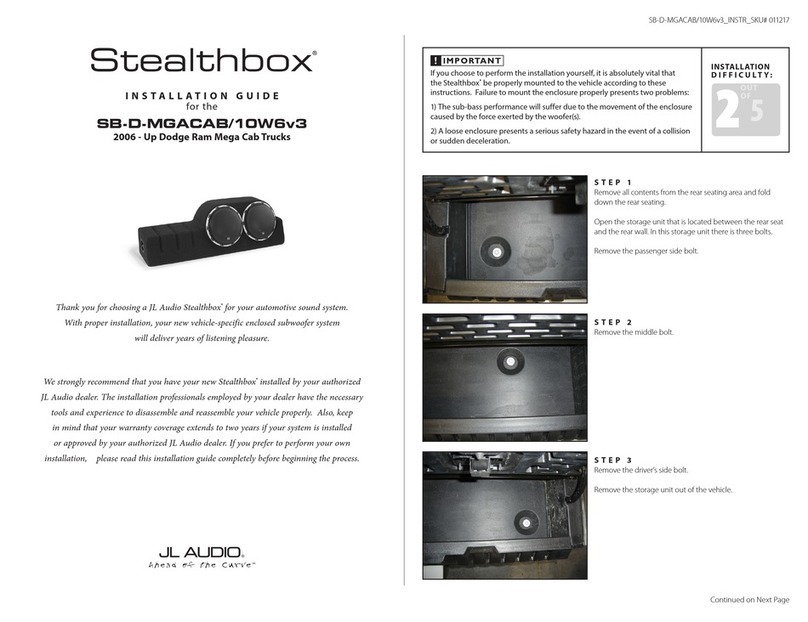
JL Audio Stealthbox SB-D-MGACAB/10W6v2 User manual

JL Audio

JL Audio Stealthbox SB-D-MGACAB/10W6v2 User manual

JL Audio Stealthbox SB-GM-C6CONV/8W3v3 User manual

JL Audio

JL Audio Stealthbox SB-GM-C6CONV/8W3v3 User manual

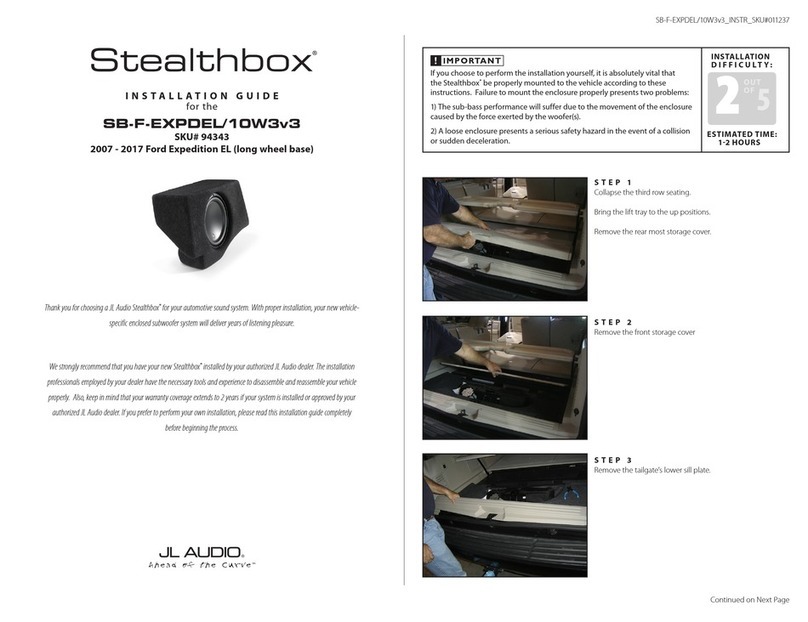
JL Audio Stealthbox SB-F-EXPDEL/10W3v3 User manual

JL Audio

JL Audio Stealthbox SB-F-EXPDEL/10W3v3 User manual

JL Audio Stealthbox SB-F-TRKCTR/10W3 User manual

JL Audio

JL Audio Stealthbox SB-F-TRKCTR/10W3 User manual

JL Audio Stealthbox SB-B-X5/10W1v3 User manual

JL Audio

JL Audio Stealthbox SB-B-X5/10W1v3 User manual

JL Audio Stealthbox SB-D-DRNGO2/10W3v3 User manual

JL Audio

JL Audio Stealthbox SB-D-DRNGO2/10W3v3 User manual

JL Audio Stealthbox SB-D-TRKCTR/12W3v2 User manual

JL Audio

JL Audio Stealthbox SB-D-TRKCTR/12W3v2 User manual

JL Audio Stealthbox SB-D-MAG/10W3v3 User manual

JL Audio

JL Audio Stealthbox SB-D-MAG/10W3v3 User manual

JL Audio Stealthbox 94460 User manual

JL Audio

JL Audio Stealthbox 94460 User manual

JL Audio SB-B-X5E70 User manual

JL Audio

JL Audio SB-B-X5E70 User manual

JL Audio Stealthbox SB-F-RTRKCTR/12W3v2 User manual

JL Audio

JL Audio Stealthbox SB-F-RTRKCTR/12W3v2 User manual

JL Audio Stealthbox SB-F-EXPED2/10W3v3 User manual

JL Audio

JL Audio Stealthbox SB-F-EXPED2/10W3v3 User manual

JL Audio Stealthbox SB-F-MU94+/10W3 User manual

JL Audio

JL Audio Stealthbox SB-F-MU94+/10W3 User manual

JL Audio Stealthbox SB-GM-4GSUVCNSL/10TW1 User manual

JL Audio

JL Audio Stealthbox SB-GM-4GSUVCNSL/10TW1 User manual

JL Audio Stealthbox SB-F-FOC5DR/10TW3 User manual

JL Audio

JL Audio Stealthbox SB-F-FOC5DR/10TW3 User manual

JL Audio Stealthbox SB-GM-S10STD/8W1 User manual

JL Audio

JL Audio Stealthbox SB-GM-S10STD/8W1 User manual

JL Audio Stealthbox SB-B-3SER/CPE/SDN(E90\92) User manual

JL Audio

JL Audio Stealthbox SB-B-3SER/CPE/SDN(E90\92) User manual

JL Audio MediaMaster 105 User manual

JL Audio

JL Audio MediaMaster 105 User manual

JL Audio Stealthbox SB-CAN-G2MVX3D/10TW3 User manual

JL Audio

JL Audio Stealthbox SB-CAN-G2MVX3D/10TW3 User manual

JL Audio StealthMod SMS-B-X5E70 User manual

JL Audio

JL Audio StealthMod SMS-B-X5E70 User manual

JL Audio Stealthbox SB-F-150-SCDBL/12TW3 User manual

JL Audio

JL Audio Stealthbox SB-F-150-SCDBL/12TW3 User manual

JL Audio Stealthbox 94429 User manual

JL Audio

JL Audio Stealthbox 94429 User manual

JL Audio Stealthbox SB-B-5SER/12W6v2 User manual

JL Audio

JL Audio Stealthbox SB-B-5SER/12W6v2 User manual

Popular Car Stereo System manuals by other brands

Grundig Challenge 600 A CD SR Service manual

Grundig

Grundig Challenge 600 A CD SR Service manual

Lightning Audio LC05 Installation and application manual

Lightning Audio

Lightning Audio LC05 Installation and application manual

Dension ice-Link: Plus installation guide

Dension

Dension ice-Link: Plus installation guide

Eclipse CD7100 Operation guide

Eclipse

Eclipse CD7100 Operation guide

Philips CEM250/51 user manual

Philips

Philips CEM250/51 user manual

Clarion CZ109 Installation and wire connection manual

Clarion

Clarion CZ109 Installation and wire connection manual

Sony XR-CA350X Marketing s & diagrams operating instructions

Sony

Sony XR-CA350X Marketing s & diagrams operating instructions

Panasonic CQ-JT1010X Service manual

Panasonic

Panasonic CQ-JT1010X Service manual

Philips CEM2100/00 user manual

Philips

Philips CEM2100/00 user manual

Somogyi voxbox vb 2000 instruction manual

Somogyi

Somogyi voxbox vb 2000 instruction manual

Philips CED320 user manual

Philips

Philips CED320 user manual

Saab Clarion manual

Saab

Saab Clarion manual

Blaupunkt DVD-PLAYER ME4 OPERATING AND INSTALLATION Manual

Blaupunkt

Blaupunkt DVD-PLAYER ME4 OPERATING AND INSTALLATION Manual

DLS Cruise CRPP-VO2.14 user manual

DLS

DLS Cruise CRPP-VO2.14 user manual

Xomax XM-R265 user manual

Xomax

Xomax XM-R265 user manual

Sony MEX-BT3600U operating instructions

Sony

Sony MEX-BT3600U operating instructions

MiraDeed MD-4 Operation manual

MiraDeed

MiraDeed MD-4 Operation manual

Alpine CDA-W550 Installation

Alpine

Alpine CDA-W550 Installation

manuals.online logo
manuals.online logoBrands
  • About & Mission
  • Contact us
  • Privacy Policy
  • Terms and Conditions

Copyright 2025 Manuals.Online. All Rights Reserved.