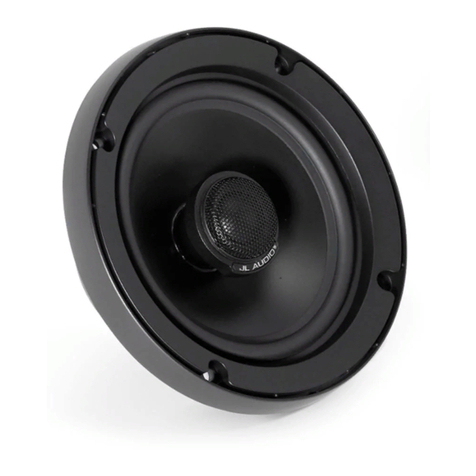
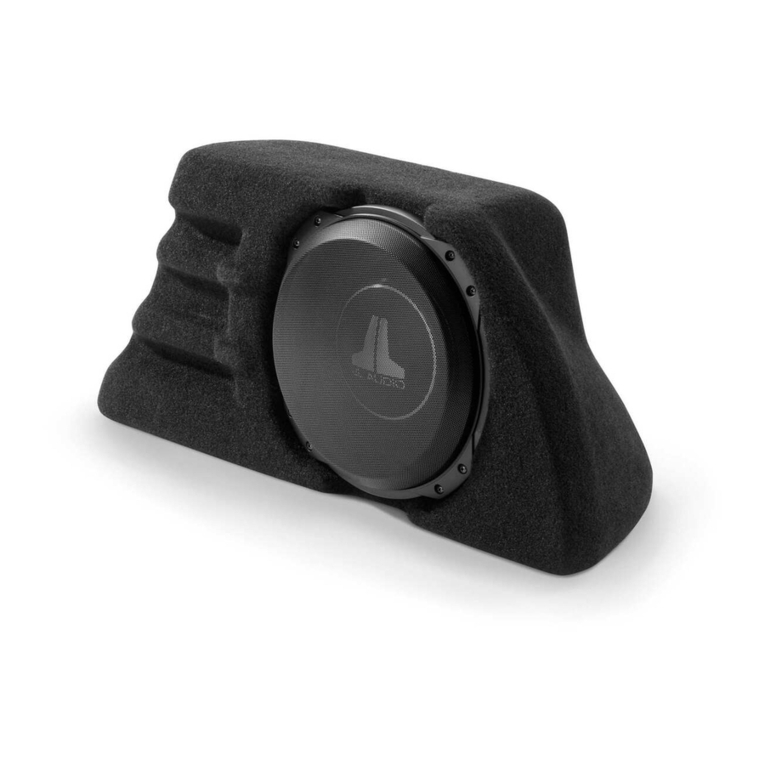
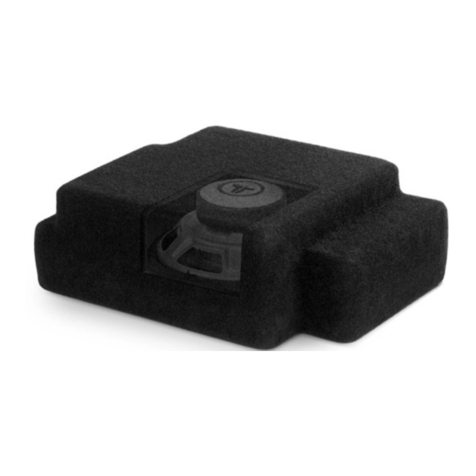
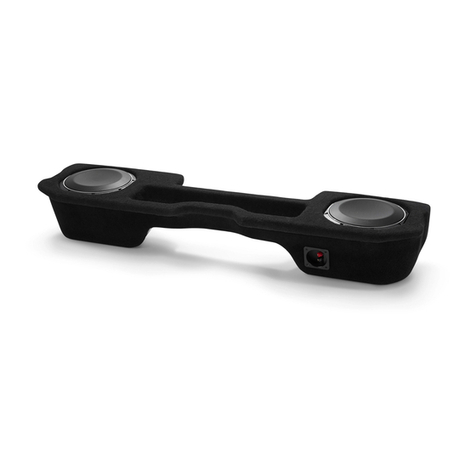
4 JL AUDIO M7 7 0 -CCS / M7 7 0 -T CS
BEFORE YOU BEGIN INSTAL L ING
•Turn off the audio system. It isalso advisable
to disconnectyourbattery system whenever
performing installation work.
•Before cutting,drilling or inserting any screw,
check clearanceson both sidesofthe planned
mounting surface. Also check forany potential
obstacles,such aswiring harnesses,fuellines,
hydraulic lines,etc. Check both sides ofthe vessel
before cutting any holes.
•Wear protective eyewear at all timesand adust
mask and gloveswhen drilling orcutting.
Itisabsolutely vitalthatyourcomponent
system isconnected asshown in thismanual.
Failure to connectthe system asshown will
resultin damage to yourspeakerswhich is
NOT covered underwarranty.Do notsubstitute
differentcrossovernetworks!
TWEETER PROTECTION
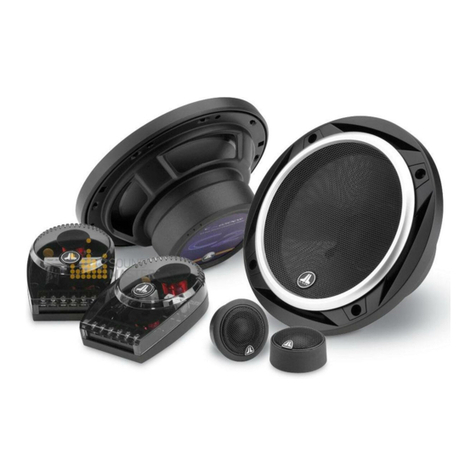
The crossovernetworksare equipped with
an advanced electronic tweeterprotection
circuitdesigned to minimize the possibility
oftweeterfailure.Thiselectronic device
monitorscurrentgoing to the tweeterand
willdisconnectthe tweeterfrom the signal
when itsensesoverload.Should thisoccur
while listening to the audio system,simply
reduce the volume fora few secondsand the
protection circuitwillresetitselfautomatically.
SPEAKER PL ACEMENT CONSIDERATIONS
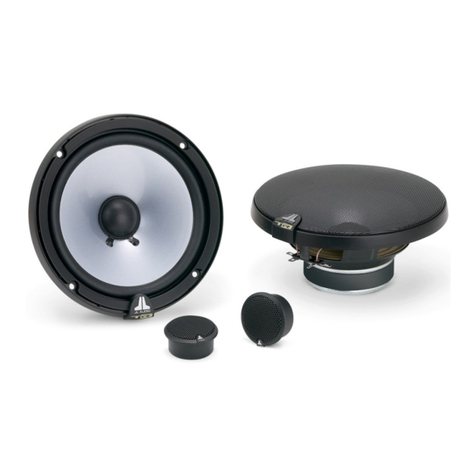
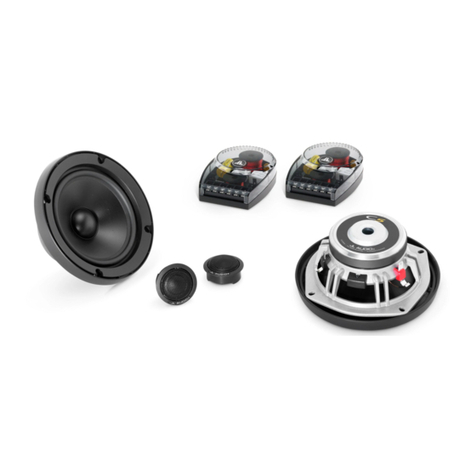
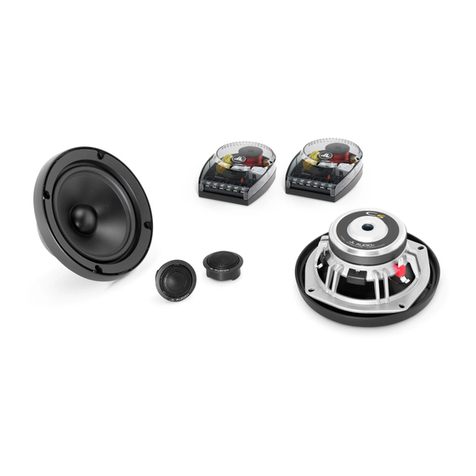
A componentsystem givesyou the ability to
place the wooferand tweeterseparately in your
vessel.Asa generalrule,the tweetersshould be
placed relatively close to the woofersforbesttonal
balance and mostcoherentimaging (the closer,the
better). Any separation greaterthan 8 inches(20
cm)islikely to resultin degraded sound quality.
Avoid placing tweeterswhere they willbe
blocked by objects(including seated occupants).
When selecting a mounting location,look atboth
sidesofthe vesselto make sure thatthislocation is
clearon both sides.
3:00 Pos it ion
9:00 Pos it ion
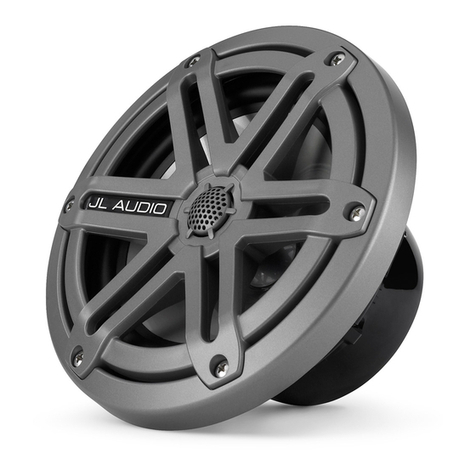
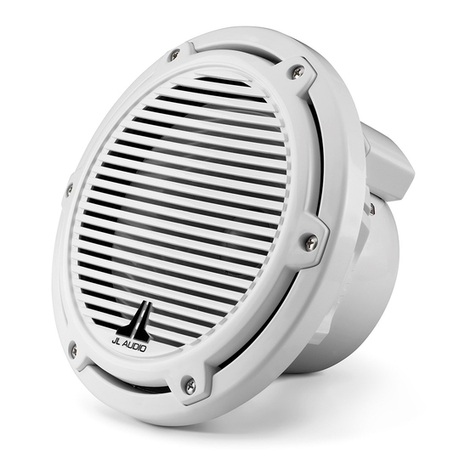
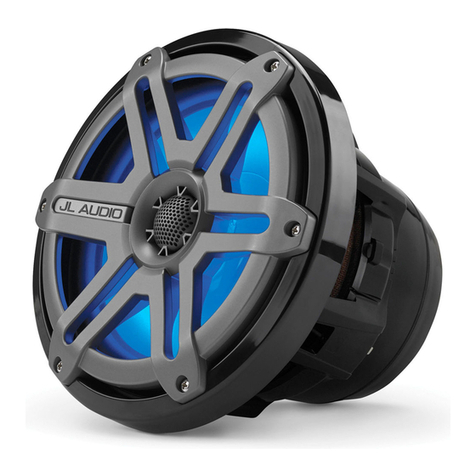
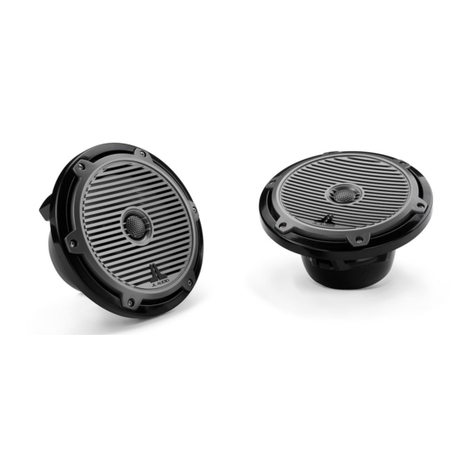
INTERCHANGEABL E L OGO BADGE
(Spor t -Gr ille Models Only)
Interchangeable Logo Badgesfor Sport Grille
modelcomponentwoofersare included to further
customize yourinstallation.The design ofthe Sport
Grille allowsfor the JLAudio logo to be added in
yourchoice ofincluded colorsand oriented in the
mannerthatbestsuits yourinstallation.
NOTE: A leftand a rightbadge ofeach
coloris included.These two different
orientationsensure the “JL Audio” Logo will
read correctly whereverpositioned (most
commonly the 3:00 or9:00 position).
Remove the adhesive backing from the badge
and affix the badge to the grille using the small
positioning hole asa guide.See diagram below.
