4
Instruction Manual
JLCHC901
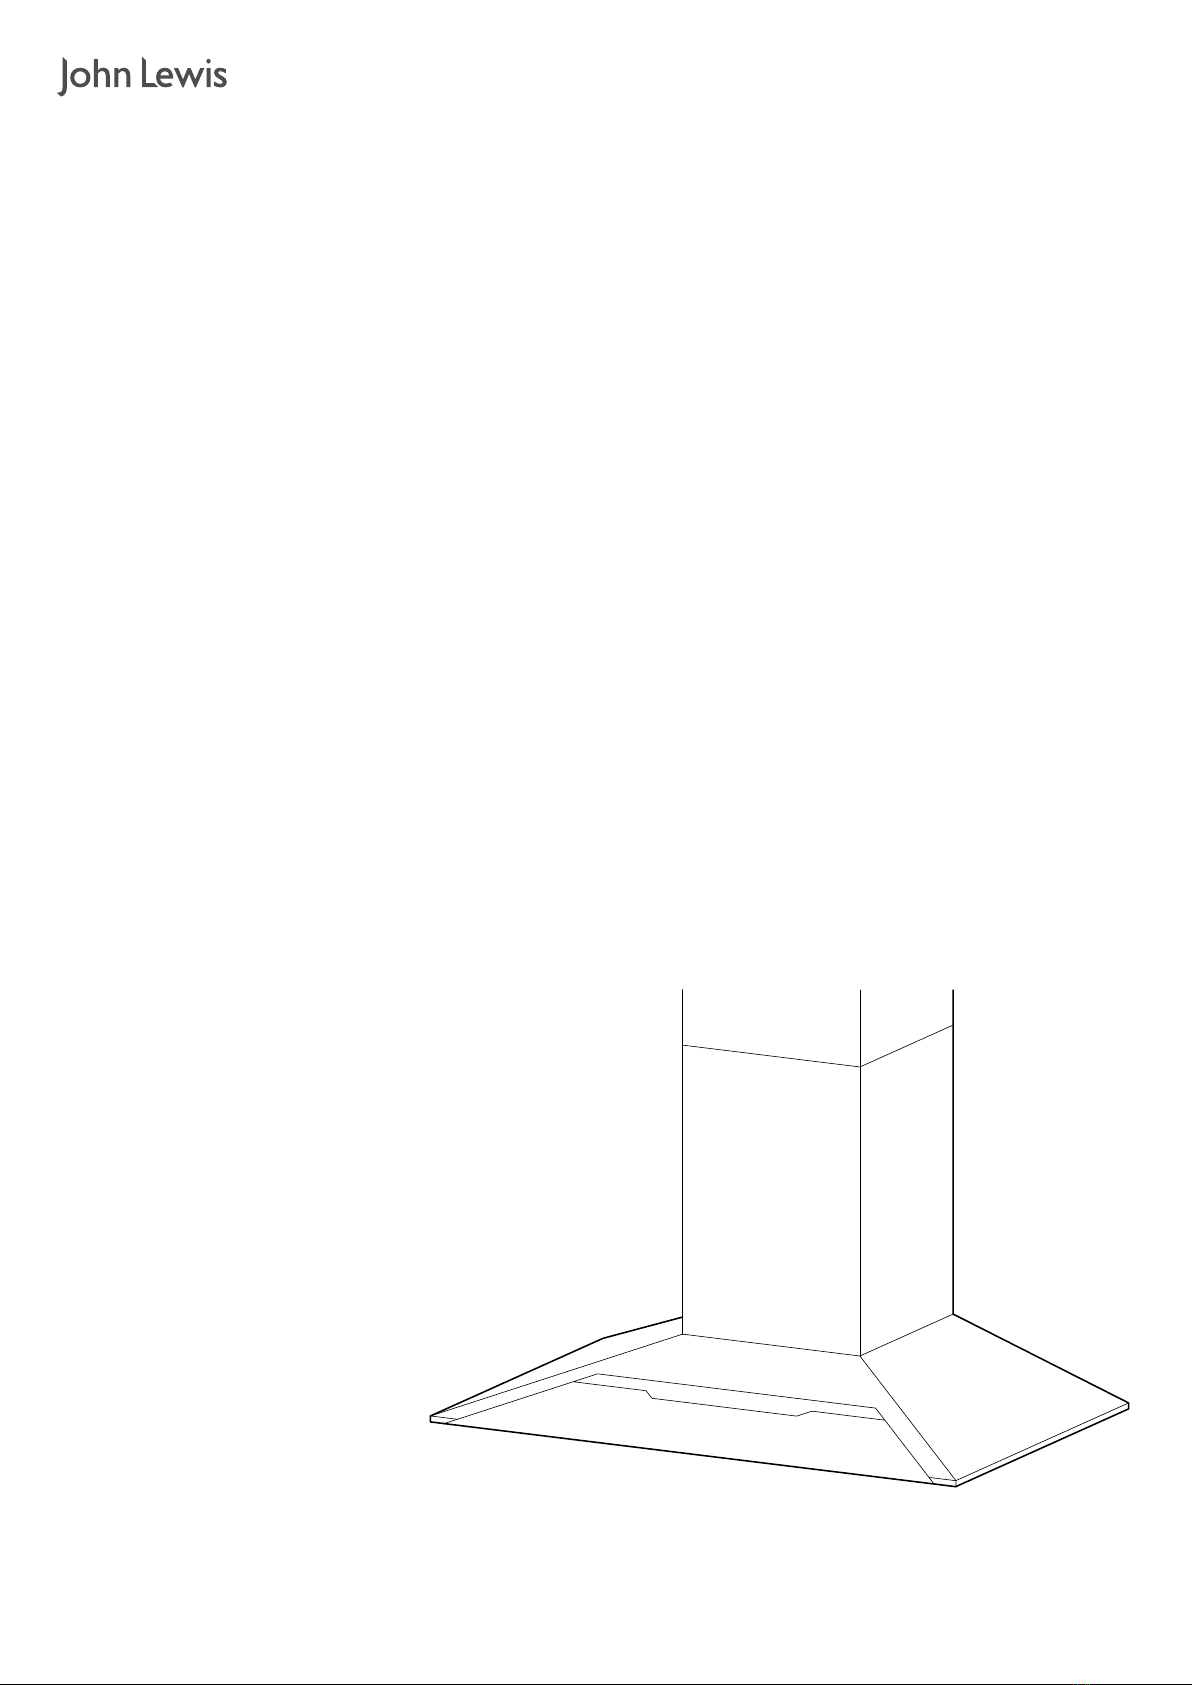
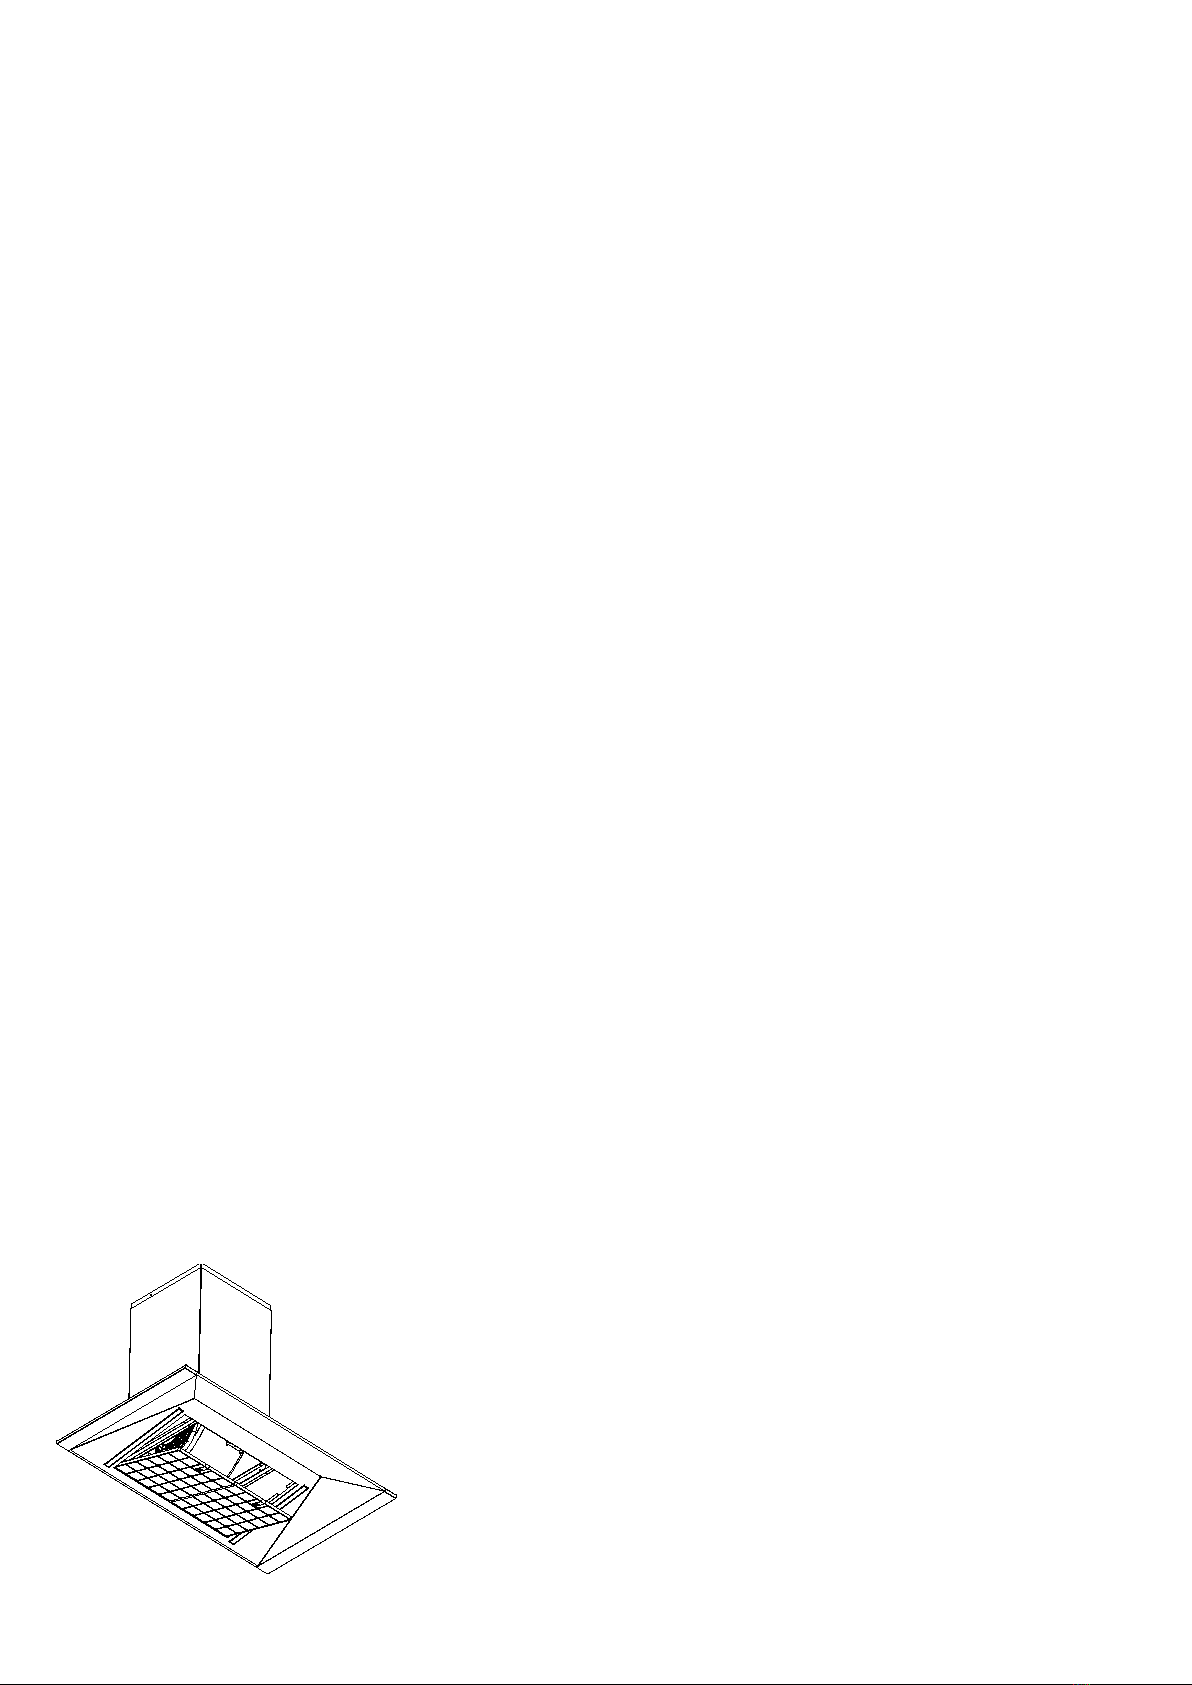
90cm Cooker hood
Safety information
Take note of the following safety information:
Warning! To prevent re or shock hazard, do not expose this cooker hood
to rain or moisture.
Warning! Always remove the mains plug from the wall socket when not in
use or before any service operation.
Warning! There are no user serviceable parts on this cooker hood. Refer
servicing to qualied service personnel.
Important safety information
It is most important that this guide should be retained with the cooker
hood for future reference. Should you move house and leave the appliance,
always ensure that this guide is supplied with the cooker hood in order that
the new owner can get to know the functionality and the relevant warnings.
To avoid accidents to property or people it is important to follow the
instructions given. Failure to do so removes any liability from John Lewis.
Warnings
– Any installation work must be undertaken by a qualied electrician or
competent person.
– This is a class I electrical appliance and must therefore be correctly
earthed.
– If the cooker hood is installed for use above a gas appliance, the
provision for ventilation must be in accordance with the Gas Safety
Codes of Practice, the Gas Safety (Installation & Use) Regulations, the
Building Regulations issued by the Department of the Environment
and, where applicable, the Building Standards (Scotland) (Consolidated)
Regulations issued by the Scottish Development Department.
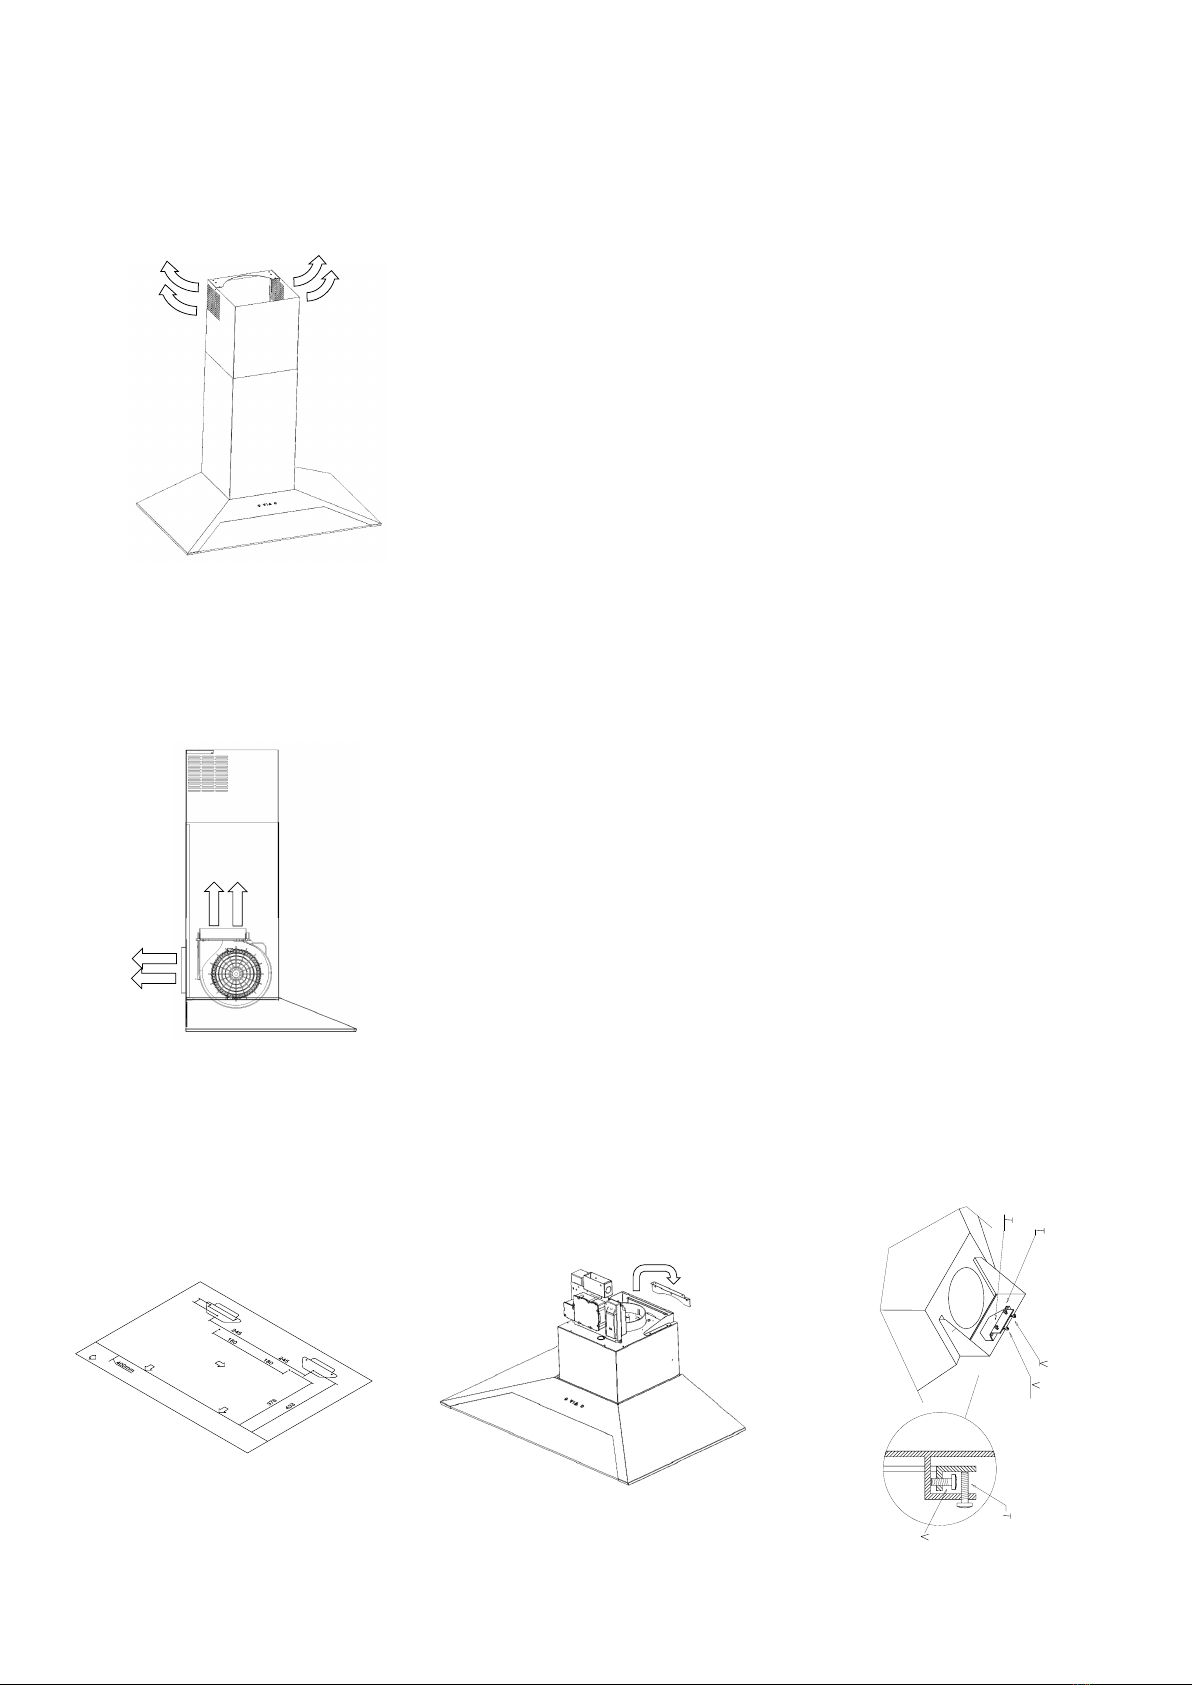
– Do not install this cooker hood above a cooker with a high-level grill.
– The minimum clearance between the top of the cooker and the bottom
of the cooker hood is 65cm.
– Keep all packaging well away from children. There is risk of suffocation.
– If the room where the cooker hood is to be used contains a fuel
burning appliance (such as a gas or oil red central heating boiler), the
boiler’s ue must be a room sealed or balanced ue type. Alternatively,
you should make sure that there is adequate air inlet into the room
at all times so that fumes from the boiler are not drawn back into the
room by the cooker hood.
– The ducting system for this cooker hood must not be connected to an
existing ventilation system which is being used for any other purpose.
– Do not allow the power cord to be crushed or bent excessively.
– Do not let the power cord touch or pass over the hob or other hot
surface.
– Do not hold the power cord or plug with wet hands.
– Never use a damaged power cord or plug, or a loose mains socket.
– Disconnect power from the cooker hood before cleaning it or
performing any maintenance.