John Lewis JLBIHD624 User manual

JLBIHD624 60cm Cooker Hood
User guide

Cooker hood user guide
2
2

Cooker hood user guide 3
Contents
Contents 3
Introduction 4
Safety is important 4
In the box 4
Safety information 5
Important safety information 5
Warnings 5
Cautions 6
Electrical information 6
Mains Supply 6
Earthing instructions 6
Class I Electrical Appliances 6
Class II Electrical Appliances 6
Operation 7
Controls 7
Display 7
Care, Cleaning and Servicing 8
Care and Cleaning 8
Cleaning and Replacing Filters 8
Aluminium Filters 8
Charcoal Filters (Not Supplied) 8
Activated Carbon Filters 9
Replacing Lights 9
Servicing 9
Installation 10
Preparation for installation 10
Installing the Cooker Hood 10
Using the Optional Levelling Brackets (Steps 7 to 10) 11
If Your Extractor Hood is the Filtering Version 12
If Your Extractor Hood Has Decorative Ducts 13
Disposal and Guarantee 14
Disposal 14
Guarantee 14
Troubleshooting 15
Troubleshooting 15
Repairs - after sales service 16
Spare parts 16
Specifications 17

Cooker hood user guide
4
Introduction
Thank you for purchasing this JLBIHD624 cooker hood.
Please take time to read these instructions and retain for
future reference.
Safety is important
To ensure your safety and the safety of others, please read the
Safety information before you operate this product.
Keep this information in a safe place for future reference.
In the box
You will find the following:
• Cooker hood
• Telescopic chimney
• User guide
Note: If any of the items listed are damaged or missing, please
contact your local John Lewis branch.

Cooker hood user guide 5
Important safety instructions - read
carefully before use
Take note of the following safety information:
Warning! To prevent fire or shock hazard,
do not expose this cooker hood to rain or
moisture.
Warning! Always remove the mains plug
from the wall socket when not in use or
before any service operation.
Warning! There are no user serviceable
parts on this cooker hood. Refer servicing to
qualified service personnel.
This symbol indicates that there are important
operating and maintenance instructions in the
literature accompanying this cooker hood.
This symbol indicates that dangerous voltages
constituting a risk of electric shock are present within
this cooker hood.
Important safety information
It is most important that this guide should be retained with the
cooker hood for future reference. Should you move house and
leave the appliance, always ensure that this guide is supplied
with the cooker hood in order that the new owner can get to
know the functionality and the relevant warnings.
These warnings have been provided in the interest of safety.
You MUST read them carefully before installation or use. If you
are unsure of the meanings of these warnings contact the John
Lewis branch from which you purchased the cooker hood.
To avoid accidents to property or people it is important to
follow the instructions given. Failure to do so removes any
liability from John Lewis.
Warnings
• Any installation work must be undertaken by a qualified
electrician or competent person.
• If the cooker hood is installed for use above a gas appliance,
the provision for ventilation must be in accordance with the
Gas Safety Codes of Practice, the Gas Safety (Installation
& Use) Regulations, the Building Regulations issued by the
Department of the Environment and, where applicable, the
Building Standards (Scotland) (Consolidated) Regulations
issued by the Scottish Development Department.
• Do not install this cooker hood above a cooker with a high-
level grill.
• Keep all packaging well away from children. There is risk of
suffocation.
• If the room where the cooker hood is to be used contains
a fuel burning appliance (such as a gas or oil fired central
heating boiler), the boiler’s flue must be a room sealed or
balanced flue type. Alternatively, you should make sure that
there is adequate air inlet into the room at all times so that
fumes from the boiler are not drawn back into the room by
the cooker hood.
• The ducting system for this cooker hood must not be
connected to an existing ventilation system which is being
used for any other purpose.
• Do not allow the power cord to be crushed or bent
excessively.
• Do not let the power cord touch or pass over the hob or
other hot surface.
• Do not hold the power cord or plug with wet hands.
• Never use a damaged power cord or plug, or a loose mains
socket.
Safety information

Cooker hood user guide
6
Cautions
• This cooker hood is designed for domestic use only.
• This cooker hood is designed to be operated by adults.
Children should not be allowed to tamper with the controls
or play with the cooker hood.
• Do not leave frying pans unattended during use, as
overheated fats and oils may catch fire.
• Do not do flambé cooking under this cooker hood.
• Do not leave naked flames under the cooker hood.
• Make sure foreign objects do not get into the cooker hood
or obstruct the motor.
• Do not use the cooker hood without filters fitted.
• Clean or replace the filters regularly to avoid oil build up.
• Do not replace the filters while the cooker hood is
operating.
• Replacement filters should be bought from authorised
dealers.
• The light and cover may be hot in use.
• Do not use abrasive cleaning materials or scouring pads
when cleaning the cooker hood.
Electrical information
Mains supply
Should the power supply cable need to be replaced, this
must be carried out by an approved service engineer. John
Lewis declines any liability should this safety measure not be
observed.
Before switching on, make sure the electricity supply voltage is
the same as that indicated on the cooker hood’s rating plate.
The cooker hood must be installed by a qualified electrician or
competent person.
Warning! The appliance should not be
connected to the electrical supply by means
of an extension cable.
Earthing Instructions
If the symbol is not displayed on the cooker hood’s rating
plate, this is a class I electrical appliance and must be properly
earthed.
If the symbol is displayed on the cooker hood’s rating plate,
this is a class II electrical appliance and therefore no earthing
cable is required.
In either case, the plug must be easily accessible after the
installation of the cooker hood.
If the cooker hood is connected directly to the electricity
supply, a suitably dimensioned omnipolar switch with 3mm
minimum opening between contacts must be fitted between
the power supply and the cooker hood, and must comply with
the load and current regulations.
Class I Electrical Appliances
The cooker hood must be connected to the electricity supply
as follows:
Brown = Live
Blue = Neutral
Yellow/Green = Earth
Class II Electrical Appliances
The cooker hood must be connected to the electricity supply
as follows:
Brown = Live
Blue = Neutral

Cooker hood user guide 7
Operation
Controls
The controls are (left to right):
Light. Press this button to operate the lights in the
cooker hood.
Off / Decrease Fan Speed. Press this button to
reduce the fan speed (unless it is already at speed
setting 1).
Alternatively, press and hold the button for 2 seconds
to switch the cooker hood off.
On / Increase Fan Speed. When the cooker hood is
switched on, press this button to increase the fan
speed. If the cooker hood is at speed setting 3,
pressing this button again activates intensive speed.
The intensive speed setting will operate for 10
minutes or until you press this button again.
When the cooker hood is switched off, press this
button to switch the cooker hood on at speed
setting 1.
Timer / Clean Air. When the cooker hood is
switched on, press this button to set a 15 minute
timer. The cooker hood will operate at the currently
selected speed (speed setting 1-3 only, not intensive
speed) for 15 minutes and then switch off. This is
useful for clearing cooking fumes and odour.
When the cooker hood is switched off press and
hold this button for 2 seconds to activate the clean
air function. The cooker hood will operate
automatically at speed 1 for 10 minutes every hour
until you press this button again.
Note: For regular cooking, we recommend using fan setting 1
or 2. If you are frying or cooking other dishes which generate
a large amount of smoke or steam, we recommend using fan
setting 3 or intensive speed.
Display
When the cooker hood is switched on, the display
indicates the following:
Fan Speed Setting. When the cooker hood is
switched on, the current fan speed is shown
as a solid number (1, 2 or 3). If intensive speed has
been selected, the number will flash.
Timer. If the timer has been activated, the decimal
place (spot) will flash.
Clean Air. If the clean air function has been activated,
the following is displayed:
A rotating indicator is shown when the motor is
running.
The letter Cis shown when the motor is off.
Filters. If this indicator is:
Alternating between the fan speed and the letter
F- The anti-grease filters must be washed.
Alternating between the fan speed and the letter
A- The active carbon filters must be washed or
replaced (depending on the type of filter).
To reset the filters indicator, when the cooker hood
is switched off press and hold the Timer/Clean Air
button for 5 seconds until the letter For Ais shown
and the display stops flashing. If the display does not
stop flashing, switch the cooker hood on and press
and hold the Timer/Clean Air button for 5 seconds
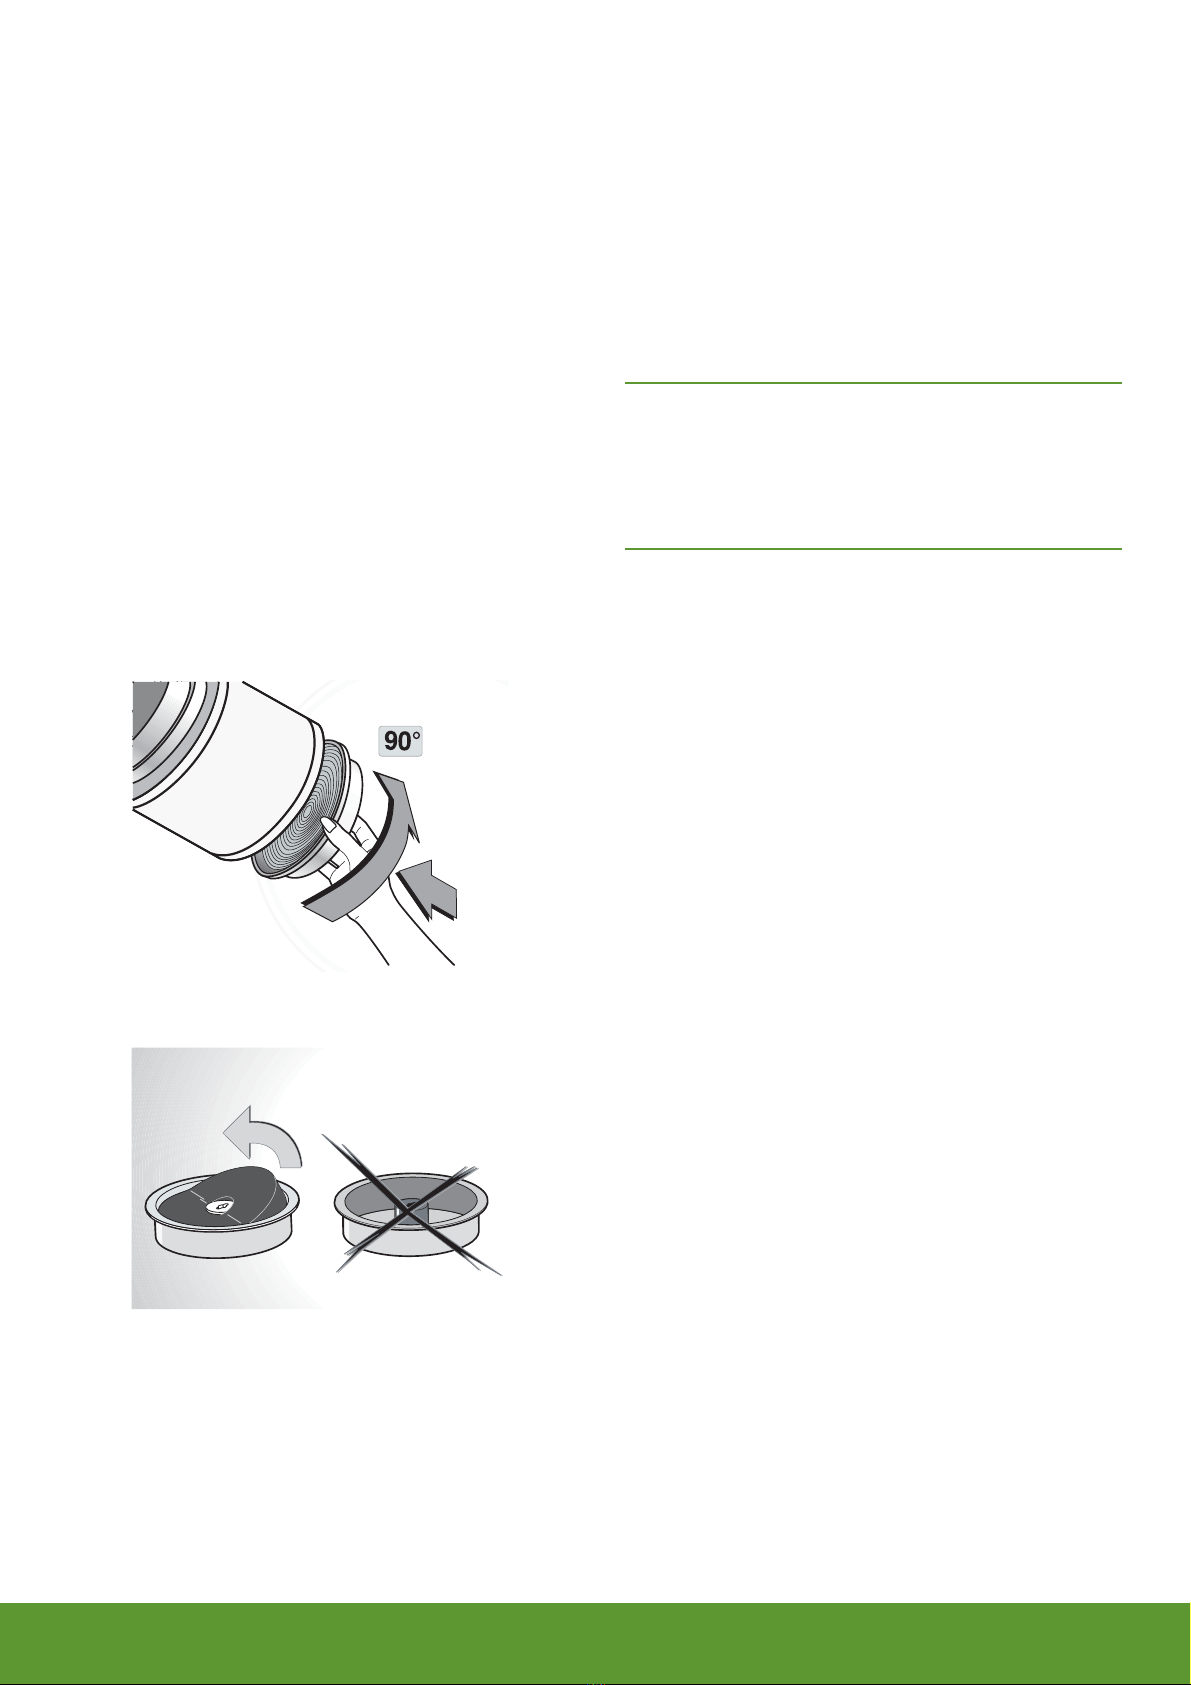
Note: See page 8 for more information on cleaning filters.

Cooker hood user guide
8
Care, Cleaning and Servicing
Note: Switch off and unplug the cooker hood before carrying
out any cleaning or maintenance work.
Care and Cleaning
Clean the interior and exterior casing using a cloth with water
and mild (neutral) detergent.
Do not use abrasive cleaning materials or scouring pads when
cleaning the cooker hood as this may damage the stainless
steel finish.
Cleaning and Replacing Filters
This cooker hood is supplied with aluminium filters.
Aluminium Filters
Aluminium filters are designed to absorb grease and dust
during cooking. They should be removed and cleaned at least
once every two months, or more often if you regularly fry
food.
To clean the aluminium filters:
1 Open the panel (A).
2 Pull the filter out of the cooker hood (B).
3 Wash the filter in warm, soapy water or in a dishwasher
and dry it.
4 Replace the filter in the cooker hood and press into
position.
5 Close the panel.
The filters may discolour after a few washes. This is normal
and does not mean they have to be replaced.
Charcoal Filters (Not Supplied)
Charcoal filters are designed to absorb grease, dust and
unwanted odours during cooking. They cannot be washed or
re-used and they must be replaced at least every four months.
To replace the charcoal filters:
1 Open the panel (A).
2 Pull the filter out of the cooker hood (B).
3 Insert the replacement filter in the cooker hood and press
into position.
4 Close the panel.
Replacement filters should be bought from authorised dealers.
A
B

Cooker hood user guide 9
Activated Carbon Filters
To transform your cooker hood from an extraction hood into
a recirculating hood, ask your supplier for an activated carbon
filter.
To fit this filter:
1 Remove the anti-grease filters (see page 8).
2 Insert the circular filter into the centre of the fan grille and
turn it 90°until it is locked in position.
Replacing Lights
Your cooker hood is fitted with LEDs. They should only be
replaced by an authorised service engineer.
Servicing
This cooker hood should only be serviced by an authorised
service engineer, and only genuine spare parts should be used.
Under no circumstances should you attempt to repair the
cooker hood yourself. Repairs carried out by inexperienced
persons may cause injury or serious malfunction.

Cooker hood user guide
10
Preparation for installation
The cooker hood must be mounted so that the minimum
distance between the filters and the gas or electric hob is
45cm.
The ducting system for this cooker hood must not be
connected to an existing ventilation system which is being used
for any other purpose.
We recommend an air exhaust tube which is the same
diameter as the air exhaust outlet hole. If a two-part air
exhaust tube is used, the upper part must be placed outside
the lower part.
If installing this cooker hood between adjoining wall cabinets,
the wall cabinets must not overhang the hob.
Before beginning installation, remove the filters (see page 8).
This will make the unit easier to handle during installation.
Installing the Cooker Hood
1 Mark the lower position of the cooker hood on the wall,
making sure it is not below the minimum distance from the
hob.
2 Place the fixing template against the wall, aligning the line at
the bottom of the template with the line drawn in step 1.
3 Drill four holes and place rawlplugs in each.
4 Insert the top two screws and and tighten, leaving at least
3mm protruding from the wall.
5 Lift the cooker hood up to the wall, hooking it on to the
two screws.
6 Tighten the screws to hold the cooker hood firmly against
the wall.
Installation
45 cm
5 mm

Cooker hood user guide 11
Using the Optional Levelling Brackets
(steps 7 to 10)
7 If you are using the optional levelling brackets, perform
steps 1 to 4 (ignore steps 5 and 6). Then take the levelling
brackets and fasten them to the cooker hood. Do not
tighten the levelling screws.
8 Lift the cooker hood up to the wall, hooking it on to the
two screws and tighten the screws holding the brackets to
the cooker hood.
9 Adjust the cooker hood horizontally using the two levelling
screws.
10 Tighten the top screws to fix the cooker hood to the wall..
11 Whether you are using the levelling brackets or not, insert
the bottom two screws and and tighten.

Cooker hood user guide
12
Installation
15 Fit the filters to the suction unit inside the hood, turning
them 90 degrees until the stop catch is tripped.
If Your Extractor Hood Is the Filtering
Version
12 Use a screwdriver to lever off the grille on top of the
cupola.
13 Pass the power cable through the cupola.
14 Fasten the cupola and grille, making sure the cupola is
clipped on to the fastening pins.

Cooker hood user guide 13
If Your Extractor Hood Has Decorative
Ducts
12 Remove the cupola and loosen the screws holding the
fastening pins.
13 Connect the flange on the flexible hose to the air exhaust
hole on top of the cooker hood.
14 Adjust the width of the support bracket of the top
connector.
20
15 Fasten the support bracket to the ceiling on the same axis
as the cooker hood.
16 Slide the top connector inside the lower duct and place
this on the cooker hood body.
Your cooker hood is now ready for use.

Cooker hood user guide
14
Disposal
This symbol on the product or on its packaging indicates
that this product may not be treated as household waste.
Instead it shall be handed over to the applicable collection
point for the recycling of electrical and electronic equipment.
By ensuring this product is disposed of correctly, you will help
prevent potential negative consequences for the environment
and human health, which could otherwise be caused by
inappropriate waste handling of this product. For more detailed
information about recycling of this product, please contact
your local council office, your household waste disposal service
or the John Lewis branch where you purchased the product.
Guarantee
Your John Lewis JLBIHD624 cooker hood is covered by a
three year parts and labour guarantee. This means that if the
cooker hood develops a fault during the guarantee period
we arrange a repair free of charge. Your original receipt acts
as your guarantee so please make sure that you retain it
throughout the guarantee period.
Please note that this guarantee does not cover you against
faults caused by accidental damage or misuse.
Disposal and Guarantee

Cooker hood user guide 15
To assist in locating possible faults use the help guide below:
Troubleshooting
Problem Cause Correction
Cooker hood not operating effectively
The cooker hood is not working
effectively.
The fan speed is too low. Select a higher fan speed.
The filter needs cleaning or replacing. Clean or replace the filter.
The air discharge outlet may be blocked. Check the air discharge outlet and clear any
blockages.
Oil or fat collects on the filter. The filter needs cleaning or replacing. Clean or replace the filter.
Cooker hood will not operate
The cooker hood has switched
off unexpectedly during
operation.
The cooker hood has overheated. Switch off the cooker hood and wait until it
has cooled down.
The cooker hood is too close to the hob. Re-site the cooker hood at the correct height.
No electric current is reaching the cooker
hood.
Check that the power is still on.
Replace the fuse. If you are unsure how to
replace a fuse consult a qualified electrician.
The cooker hood will not start. The cooker hood is not plugged in or the
power is off.
Check that the plug is firmly pushed in and the
power is on.
No electric current is reaching the cooker
hood.
Check that the power is still on.
Replace the fuse. If you are unsure how to
replace a fuse consult a qualified electrician.
If none of the above suggestions resolve the problem please contact your local John Lewis branch. Never attempt to repair the
cooker hood yourself.
Note: The cooker hood must only be repaired by a qualified registered service person.
Troubleshooting

Cooker hood user guide
16
Repairs - after sales service
Your cooker hood comes with a free three year warranty. If
it is not working correctly, consult the troubleshooting section
within this User Guide.
If a fault occurs which you cannot resolve through following
the advice and information contained within this User Guide,
the next step is to contact our warranty administrators on
0844 871 7771. They will give you details for your local service
engineer.
When you contact your local service engineer you will need to
give the following details:
• Your name, address and post code
• Your telephone number
• Clear and concise details of fault
• The purchase date as found on your receipt
• The model and serial number of the cooker hood. So that
you always have these numbers at hand, we recommend
you make a note of them here:
Mod : .......................................
S.N : .......................................
Note: If you call out an engineer to a fault or to repair a fault
caused by incorrect use or installation, a charge will be made
even if the cooker hood is under guarantee.
Spare parts
Caution: Always insist on genuine spare
parts.
An authorised service engineer should service this cooker
hood, and only genuine spare parts should be used.
Under no circumstances should you attempt to repair the
cooker hood yourself. Repairs carried out by inexperienced
persons may cause injury or serious malfunctioning.
Contact your local John Lewis branch.

Cooker hood user guide 17
Specifications
Specifications of the cooker hood that you have just purchased may vary from the information in this table due to technical
innovations.
Type Cooker Hood
Dimensions 600 mm wide x 345 mm high
Colour Designer white glass on white metal
Extraction Rate (per hour) 750 m3
Number of Speeds 3 + intensive
Noise Level 65db
Wattage 250w
Washable Metal Filters Yes

Cooker hood user guide
18
Table of contents
Other John Lewis Cooker Hood manuals